uncle!

serger thread and trim

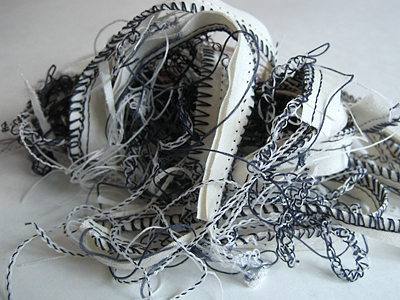
I’ve spent the past few days trying to get the tension correct on my sergers and I give up. I’ve cleaned them, oiled them, read the manual and my serger guide. I think they’re just too manual for me. If they were cameras, I’d be trading them in for a point-and-click model. In fact, I’m going to check out some point-and-click sergers this weekend.

If you are interested in some super clean, vintage Baby Locks, let me know!

handmade valentine’s day cards

handmade valentine's day card

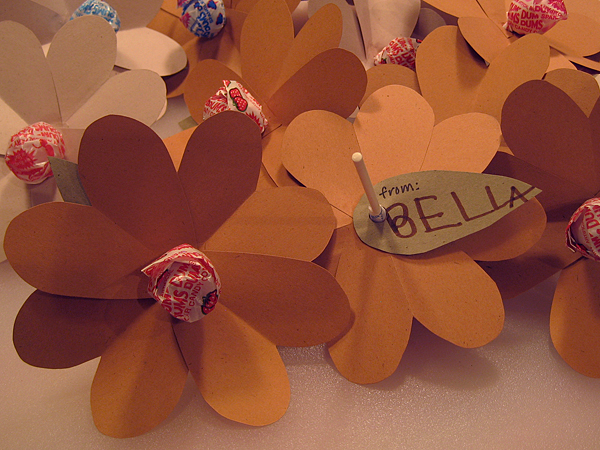
My daughter’s preschool is having a valentine exchange tomorrow. Usually the rule for school treats is no candy, but this time they’ve made an exception: one small piece is allowed. I found this cute valentine flower on Martha’s website.

The first thing I did was trace and cut out some leaves. I gave them to my daughter to sign while I traced and cut out the hearts. After she went to bed, I added the “from:” to her leaves and glued the flowers. The next day, she helped me put in the lollipops.

Even though she’s too young to use scissors, I think my daughter had fun with this project. Signing her name to all of those leaves made her feel really involved.

stash: Paper from my never-ending stash of graphic design paper samples. Lollipops are always on hand around here. You never know when you need an emergency “treat.”

valentine’s day heart bunting

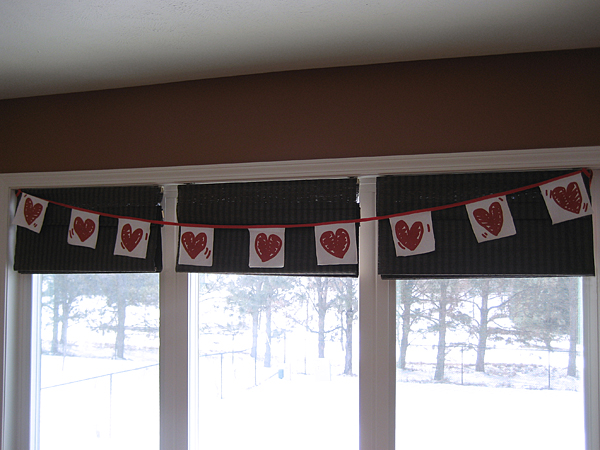
Last year I made a paper heart bunting for our kitchen window. When I went to hang it this year, it was gone. Maybe I stored it in a safe place? Maybe I recycled it? I wish I could remember. Anyway, it was a good excuse to make a new one. I forgot to take a before picture of the tea towel I used, but you can see part of it in this creative space.

valentine heart garland

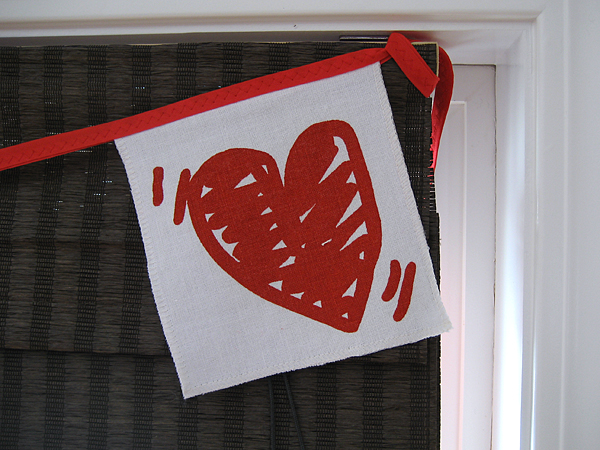
It was basically a grid of small and big hearts. I cut along the small hearts and then serged the side and bottom raw edges, trimming the small hearts off as I went along. I folded over some bias tape and stitched in the top edges.

valentine heart garland

I managed to create this from start to finish during my daughter’s “quiet time.” I don’t remember the last time I completed a sewing project so fast. Plus, I think I’m finally figuring out how to master the tension on my serger!

recycle: Garage sale tea towel: 25 cents. Bias tape part of a Goodwill grab bag.

wardrobe refashion: denim skirt makeover

denim skirt refashion

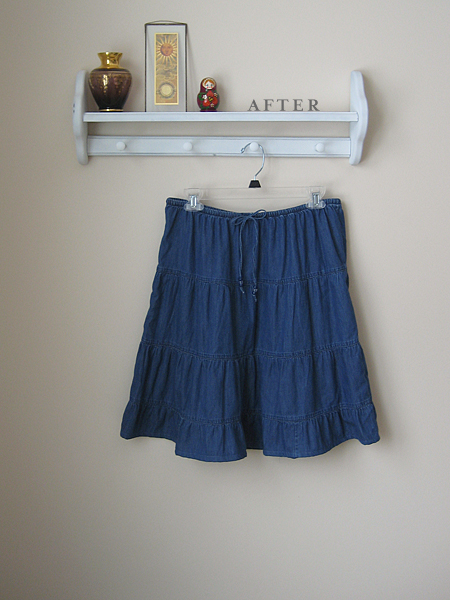
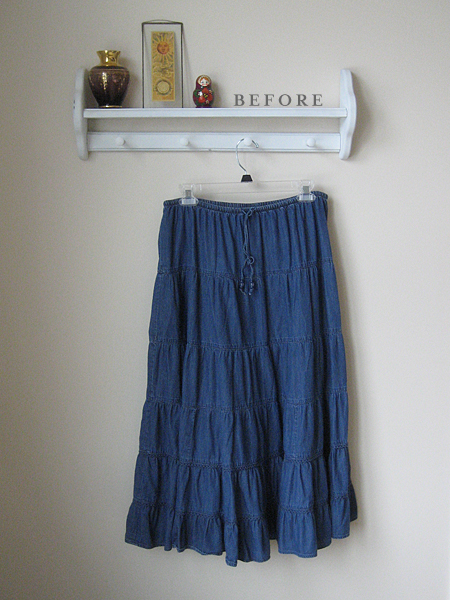
This is the original skirt I was going to wear last weekend. It turned out a little too casual for the event. I was planning on wearing it with black tights and boots. Now I’m wondering if it might look better with a t-shirt and sandals.

I really hacked this poor thing up. I cut off the bottom two ruffles and took it in on either side, trying to make it more a-line and less Holly Hobby. (Not that there is anything wrong with HH. It’s just not a good look on me.)

denim skirt refashion

It’s been a long time since I’ve refashioned something. I can’t wait to dive into the stack of clothes that have been waiting patiently by my sewing machine.

refashion: This was an impulse buy at a garage sale last summer. I think it cost 75 cents. I’m hoping to use the leftover ruffles to lengthen some of my daughter’s jeans.

my first skirt from measurements

embroidered eyelet baby quilt

A few months ago I checked out Sew What! Skirts from the library. The book just clicked with me. The instructions made sense and seemed really easy. I decided to buy the book and spent months reading and looking at the pictures even though I didn’t have time to make anything.

This weekend I’ve got a dinner date and decided it was time to try one out. I made an a-line with elastic waist pattern, but didn’t have enough fabric to make it as swoopy as I would have liked. It’s more of a straight skirt with a little flair, but it fits, looks cute, and was super easy! I think 2010 is going to be the year of the skirt.

stash: The fabric came in a bin that I bought from a UNL fashion graduate. He said all of the fabrics were really nice and expensive (from New York!), but how was I to know? They weren’t labeled or anything. It’s got a nice drape, and at $5 for the entire bin, the price was right!

my creative space

custom crochet hat

Well, look at that! Something that isn’t red! The blog has been looking kind of rosy these days, hasn’t it?

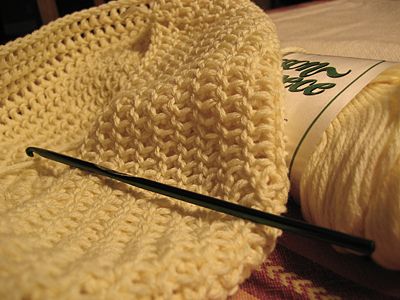
I have a cool story to go with my creative space today. One of my husband’s high school friends follows me on my facebook page. When I was posting all of those kids’ crochet hats, she asked if I could make one for her. Isn’t social networking awesome?

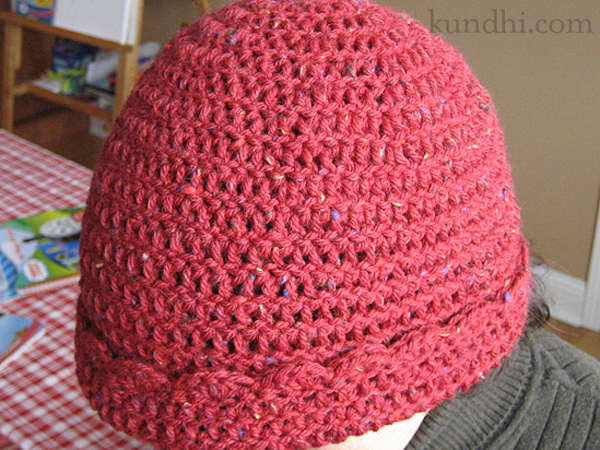
I went ahead and made an adult prototype first for myself. Yes, it’s red.

scallop crochet hat

My daughter really loves the scallops. After I am finished the yellow hat, it’s back to red for me. Matching mother and daughter hats. Love it!

Check out more creative spaces over at Kirsty’s blog. You’re sure to be inspired!

thrifty find: crochet blanket

handmade thrifted crochet blanket

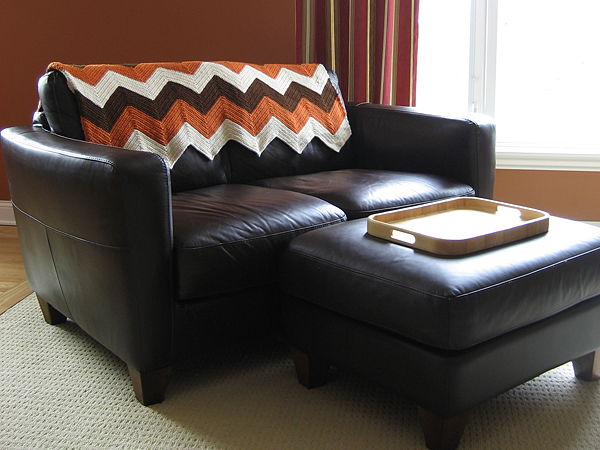
I miss posting about my thrifty finds, but there aren’t as many during the winter months. Most of my great scores come from church and garage sales, which generally happen in the spring and summer. Last week I went to Goodwill’s 99 cent sale looking for clothing and never expected to come home with this handmade blanket. It matches our walls, couch and carpet perfectly. And it is so warm! Just in time for another snowstorm.

The wooden tray on the ottoman was also a thrifty find from a few months ago, still with the tag! We don’t have a coffee table in this room, so we use it to hold drinks (and popcorn!) when we snuggle in front of the television.

thrifting: Blanket cost $6. Kind of expensive for me, but it’s just so perfect. Tray was $2.

sweetheart zipper bag

sweetheart cosmetic bag

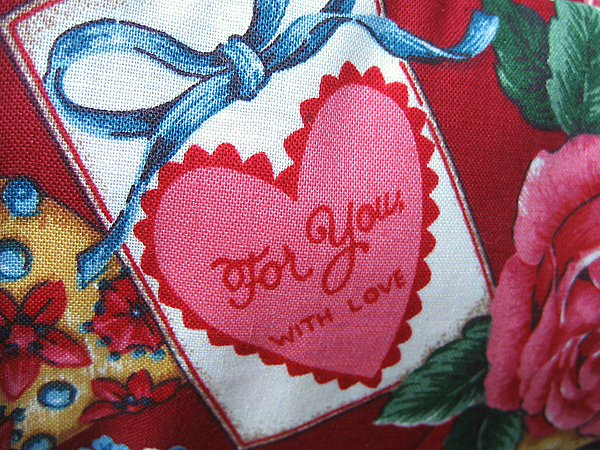
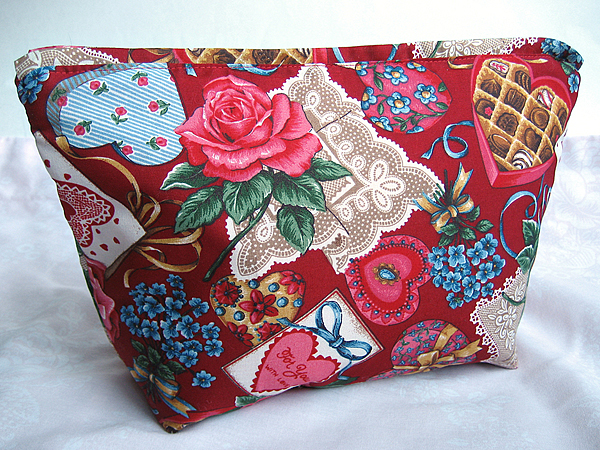
This fabric is a little more kitschy than my usual style, but I really love it. Valentine’s Day is just around the corner and I wanted to make something fun. I couldn’t bring myself to cut into all of those cute hearts, so I used the entire piece for one big bag.

sweetheart cosmetic bag

Some would say it would be great for cosmetics, but it can easily hold two skeins of yarn and knitting/crochet notions. I used fleece for the interfacing, so it stands up on its own, but it’s still soft. I’m tempted to keep it, but right now I’ve got it up in the shop. (I can’t keep everything I make!)

thrifting: This fabric came from The Grandmother Stash, same as the pink eyelet quilt.

red scarf finished!

red scarf project craft hope orphan foundation of america

I can’t believe it, but I am out of red acrylic yarn. I had to use some gray to finish this scarf. It turned out nicely: thick and warm. I think I’m going to add some tassels to the ends. I’m excited to finish this so far ahead of the Craft Hope deadline. Now, if I can only get it mailed out just as fast!

Finished dimensions: 76 x 5 inches.

thrifted stash: All of the red yarn from this scarf and these hats came from one big grab bag at the thrift store. I’ve still got some black and gray left. What a score for $4! And all of it is going to keeping students warm this winter. Makes me feel good!