
We got this hat for Bella for Christmas, but couldn’t wait that long to give it to her. She’s been asking for one all season. In fact, she’s been wearing T’s hat for the past few weeks. Now she has one that fits!


We got this hat for Bella for Christmas, but couldn’t wait that long to give it to her. She’s been asking for one all season. In fact, she’s been wearing T’s hat for the past few weeks. Now she has one that fits!

Today my creative space is filled with food. It’s Thanksgiving in the United States and we’re spending it at home — just the three of us. I made stuffing and sweet potatoes earlier in the week. All that’s left to do is the turkey and the pumpkin pie.
Ever since we moved to Nebraska, I’ve made homemade pumpkin pie for the holiday. I’ve always wanted to make pie from an actual pumpkin, but could never find one at the grocery store. I figured if canned was good enough for Martha, it was good enough for me.
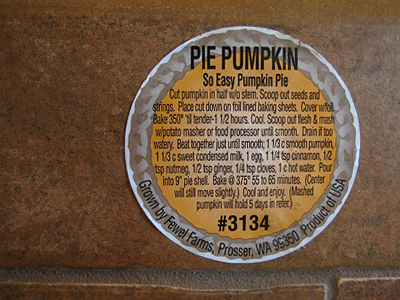
This year I saw a pie pumpkin in the produce department and knew I had to try it! It was easy to bake and puree, just like any other squash. I’m using the recipe that came with the pumpkin. I hope it turns out as good as Martha’s!
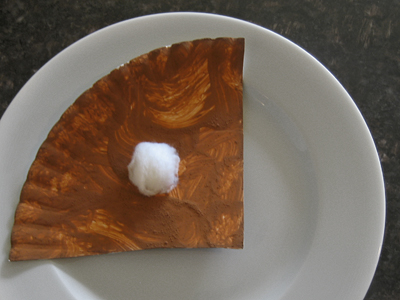
My daughter is super excited to have some pumpkin pie because she made one this week, too. Don’t you just love preschool crafts? It even has whipped cream!
For more yummy creative spaces, visit Kirsty’s blog. (I can’t guarantee that they’ll be as yummy as pie, but they are always beautiful!)
It’s interesting to view the Fall and Winter holidays through the eyes of a three-year old. There’s all this build up to Halloween and then after one night, it’s all over. After weeks of talking about pumpkins, witches and ghosts, we immediately move into Thanksgiving mode. There are still colored leaves and pumpkins, but now we’re all about Pilgrims and turkeys.
Then, to make things really confusing, people start decorating for Christmas before Thanksgiving. There is a house on our street with pumpkins all along the entryway and snowflakes hanging from the roof.
Even more proof that all of this is confusing to a three-year old: today my daughter asked me if we missed Thanksgiving. I told her no, Thanksgiving is tomorrow. Why on earth would she ask if we missed it? Look at all of the Christmas lights, Mom. Are you sure?
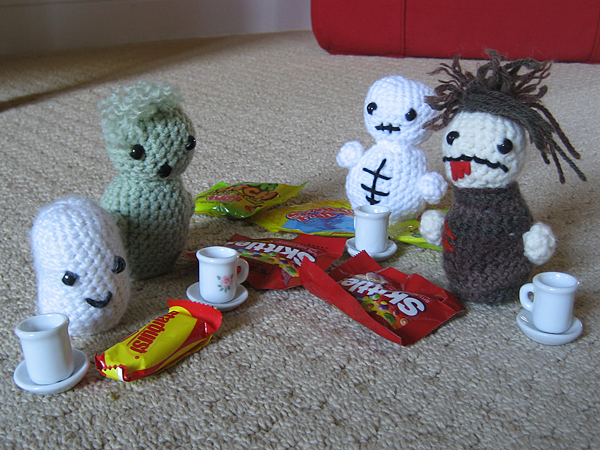
I’m really trying to keep our house Christmas-free until after tomorrow, but my daughter is already asking for her little tree. In the meantime, though, she’s serving tea and candy to her Halloween friends.
Maybe I need to crochet a little turkey for her?
pattern: undead gang from Needle Noodles
My daughter is growing like a weed, except she’s only growing up, not out. She’s got 4-5T legs and a 3T waist. That means that most of the pants we find that are long enough won’t stay up.
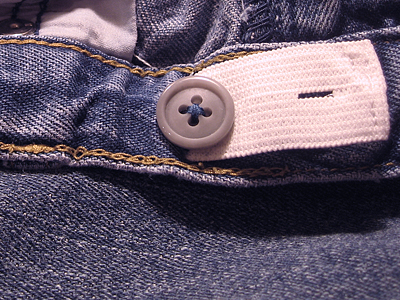
I try to only buy pants with an adjustable waist, but sometimes I come across a great deal or something super cute that I just can’t pass up. I decided to try adding elastic myself, and you know what? It’s super easy!
You can even do this without a sewing machine as long as you don’t mind a little hand stitching.
Materials
button hole elastic
small, sharp pair of scissors
two buttons that fit through your elastic
Fray Check
needle and thread
Step 1
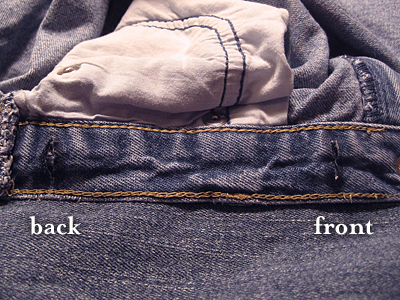
Starting on the right inside of the waist, snip two holes to create a casing for the elastic. Make sure your scissors don’t go through to the other side! Apply Fray Check to the raw edges.
Step 2
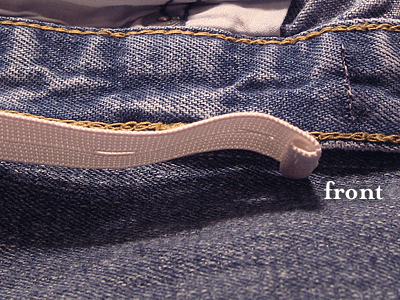
Cut a piece of elastic that’s about one inch longer than between your holes. Fold one edge over and sew. This is the edge you’ll be using to adjust the pants.
Step 3
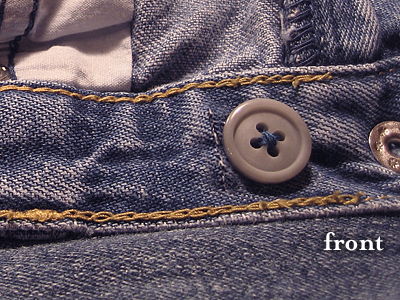
Sew a button in front of the casing you’ve created.
Step 4
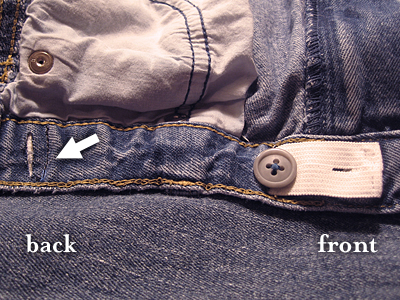
Thread the elastic through the waist casing with the finished edge going through the front. You can tuck the unfinished edge into the back.
Step 5
Sew a line of stitches to secure the elastic. See arrow.
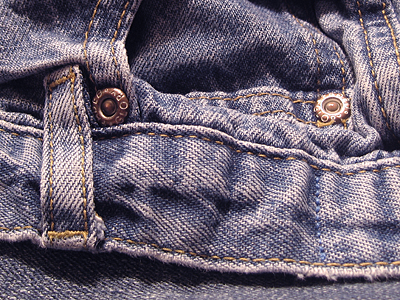
Here’s what you’ll see on the outside of the pants.
Repeat on left inside of the waist.
refashion: The only thing worse than sizing for women’s pants is sizing for kids’ clothes. At least with this little trick, I can just make sure pants look long enough when I buy them. It’s nice knowing how easy it is to adjust the waist. Maybe I should try this on my jeans!

Bella is having tons of fun in swimming class. I’m enjoying watching her without getting wet!


After many attempts, we finally have a set of hat and mittens for the winter season. My daughter loves them, which makes all of the work worth it. I just need to sew name labels in everything for preschool tomorrow and they’ll be ready for action!
project notes: Yarn is Cascade 220, which holds up well after a lot of ripping and re-knitting. Mitten pattern from p2designs.com. No pattern for the hat—I just kind of winged it.
I don’t think I’ll ever get tired of walking in the kitchen and finding little scribbles like these on the easel.
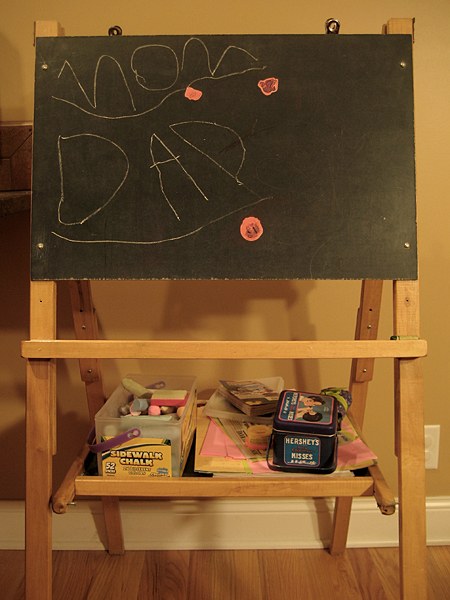
note to self: really need to get those stickers off of the blackboard.
Once I decided to crochet some stars for a garland, I started seeing stars everywhere. Isn’t it funny how that happens? My favorites are these totally adorable granny stars.
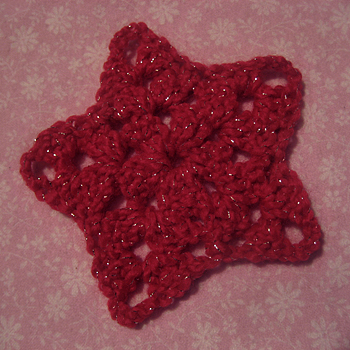
I’ve ditched my Chromium Blanket stars for these. They work up a lot faster and are so much fun! If you crochet, you should really give one a try.
inspiration: tutorial from The Royal Sisters, multi-colored stars by Lucy over at Attic24, Sarah London’s garland, and Emma Lamb’s wee flowers and stars.

In my creative space today is an unfinished tutorial. I was hoping to have it posted this week.
If you follow me on Facebook, you know that was feeling a bit like a mending rock star last week when I figured out how easy it is to add adjustable elastic to kids’ pants.
I took all of the pics—just need to get them in order and write it up. Stay tuned!
In the meantime, head on over to Kirsty’s blog for more creative spaces.