my creative space

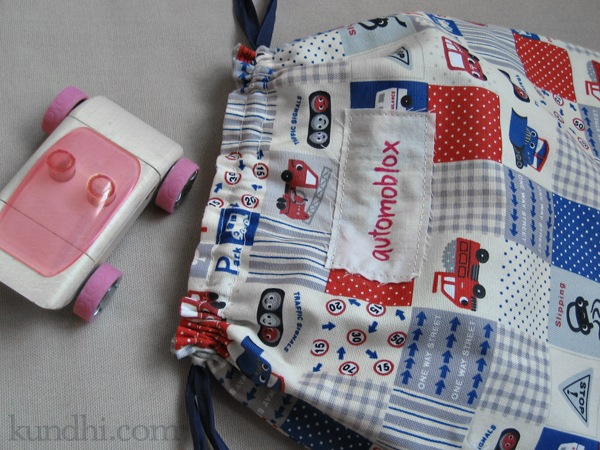
toy organizing bags

I’ve been trying to regain some control over my daughter’s closet. Lately she just wants to empty everything onto the floor to build a giant mountain of toys. Getting her to put away the toy mountain when she is finished has given me quite a few gray hairs.

In my creative space today, I’ve been making some bags for all of those Christmas presents that came without containers. I really should have done it sooner. Having a specific place to put things has helped a little. I also moved half of her toys to the very top shelf. That has helped a lot.

What’s in your creative space today? Play along over at Kirsty’s place.

how to fix a stuffed animal’s nose in 4 easy steps

stuffed animal new nose tutorial

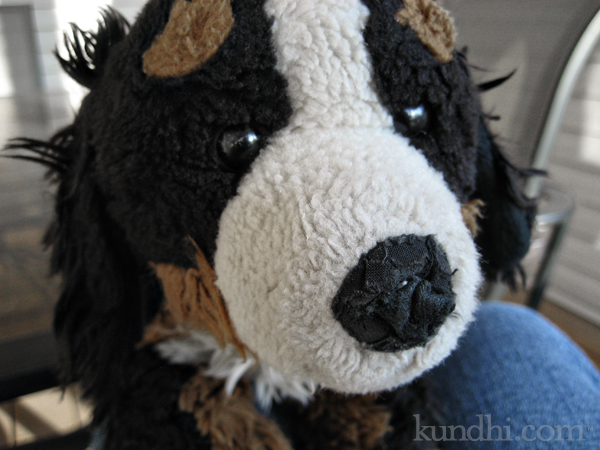
What is it with the noses on stuffed animals? I know my daughter isn’t chewing on them, so how does something like this happen? If you look closely, you can see the original torn nose and the remains of my first patch. I’m becoming an expert on fixing these, so I’m sharing my little trick with you.

Materials
fabric that matches the original nose (I doubled up for extra durability)
thin cardboard (check your recycle bin for a cereal box or similar)
iron
aluminum foil
sewing notions

Step 1
Measure the nose (I used one of these circle templates) and cut a piece of cardboard the same size and shape. Cut your fabric a little bit larger than the cardboard.

Step 2
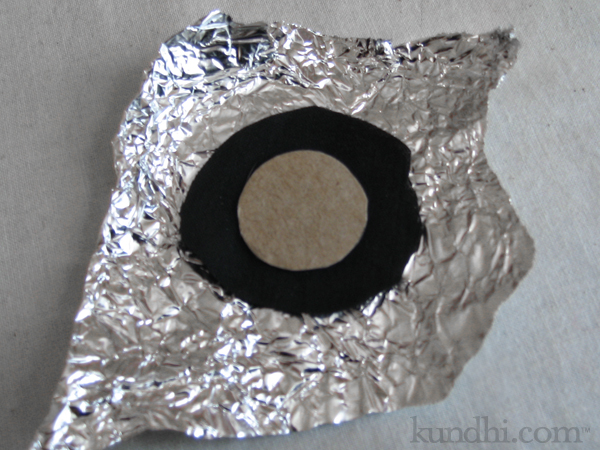
Lay down your aluminum foil, then the fabric and finally the cardboard. Fold the foil around the cardboard so the fabric is sandwiched nicely in between.

stuffed animal new nose tutorial

Step 3
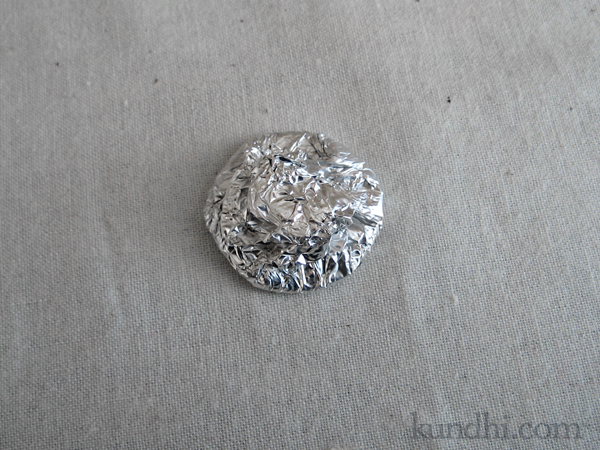
Iron the foil on the top and bottom. Press really well around the edges. Let it cool before opening it up. It will be hot!

stuffed animal new nose tutorial

Step 4
Remove your perfectly pressed nose and hand stitch it in place.

stuffed animal new nose tutorial

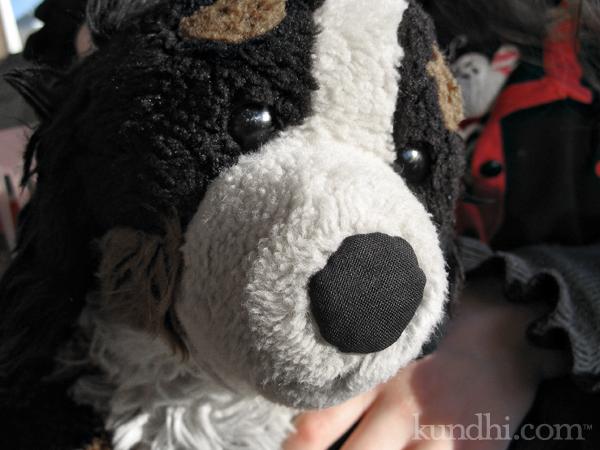
He looks much happier now, doesn’t he? Hopefully the two layers of fabric will hold up a little longer this time.

fused plastic grocery bag lunch bowl

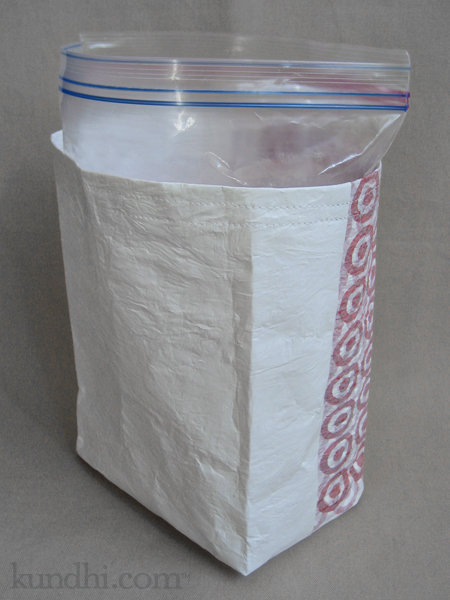
fused plastic grocery bag lunch bowl

So here’s the plastic bag project that feels like it’s been taking forever to finish. Some history on the idea: my husband has started taking salads to work. He throws everything into a plastic zipper bag* for easy transport, but said it’s not very easy to eat out of the bag.

fused plastic grocery bag lunch bowl

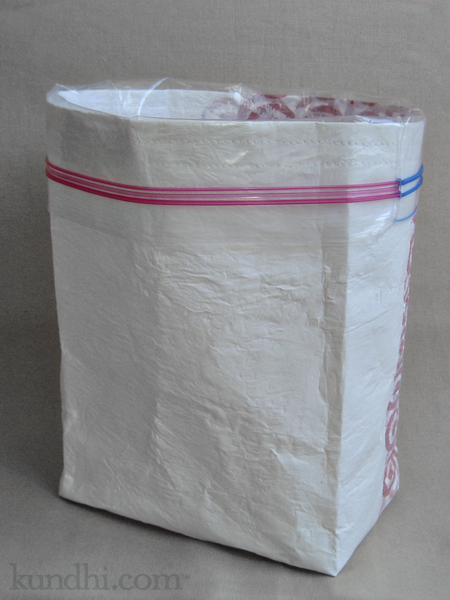
I thought some kind of bowl would help. Something stiff enough to stand up straight, but forgiving enough to be smooshed in a lunch bag. With this one, you just drop the zipper bag in and fold the edges over the bowl. It’s kind of deep, but salad greens take up a lot of room. I have a feeling I might need to adjust it after he tries it out.

fused plastic grocery bag lunch bowl

Some interesting things I learned while playing around with this project:

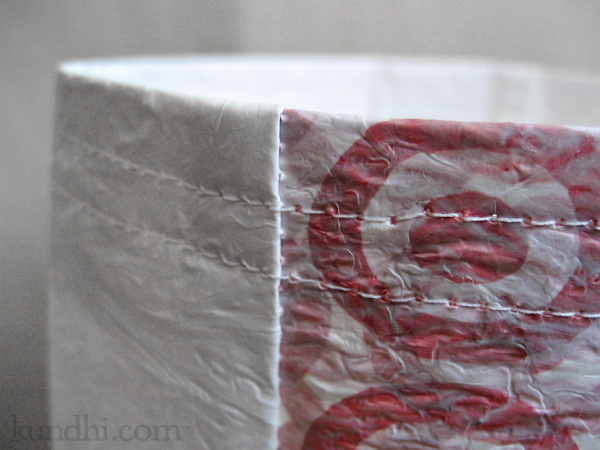
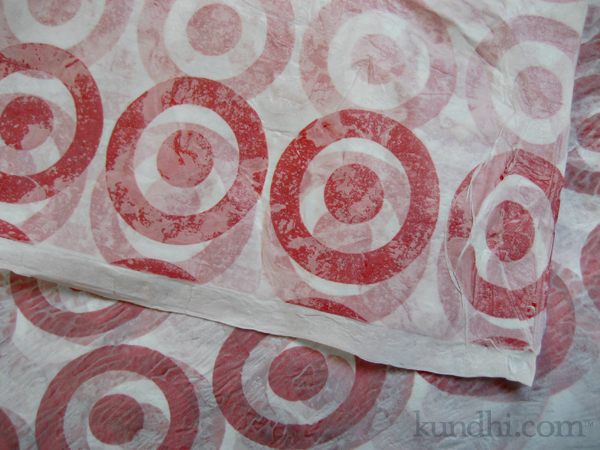
  • Target uses different kinds of plastic for their bags. They may look the same, but they don’t melt the same.
  • Parchment paper works much better than regular paper.
  • Measure twice, sew once. Ripping out stitches leaves holes!
  • I need some more project ideas to use up the leftover fused plastic.

stash: All of these bags came from my pantry. No matter how hard I try to bring my reusable grocery bags to the store, forgetting them on just one trip leaves me with a bunch of plastic bags in my pantry. I usually just recycle them, but this was kind of fun. I might keep on fusing them.

*Still trying to figure out how live without some plastic bags. We wash and reuse our plastic zipper bags until they practically fall apart. I wonder how they would fuse together. Hmmm…

my creative space

quickie fabric scarf

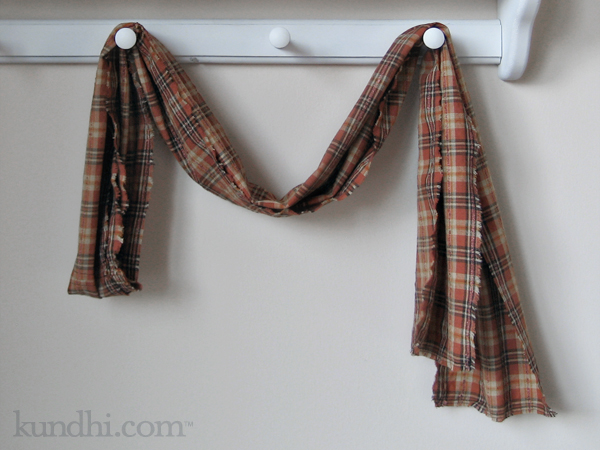
In my creative space today I was in serious need of a finished project. Remember last year’s Spring scarf? I made another fabric scarf today, only no ruffles. Just a simple, long rectangle.

quickie fabric scarf

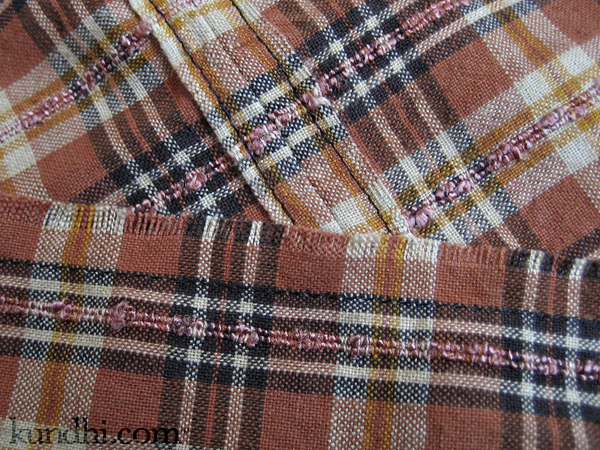
I grabbed some thrifted/gifted fabric, cut it into two skinny rectangles and joined them at the selvedges. Then I stitched the selvedges down. No fraying or unraveling at the seam! I did want the border to be unfinished, so I ran a stitch all the way around and then fringed the edges.<.nobr>

What’s in your creative space today? Play along over at Kirsty’s blog.

p.s. I finally finished my fused bag project. Pics to come tomorrow (I hope!).

almost finished: baby blanket

baby blanket squares

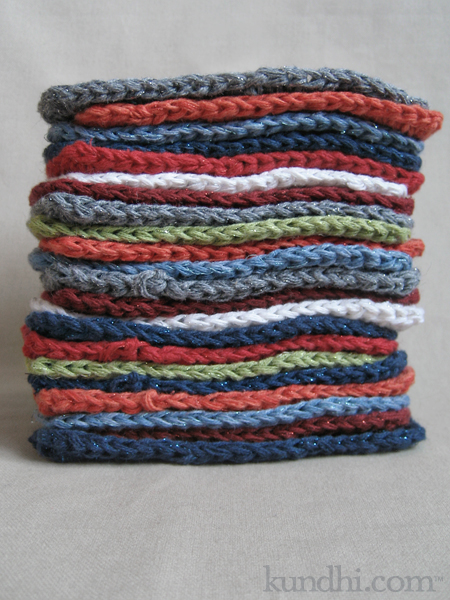
I’m thinking this blanket would be finished already if I didn’t rip out and redo so many of the squares. My nephew was born last week. Thank goodness this is a nice, lightweight cotton yarn. I think it will make a perfect blanket for Spring.

I need to think about yarn for the border. I won’t have enough of any one color to make it all the way around. Would a multicolor border be weird or fun?

almost finished: “friend” mending

I’m a crafty slacker. I didn’t get to my Finished on Friday project until Sunday. Not only that, but I’m not completely finished! Even worse, I don’t have any pictures!!

Yesterday I tackled the growing number of stuffed “friends” that needed mending. Bears and bunnies were losing their hearts. Easter Bunny and Polar Bear both had holes under their arms. The only one I didn’t get to was poor old Puppy Dog, who is losing his nose again. I’m not sure why his nose wears through so much. Maybe I can get a before and after shot of him this week.

Other than sewing up the stuffed critters, not much crafting has been going on around here. We had a crazy snow storm last week and my daughter has been busy squeezing in every last bit of snow fun before it all melts. Thank goodness the temps will be warming up this week. I’ve got to back to my fused plastic bag project.

I’m surprised how many of you have not heard of fusing plastic grocery bags. Here’s a video from Etsy Labs to tide you over until our snow melts and I can get back to my project.

homemade granola recipe

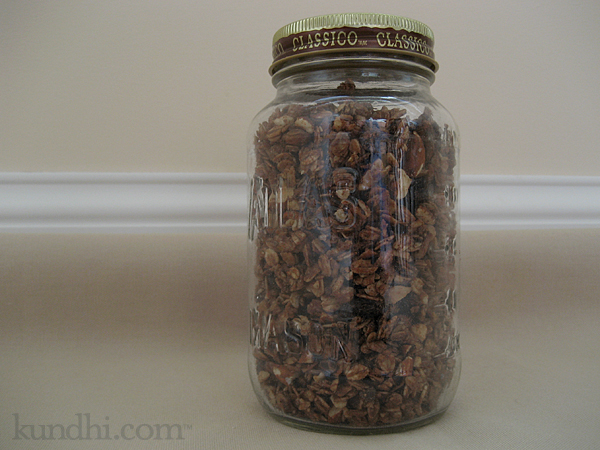
homemade granola

If you’ve been waiting for me to post this recipe, thank you for being patient! I took a granola break for awhile. I got frustrated because you really can’t make a totally healthy version of this stuff. I’ve done the best I can, but it’s still packed with calories. Luckily, it tastes good enough that I only need a little sprinkle to jazz up my plain yogurt.

Preheat oven to 325 degrees F.

Mix in one bowl:
2 cups old fashioned oats
1 teaspoon cinnamon
1 teaspoon kosher salt

Mix in a second bowl:
2 tablespoons oil (I use light olive for baking)
1/4 cup blue agave (or honey)
1/4 cup light brown sugar
1 teaspoon vanilla extract

Combine the wet and dry ingredients. Pour onto a baking sheet with edges, like a jelly roll pan.

Bake for 10 minutes. Remove pan and stir.

Add 1/2 cup chopped nuts. I’ve used almonds and pecans.

Bake for another 5 minutes. Remove pan and stir. Bake for a final 5 minutes. Take it out sooner if it starts to get too brown.

Keep stirring so the granola doesn’t stick. (I skipped this the first time. You get a giant block of granola! If this happens, warm it up a little in the oven until you can stir it again.)

When cool, add 1/4 cup dried fruit. I’ve used raisins and cranberries. If you are feeling really decadent, sprinkle in a few mini chocolate chips, too.

recipe credits: This is an adaptation of the recipe my daughter brought home from Cooking Camp last year, which was an adaptation of the granola recipe in Baked: New Frontiers in Baking. I’ve never seen the original recipe.

my creative space

fused plastic bags

In my creative space today I’m fusing plastic grocery bags. Am I the only crafty person on the planet who hasn’t tried this yet? So far, I’ve had mixed results. I think it might be worth the extra effort to spring for some parchment paper.

Play along with your creative space over at Kirsty’s blog.

nature hike tote bags

capri pants turned into totes

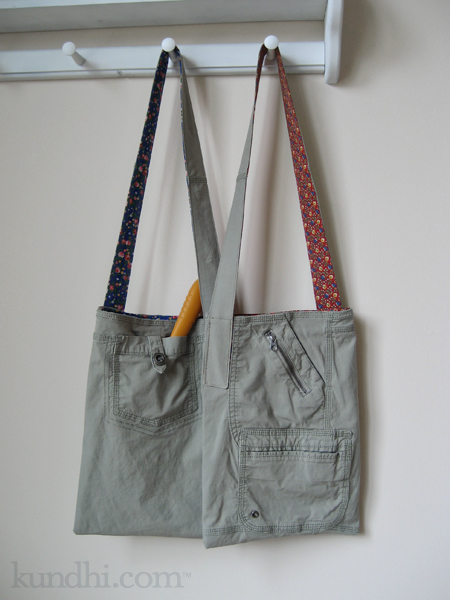
You knew I was going to turn those capri pants into tote bags, didn’t you? Not just any bags, however, but bags with a purpose: keeping nature out of my pockets and my purse.

I’m sure many of you can relate to this: Mama, can you hold this rock? Here’s a present for you, Mama. It’s a leaf! I’m just going to put this stick in your purse for later. Did you put my feather in your pocket? Later, as you are digging around for latte money, the barista gives you a funny look as random bits of nature fall on to the counter.

I made two of these: one for my daughter and one for her friend. They’re the same except for the lining. Now when we go on walks together, the girls can carry their own bits of nature. There are all kinds of pockets perfect for acorns, rocks, twigs and leaves. The buttoned back pocket is perfect for storing a shovel. You never know when you’ll need to dig for treasure!

I love how these turned out and will be making more. How perfect would they be for a day of garage sailing or thrifting with different compartments for cash, phone, water and a snack! They would also make a cool craft project bag with pockets for all of your notions.

project details: Pants from my closet, lining fabric from my thrifted stash.

fleece football scarf

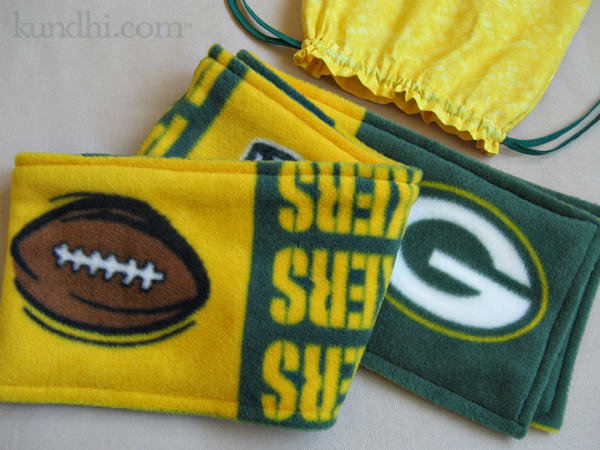
green bay packers super bowl scarf

This weekend was filled with birthday celebrations. Saturday we attended a surprise party for my friend Wanda, who is a serious Green Bay Packers fan. She loves scarves so the decision to make her a football scarf was an easy one. I knew exactly how I wanted this to look and it turned out just right. I love when that happens.

I bought the fleece new from the fabric store. Wow! It’s been so long since I’ve done that! The Packers-inspired gift bag fabric came from my stash.

This was one of two mystery gifts I was working on last week. I’ll post the other one tomorrow.