how to refashion a dress into a skirt
in five easy steps

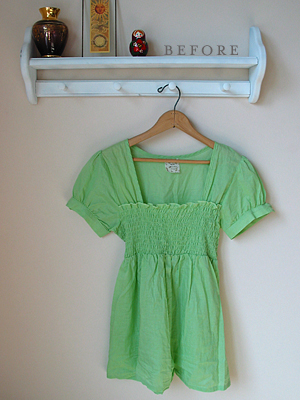
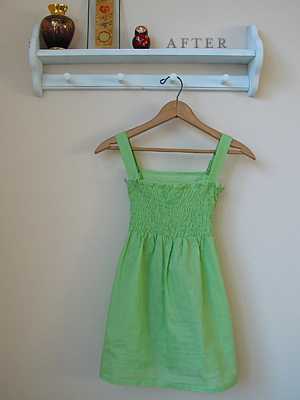
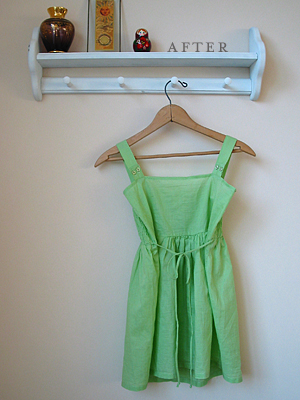
Even though I wrote this tutorial for a kid’s size dress, you can do this with adult sizes, too. This is the same way I turned a shirt into a skirt.

My daughter and I both love this dress. She only wore it a few times last season because it was too big. This year it is too small. It probably would have fit her best when it was 20 degrees outside.

easy kids skirt tutorial

The other day she insisted on wearing it. (Yes, it was still hanging in her closet even though it was too small.) I let her try it on so she would see that the buttons could no longer be buttoned. While she had it on, I realized that it was just the top that was too small. The bottom fit just fine. Hmmm… what if I turned it into a skirt?

easy kids skirt pattern

Step 1
Cut off the bottom of the dress. If your daughter is as tall as mine, use a seam ripper. It takes longer, but she needs every bit of length I can save.

Step 2
Measure your daughter’s waist. Add an inch and then cut a piece of elastic. I used 3/8″ wide elastic.

Step 3
Fold the top edge down 1/4″ and press. Then fold 5/8″ and press.

easy kids skirt tutorial

Step 4
Sew the waist leaving an opening for the elastic. Edge stitch the top to help the elastic stay in place.

Step 5
Thread the elastic through the waist casing, sew elastic ends together with a 1/2″ seam allowance, and close up the waist.

easy kids skirt pattern

My daughter was so excited to see her new skirt. She especially loves the bow. The original dress had a two inch hem. If she’s still in love with it next season, I guess I’ll be letting the hem down, too.

refashion: Sewing clothes is sometimes easier if you don’t start from scratch. Refashioning a favorite piece of clothing can make you happy, your budget happy and the earth happy.

Thanks to whipup.net for linking to my tutorial and welcome new readers! For more crafty updates, visit my Facebook page!

wardrobe refashion: crochet top to tote bag

This top is one of my finds from last weekend’s garage sale bonanza. My friend issued an ultimatum: “If you don’t buy it, I will and turn it into a tote bag.” Well, of course I had to buy it. I couldn’t be out-toted!

crochet top to tote bag

It took me awhile to figure out what to do with it, though. I used my seam ripper to carefully remove the lining. Then I turned it inside out and upside down, literally, before it came to me. (Ribbon not part of the tote. How does one hang a one-handle tote?)

crochet top to tote bag

I was happy to see that the color on the inside wasn’t faded. The seams were also nicely done, so I decided to keep it inside out. I used some denim from a pair of jeans for the bottom. The inside was stash fabric from a garage sale. Can you believe how well it matches?

crochet top to tote bag

Everything was done on the machine except I hand-stitched in the lining. I didn’t want to lose that pretty crochet scallop edge. It needs a little something though. I have a few circles left over from the top. I think I might make them into a flower applique for the front.

refashion: Tank top 25 cents from garage sale. Lining from stash of garage sale fabric. Denim from some old pair of jeans. I think this would make an excellent knitting tote!

my creative space

my creative space

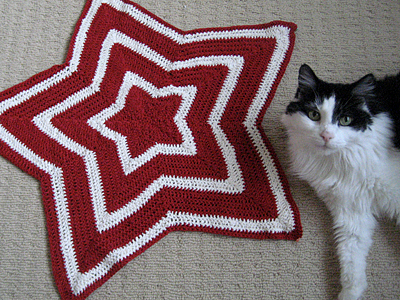
I can’t believe it’s Thursday already! I haven’t been able to do as much sewing as I’d like this week, so my creative space is all about my Chromium Star Blanket. I’ve just started the second skein of red yarn and I’m loving how this is shaping up!

Red seems to be the color of choice for a lot of crafty bloggers this week. Check out the comments over at Kirsty’s blog for more creative spaces.

mixing bread bags and wool with crochet

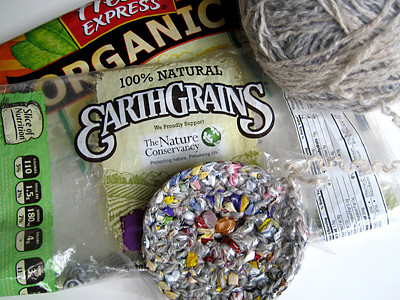
A long time ago I started to crochet a tote out of plastic grocery bags. I thought it would be a good way to keep the bags out of the landfill. It wasn’t fun. The plastic was sticky and it hurt my wrists. Then my recycle guy started accepting the bags for curbside pick up. That was the end of the guilt and the project.

The past few weeks, I’ve been taking a hard look at what we put in the trash. Was there anything else I could possibly recycle? Tea bag envelopes? Receipts? Bread bags?

I did some investigating and my recycling guy only accepts newspaper, dry cleaning and grocery bags. If I can’t put them at the curb, what else can I do with them? I know others have crocheted them just like grocery bags, but when I tried, they kept breaking. Plus, I’d need to eat a lot of bread to make anything substantial. Then I got an idea. What if I cut really thin strips and held them along with something else?

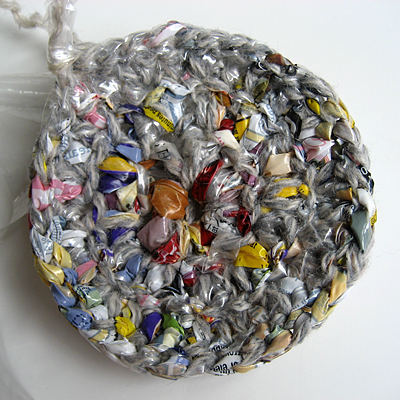
crochet bread bag and wool

I am totally loving this! I’m using recycled sweater yarn that has a bunch of knots. The plastic hides the yarn imperfections and the yarn keeps the plastic from breaking. If the plastic does break, the yarn holds the “fabric” together.

This is so much easier on my wrists! And check out the pretty colors! Not bad for some plain old gray recycled yarn.

crochet bread bag and wool

So far I’ve used bread and tortilla bags. I’ve also got a salad bag to throw into the mix. I’ll keep you posted on my progress!

recycle and reuse: I love thinking of new things to knit and crochet. The yarn is from my first attempt at recycling sweater wool. This is a good project for both frugal and green crafters!

east campus garage sales: new fabric and yarn!

Last year I barely made a dent in the east campus garage sales. I had no idea how big they were. I took my husband and daughter to the textile sale and by the time I made my fabric purchase, my family was ready to go.

This year I went with my friend Kelly. We shopped all morning and got some great deals! I bought lots of cool fabric at the textile sale and some really nice clothes for refashioning. I did get a few other odds and ends, like a cookbook and some baking pans, but I know you just want to see the fabric, right? Here’s a small sampling of my favorites.
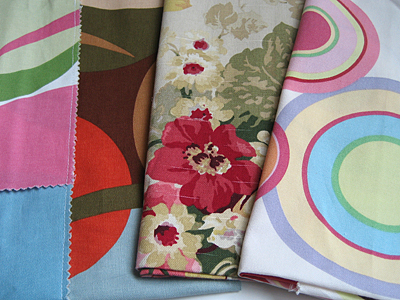
hillestad textile saleI got a mix of textures. These feel like canvas.
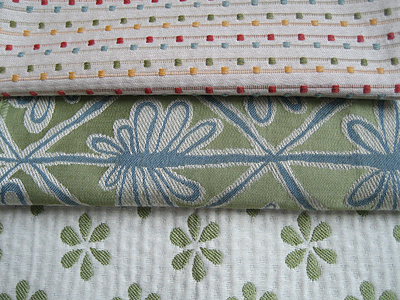
hillestad textile saleThese feel more like traditional upholstery fabric.
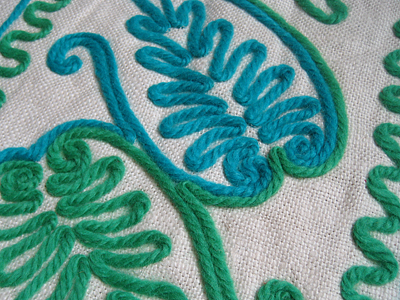
hillestad textile saleIsn’t this cool? It’s yarn sewn to fabric! I bought yellow one, too.
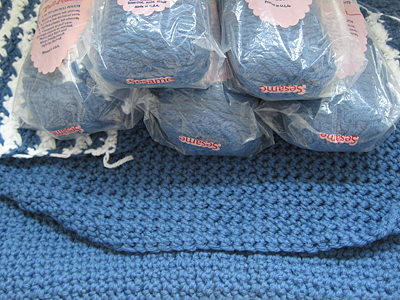
hillestad textile saleI can’t forget this total deal, even though it’s not fabric. Sweater in progress plus all remaining yarn for 25 cents. Yes, 25 cents. It’s superwash wool.

I’m going to wait to post the clothes, because you’ll see them in the “before” pics when they’re refashioned.

I think this was my last garage sale of the season. Today the air feels a little cooler. The sun is setting earlier, too. I feel like a squirrel who has worked all summer on a healthy stash. Now it’s time to stay in and start sewing!
wardrobe refashion: shirt to toddler dress

shirt to easy toddler dress

This shirt turned into the cutest dress, but it’s big! I figure it’s at least a 4T or 5T. Since this season is almost over, I’m going to wait until next year to have my daughter try it on. It will probably need a dart in the back because she’s so tall and thin. The length might actually be ok. Just in case, I didn’t sew the straps on in the front.

shirt to easy toddler dress

My seam ripper was my BFF for this project. I unpicked the stitches from the neckline and used the bias trim to cover the raw edges under the sleeve.

shirt to easy toddler dress

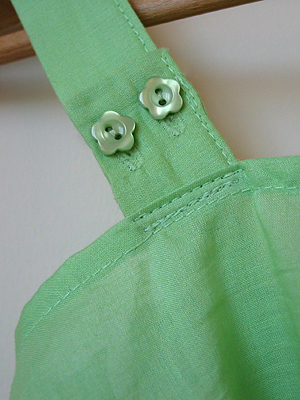
I also unpicked the stitches from the cuffs and used them as the straps. I cut off the button hole end and sewed it to the back. The other half will be sewed to the front. That way I can use the buttons without having to resew the holes.

shirt to easy toddler dress

refashion: This was really easy. Seriously! The hardest part was not poking a hole in the fabric while ripping seams! The shirt was $1 at a garage sale. The best part? My daughter said, “Mom, that dress is beautiful! Is it for me?”

handmade baby shower gift

My knitting group had a baby shower for my friend Tana last night. I couldn’t figure out what to make because she has already created so many beautiful sweaters, blankets and quilts herself. I decided to sew something instead. I figured her daughter is going to be the best dressed baby when the weather is cold, so she would need something for the warm weather.

mccall's m5083

I sewed the 12-month size with the hope that it will fit sometime next year between June and August. Estimating the size was tricky! I added a little extra elastic on the inside so Tana can adjust the waist if necessary. Luckily, the top ties in the back, so that should be an easy fit.

mccall's m5083

project notes: Pattern is McCall’s M5083. Fabric is from my stash. It’s one of my first and favorite purchases. I can’t believe it’s almost gone!

twinkle, twinkle little chromium star

chromium star blanket

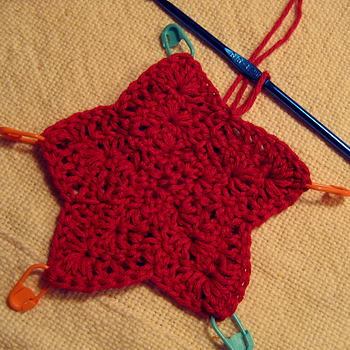
I won’t tell you how long it got me to get to this point in the Chromium Star blanket pattern. I’m not sure why I had a hard time following the instructions because when I look at them now, they seem so straightforward. It helped to put stitch markers at each adjacent dc stitch. Now that I have the hang of the pattern repeats, this is really addicting. I find myself sneaking in a few stitches whenever I get the chance.

stash: I went shopping for this yarn in my stash. It’s Brown Sheep Cotton Fleece and originally was going to be a sweater for my daughter. Too bad I didn’t get it done before she outgrew the pattern. I think it will make a lovely blanket. Pattern from The Kidney Bean.

twin baby locks

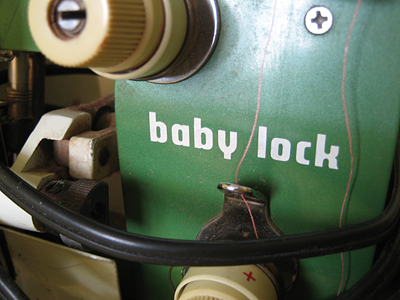
I did a really crazy thing this weekend. I bought two sergers. Yes, I said two. They were $25 each. The models are older, but they’re all metal inside, not plastic. (I had issues with plastic parts in my first sewing machine.) I also decided to buy additional supplies for $50: eight brand new blades and over 50 needles. Not bad for $100? I hope so.

vintage babylock serger

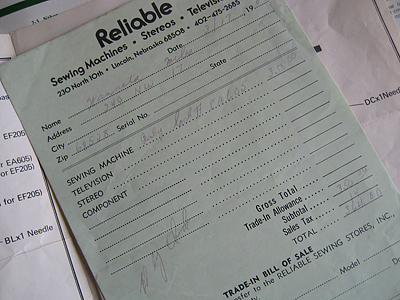
I originally planned to buy just one serger. My husband convinced me to get both because they were so inexpensive. They are the same model, so I’d have an extra if parts were hard to find. Same goes for the supplies. I have the original manual, tool kit and even the original receipt!

vintage baby lock serger

I get the impression that these have been well used and loved. They’ll need a bit of surface cleaning, but I’m hoping I’ll be able to jump right in and start using them once I learn the basics. Anyone up for a few lessons?

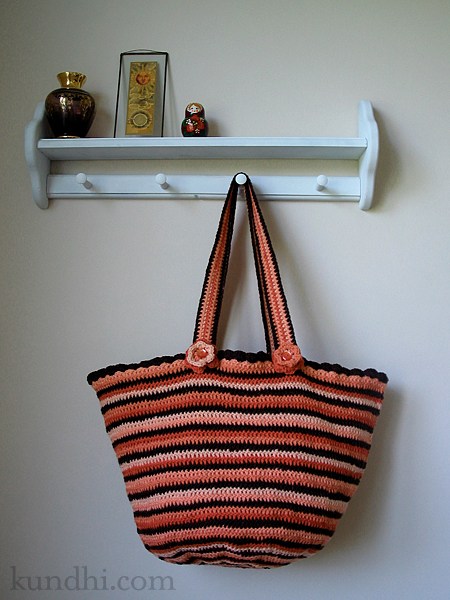
crochet tote finished!

crochet tote bag

I was so excited to finish this last night. I really love it. I plan to use it for my next big project: my Manos del Uruguay blanket. I’ve been squirreling away sale and ebay Manos for the past two years. I finally have enough to make a blanket. Now I just need to figure out which pattern. I want something that can be done in blocks rather than in one piece. Suggestions?

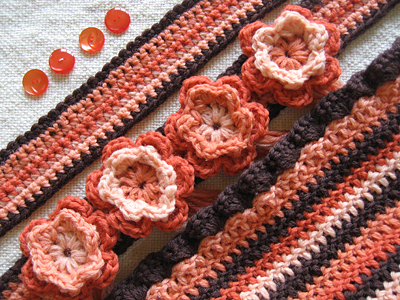
project notes: Garage sale yarn (still have quite a bit leftover). Vintage buttons from my stash. Attic24 crochet bag pattern.