kyuuto! lacy crochet doily

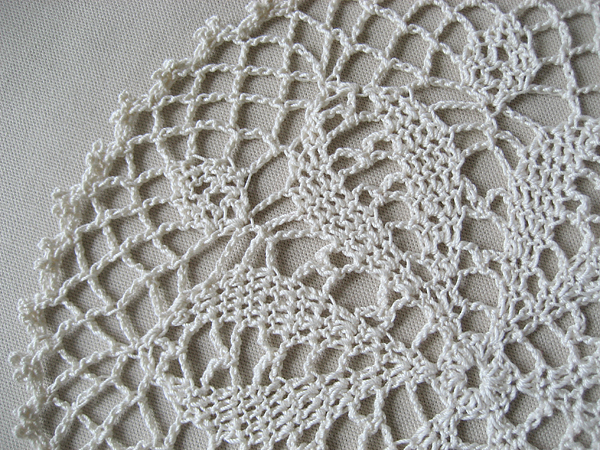
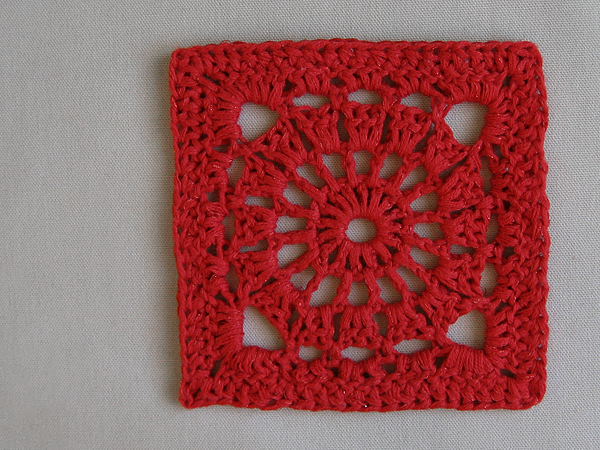
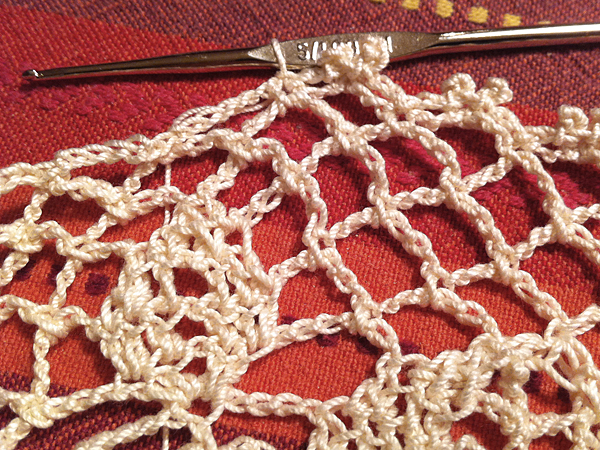
Remember the sneak peek I shared of my doily project awhile back? Here it is completed and blocked.

crochet doily kyuuto lacy crochet

I was really surprised how fast and easy this pattern worked up. It didn’t take long to get the hang of the small hook and working from a chart.

crochet doily kyuuto lacy crochet

I don’t have any doily plans for the future, but I’m not against doing another one. It was even kind of fun (if you don’t count that crazy picot edge.)

project notes: Thrifted thread and clearance hook. (I don’t think I would have purchased a hook that small if it wasn’t on sale!) Pattern from Kyuuto! Lacy Crochet.

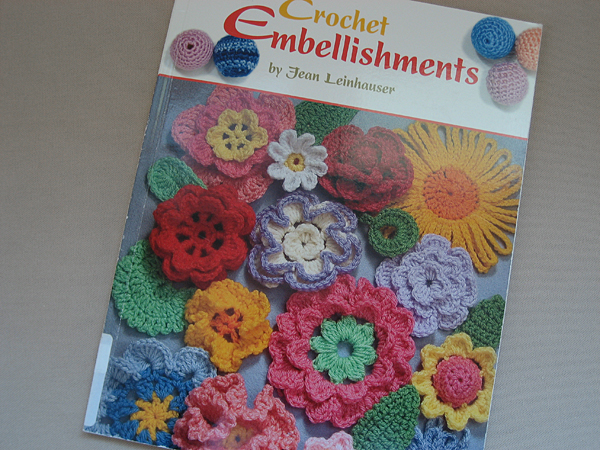
book review: crochet embellishments

crochet embellishments leisure arts jean leinhauser

I’ve seen this book around the blogosphere, but nowhere nearby to take a closer look. I had to get it through interlibrary loan and it’s now on my wish list.

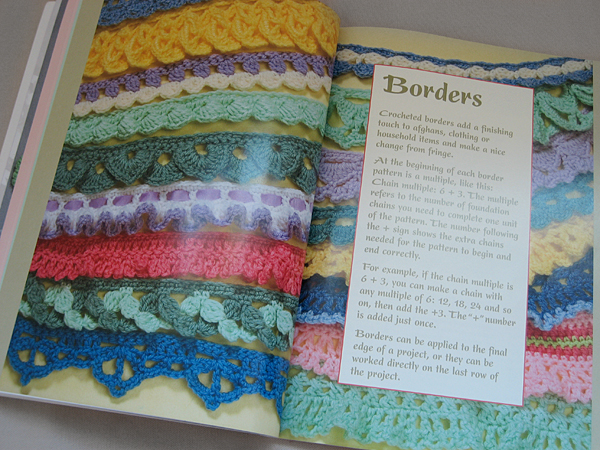
crochet embellishments leisure arts jean leinhauser

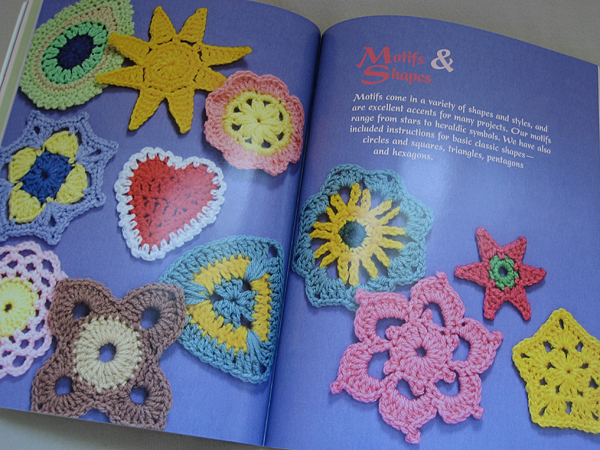
The book design isn’t the most spectacular. In fact, it looks a little dated. The content is pretty amazing, though. You’ll find “borders and decorative bands, dimensional flowers from life-like roses to dainty daisies, elegant tassels, charming beads, all types of fringes, versatile cords and braids, ruffles and curls.”

crochet embellishments leisure arts jean leinhauser

You can definitely find a lot of these patterns in other places, but it’s nice to have them all in one book. If you are beginning your library of crochet references, this is good place to start.

review: Crochet Embellishments by Jean Leinhauser. There are quite a few sample pages in amazon.com if you “click to look inside.”

how to: crochet jar cover in 3 easy steps

quick jar cover

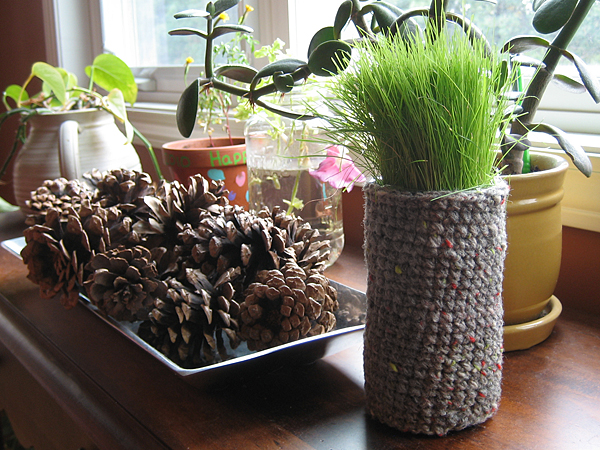
This is what’s left of my outdoor garden. We did not have very good luck this year: no tomatoes and only one cucumber. My petunias were doing great until a big storm almost blew them out of the pot. Sadly, I didn’t notice the roots were above the soil until the whole thing was turning brown.

You know what is growing? My daughter’s little grass pot. She made this in summer camp and it’s the greenest, healthiest plant of the summer. The container is just a recycled plastic jar and I figured after almost two months, it finally deserved a proper cover.

How to Crochet a Jar Cover in 3 Easy Steps

Materials
worsted weight yarn
size G hook

Gauge is not important for this project.
Adjust your hook size for different yarn weight.

Step 1
Chain enough stitches so that the chain fits snugly around the jar. Join to make a circle.

Step 2
Single crochet around and around until you’ve got the height you want.

Step 3
You’re going to want an even top edge, so we’re going to pick a spot to start the top row. (You can use the tail as a guide and follow the line of stitches up if you want to be precise.) Slip stitch, chain one and single crochet around until you reach the chain one. Slip stitch into the chain one and finish off.

When you weave in your ends, use the tails to even up the bottom and top edges. You can see in the picture that my bottom edge isn’t perfect. Oh, well.

stash: This is a great project for using up leftover yarn. Because the rows spiral up, it’s not great for stripes. You’ll get a “jog” when you change colors.

easy crochet projects

easy square crochet projects

My husband is teaching at a long weekend class, so not much has gotten done or will get done on the crafty front until next week. I’ve picked up two easy crochet UFOs and plan to have them completed by Monday. First one is done!

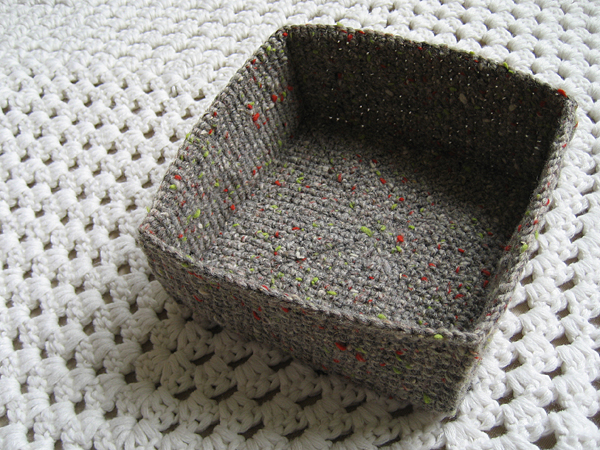
finished: The wool basket is ready for a lining. I’ve got some dark red canvas that I’m planning to use. It will be a paper napkin basket for our kitchen table (she says as she is currently making cloth napkins for her home ec class).

making progress: I’ve picked up the granny square blanket again. I’ll keep going until I run out of sweater yarn. I think it will make a nice, thick lap blanket. This will probably get the most attention over the weekend.

my creative space

my creative space crochet basket

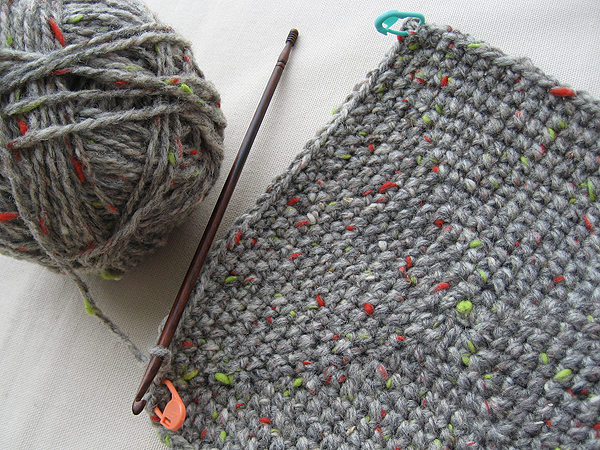
In my creative space today is a crochet wool basket. It used to have sides, but I lost count of my stitches and it got all wonky and I had to rip back to the base. I started it because I wanted to have a mindless project. I guess even squares aren’t completely mindless.

More creative spaces over at Kirsty’s always-beautiful space.

textile sale: I bought three balls of this wool for 25 cents each. I have no idea about the brand or content, but it looks great and that’s all that matters!

my creative space

crochet bath mitt

Remember this sweater yarn? I finished my first square. I know this is supposed to be my vacation project, but the pattern is so addicting. Maybe just one more? It’s not like I don’t have plenty of other things on my to-do list. Ha!

pattern info: This is Wagon Wheel #2 from Granny Crochet Favorites. I modified the last round to be hdc instead of dc stitches. The colors in the book are seriously dated, but the patterns are really quite lovely.

it’s hip to be mitt

crochet bath mitt

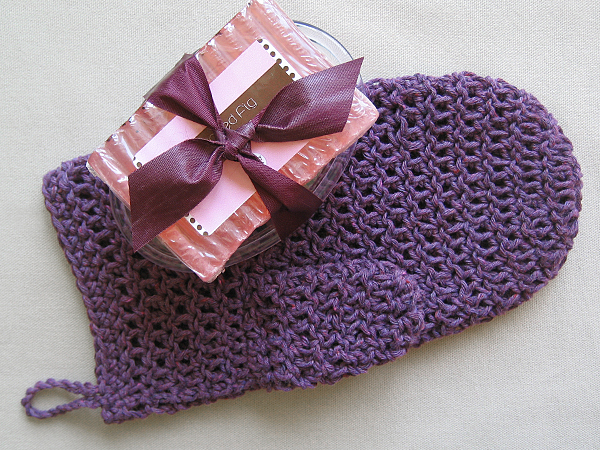
Dishcloths, charity squares, blanket squares — I needed a break from squares. I still had a few washcloth and soap gifts to make and give, but I couldn’t bear to make another square. I started cruising on ravelry and it hit me: Bath Mitt!

This was so much fun to make. I’ll definitely be making more, including one for me! Other changes to my “standard” gift: I’ve added a soap saver along with the fancy soap. Can’t believe I didn’t think of this before.

project info: stash (aunt lydia’s) cotton yarn, thrifted ribbon, etsy soap, lion brand pattern.

my creative space

my creative space crochet doily

In my creative space today I’m blocking a doily. Yes, you read that right. I got out a teeny-weeny hook and used crochet thread. Can you believe it?

It’s a gift, so all I can show today is a sneak peek. Once it’s been delivered, I’ll post more pics and pattern info.

What’s happening in your creative space today? Make sure to visit Kirsty’s blog for more creative space fun.

how to: turtleneck sweater turns cardigan in
5 easy steps

So many knitters are scared of the s-word.* It’s really not that terrible. In fact, I’ve been cutting into sweaters for years to make pillows, scarves and tote bags. You just need to get over the fear that all of the stitches will immediately unravel. Take it from someone who unravels sweaters a lot. It’s not that easy for a sweater to fall apart.
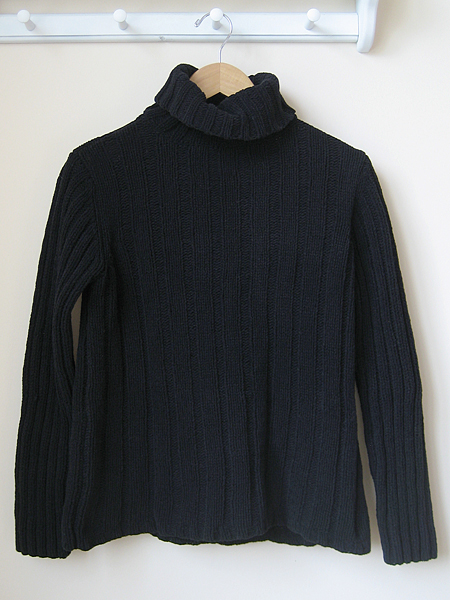
how to: turtleneck sweater turns cardigan in 5 easy steps
original turtleneck

I’ve been cleaning out my closet and have a lot of beautiful pullover sweaters that I don’t wear anymore. I keep them because the wool is so nice. Sometimes I think I will knit them into something else. I don’t know where I think I’m going to find the time. After my Fair Isle class at knitting retreat, I decided to turn my pullovers into cardigans.
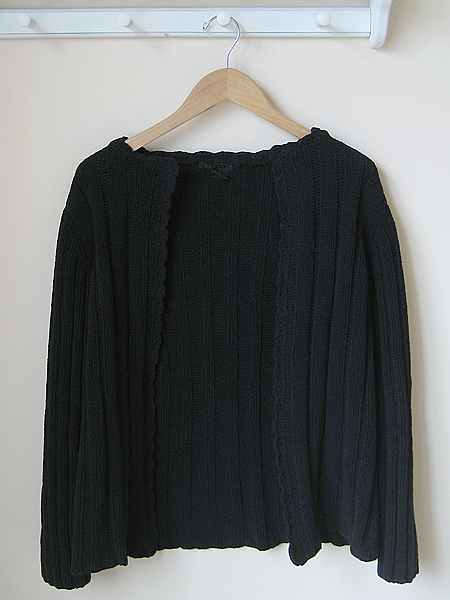
how to: turtleneck sweater turns cardigan in 5 easy steps
new cardigan

I decided to practice on a thrifted sweater first. I picked a cotton/acrylic blend that was in the donation pile. It had a weird texture — kind of like chenille. Man, was that collar hard to unravel. If you want to practice first, I recommend trying a sweater made out of a nice, simple, plain yarn.

This is a short and sweet tutorial. I assume you understand the anatomy of a knit stitch, know how to pick up stitches and crochet a decorative trim.

Materials:
seam ripper
sharp scissors
sewing machine
crochet hook

Step 1
Remove the seam that attaches the collar to the sweater. Unravel collar yarn and save for later.

Step 2
Find the middle column of stitches. Using a sewing machine, sew a line of stitches two columns to the right and two columns to the left.

Step 3
Carefully cut up the middle column of stitches.
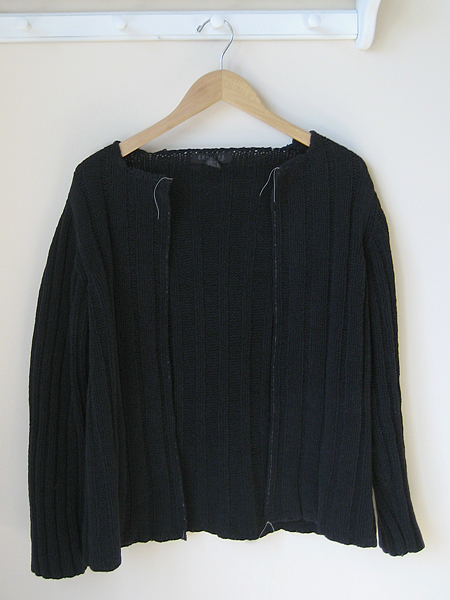
how to: turtleneck sweater turns cardigan in 5 easy steps
collar removed, stitches sewn and cut
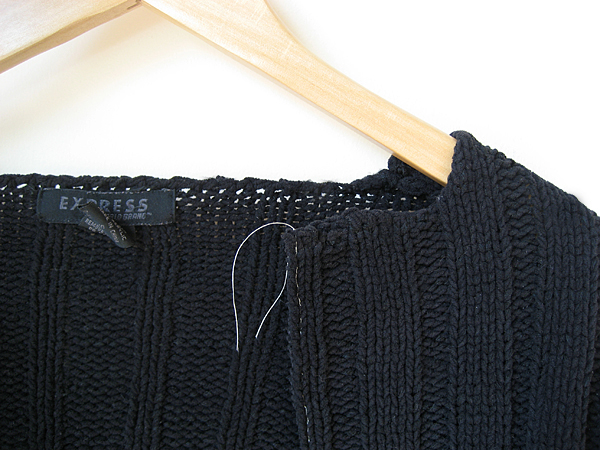
how to: turtleneck sweater turns cardigan in 5 easy steps
close up of sewn stitches

Step 4
Using the unraveled collar yarn, pick up and single crochet a stitch for each row of stitches. I started at the bottom, worked my way up and around the neck and back down the other side. (Some will tell you to pick up three stitches for every four rows. I say do what feels right, looks good and doesn’t pucker.)

Step 5
Depending on how much yarn you have left, crochet a decorative border. I chose a simple shell edging.
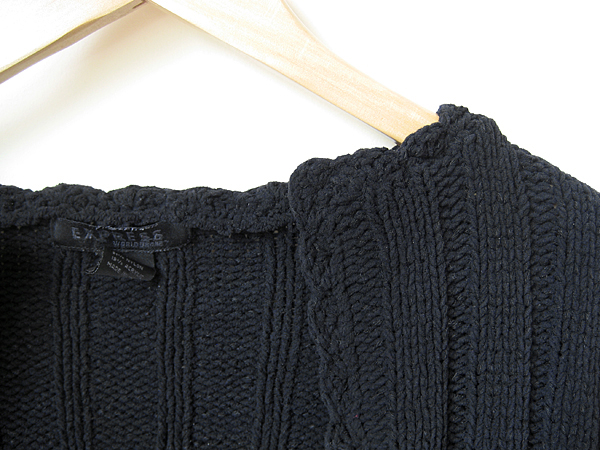
how to: turtleneck sweater turns cardigan in 5 easy steps
close up of crochet edge

Options
If you want to try this with a crew neck and don’t have enough matching yarn, use a different color or texture to jazz things up. You could also add buttons using chain stitch button holes.

This project is easy once you get over the fear of cutting into knitted stitches. I finished this in two afternoons.

refashion: I’m excited to start wearing some of my favorite wool sweaters again. I’ll be posting my progress as I go. A special thanks to Lynn Anne for giving me the courage to cut!

*s-word is steek!
thrifty find: green sweater

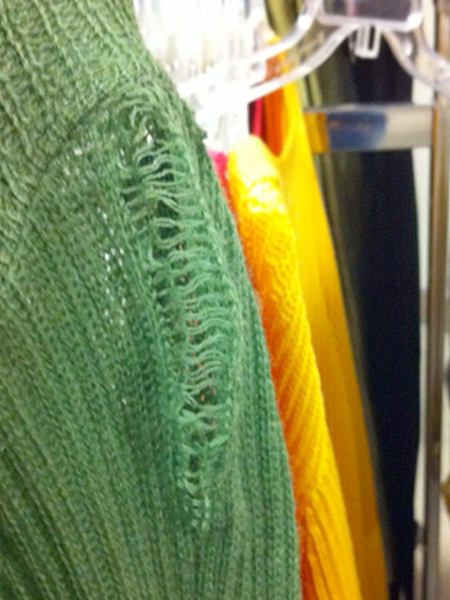
Finally! The thrifty find I missed last week. This isn’t actually my find. I guess when you regularly blog about recycling, reusing and refashioning, you get a reputation. A few weeks ago, my friend Kelly texted me this:

fixing green sweater

Kelly: Knit emergency: think you could repair this? Hanger damage on an Eileen Fisher sweater.
Me: I think so. It looks like a lot of dropped stitches, but the yarn seems intact. Are any of the strands cut?
Kelly: Nothing cut as far as I can tell. It’s a *huge* discount, and I’ll buy no matter what, but having it repaired would be an excellent bonus, you know?
Me: We’ll make it work.

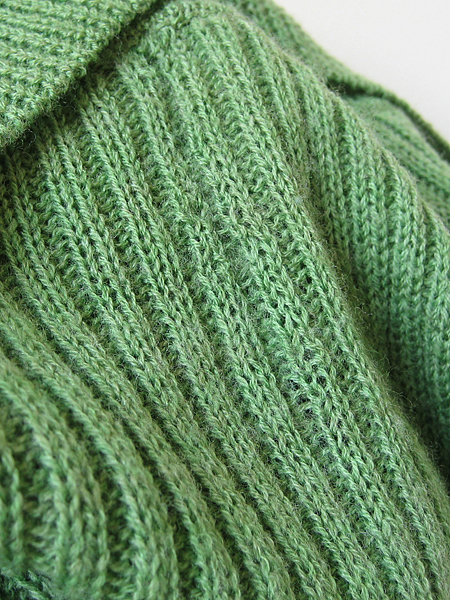
Actually, I thought this would be a simple pick-up-the-stitches job, but too long on the hanger had pulled the neighboring stitches too tight. I got out a tiny crochet hook and gently started pulling on loops. I tightened up the loose stitches and tried to evenly distribute the yarn across the others. It wasn’t the most exciting task. (For the quilters out there, it made my eyes cross like endless stitching in the ditch.) It was worth it though. Except for three or four stitches that just won’t behave, everything else looks good.

fixing green sweater

Of course, my “dedication” to perfection comes into question again. This area is mostly covered by the long, cowl-like collar. No one will ever see my work. Kind of crazy? Well, at least I know it looks good.

There’s another thrifty find to this story. When Kelly gave me the sweater to fix, she also gave me a pair of very nice, dark denim J. Crew jeans that she found thrifting. They fit awesome and I love them. Thanks again, Kelly!