favecrafts blog hop: felted sweater fortune cookies

valentine's day fortune cookies

The FaveCrafts Blog wants to know what you have finished on the 15th. Over here, we’ve officially finished Valentine’s Day. How do I know? My daughter asked if we could replace the heart bunting with spring flowers.

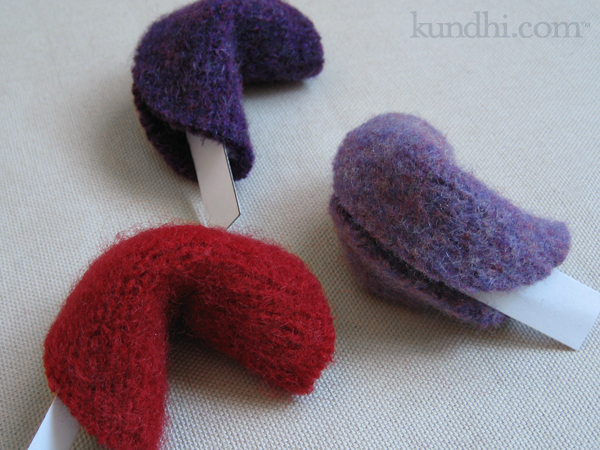
I couldn’t move on to Spring without showing you these cute fortune cookies we made for a few special Valentines. I found the project over at The Sassy Crafter. I wish I had those cool glue dots! Instead I used hot glue, so I prepped the first part the night before. The next day, I had my daughter help me fold them and add the fortunes. (The pdf download includes a fortune template.)

stash: Felted sweater scraps from my stash, of course! If we make these again, I might try some brown wool felt instead.

Check out other finished projects over at the FaveCrafts blog.

valentine’s day rose pins

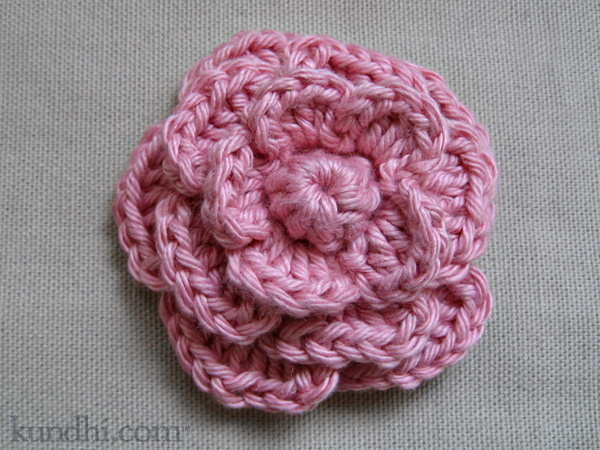
valentine's day crochet rose pin

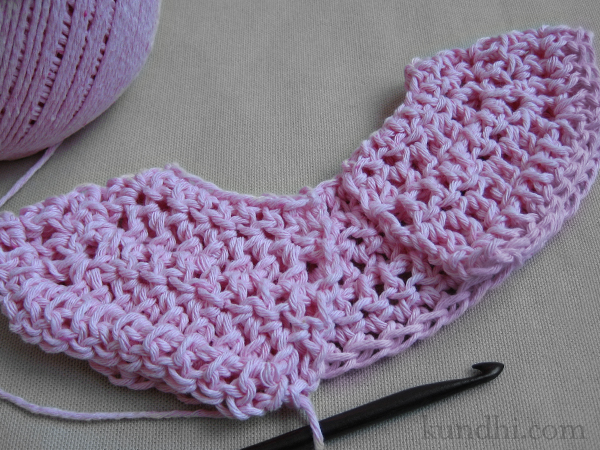
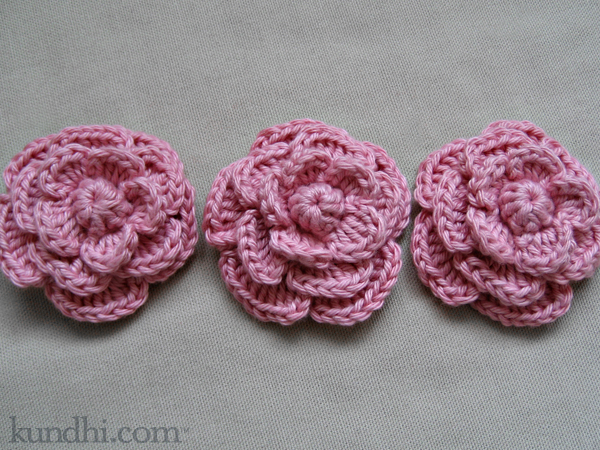
Did you get roses for Valentine’s Day? Some of my daughter’s teachers did.* This is probably the cutest crochet flower I have ever made.

valentine's day crochet rose pin

I made them out of all types of yarn. I think the pattern looks best with cotton.

valentine's day crochet rose pin

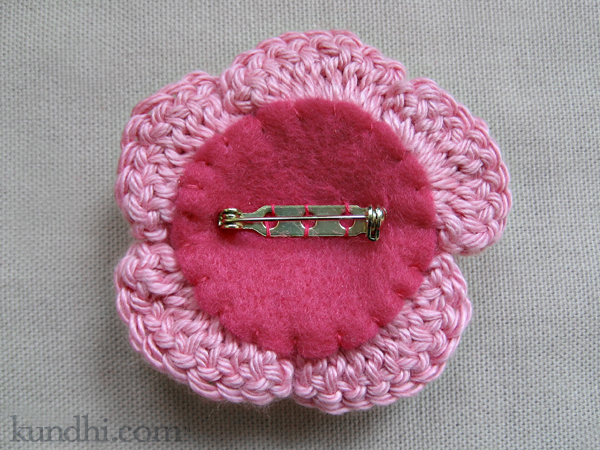
Only problem with these and other tiered flower patterns is that they don’t have a flat back for the pin. I used a piece of felt to even out the back and tacked it securely to the flower before stitching around.

project details: Pattern from Crochet Embellishments. All of my supplies were from my stash.

*A few of her teachers received flower pins last year. This year I made them bookmarks with tiny crochet hearts.

double crochet with a twist

When I mentioned that I started doing my double crochets a different way, a few people wanted to know how I was yarning over. (Is yarning a word?)

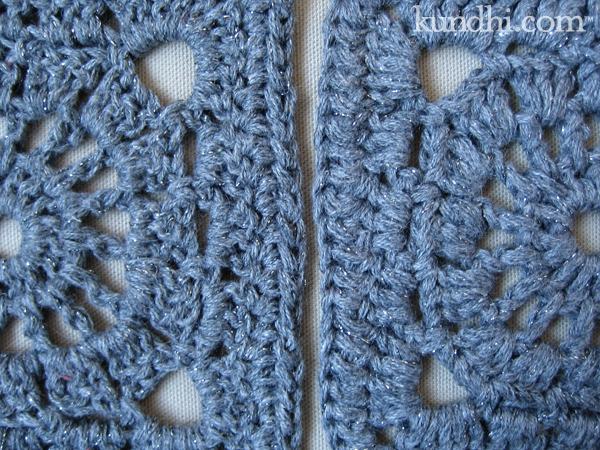
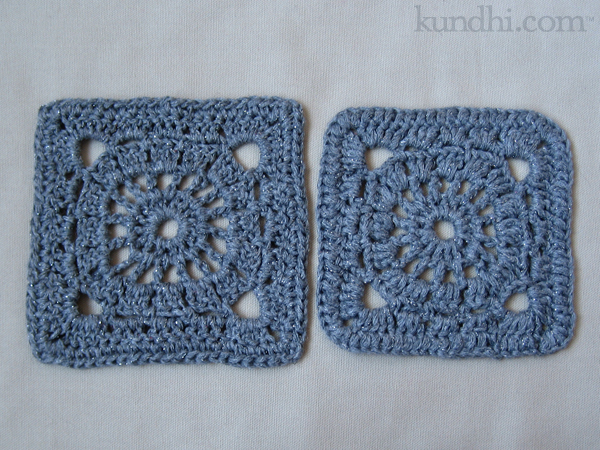
Basically, I was yarning over front-to-back instead of back-to-front. It doesn’t seem that it should make that much of a difference, but going from back-to-front gives the stitch a bit of a twist. The texture is more defined.

wagon wheel square

Once I saw the difference, there was no going back. Only problem was all of those squares I made on vacation. I’ll admit that it took me awhile to get up the courage to rip them out and start over. But after seeing the difference, I knew I had to do it.

wagon wheel square

interesting note: the extra little twist uses up a bit more yarn and makes the squares a bit more bigger.

handmade baptism gift: prayer pillow

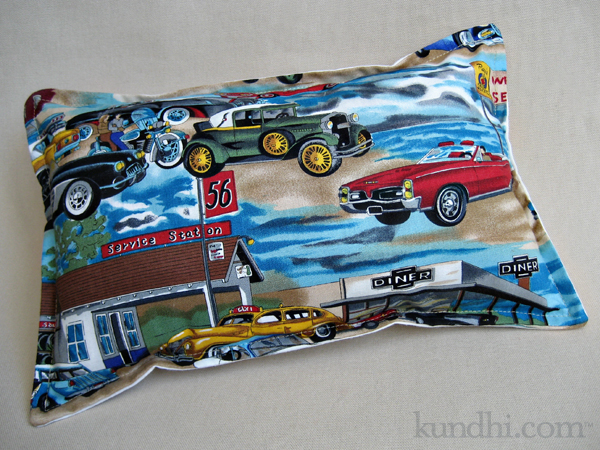
prayer pillow

This weekend I went to my first Mormon Baptism. I did some research to see if there was a traditional gift, but turns out it’s pretty much like a Catholic Baptism (except the children are a little older and get a little more wet).

I kept seeing prayer rocks popping up in my search. I never heard of these before, but liked the idea behind them — the prayer reminder, not the bonking-in-the-head and stubbing-of-the-toe with a rock part. I decided a prayer pillow would be a nicer, gentler gift.

prayer pillow

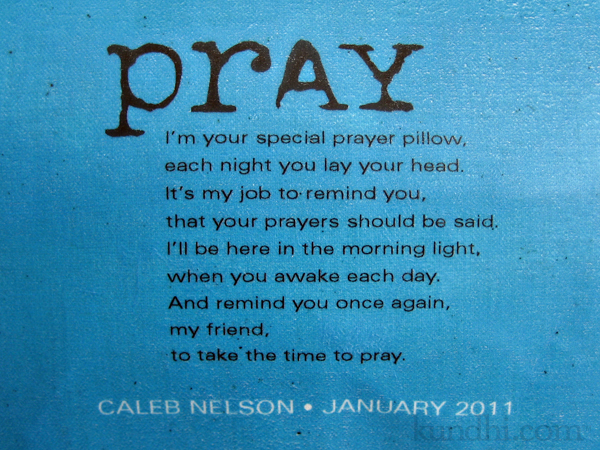
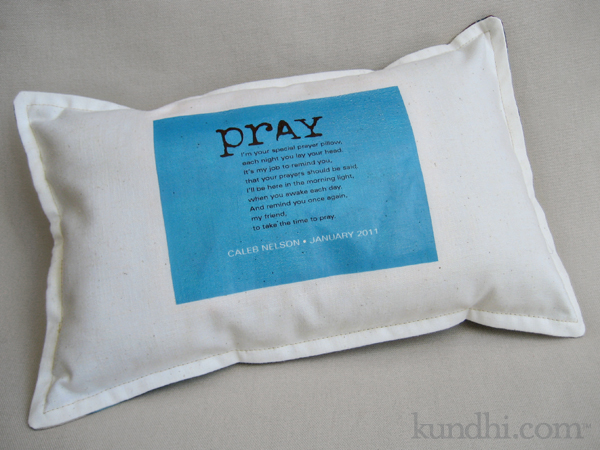
I was excited to use some of my retro automobile fabric for this project. I made a matching drawstring bag, too. I used ink-jet iron-on transfer paper to print the poem and personalize it. It turned out so cute! The only thing I would change next time is to trim the iron-on paper with some fun patterned craft scissors instead of a plain rectangle.

prayer pillow

I think this would make a great gift for anyone celebrating an important faith milestone: Baptism, First Communion, Confirmation.

stash: Everything for this project was in my stash. My daughter helped me stuff it with polyfil. It was nice to involve her in the project. Prayer pillow poem can be found here.

fave crafts blog hop: finished baby sweater

Every Day is a New Sweater Day from Yarny Days

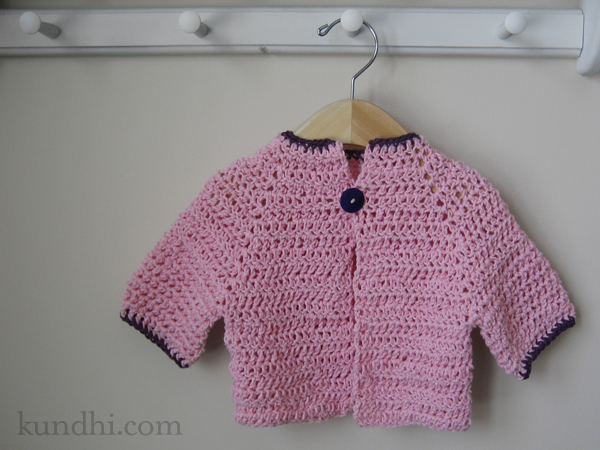
I did it! I finished the little sweater. I was really pleased with the pattern and my yarn choice. My only wish is that I could have blocked it before the shower. Oh, well. I’m sure no one else noticed.

details: Every Day is a New Sweater Day and Aunt Lydia’s denim quick crochet cotton from my thrifted stash.

Check out other finished projects over at the Fave Crafts blog.

my creative space

crochet cardigan for baby

In my creative space today is a crazy idea. I’m thinking of making a baby sweater for a shower on Saturday. Yes, this Saturday. (I told you it was crazy.)

It also looks incredibly small. So small, in fact, that I dug out one of my daughter’s infant sweaters for comparison. You know what? It is the right size, and my daughter really was that tiny. Oh, my!

pattern: Every Day is a New Sweater Day from Yarny Days. If you are new to her blog, take a moment and look around. Her work is beautiful!

how to make mini race flags in 3 easy steps

race flag tutorial

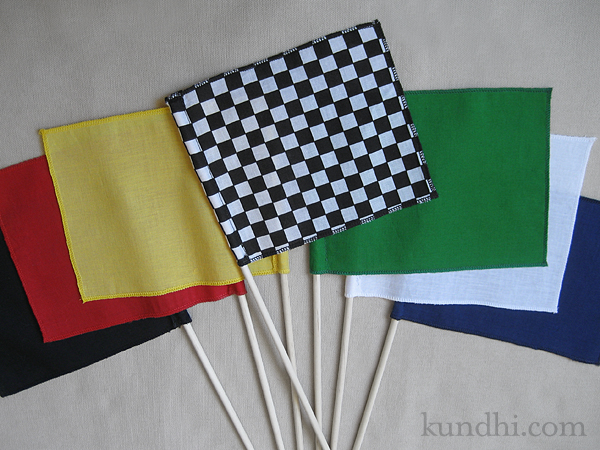
My daughter didn’t ask for many things this Christmas. I wasn’t surprised a race track was one of the few items on her list, but I wasn’t expecting a request for a set of racing flags. I figured they’d be easy to make, but they couldn’t look homemade. They were coming from Santa, after all. These would make great gifts for the little racing fans in your life — girls and boys alike.

You’ll need a serger for this project. I suggest making a few sets at once. The project itself is super easy, but changing the serger thread is a bit time consuming. It’s definitely not a last minute Christmas Eve project, ahem.

Materials
5″ x 7″ rectangles of various colored fabric (flag definitions here)
3/8″ x 12″ wood dowels
matching thread, three spools each
fray check

Notes
Thread: Those big grab bags of half-used spools of thread at the thrift store are perfect for these. You’ll need a lot of spools, but not a lot of thread.

Changing serger thread: I don’t re-thread my serger every time I change thread. Simply snip the original thread close to the spool and tie on a new spool. Then lift your presser foot to release the tensions and pull the threads through. Try not to run the knots through your tension wheels and be careful with the knot at the needle’s eye. You may have to re-thread the needle. Once new threads are through, drop your presser foot and start serging!
race flag tutorial

Step 1
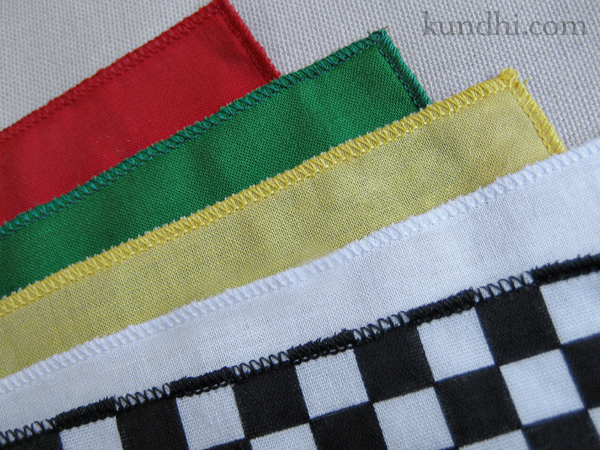
Serge all four sides of each rectangle with a rolled hem.

Step 2
Fold one shorter side over 1/2″ and press. Sew the top and side closed, stitching close to the rolled hem. Leave an opening at the bottom for the dowel.

Step 3
Trim ends. Secure the serged ends with Fray Check. Slide flag onto dowel.

storage: A drawstring bag made with the checkered flag fabric would be so cute for these! A mailing tube from the office supply store also works.

confession: I bought new, same brand fat quarters of fabric for this project. It almost killed me to do so, but my daughter is really enjoying the idea of Santa this year, so I caved. Normally I would have raided my fabric stash of scraps for this project. Next time for sure!
little sweater ornaments

sweater ornament

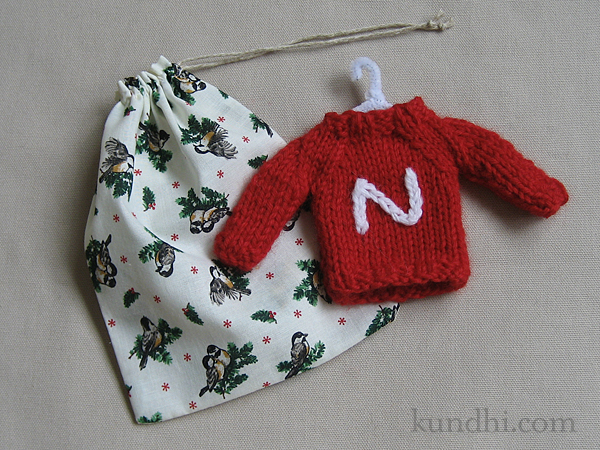
I’ve wanted to make these ornaments for a long time. The pattern is from Last-Minute Knitted Gifts. The inspiration for the Husker “N” came from my friend Christy, who has made a gazillion of these. The pattern suggests making a hanger out of a pipe cleaner and I think it’s absolutely adorable.

I’m having a hard time blogging because a lot of what I’ve been making hasn’t been gifted yet. I don’t think the recipients read my blog, but if you get one of these from me, just act surprised, ok?

stash: Red wool from the 2010 East Campus garage sale. White wool from the 2009 East Campus garage sale. Fabric for gift bag from here. Crazy that I remember all of that!

p.s. Congratulations to giveaway winner Shana Putnam!

my creative space

peppermint bark

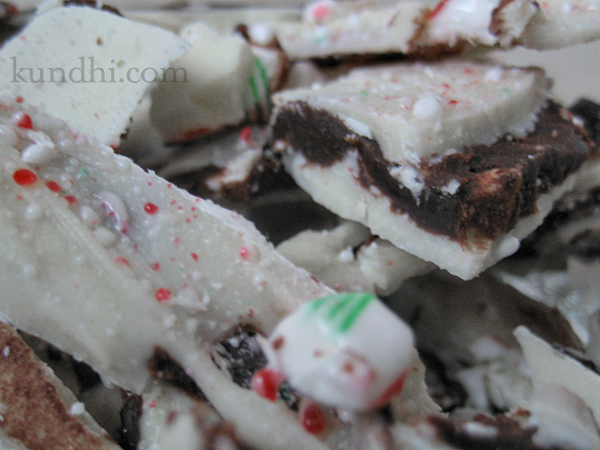
In my creative space today I’m making peppermint bark gifts, inspired by Amanda’s “elving” post on Monday. What you see in the pic above are all the little edge bits.

Oh my, do they taste amazing. Just as yummy as the big chunks of bark. I have a little container of them hidden in the back of the fridge — my little secret treat. They taste especially yummy with a hot cup of coffee or tea.

What kinds of yummy treats are you making this holiday?

finished: rollie pollie bean bag chair

rollie pollie bean bag chair

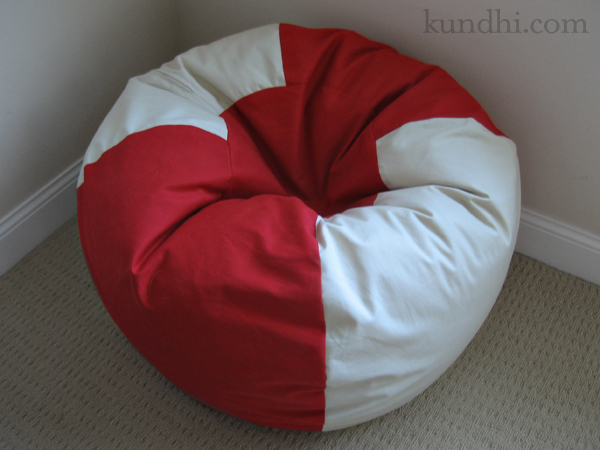
The Rollie Pollie bean bag chair that I started sewing at the craft retreat is finished! Here are all of the nitty gritty details:

I used the tutorial from Dana posted on the So You Think You’re Crafty site. Dana has a pattern available for sale on her website. You don’t need the pattern, but I saw a copy at the retreat and it’s very comprehensive.

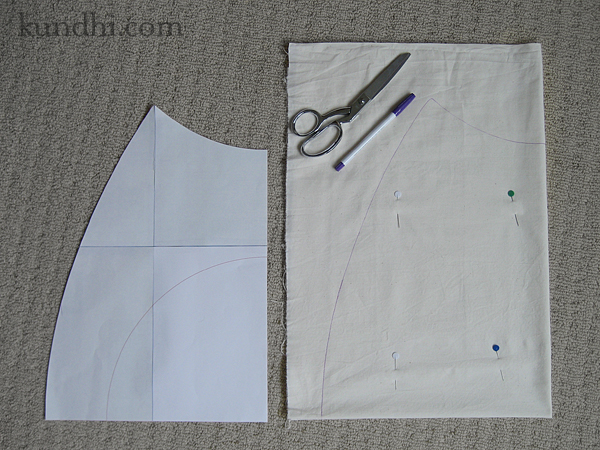
I only enlarged and printed a quarter of the pattern to save paper and ink. I folded my lining fabric in quarters, traced and cut. Then I used the lining pieces as my pattern for the cover fabric.

rollie pollie bean bag chair

Dana recommends sewing the seam and then going back and adding a serged seam for durability. I couldn’t think of a reason to finish the raw edges, so I just sewed a double seam: one at 1/2 inch and one at 1/4 inch from the edge.

I was planning on adding the handle, but as I was sewing up the cover, my daughter lifted the bag up over her head and carried it to her bedroom, so I skipped it.

The fabric and zipper were thrifted. The outside is upholstery fabric and the lining is cotton muslin.

The stuffing is new. I had been looking for a thrifted bean bag on craigslist and they were all pretty grungy. Then I read that even Goodwill doesn’t accept beanbags, so I decided repurposed stuffing wasn’t going to happen. I wound up buying two bags of bean bag pellets from here. Shipping is almost as expensive as the pellets, but I bought a few other things on my gift list and got free shipping. (The have a nice selection of Melissa and Doug items.)

When I started this project, I didn’t realize it would be so expensive. I also had no idea that bean bags were so pricey! I’m glad I made the large size so my daughter can get lots of use out of it. It currently resides in her “reading corner” next to her basket of library books. It was a fun project and has brought my daughter a lot of joy. I definitely give it two thumbs up!