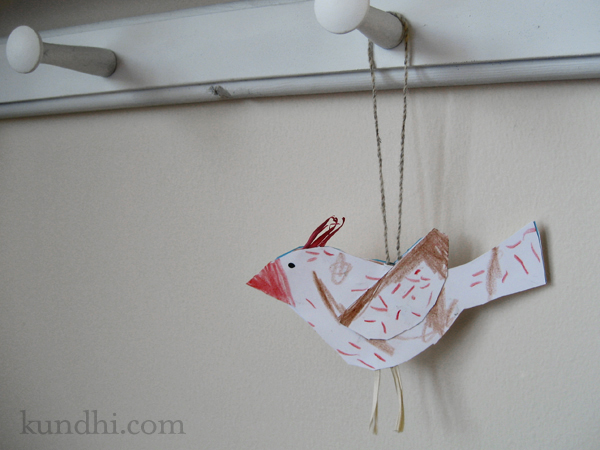
paper cardinal ornament

cardinal ornament

Winter break + snow day = a very long time away from nature school. The kids will be studying the Northern Cardinal when they finally return and had homework over the holidays: choose either the male or female to study and make an ornament for the class tree. My daughter chose the female, which we learned is not the brilliantly red colored bird usually depicted as the cardinal.

I let her do this mostly by herself. I printed the template on cardstock and she cut out the pieces, colored them and glued them together. I helped her pry them apart so we could add the top feathers, legs and string and then we re-glued them together.

This was another exercise in letting go for me. I resisted trimming the blue template lines that are peeking out of the edges and adding more brown feathers. When I suggested a little more brown, she said the cardinal is “a little bit snowy.”

pattern template: I downloaded Purl Soho’s Simple Sewn Bird Ornament pattern for this project. Since we used paper and didn’t need a seam allowance, I just used the interface template. I printed the original and a mirror image for the other side. Paper, string, raffia all from the stash.
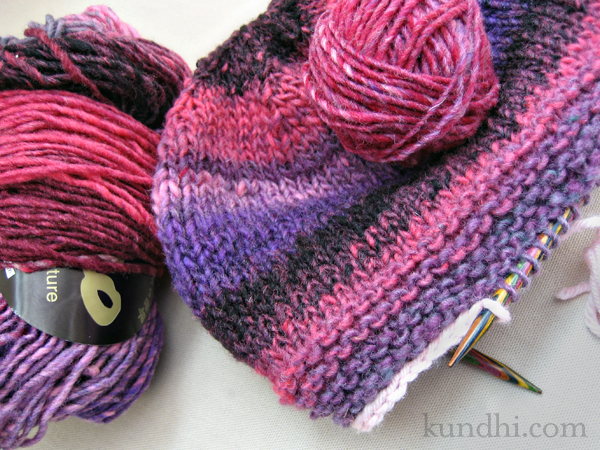
handknit kittyville hat

hand knit hat

My daughter is wearing last year’s wool hat and mittens. I can’t believe they still fit — not much else from last winter does. With the cold weather officially upon us, I decided to knit a new set for her before she outgrows the ones she’s wearing now.

I started this over the weekend and I’m already picking up stitches for the ear flaps. This is my first time knitting with Noro and I have to say that I really love it. The colors are so brilliant!

pattern notes: This is the Kittyville Hat from Debbie Stoller’s Stitch ‘N Bitch: The Knitter’s Handbook. There is a child’s size version on Kitty Schmidt’s website. I’m replacing the devil horns on that link with kitty ears. Finished pics to come soon!

jingle all the way…

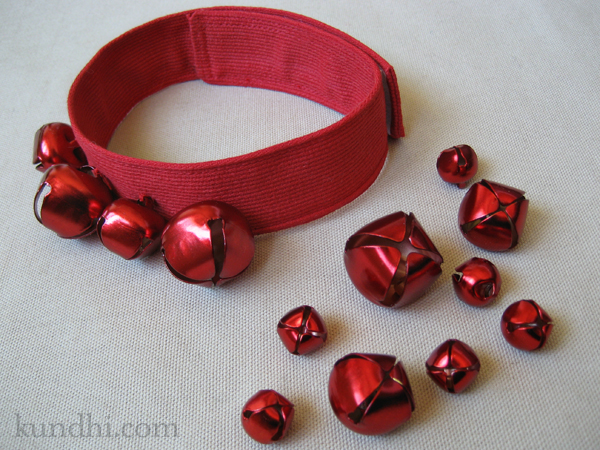
My daughter found a loop of jingle bells at the coffee shop and insisted I buy them for her. They were kind of expensive for a handful of bells and very loud, as well. Thankfully, I convinced her that we could make our own jingle bells together. She was super excited when we found red bells at the craft store. “Red is my favorite color!” I stitched a little loop of fabric with some velcro and tada!

handmade jingle bells

I’ve been purposely slow on finishing this project. Four bells are plenty jingly and loud. I may add on a few more before packing them away for next year. Funny that they don’t sound as loud now as they did when we had rockin’ roll Christmas music playing in the house 24/7.

stash: red upholstery fabric left over from the rollie pollie. velcro from stash.

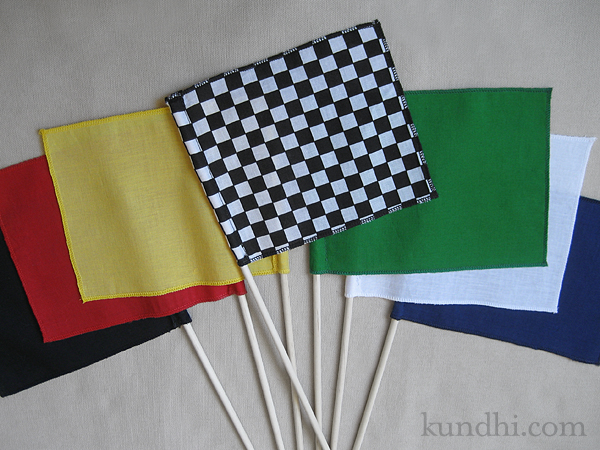
how to make mini race flags in 3 easy steps

race flag tutorial

My daughter didn’t ask for many things this Christmas. I wasn’t surprised a race track was one of the few items on her list, but I wasn’t expecting a request for a set of racing flags. I figured they’d be easy to make, but they couldn’t look homemade. They were coming from Santa, after all. These would make great gifts for the little racing fans in your life — girls and boys alike.

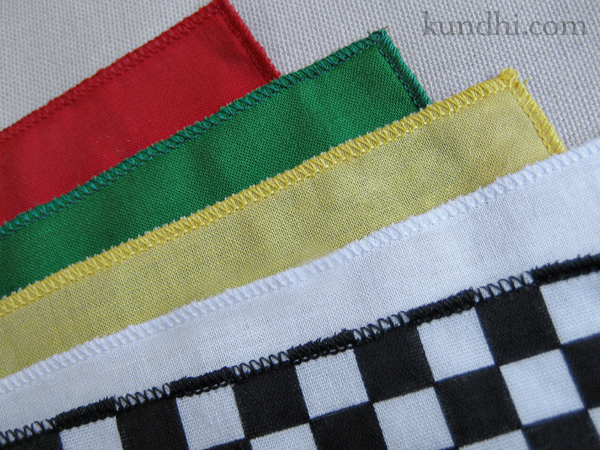
You’ll need a serger for this project. I suggest making a few sets at once. The project itself is super easy, but changing the serger thread is a bit time consuming. It’s definitely not a last minute Christmas Eve project, ahem.

Materials
5″ x 7″ rectangles of various colored fabric (flag definitions here)
3/8″ x 12″ wood dowels
matching thread, three spools each
fray check

Notes
Thread: Those big grab bags of half-used spools of thread at the thrift store are perfect for these. You’ll need a lot of spools, but not a lot of thread.

Changing serger thread: I don’t re-thread my serger every time I change thread. Simply snip the original thread close to the spool and tie on a new spool. Then lift your presser foot to release the tensions and pull the threads through. Try not to run the knots through your tension wheels and be careful with the knot at the needle’s eye. You may have to re-thread the needle. Once new threads are through, drop your presser foot and start serging!

race flag tutorial

Step 1
Serge all four sides of each rectangle with a rolled hem.

Step 2
Fold one shorter side over 1/2″ and press. Sew the top and side closed, stitching close to the rolled hem. Leave an opening at the bottom for the dowel.

Step 3
Trim ends. Secure the serged ends with Fray Check. Slide flag onto dowel.

storage: A drawstring bag made with the checkered flag fabric would be so cute for these! A mailing tube from the office supply store also works.

confession: I bought new, same brand fat quarters of fabric for this project. It almost killed me to do so, but my daughter is really enjoying the idea of Santa this year, so I caved. Normally I would have raided my fabric stash of scraps for this project. Next time for sure!

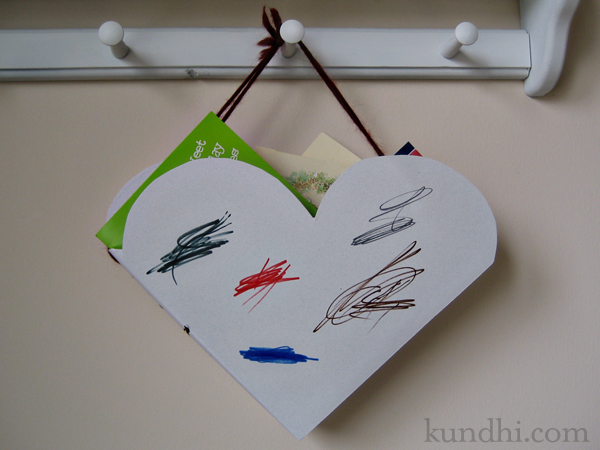
heart-shaped christmas card box

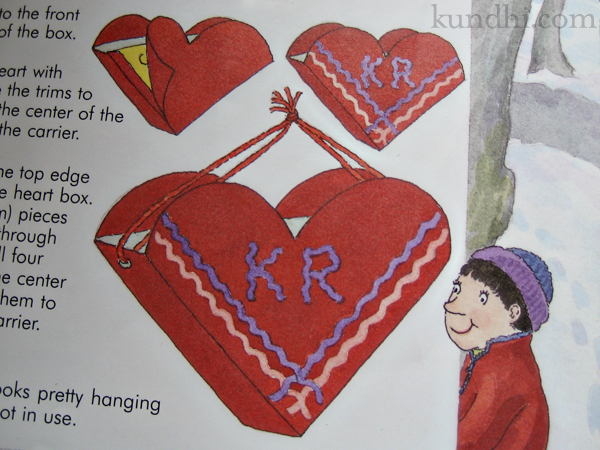
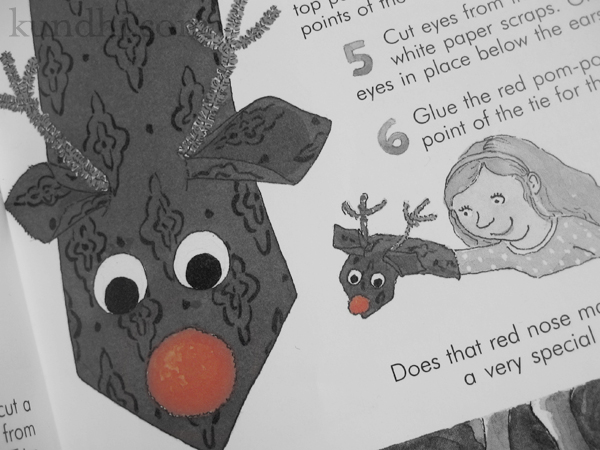
My daughter is still obsessed with this craft book. She reads it every day, carefully studying the projects and pictures.

Crafts to Make in the Winter by Kathy Ross

This week she insisted we make the Valentine Card box. Our entire stash of construction paper has been cut into colorful snowflakes, so we made a white heart (which is “the color of snow!”). She added a few squiggles and now we have a Christmas Card box.

Crafts to Make in the Winter by Kathy Ross

The cutest part: she takes this little box around the house and “delivers” all of the cards to her stuffed animals. Then she goes around and picks them up like our mail carrier.

recycle: Cereal box from our recycle bin, paper and yarn from my stash.

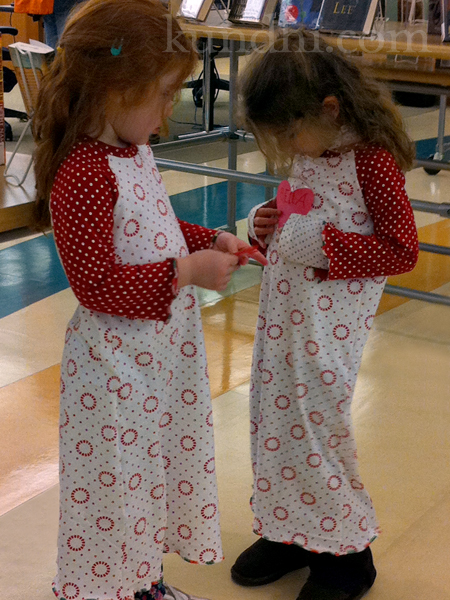
pajama twins

bella leith matching pajamas

photo by: refibered

Last night, my friend Kelly and I took our daughters to pajama party storytime at the library. Kelly made these amazing nightshirts for the girls to wear. They had a great time and loved being pajama twins. Don’t they look adorable?

As we were leaving, I thanked Kelly for the pajamas. She thanked me for allowing her to use up some of her yardage. When we got in the car, my daughter asked if I had any yardage I needed to use up. If so, could I make her some more nightshirts? What a cutie.

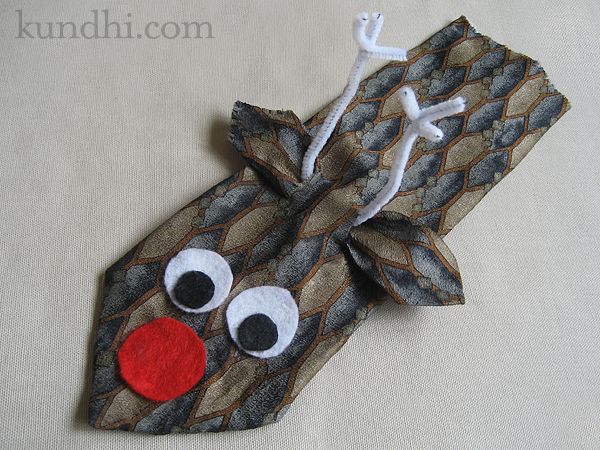
fave crafts blog hop: reindeer puppet

reindeer puppet

Last week I got this great book out of the library called Crafts to Make in the Winter. The first one we tried was the Reindeer Puppet. The instructions were clear and it was really simple to make. We’ll definitely be making more projects out of this book and checking out the other seasons, too.

reindeer puppet

I didn’t anticipate how much love this little guy would get, though, and silk ties are kind of slippery. He kept losing his eyes and once is ears slipped out! I wound up tacking down everything with a few stitches so he would hold up. Now he can join in all the reindeer games at our house and not feel self-conscious.

reindeer puppet

thrifted: I bought two ties at the thrift store last week so my daughter could make one with her friend. All of the other supplies were from my stash.

Have you been working on any seasonal crafts? Share in the comments!

Don’t forget to check out other finished projects over at the Fave Crafts blog.

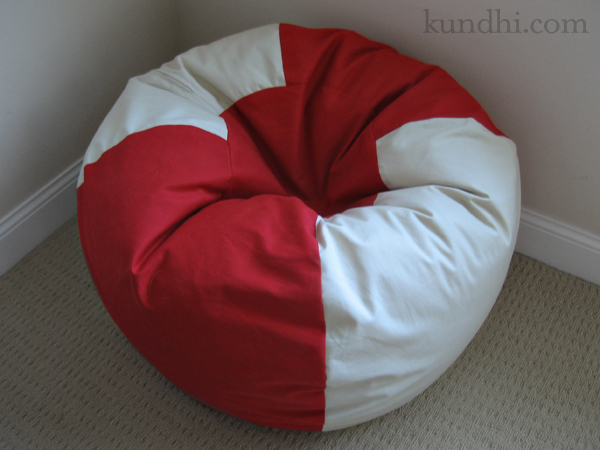
finished: rollie pollie bean bag chair

rollie pollie bean bag chair

The Rollie Pollie bean bag chair that I started sewing at the craft retreat is finished! Here are all of the nitty gritty details:

I used the tutorial from Dana posted on the So You Think You’re Crafty site. Dana has a pattern available for sale on her website. You don’t need the pattern, but I saw a copy at the retreat and it’s very comprehensive.

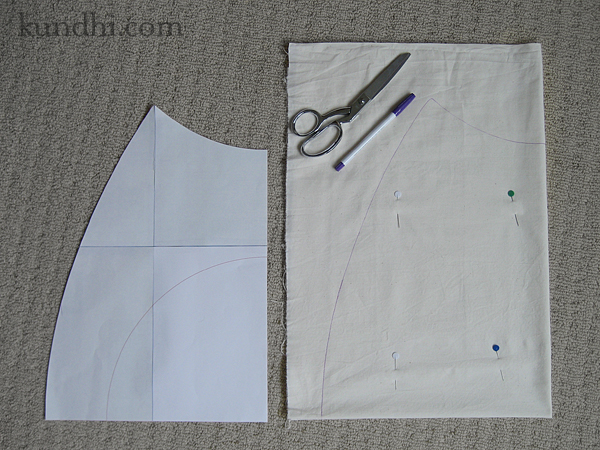
I only enlarged and printed a quarter of the pattern to save paper and ink. I folded my lining fabric in quarters, traced and cut. Then I used the lining pieces as my pattern for the cover fabric.

rollie pollie bean bag chair

Dana recommends sewing the seam and then going back and adding a serged seam for durability. I couldn’t think of a reason to finish the raw edges, so I just sewed a double seam: one at 1/2 inch and one at 1/4 inch from the edge.

I was planning on adding the handle, but as I was sewing up the cover, my daughter lifted the bag up over her head and carried it to her bedroom, so I skipped it.

The fabric and zipper were thrifted. The outside is upholstery fabric and the lining is cotton muslin.

The stuffing is new. I had been looking for a thrifted bean bag on craigslist and they were all pretty grungy. Then I read that even Goodwill doesn’t accept beanbags, so I decided repurposed stuffing wasn’t going to happen. I wound up buying two bags of bean bag pellets from here. Shipping is almost as expensive as the pellets, but I bought a few other things on my gift list and got free shipping. (The have a nice selection of Melissa and Doug items.)

When I started this project, I didn’t realize it would be so expensive. I also had no idea that bean bags were so pricey! I’m glad I made the large size so my daughter can get lots of use out of it. It currently resides in her “reading corner” next to her basket of library books. It was a fun project and has brought my daughter a lot of joy. I definitely give it two thumbs up!

julie-k: the early years

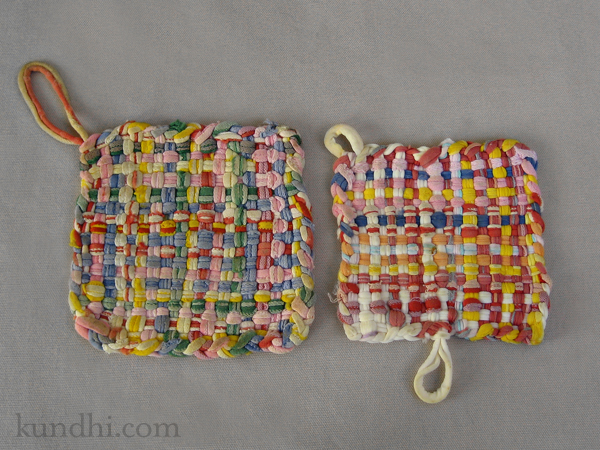
weaving potholders

Yesterday, I mentioned that I was back in Baltimore for Thanksgiving. While I was there, my mom gave me a couple potholders that I had made when I was a kid. Not only was I excited to see them, but look at how well-used they are! That’s the best gift you could give any crafter!

Did you make potholders when you were little? I can’t wait to get my daughter started with a little loom of her own.

my daughter’s creative space

paint yourself silly christmas tree ornament

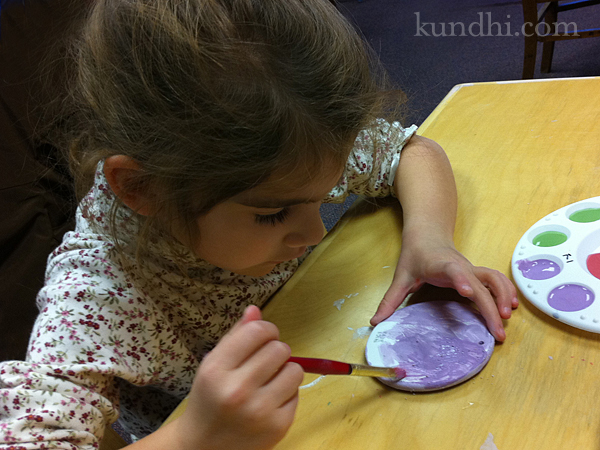
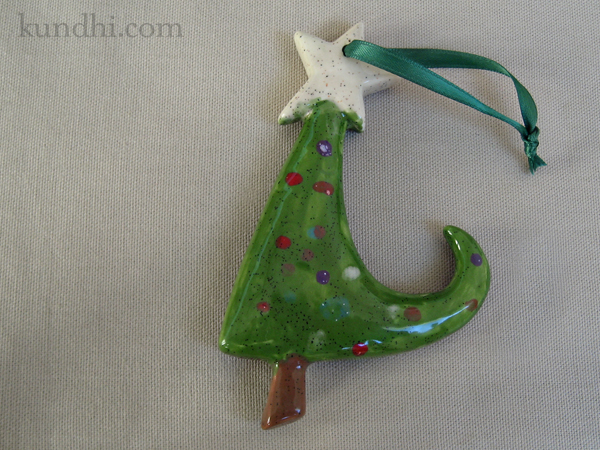
I think my daughter is officially in love with painting pottery. In the past few weeks, we’ve been to Paint Yourself Silly twice. Her first time she had fun, but didn’t really know what to expect. The second time she painted like a pro and once she saw her first project finished and sparkly, she was hooked.

paint yourself silly christmas tree ornament

Both times we went, I didn’t paint. I’m the official pottery holder so she can paint the edges and other side. I point out places she missed and remind her what needs a second coat. I’m also in charge of adding her name and date on the back.

I try to provide art direction, but this girl has a mind of her own. She knows exactly what paint she wants where. It’s difficult for me to not pick up a brush and “fix” something. (I might have sneaked in a few touch ups here and there when she wasn’t looking!)

I guess it’s good practice for me. I have a feeling there will be lots painting in our future. Next time I’ll just have to get my own piece of pottery.

This is the last official creative space of 2010 over at Kirsty’s blog. I’ll be posting them through the end of the year, though. Want to join me?