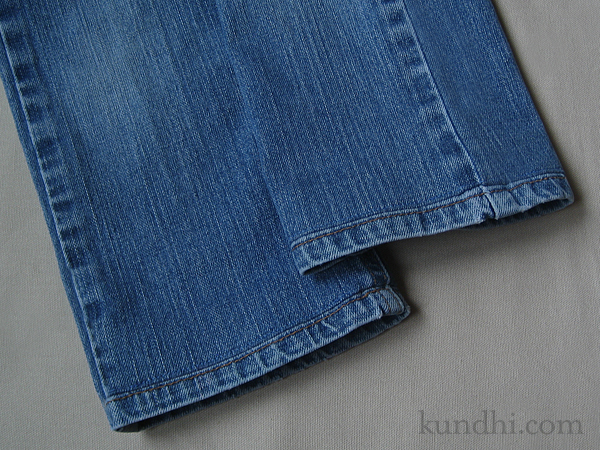
home ec class: hemming jeans

home ec class how to hem a pair of jeans

I haven’t abandoned my home ec class. I keep looking at the projects hoping to steal a bit of time here and there to finish some more up. This one was a necessity. When my daughter tore a hole in her best-fitting pair, I had to face the pile of size six jeans that are too long. It’s a big pile.

I knew I was going to have to hem most of them, but since she’s growing so fast, I decided to only do a few at a time.

I picked an easy pair to start with: straight leg. I only broke one denim needle — my machine’s motor is definitely not a match for that side seam. I stopped and started on either side and hand stitched that part of the hem.

I’m pretty impressed with how they turned out. The real challenge will be tackling flare and boot cut styles.

refashion: I like how the original hem is retained with this technique. They don’t have that “my mom hemmed these” look to them. I have a feeling that I’ll be using this skill a lot in the coming years.
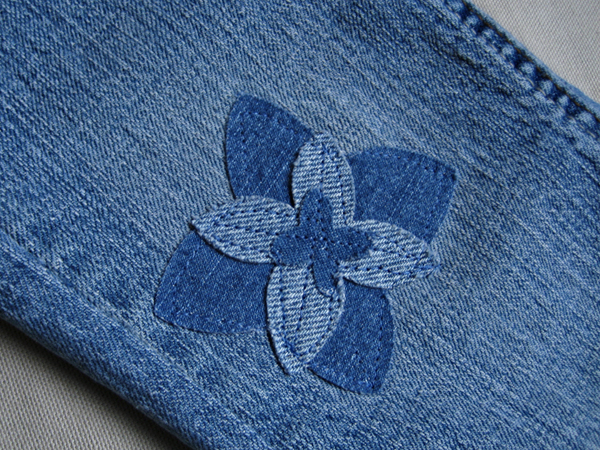
bee’s knees denim knee patch

denim flower patch applique

A few weeks ago, my daughter fell and skinned her knee. Her knee healed fine, but her pants not so much. We love these jeans. They fit her really well, which is rare. She asked me to fix them, so I put them in the pile for the craft retreat. I was planning a boring patch, but the collection of creative minds turned it into something special and cute.

me: I’m just going to do a patch with some denim and heat-n-bond.
crafty friend #1: Why not cut some cute shapes with the BIGkick?
me: Hmm… that would be cool.
crafty friend #2: Are you going to stitch around the edges?
me: I don’t think so. How would I get it under the presser foot?
crafty friend #3: Open up the side seam and it will fit easily over your sewing arm. Then re-stitch and re-serge the seam.
me: Y’all are brilliant!

refashion: Mended clothes don’t have to look boring. This patch turned out most excellent! I’ll definitely be saving my denim scraps for future repairs.

my daughter’s nature collection

elk pioneers park

As I write this it is cold, rainy and a little snowy. It’s hard to believe that a few days ago we were visiting the bison and elk in 70 degree weather. We have had a beautiful Fall this year. The weather has been warm and the ragweed season was short thanks to an early frost. The leaves have been brilliant and the sun has been shining strong in bright blue skies.

nature collection

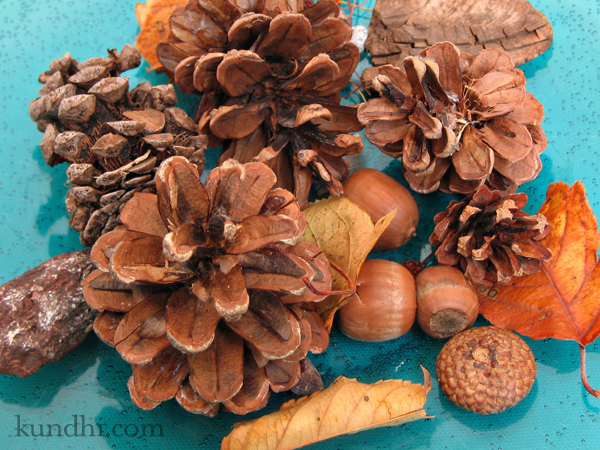
We have made the most of our weather with picnics after school and “nature walks” at the park. There are a lot of souvenirs from the season: pine cones from Densmore Park, acorns from Tierra Park, dried berries from Stransky Park, rocks from Pioneers Park. My daughter insists that the rocks are fossils, just like in Don’s nature collection.

playground tierra park

I’ll be honest. There have been afternoons where I would have preferred to be sewing or planning my next project. I might have missed a blog post here and there. Now that winter is in our neck of the woods, I am so grateful for our time outdoors. Pretty soon we’ll be dealing with negative wind chills, blizzard warnings and playing with Indoor Snow.

I’ll be saving the nature collection to remind us of the warmer days. Maybe I’ll even print out a few pictures, too. After I spend a little time with my sewing machine, though. I found lots of fun things at the thrift store today that need refashioning!

reuse: oatmeal containers for storing artwork

oatmeal container storage

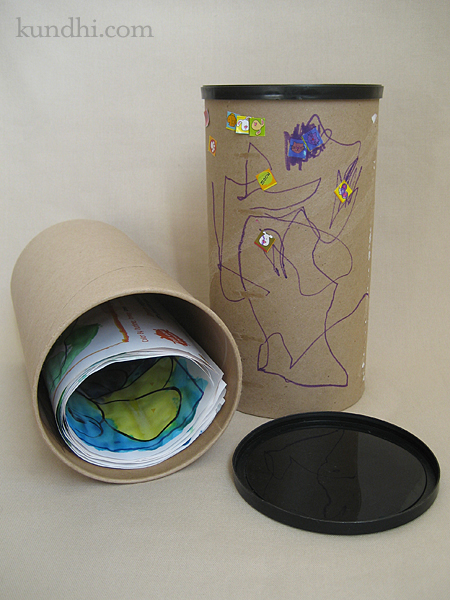
I’ve been saving our empty oatmeal containers on the top shelf of the pantry for awhile. My plan is to use them for storing my daughter’s artwork. Right now, most of what we want to keep is stored flat in my office closet, which is pretty packed. I’d like to sort and move them to the top shelf of her closet, which is pretty empty.

oatmeal container storage

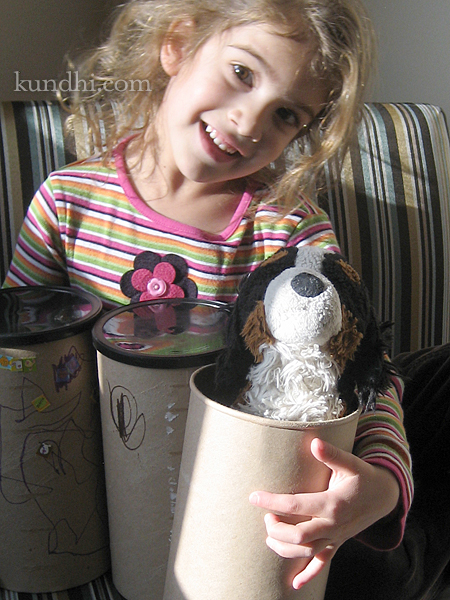
Of course, she has other ideas. After taking the photo for the blog, she informed me that, “No artwork should be stored in Puppy Dog’s rocket!” As you can see, she’s also in charge of decorating the containers.

reuse: How do you reuse oatmeal containers? I think they would be great for packaging holiday cookies.

wacky wednesday preschool snack

Today was my daughter’s snack day at school. On Monday at the grocery store she announced she wanted to take grapes and milk. I thought that was pretty easy. Then we got home and she informed me that her snack day is on Wacky Wednesday.

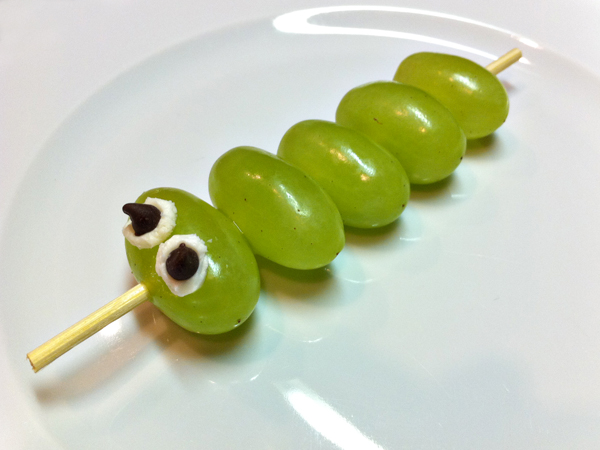
I don’t remember doing this in school, do you? You wear wacky clothes: socks that don’t match, shirts backwards, off season things. The whole day is weird with wacky crafts and games. I figured we needed to bring a wacky snack, but what to do with grapes? I finally came up with this little caterpillar kabob.

caterpillar grape kabob

I used bamboo skewers that we had on hand and cut them in half with heavy duty scissors. I also cut off the sharp points. Eyes were made out of little balls of (very cold) cream cheese frosting and mini chocolate chips. The teachers thought they were pretty cool. I hope the kids like them, too.

last-minute abby cadabby fairy wings

abby cadabby fairy wings

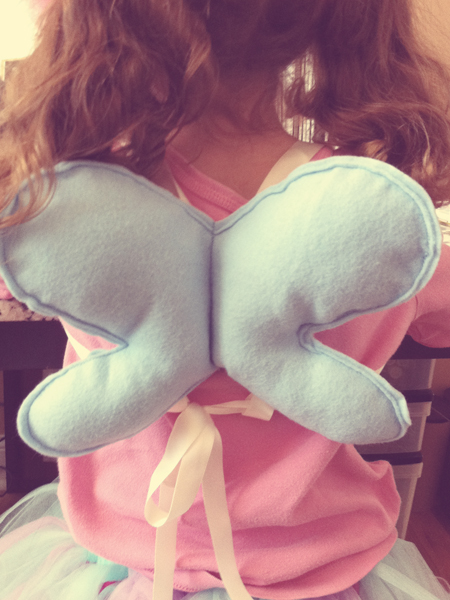
My daughter insisted she was going to wear her Abby Cadabby costume again for Halloween. I was a little worried she might change her mind at the last minute. Yesterday I asked her what she was going to wear underneath the skirt. She told me the pink leggings and silver fairy shoes she wore last year. I reminded her that she no longer fits in those and suggested jeans and her school shoes.

Well, that was not going to work. Abby Cadabby does not wear jeans or regular shoes, she told me. Oh, and she needed fairy wings this year. Last year she didn’t need them because she had a wand, but this year she had to have both.

I tried to go the easy route. Thankfully, Target had silver fairy shoes and pink leggings in her size. The costume area was totally picked over and there were no wings to be found. I came home and dug through my stash for some felt, stuffing and ribbon. Luckily, I wound up with something that could pass as fairy wings. She loves them. I like that they aren’t attached to anything so she can wear them over a sweater or coat if it gets cold.

What on earth would I do without a sewing machine and fabric stash?

my creative space

trick or treat bags

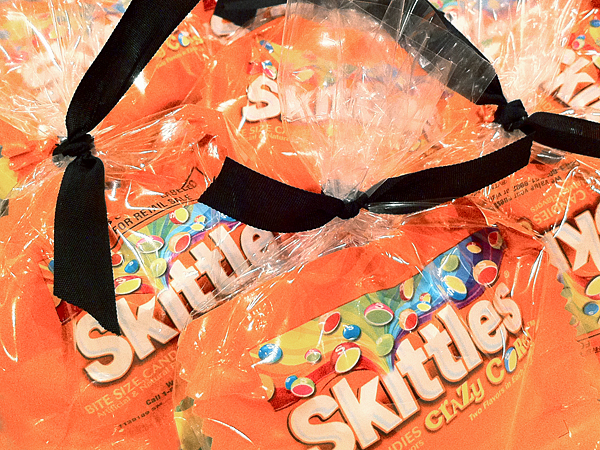
The kids exchanged treats at my daughter’s preschool party today. Thankfully, the Skittles came in an orange package. Paired with a black ribbon, these little bags turned out cute and easy. Good thing about the easy because I had to make emergency fairy wings last night, too.

reuse and repurpose: I bought glassine bags instead of Halloween bags so I can use the leftovers for other projects. The ribbon is vintage seam binding, which you can usually find in bags of assorted widths and colors at thrift stores and garage sales.

halloween overload

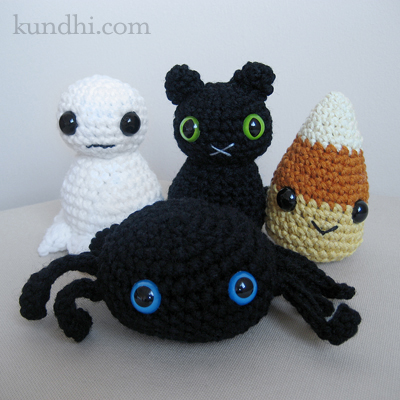
crochet ghost black cat candy corn spider amigurumi

I spent the last few days crocheting up a spooky storm. I think I am finished with Halloween-themed crafts and ready to just sit and eat some candy. Phew!

I stayed up late last night putting the finish touches on these cuties, packaged them up for the mail, and then headed out to the pumpkin patch. It was a beautiful day to be outside with good friends, creepy amusements and funnel cake for lunch.

pumpkin patch

On the schedule for tomorrow: my daughter’s Halloween party at school in the morning and trick-or-treating at the zoo in the evening. When did Halloween become so darn busy?

pattern info: The ghost and cat are loosely based on the Skeleton Bride and Devil patterns from Creepy Cute Crochet. The candy corn began as a free pattern from Lion Brand with added rows and a rounded bottom to match the others. The spider is over here.

tiny crochet spider pattern

crochet spider amigurumi

Thank you for the wonder feedback on my little pumpkin pattern. I’ve received the nicest comments and have been flattered by how many people have linked back to it.

When I sat down a few weeks ago to make some little crochet balls, I didn’t intend to whip up a bunch of Halloween-inspired projects, but you go where the inspiration takes you.

This spooky little spider is fast and easy to make. You still have plenty of time to crochet one (or a few) before October 31st. Have fun!

Spider Legs (make eight)
These are just like the pumpkin stem, only longer.
R1: chain 12
R2: sc in second bump from hook, sc in next ten bumps*

Spider Body
Crochet Rows 1-11 of Tiny Crochet Ball with black yarn.

Before stuffing, attach or embroider eyes. Then attach legs, four on each side. Bury ends inside body.

Stuff and finish off with Row 12.

*Go into the bumps on the back of the chain, not the stitches on the front of the chain.

more glue stick collages

cutting and sorting photos for collages

Wow. This time last year I was doing the same exact thing: cutting out pictures for my daughter to paste on paper. It must be the official start of the holiday direct mail season.

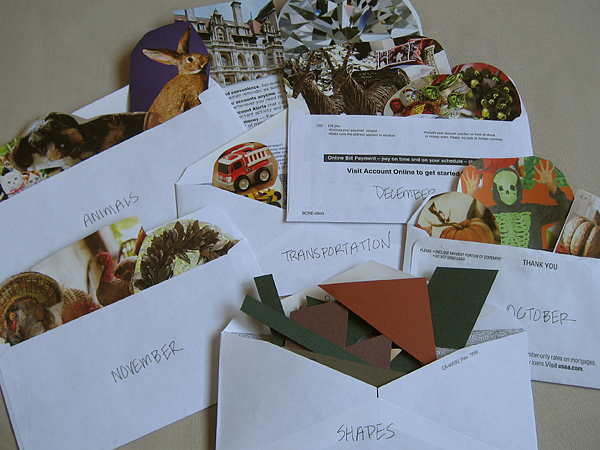
Last year we put all of the shapes together in a single envelope, which created a lot of mess. She’d dump all of them out just to find one or two that she wanted. This year we are sorting them by category to make it a little easier.

Now that she’s using scissors, this is even more fun for her. Of course, we’ve created a whole different mess of scraps on the floor, but who cares. It keeps her busy and she enjoys it. I just need to remind her that we only cut paper and not hair!

envelopes: My daughter loves writing little notes and was cruising through my stash of envelopes. I started saving the ones that come with all of our junk mail. She’s got a nice supply now and that’s what we used to sort her cutouts.

catalogs: Did you know you can cut down the amount of paper that gets delivered to your mailbox? I’ve had good luck with Catalog Choice. Only problem is when you order something new, you get put on the mailing list again. At least we’re putting the catalogs to good use!