easy kids bike shorts pattern

wardrobe refashion

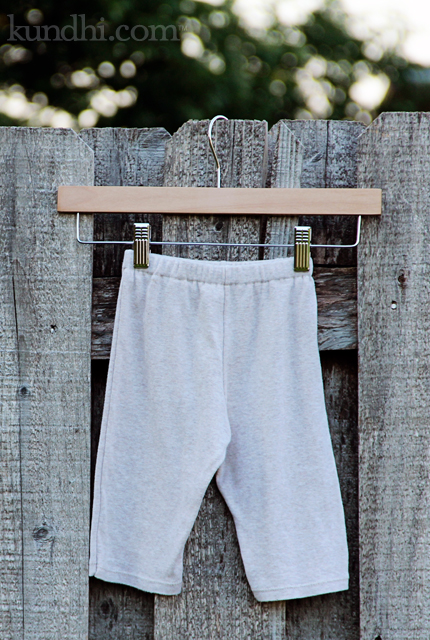
The bike shorts pattern is finished and ready for download! It’s been over two years since my original Easy Kids Shorts pattern and I do a few things differently now.

  • These days I sew the inseams first, then the rise.
  • I almost always use a 1/4 inch seam allowance instead of 1/2 or 5/8 inch, usually because I’m trying to squeeze as much as I can out of a piece of fabric or t-shirt.
  • 3/4 inch elastic seems to be more comfortable around the waist than the smaller widths.
  • Now that I have a serger, I finish my raw edges and just fold the waist over once. You can finish your edges with a zig zag/overlock edge or adjust the pattern to accommodate the double fold waist.

I recommend you pay attention to the type of knit fabric you use. The original piece I traced for this pattern was a tightly-knit jersey. The t-shirt I used was a loosely-knit jersey and the shorts turned out a little big. Not big enough to re-sew, but definitely roomier.

Finally, my daughter is long and lean: 20 inch waist and 14 inches from waist to knee. Adjust seam allowances and elastic size to get a better fit for your child. Want them shorter? Trim off the bottom of the pattern an inch or two.

Please leave any questions in the comments. Download the pattern here. Enjoy!
it’s u-pick your fruit season!

picking fruit

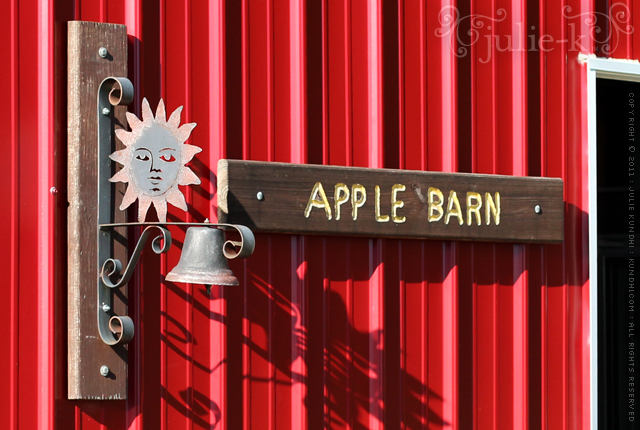
Over the weekend we went to a local orchard to pick raspberries and apples. It was a beautiful day: warm and sunny, but not hot — breezy, but not windy. Autumn is definitely in the air.

picking fruit

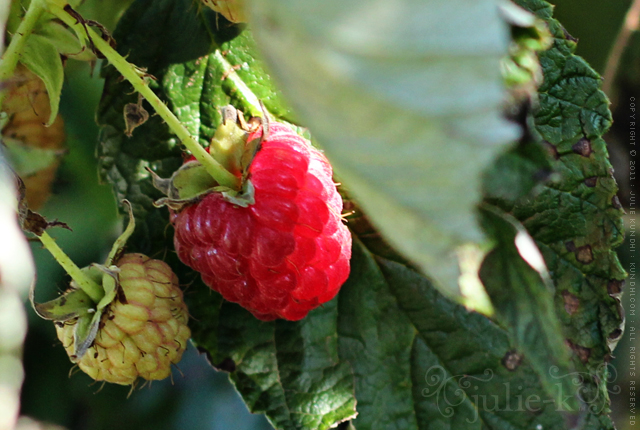
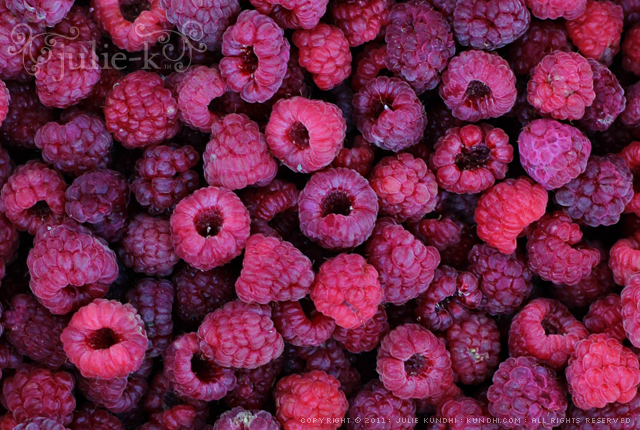
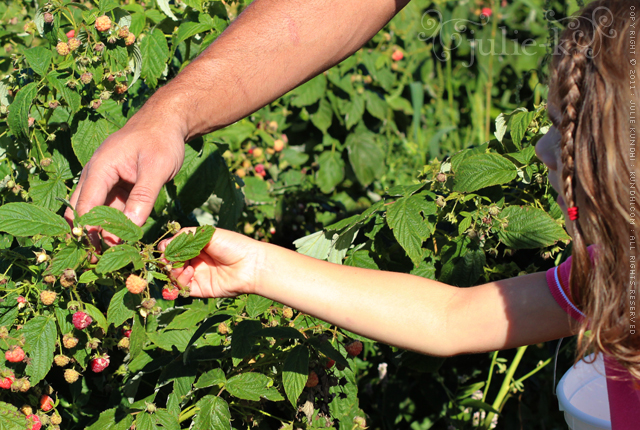
First up were the raspberries. They aren’t supposed to reach their peak ripeness until later this week, so we had to hunt for good ones. I think we did pretty good.

picking fruit

My daughter enjoyed picking them until she began to notice Bees! and long grass Scratching Her Legs! In her defense, she doesn’t really like the seedy texture of raspberries, so this was a lot of work for something she wouldn’t eat.

picking fruit

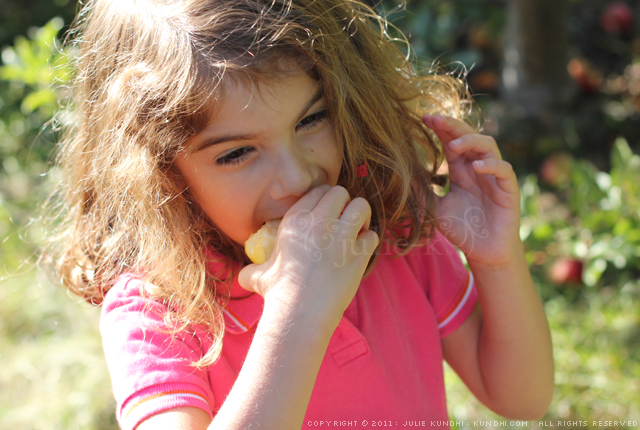
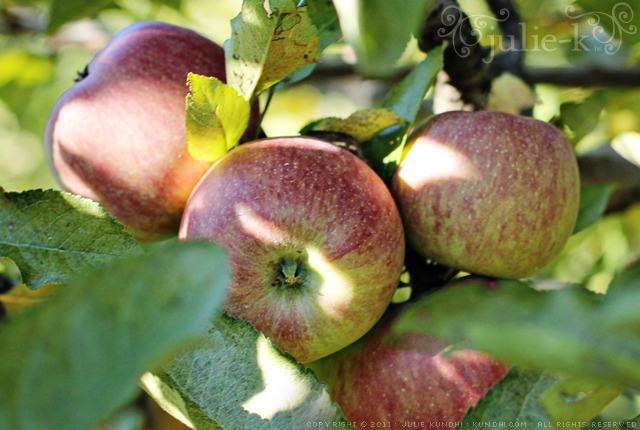
After the berries, we headed over to the apples. Galas are our favorite and they just happened to be the ones ready for picking. Our daughter was much happier once she got her hands on a juicy, sweet treat.

picking fruit

It was hard to resist some of the other trees that were full of unripe fruit. We couldn’t believe they weren’t ready and threw a few into our bag anyway. Woah, were they tart! Lesson learned.

picking fruit

I plan to make some freezer jam with the raspberries. The apples will disappear fast around here, but I hope to at least get one pie made and maybe an apple crisp, too. On our way out we talked about a return trip later in the season, maybe when the pumpkins are ready.

for the locals:
We went to Martin’s Hillside Orchard. I follow their updates on facebook. A list of local orchards can be found here.

our birthday cake tradition continues

semi-homemade birthday cupcakes

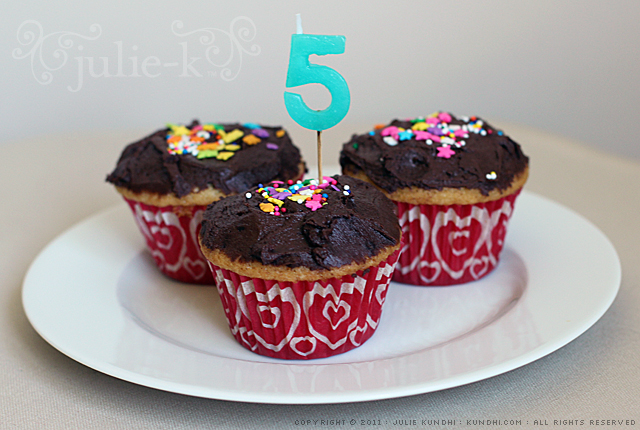
When my daughter turned three, I started a little mother-daughter birthday cake tradition: she gets to choose the cake mix, icing and decorations, then we make the cake together. This year she wanted cupcakes and chose Trader Joe’s cake mix and frosting, along with rainbow sprinkles.

A lot of people seemed surprised that I used a cake mix. They just assumed I make everything from scratch. Not so! Although, I hear it’s pretty simple. Maybe next year we’ll give it a try.

I’m delighted that my daughter is still interested in mother-daughter cakes, even after seeing some of the amazing store bought cakes her friends have. I hope our tradition lasts for many years.

Do you bake with your kids?

semi-homemade: last year’s dinosaur cake

after: hello kitty lunch bag + some helpful tips

lunch bag refashion

So, I survived this crazy project. Actually, the only thing that was really difficult was the bias trim, especially around the corners. But I’m not very good at bias trim to begin with, so there’s that.

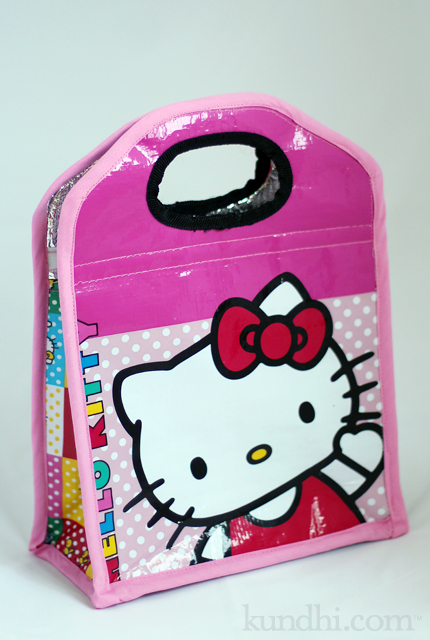
I was surprised how easy this insulated-plastic-foil material is to sew. I picked out the original trim stitches and all of the pieces fell apart. I cut everything down to size and serged around all of the edges, then I serged the pieces back together. I know that sounds like overkill, but the material was made up of three layers and I didn’t want manipulate six layers of slippery stuff when I did the trim.

Some very important things to keep in mind for a project like this:

  • Remind yourself how much you love your child. I found this especially helpful sewing around those corners with the trim.
  • Have a friend close by via text for encouragement. Send her pictures of your bent sewing machine needle just for fun.
  • Keep chanting the mantra: It doesn’t have to be perfect, it just needs to make my child happy.
  • Embrace your organic style as breaking the rules and your wonky stitches as a design element.
  • Remind yourself that some kid in China probably put this together the first time. If she could do it, so can you.
  • Let go of the little things, like matching the black and pink trim in the handle. It’s just another design element.

That’s about all I’ve got to say about this lunch bag. My daughter loves the pink and she stuffed it in her backpack this morning with no problem.

stash: Finally digging into my thrifted stash of bias trim. It’s about time!

wardrobe refashion: t-shirt to bike shorts

wardrobe refashion

My daughter loves wearing dresses. She also loves to climb tall jungle gyms and roll around in the grass with her feet in the air. She understands the concept of modesty, but she’s too busy running, jumping and playing to be worried about such things right now. I get it. I want her to have fun and not be self conscious. So the new rule: bike shorts under dresses.

A few years ago, I posted a pattern for easy kids shorts. I followed the same basic steps to come up with the bike short pattern. I had also planned to share the template with you, but it’s gone missing. Whoops!

I have a few more to make, so I guess I’ll be redrawing the pattern. I’ll let you know when it’s posted. In the meantime, I’ll be outside teaching my daughter how to do cartwheels.

stash: One of my t-shirts rescued from the donation bag. Thrifted elastic.

A seriously fast, easy and inexpensive project. Plus, they go under a dress, so they don’t have to be perfect!

my creative space

this moment

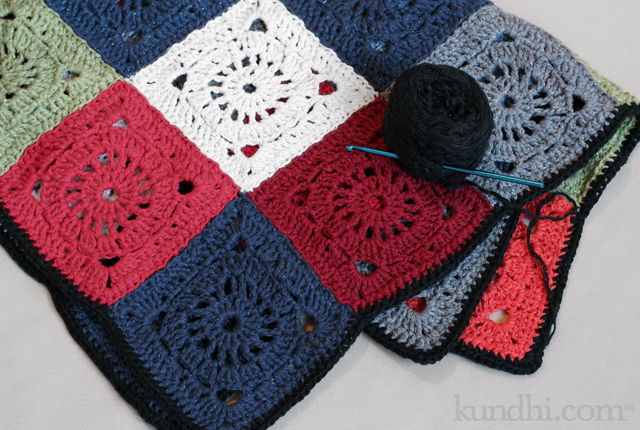
In my creative space today I’m working on the border for the wagon wheel baby blanket. It’s been almost a year since I started this project. Yikes! I really lost momentum when it came to seaming the squares.

Now they’re all together and the first round of the border is finished. I’m just hdc-ing around until I run out of black yarn, which was reclaimed from a different sweater. I hope to have a finished pic very soon!

What’s in your creative space? Join in the fun here!

bento lunch

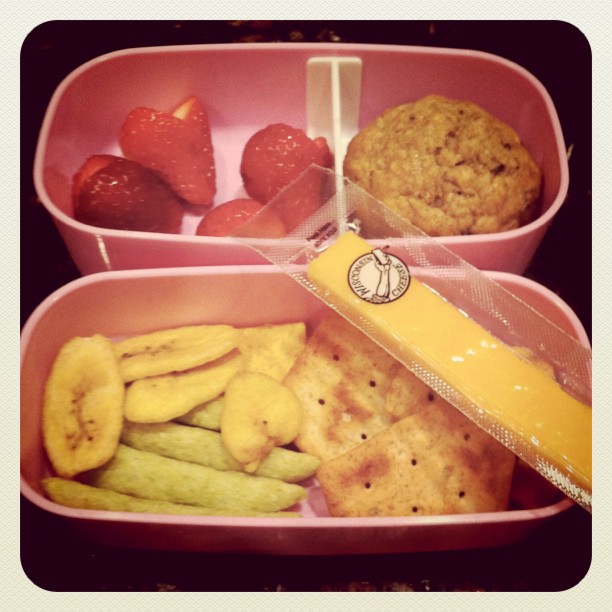
First-day-of-school bento: homemade banana muffin, strawberries, crispy snap peas, banana chips, wheat thins, pita crisps and cheddar cheese.

bento lunch

The past few days have been busy! Over the weekend we tried to squeeze in as much summertime fun as possible. Then, on Monday we got organized for my daughter’s first day of school.

Laundry that was ignored over the weekend had to be done so she could wear her ladybug dress. Lists of favorite lunch foods were made and taken to Trader Joe’s for a special shopping spree. And she practiced, practiced, practiced reassembling her lunch bento box. (We cheated and labeled the pieces with a sharpie: B lid goes on B tray, which goes on the Bottom.)

I was really worried about lunchtime. About half of her class buys lunch, but she just doesn’t eat the things on the menu. Today went fine, though. She ate everything, told me it was awesome and she wants to take lunch every day. Phew!

Do you pack a lunch for yourself or your kids? What are your favorite foods?

I promise you her lunch was much more colorful in real life. The washed-out, artistic photo is courtesy of Instagram. If you have the app, connect with me! I’m jkundhi, of course.

recipe: green smoothie pops

green smoothie popsicle recipe

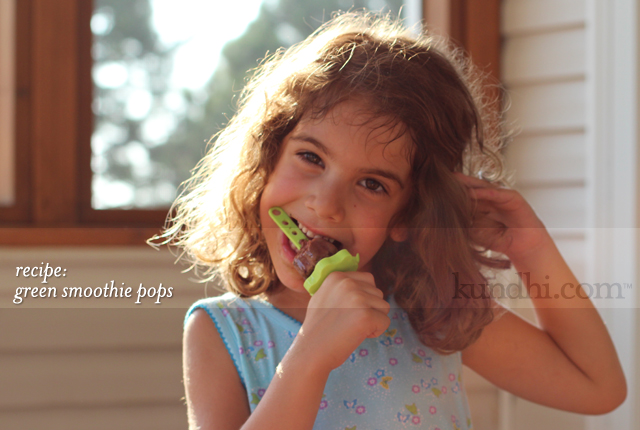
My daughter has been cooling off this summer with popsicles made from my green smoothies. Interestingly, she doesn’t like drinking the smoothies, but she loves the pops. Go figure.

School may be starting next week, but it’s still hot out. I have a feeling we’ll be making these for the next few weeks. Here’s my basic recipe:

Green Smoothie Pops

8 oz milk
2 cups loosely packed greens
2 cups frozen fruit partially thawed
1 scoop whey protein powder (optional)
reusable popsicle molds (mine make four pops)

Combine the milk and greens in a blender and process until liquified. It will be a lovely bright green color. Then add the fruit and powder and blend until you are happy with the consistency. It will no longer look green, so if you don’t want to tell your kids there’s spinach in them, your secret is safe with me.

Fill your popsicle molds and put them in the freezer. Enjoy the rest of the smoothie! (I try to drink one a day.)

I like using almond milk for my smoothies, but you can use any kind of milk or even water. My greens are usually spinach, but I have had good results with romaine and baby salad mix. Fruit is usually 2 cups of frozen strawberries with a small handful of blueberries. Sometimes I mix it up with 1 cup strawberries, 1 cup frozen mango. I’ll occasionally add half a banana.

Go vegan: Leave out the whey protein or use hemp protein instead.

Feel free to play around with the fruit combinations and post your tasty variations in the comments. Enjoy!

ladybug water bottle carrier

water bottle carrier

Yes! I did a little bit of sewing!

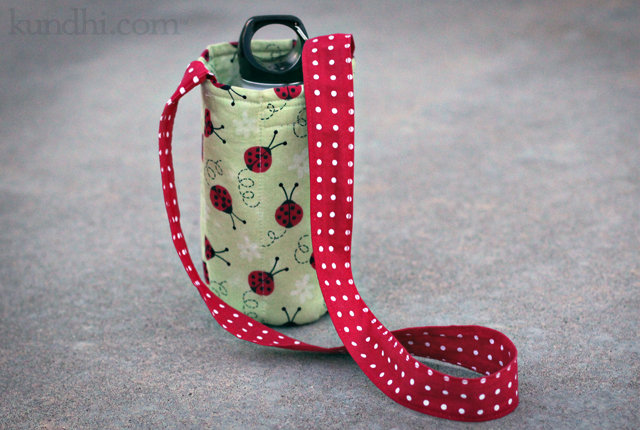
The heat wave has passed, but it’s still hot. (It is Summer, after all.) My daughter has a few days left of camp outside, so I got her a small water bottle to take along. I couldn’t imagine her carrying it around without leaving it somewhere, so I whipped up a little carrier for her.

“It’s not a water bottle carrier, Mom. At camp they just call it a bottle carrier.”

Whatever. I made one of these awhile back and it came out kind of snug. I added generous seam allowances to this one and it’s a little big. Maybe if I make third one it will fit just right.

And yes, it matches her neck cooler. She’ll be super coordinated next year at the Kearney Cruise.

resources: I really did wing this, but not before checking out tutorials by Pink Chalk Studio and The Long Thread.

my daughter’s first art gallery opening

art camp

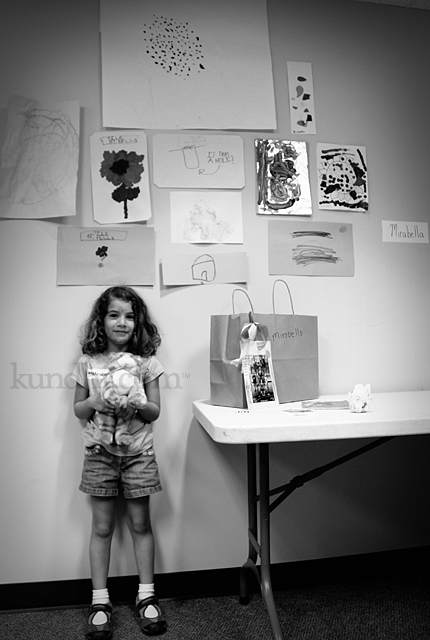
Last week my daughter attended art camp at the children’s museum. Friday afternoon they created a gallery for the kids to exhibit their work. My daughter was beyond excited. You see, she wants to be an Artist when she grows up. This was her first Show.

art camp

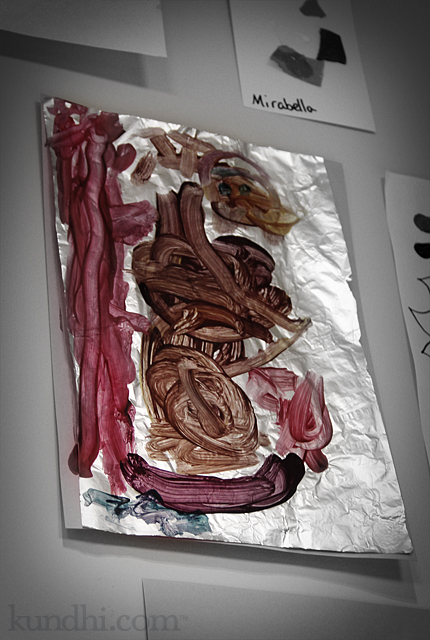
She did an amazing amount of work in one week’s worth of mornings. She really enjoyed learning about pointillism and her favorite paintings (the top one titled: Birds and the one of the big flower) are hanging in her room. My favorite, however, is the painting on foil titled: Cat Hanging on a Tree.

art camp

This is my daughter’s second camp at the Lincoln Children’s Museum. They do such an incredible job with the kids. If you are local, I encourage you to check them out.