my creative space

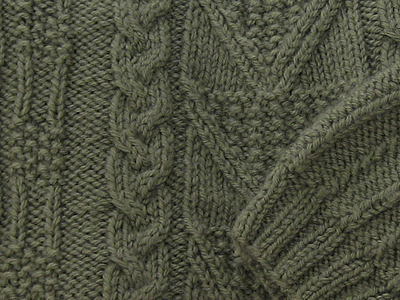
I’ve got some tough decisions in my creative space today. I was given this beautiful hand-knit sweater from my friend Tana. It’s big. Really big. Too big to be refashioned with my ’80s sweater tutorial. She was thinking I could use it to make a felted tote bag. I can’t bear felting it. The stitch work is so beautiful.

recycled wool sweater

This is what I’m thinking: take apart the seams and make smaller bags out of the front and back each. I would serge the edges to keep them from unraveling. I really like the colorway of the yarn, which is Cascade 220. I think I might unravel the sleeves and use the wool for some granny square scarves.

What do you think? What would you do with it?

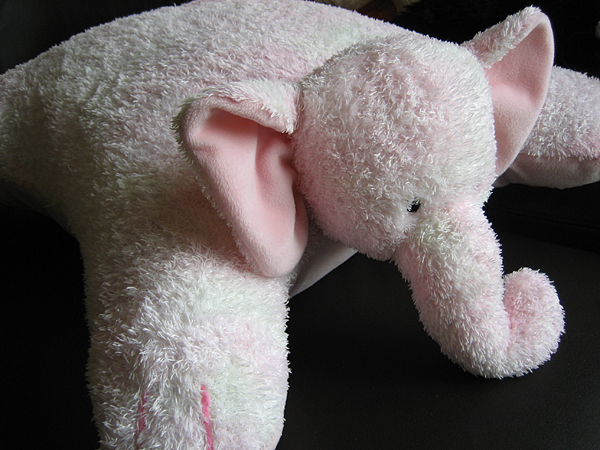
elephant blanket becomes a pillow

baby gund blanket pillow

When my daughter was born, we received a sweet elephant Baby Gund blanket as a gift. It’s super soft and cuddly. It’s also pretty small.

The other day I asked her what she wanted to do with it. She definitely wasn’t ready to part with it, so I suggested making it into something else. Something else that might get used, like a pillow.

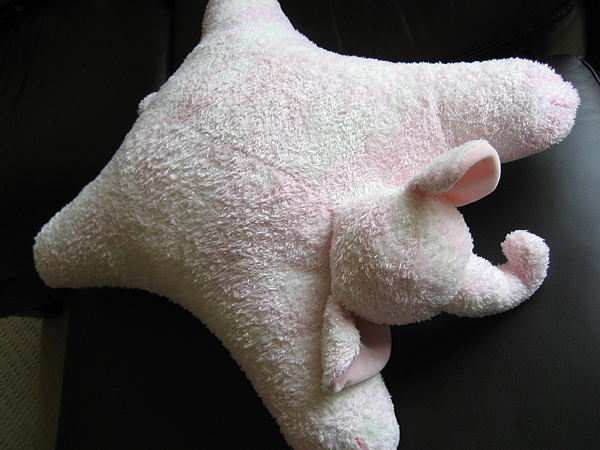
baby gund blanket pillow

She loved the idea! Especially when I told her she could help. If you have one of these and are looking to turn it into something for a big girl or boy, it’s easy.

Step 1
Using a seam ripper, open up about 2-3 inches of stitches on the side.

Step 2
Stuff it with polyfil, starting with the legs first and working your way toward the middle. This is a great step for your child to help. My daughter LOVED doing the stuffing.

Step 3
Close up the side with a blind stitch.

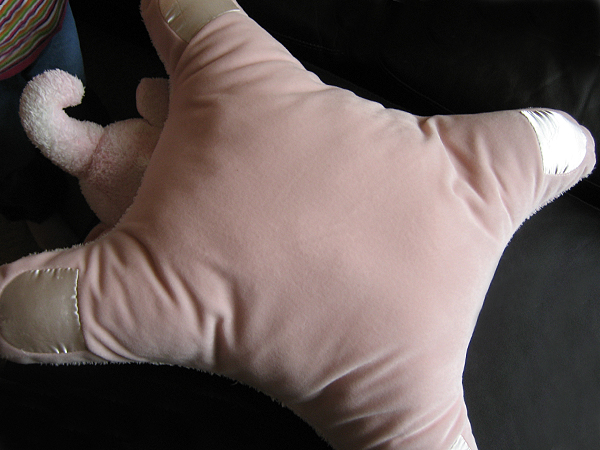
baby gund blanket pillow

reshape: I love it when my daughter gets excited about working on a project with me. She adores the pillow and is proud to say she helped out. I think we just added a few more years to Ellie’s life with us.

how to make microwave crayon shapes in 3 easy steps

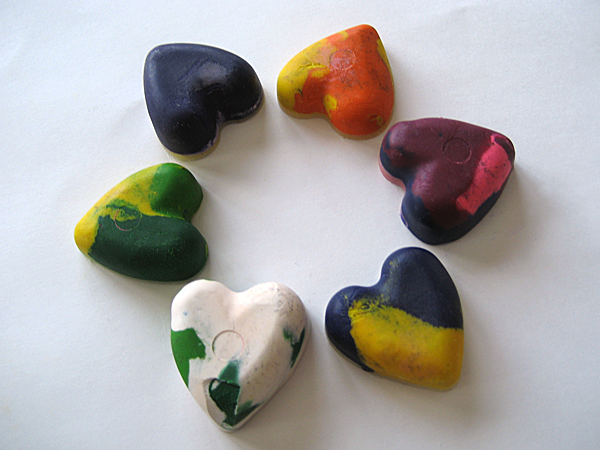
microwave heart crayons

Maybe I should call these Really Lazy Crayon Shapes. I’d been thinking of making them for awhile, but all of the tutorials I found online suggested baking in the oven, melting over a double boiler or melting into cups and pouring into molds. Those were just too many steps for me.

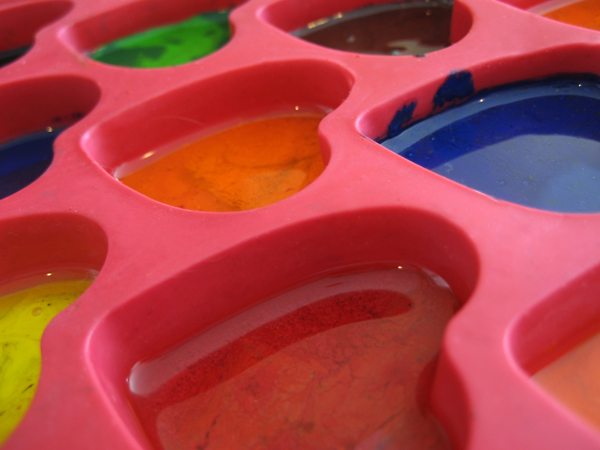
I found a silicone mold at the thrift shop for only a few bucks, so I wasn’t too concerned if I ruined it. I threw all caution to the wind and microwaved the crayons directly in the mold. It was simple, fast and easy to clean up.
microwave heart crayons

Materials
crayon bits
silicone mold
knife
toothpick

Step 1
Put your crayon bits directly in the mold. Break up any bits that are too big with a knife.

Step 2
Microwave on high for 1-2 minutes. (I’m sure times will vary based on microwaves. Watch your first batch carefully!) Use a toothpick to stir if your bits aren’t melting evenly.

Step 3
Allow to cool and then pop them out of the mold. I put mine outside because we’re having a frigid winter and it didn’t take long, but you could stick them in the freezer, too.

Clean up: Put some water in the mold, microwave it for about a minute and dump it out. The crayon residue wipes out easily with a paper towel.

*After searching, I found that my mold is actually an ice cube tray and shouldn’t be exposed to heat. It held up just fine, but I wouldn’t use it for ice cubes or food after heating just to be safe.

recycle: This is a great way to use all of those crayon bits that are too small for little hands to hold.

how to: recycled holiday card gift tags

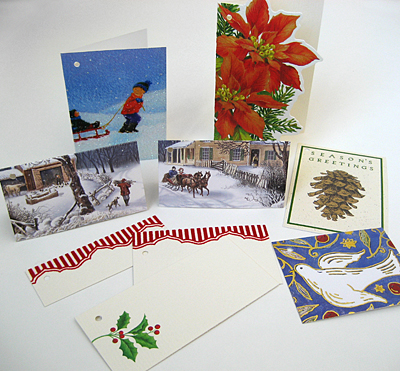
recycled gift tags from holiday cards

Last year I saved a few of my favorite holiday cards for crafting. I planned to reuse the artwork to make new cards, but when I realized I didn’t have any cute gift tags in my stash, I started cutting! I began with 5 cards and ended with almost 30 gift tags in all shapes and sizes.

You’ll need:
-paper cutter
-embossing stylus, crochet hook or knitting needle for scoring
-ruler
-small hole punch

I just started slicing away without thinking too hard about the end result. Then I went back and sorted all of the bits.

  • Large rectangles were scored for fold-over tags. (boy pulling sled)
  • Borders made great matching flat tags. (red and cream stripes)
  • Images were cut in half to make coordinating card sets. (snow scene)
  • Die cuts made really fancy cards. (poinsettia)

Most cards are made out of heavy paper stock and need to be scored before you fold them or they will crack on the fold. If the surface is glittery, cover with a thin piece of paper before scoring.

The final step was to punch holes in the corners so they can easily be tied on to gift packages.

reuse and recycle: This little project didn’t take long and was so much fun. If you sent me a really cute card last year, thanks! You just might be getting it back on a gift this year.

new photo space!

I’m really excited about my new little shelf. No more doorknobs in my photos!

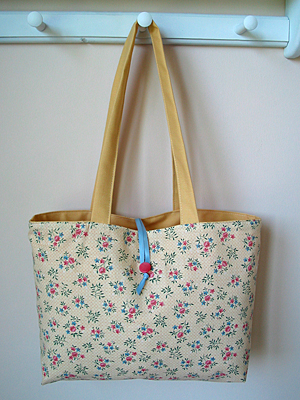
yellow floral reversible handmade tote

It’s not really that blue, but the white spray paint I used still doesn’t match our trim very well. My husband said we have some leftover trim paint downstairs, so I’m still not finished with this project yet. Luckily, it’s good enough to start using right away. (p.s. These two new totes are now in my etsy shop!)

recraft: All it took was a little paint to give this $2 shelf new life!