homemade granola!

homemade granola

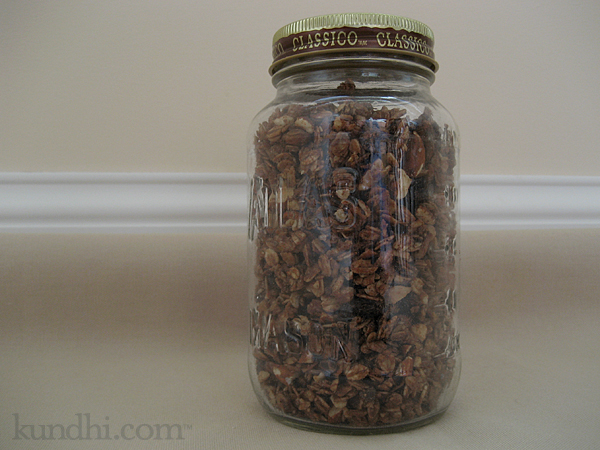
Wow, just wow. Homemade granola tastes awesome. I adapted a recipe that my daughter brought home from Cooking Camp this summer. I need to do a little bit more fiddling with it to get the calorie count down, but this is definitely going to become a staple in our house. Right now I’m sprinkling it over my morning oatmeal. Delish!

reuse: Did you notice the mason jar? Classico pasta sauce comes in jars that are great for reusing as storage. Their organic pasta sauce is pretty tasty, too.

easy crochet projects

easy square crochet projects

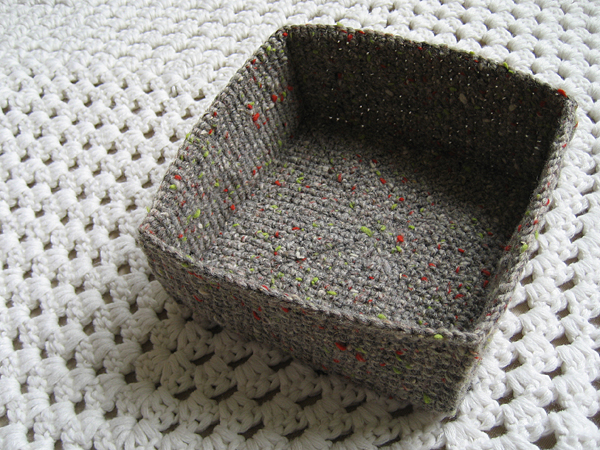
My husband is teaching at a long weekend class, so not much has gotten done or will get done on the crafty front until next week. I’ve picked up two easy crochet UFOs and plan to have them completed by Monday. First one is done!

finished: The wool basket is ready for a lining. I’ve got some dark red canvas that I’m planning to use. It will be a paper napkin basket for our kitchen table (she says as she is currently making cloth napkins for her home ec class).

making progress: I’ve picked up the granny square blanket again. I’ll keep going until I run out of sweater yarn. I think it will make a nice, thick lap blanket. This will probably get the most attention over the weekend.

home ec class: patchwork pin cushion

It may come as a bit of a surprise, but I’ve never taken sewing lessons. Apart from my friend helping me with my first project, I’ve learned from books, the Internet, crafty colleagues and lots of trials and errors. Some of my friends were tweeting about an online Home Ec class they were taking and I was curious, so I followed the link. The class says it’s for beginners, but there are some really cool projects using techniques I’ve been wanting to try.

home ec class patchwork pincushion

I signed up at once and promised myself I’d follow the directions for each project as they are written, because sometimes it’s a little technique for something simple that can totally change how you do things. I started the class a little late because I’ve been waiting for my daughter to go back to school. Now that I have some time to dedicate to my sewing, I’ll be cruising through the projects a little faster.

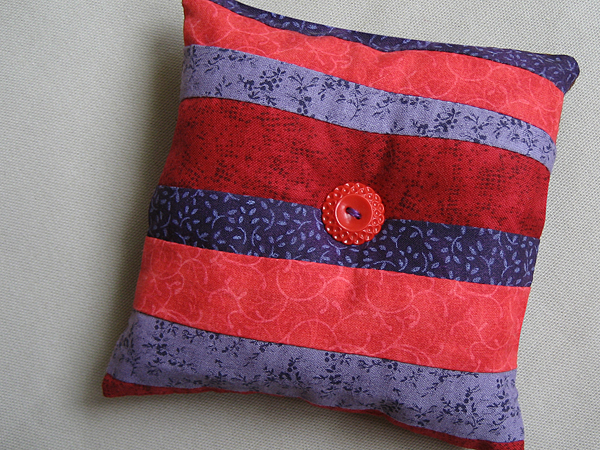
First on the list was a patchwork cushion. I followed the pattern exactly and have fallen in love with my scrap bin. Seriously, I had no idea how fun making little fabric stripes could be.

home ec class patchwork pincushion

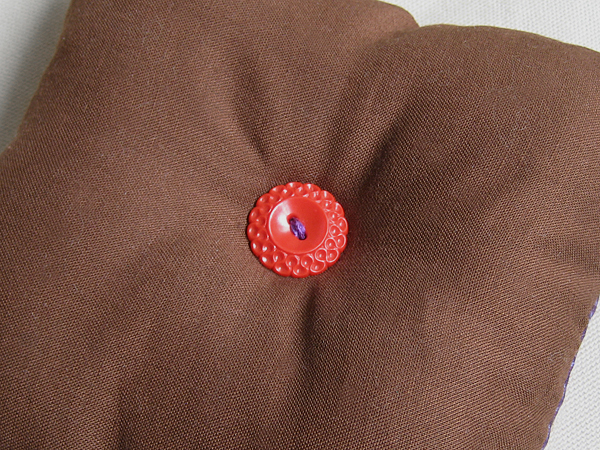
stash: This is a great stash busting project that’s perfect for those little pieces you can’t bear to throw away. Anyone recognize the buttons?

project info: This was a bonus project, and Leigh-Ann has a tutorial posted on her blog. You should go make one, too!

class info: You can preview the class projects here and here.

my creative space

crochet bath mitt

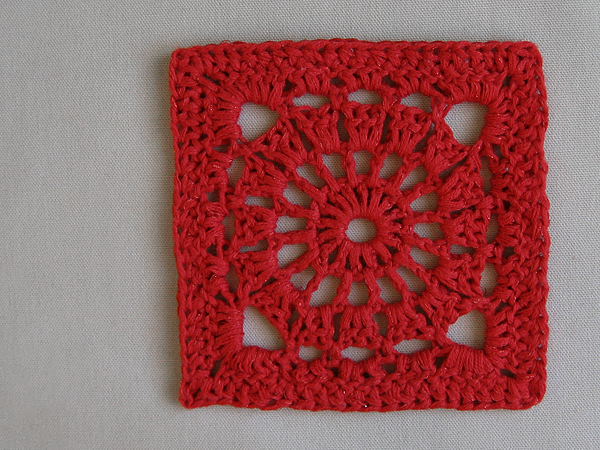
Remember this sweater yarn? I finished my first square. I know this is supposed to be my vacation project, but the pattern is so addicting. Maybe just one more? It’s not like I don’t have plenty of other things on my to-do list. Ha!

pattern info: This is Wagon Wheel #2 from Granny Crochet Favorites. I modified the last round to be hdc instead of dc stitches. The colors in the book are seriously dated, but the patterns are really quite lovely.

wardrobe refashion: re-sized pajama pants

wardrobe refashion: resized pajama pants

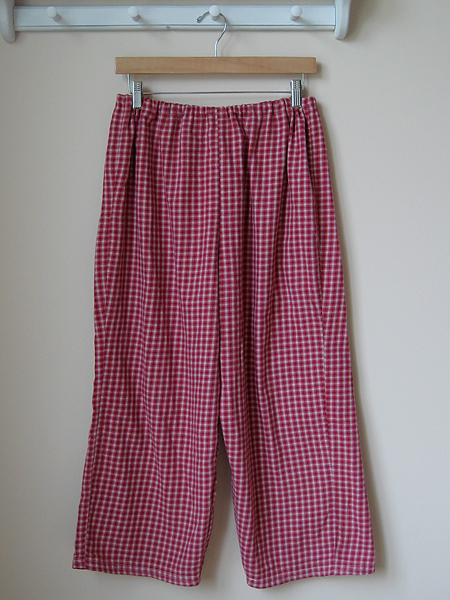
Just quickie refashion today: some Eddie Bauer flannel pajama pants. Are you already bored with pants? I’ve only got a few left, don’t worry. I did do something fun with these, though.

wardrobe refashion: resized pajama pants

I fell in love with the super soft flannel and didn’t realize until I got home that they were a size petite. I figured because they were lightweight that I could do capri-style jammies and they’d be good until the temps got really cold.

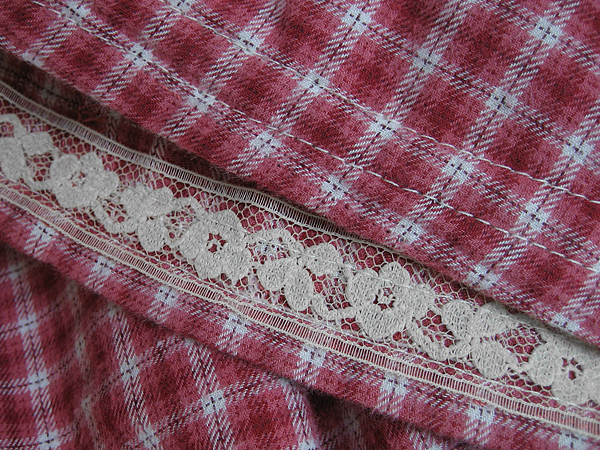
To keep them as long as possible, I serged the bottoms and turned the hem under just 1/2 inch. I used a little lacy seam binding to hide the serged edge. I totally cheated and sewed the lace on while hemming them.

thrifted: Another 99 cent sale transformation using Butterick 5044.

how to: turtleneck sweater turns cardigan in
5 easy steps

So many knitters are scared of the s-word.* It’s really not that terrible. In fact, I’ve been cutting into sweaters for years to make pillows, scarves and tote bags. You just need to get over the fear that all of the stitches will immediately unravel. Take it from someone who unravels sweaters a lot. It’s not that easy for a sweater to fall apart.
how to: turtleneck sweater turns cardigan in 5 easy steps
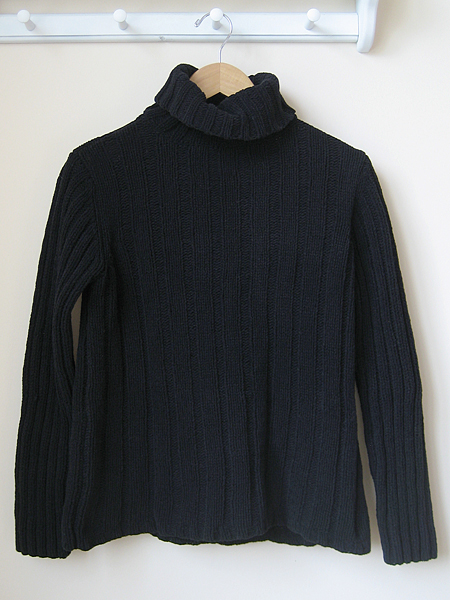
original turtleneck

I’ve been cleaning out my closet and have a lot of beautiful pullover sweaters that I don’t wear anymore. I keep them because the wool is so nice. Sometimes I think I will knit them into something else. I don’t know where I think I’m going to find the time. After my Fair Isle class at knitting retreat, I decided to turn my pullovers into cardigans.
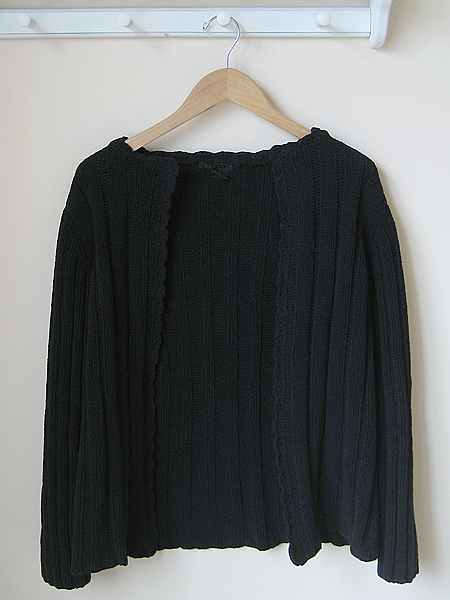
how to: turtleneck sweater turns cardigan in 5 easy steps
new cardigan

I decided to practice on a thrifted sweater first. I picked a cotton/acrylic blend that was in the donation pile. It had a weird texture — kind of like chenille. Man, was that collar hard to unravel. If you want to practice first, I recommend trying a sweater made out of a nice, simple, plain yarn.

This is a short and sweet tutorial. I assume you understand the anatomy of a knit stitch, know how to pick up stitches and crochet a decorative trim.

Materials:
seam ripper
sharp scissors
sewing machine
crochet hook

Step 1
Remove the seam that attaches the collar to the sweater. Unravel collar yarn and save for later.

Step 2
Find the middle column of stitches. Using a sewing machine, sew a line of stitches two columns to the right and two columns to the left.

Step 3
Carefully cut up the middle column of stitches.
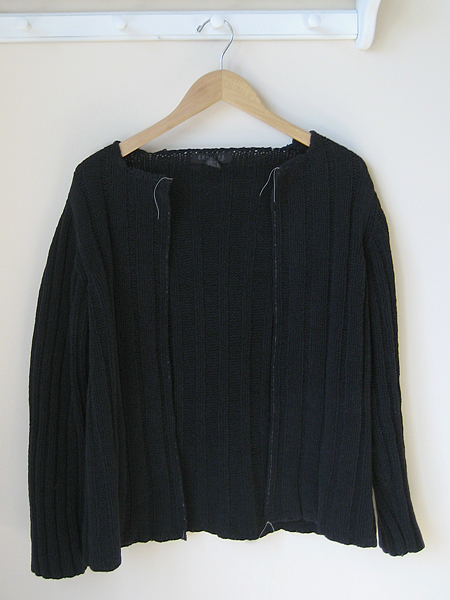
how to: turtleneck sweater turns cardigan in 5 easy steps
collar removed, stitches sewn and cut
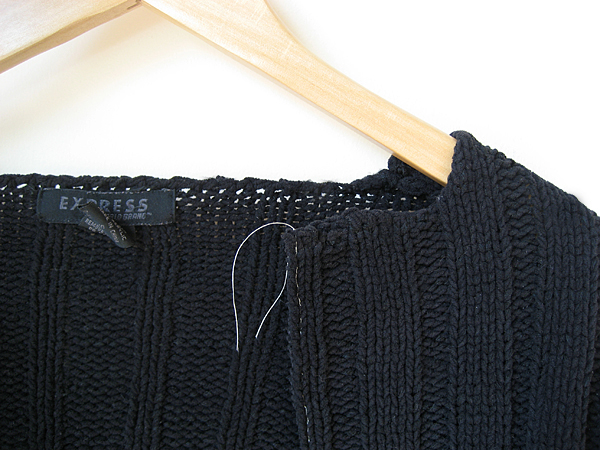
how to: turtleneck sweater turns cardigan in 5 easy steps
close up of sewn stitches

Step 4
Using the unraveled collar yarn, pick up and single crochet a stitch for each row of stitches. I started at the bottom, worked my way up and around the neck and back down the other side. (Some will tell you to pick up three stitches for every four rows. I say do what feels right, looks good and doesn’t pucker.)

Step 5
Depending on how much yarn you have left, crochet a decorative border. I chose a simple shell edging.
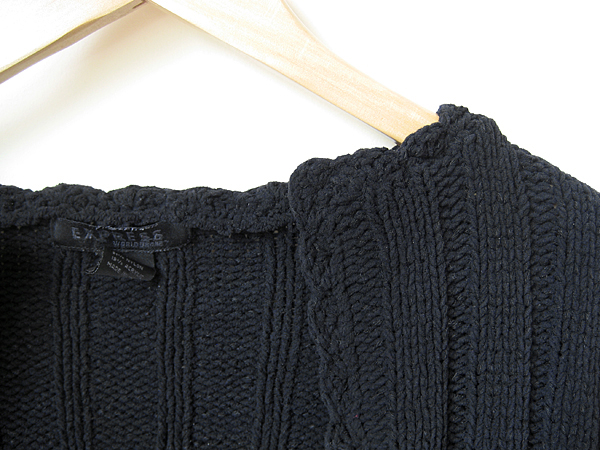
how to: turtleneck sweater turns cardigan in 5 easy steps
close up of crochet edge

Options
If you want to try this with a crew neck and don’t have enough matching yarn, use a different color or texture to jazz things up. You could also add buttons using chain stitch button holes.

This project is easy once you get over the fear of cutting into knitted stitches. I finished this in two afternoons.

refashion: I’m excited to start wearing some of my favorite wool sweaters again. I’ll be posting my progress as I go. A special thanks to Lynn Anne for giving me the courage to cut!

*s-word is steek!
wardrobe refashion: re-sized capri pants

wardrobe refashion: resized capri pants

The summer of skirts has been a success. I’ve been wearing my red, white, linen and denim skirts regularly all season. But ever since I found that perfect pattern for lounge pants, I’ve been thinking about capris. How easy would it be to refashion a pair of existing pants?

I found a couple pairs at the last 99 cent sale (hey, I told you I had good luck that day!) and decided give it a try. Here’s how I did it:

  • Wash and dried them on hot to preshrink.
  • Removed the elastic waistband with a seam ripper.
  • Cut the inner leg seams open. My pattern is only one piece, so I left the outer leg seams intact.
  • Pressed the pants pieces with an iron and laid my pattern on top. I had to fudge a little, but they were pretty close.
  • There was a lot of waist fabric that had to be removed and the new waist ran right over the pockets. I sewed them shut and cut them out.
  • Traced the pattern and sewed the pants back together.
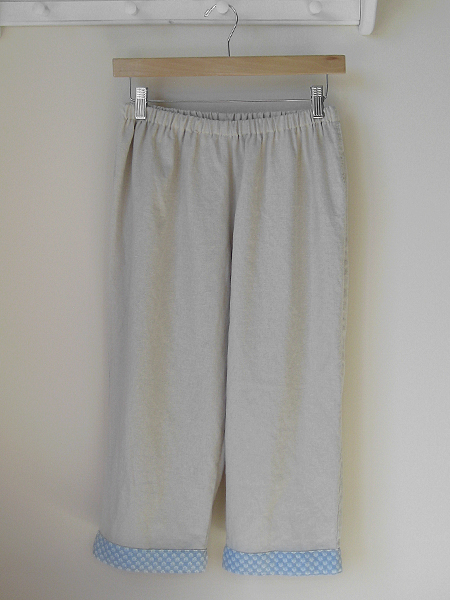
  • Cut off the ugly fringe cuff and added a fabric trim.

The whole process was fast and easy. Most of my shirts come down past the waistband, so they actually look pretty good. I’m sorry I forgot to take a before picture. I had a few free hours for this project and just dove in!

refashion: This pants thing is really increasing my options for clothes. After a few more tries, I might tackle a fitted waist!

my creative space

my creative space

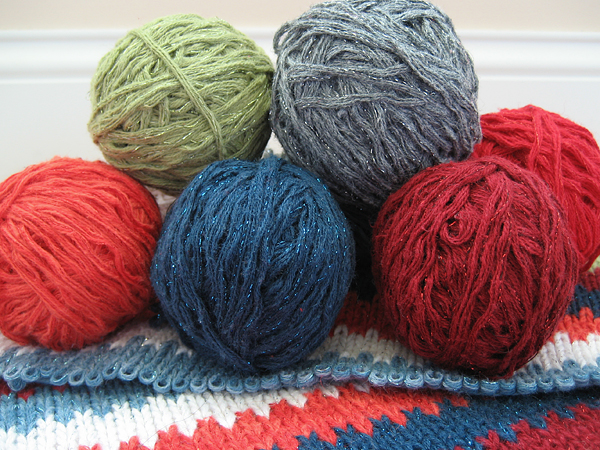
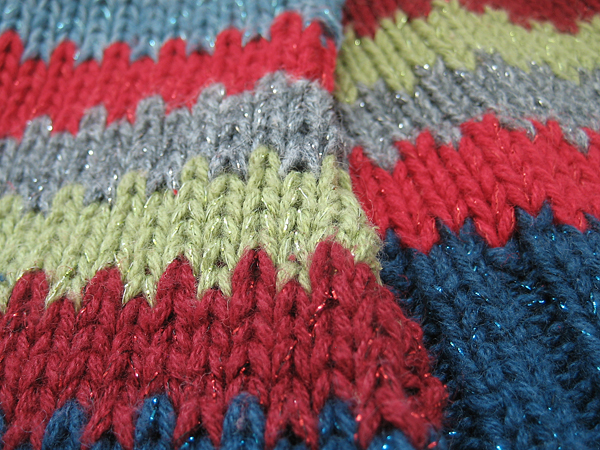
This week in my creative space I’m unraveling a sweater. I wasn’t planning to buy anymore sweaters. I don’t need anymore yarn. But I saw these little sparkles and all I could think of was a patchwork baby blanket.

I love the primary colors. New parents are always swimming in pastels. Bright colors are a nice change, don’t you think? Plus, take another look at those sparkles!

my creative space

I’m planning to crochet solid color squares, so this will be the perfect vacation project. (Yes, I’m planning ahead for vacation projects.) I’ll seam them up when they are all finished. It would be easier to join them as I go, but I need a portable project for the plane, the beach, sitting in traffic, etc.

I’m getting pretty good at this unraveling thing. I hardly had any waste yarn — just a bunch of pesky knots at the end of each color change. And even they didn’t go to waste. My daughter took the pile of ends and put them in a bowl for her stuffed dog. He had ramen yarn noodles for lunch.

Make sure to visit more creative spaces over at Kirsty’s blog.

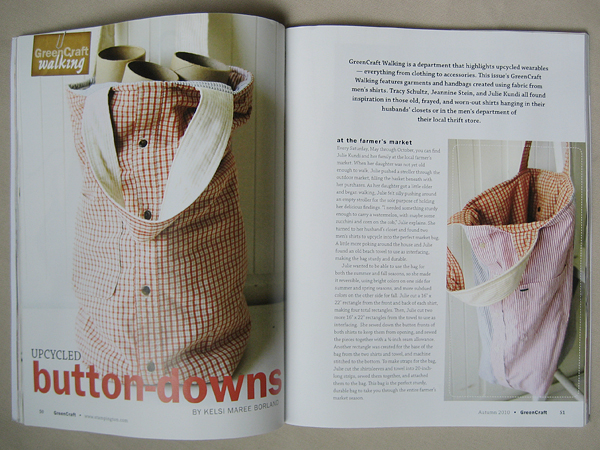
my farmers’ market tote is featuered in greencraft magazine!

Sorry about missing Thrifty Thursday yesterday. I was planning to take photos and write my post in the evening, and right before dinner I found a copy of GreenCraft in my mailbox. I knew something was up because I don’t subscribe to the magazine, but I did submit one of my patterns and a sample to the publication many months ago. I was so excited, I completely forgot about my thrifty pictures and post until after dark. Whoops!

green craft magazine farmers market tote

I am so thrilled to see my Farmers’ Market tote in GreenCraft magazine! I designed this bag using men’s dress shirts and a terry cloth towel for interfacing. It’s reversible because our Farmers’ Market runs from May to October: one side has Spring colors and the other has Fall colors. If you get a chance, check out the design and instructions in the Autumn 2010 issue!

my creative space

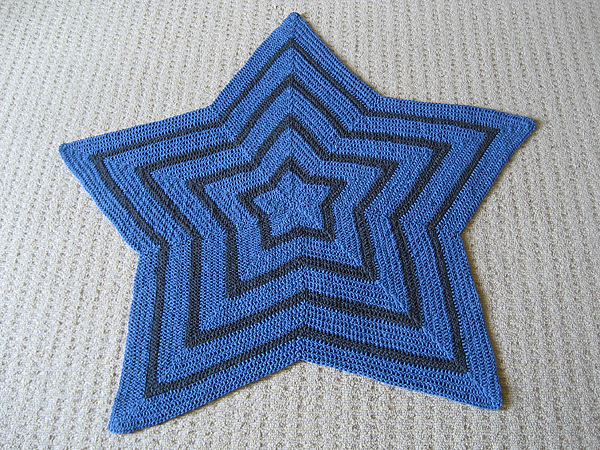
blue chromium star blanket

I delivered the Chromium Star baby blanket tonight. I am in love and it was hard parting with it. The pic is before I put it in the wash. It looks even more beautiful once blocked. Would it be weird to make one for myself? I think just a little bit.

I think I can officially say that crochet is faster than knit for me. I finished this in 10 days without really trying too hard. I’m getting ready to start another little blanket, also from a sweater. I’ll have some before pics soon!

recycled: This blanket used to be a sweater. I happened to know the knitter, so I can tell you that the yarn is Brown Sheep Cotton Fleece. It washes (gentle cycle in cold) and dries (on low) beautifully.

Don’t forget to visit Kirsty’s blog to see what all the crafty peeps have going on in their spaces.