wardrobe refashion: white cotton skirt

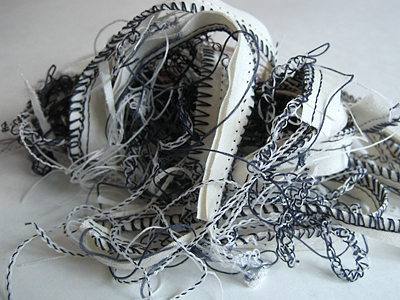
Three skirts down! I really wish I would have taken a before picture of this one. When I cut off the waist and flattened out the fabric, there was so much!

refashioned white cotton skirt

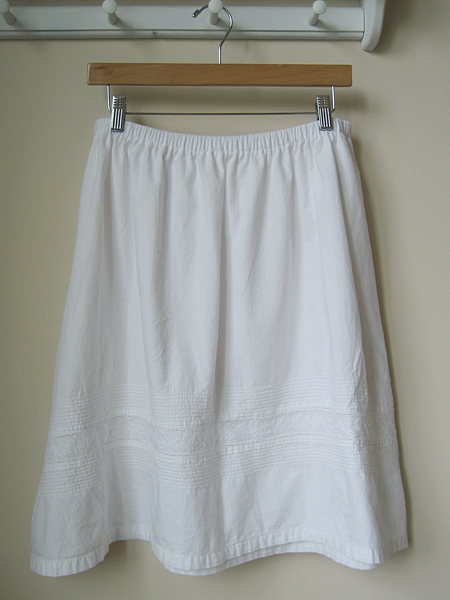
I used an a-line pattern I drafted for myself from Sew What! Skirts. I took about 5/8 inch off of each side after trying it on and will be adjusting my pattern for the next one. Aside from that, this was super easy. I cut it out a few weeks ago and sewed it up today in about an hour.

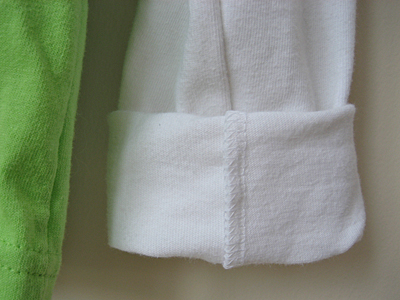
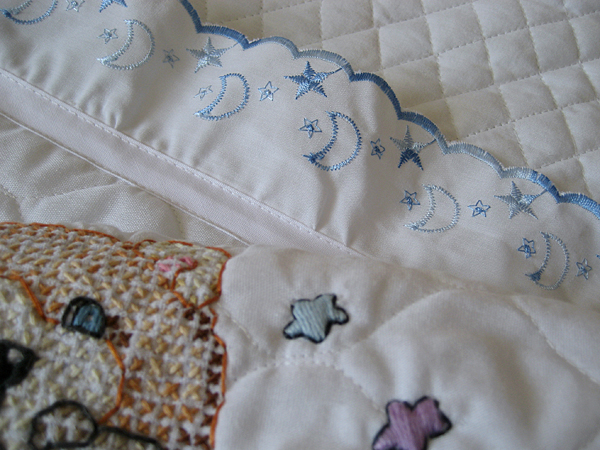
Usually I shy away from white of any kind on my lower half, but I fell in love with the detail at the bottom. Isn’t it lovely? (Yep, I kept the original bottom hem, which made this project go really fast.)

refashioned white cotton skirt

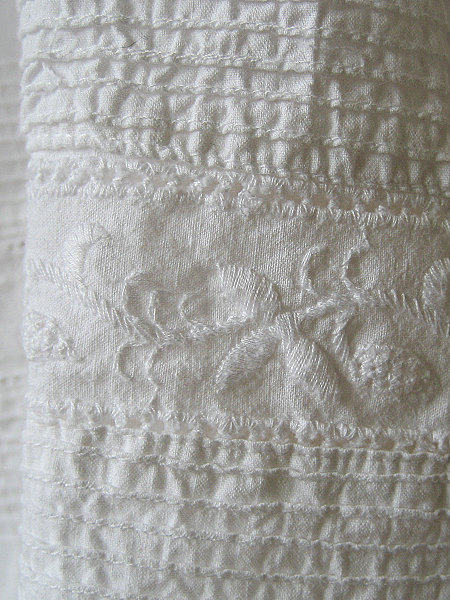
The skirt is a little sheer, but I’m thinking slip instead of lining. Any suggestions for fabric type? I worry that a traditional polyester slip might be too hot in the summer.

thrifted: I think this might be my last skirt from the Goodwill 99 sale. I can’t remember! Time to dive back into the stash.

wardrobe refashion: the first of many t-shirts

nebraska t shirt

You know you’re getting old when the phrase, “They don’t make them like they used to…” creeps into your conversations. But seriously, can someone explain to me how my Gap t-shirts from college are still going strong almost 20 years later, but t-shirts from the past few years are falling apart?

I have this grand idea of updating all of those boxy, over-sized tees into a more modern and flattering fit. First, I need some practice. I’ve made a few patterns from existing t-shirts that I like and I’m also trying out the t-shirt pattern in Wendy Mullin’s Sew U Stretch.

My first try was a thrifted XL Nebraska shirt. It turned out pretty good for a beginner shirt. The sleeves are kind of tricky, though. I definitely need a little bit more practice before cutting into my ol’ Gap favorites.

thrifted: I always try to practice on thrifted material and clothing first. I’d rather mess up on a 99 cent t-shirt than on the good stuff!

wardrobe refashion: pj pants to nightshirt

When I was at my craft weekend away, one of my friends was serging a nightshirt for her daughter. Another friend was making dresses out of t-shirt scraps. I blame them for this crazy idea: a nightshirt out of a pajama top and bottom scraps.

pajamas night shirt

This was a lot cuter in my head and my sketches than it turned out. I had hoped the skirt would be a bit more ruffled, but there really wasn’t a lot of fabric in the bottoms. I wound up piecing together the sleeves, too. (Sorry for the unstaged “before” photo, but I was really excited to dive into this project!)

pajamas night shirt

Thankfully, I tested this on the Mickey pajamas first. Although she loves Mickey, she loves her Minnie pajamas even more. I will probably use one of my old t-shirts for that refashion. I also might keep the sleeves at 3/4 length. Oh, speaking of the sleeves, check out this awesome rolled hem. Swoon!

pajamas night shirt

refashion: Even though the sleeves and legs of my daughter’s clothes are getting too small, the body still fits nicely. I’m getting lots of opportunities to be creative!

wardrobe refasion: adding long sleeves to a t-shirt

long sleeves on t shirt

I was putting away laundry in my daughter’s dresser and found her preschool t-shirt. I can’t remember the last time it was warm enough to wear short sleeves. I don’t think it’s even been worn once. I decided to add some long sleeves so she can wear it before she outgrows it.

(I know what you are thinking. Why not just layer it over a long sleeve shirt and save yourself the trouble? Well, not only does my daughter dislike wearing sweaters, she doesn’t like to layer shirts, either.)

I used a size 4-5 T sleeve to make the pattern and figured I’ll just roll them up for now. Maybe next fall, I can use them on a different shirt. Look at that beautifully serged seam. Don’t you just love it?

long sleeves on t shirt

recycle: I used the body of one of my old t-shirts to make the sleeves. I was going to post a tutorial, but this seems easy enough. What do you think?

blanket finished!

cross stitch baby blanket

I spent more time thinking about this project than actually sewing it. I guess I was being extra careful with it because of all of the handwork. It’s not like I could go out and buy new fabric if I messed something up.

Here were my concerns:

  • The cross stitch had caused the top piece to pucker. I needed it to lay flat. Pressing it with an iron didn’t help much.
  • Both the front and back pieces were quilted and together were too thick to easily fit into the ruffle trim.
  • The ruffle trim was in two pieces and one was wider than the other.

Here were my solutions:

  • I tied the top and bottom like a quilt, working from the center outward. I didn’t want the ties to be visible, so I started and finished inside, sandwiching the ends between the two pieces of fabric.
  • I serged the two fabrics together to create a nice even edge for the trim.
  • I took the trim apart a few inches on each end sewed them back together on a slight diagonal. There are places were the ruffle is shorter than others, but the transition from shorter to longer is a smooth one. I am probably the only one who will notice this.

I learned a lot putting this project together. I’m glad I took the time to think things through. I’m also happy that I had my serger to make things easier!

i think i’ll call her jane

my new serger

Sometimes you get the feeling that you are making the right decision at the right time. It’s been almost 72 hours since my last post and since then I have bought a new serger and sold my other ones. I’ll admit a tiny bit of me was sad to see the little green sergers go. My new serger is making me deliriously happy, though.

After I made my purchase, I stopped at my two favorite thrift stores, which are at the same end of town as the sewing store. Look what I scored!

my new serger

I just love the colors so much, I may never use them. They remind me of neapolitan ice cream. Is it weird to decorate with spools of serger thread?

uncle!

serger thread and trim

I’ve spent the past few days trying to get the tension correct on my sergers and I give up. I’ve cleaned them, oiled them, read the manual and my serger guide. I think they’re just too manual for me. If they were cameras, I’d be trading them in for a point-and-click model. In fact, I’m going to check out some point-and-click sergers this weekend.

If you are interested in some super clean, vintage Baby Locks, let me know!

twin baby locks

I did a really crazy thing this weekend. I bought two sergers. Yes, I said two. They were $25 each. The models are older, but they’re all metal inside, not plastic. (I had issues with plastic parts in my first sewing machine.) I also decided to buy additional supplies for $50: eight brand new blades and over 50 needles. Not bad for $100? I hope so.

vintage babylock serger

I originally planned to buy just one serger. My husband convinced me to get both because they were so inexpensive. They are the same model, so I’d have an extra if parts were hard to find. Same goes for the supplies. I have the original manual, tool kit and even the original receipt!

vintage baby lock serger

I get the impression that these have been well used and loved. They’ll need a bit of surface cleaning, but I’m hoping I’ll be able to jump right in and start using them once I learn the basics. Anyone up for a few lessons?