handmade birthday gifts: embroidered
tea towels

Back in June I tried my hand at cross stitch. It didn’t turn out very well. I had a really hard time getting all of those little x’s lined up. In hindsight, I think I needed to use different fabric—something with more of a grid-like structure. I really loved the idea of a customizable tea towel so I didn’t give up!
embroidered tea towels

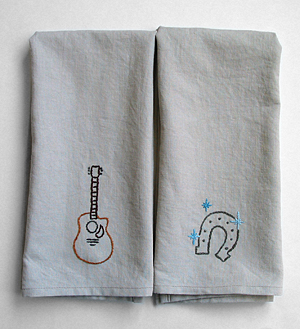
These are birthday gifts for my brother- and sister-in-law. They have very diverse interests: he’s a city guy who loves playing his guitar and she’s a country gal who loves riding her horse.

Embroidery is so cool! It lets me make matching gifts for two people with completely different favorite things. Seriously. Where can you find matching music/horse anything?

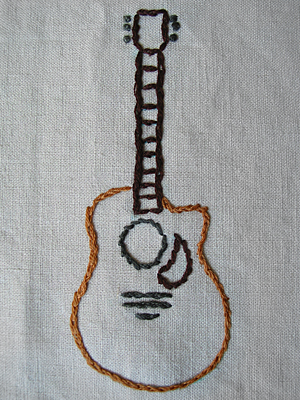
Here’s a close up of the guitar. The artwork is from Sublime Stitching. All of Jenny Hart’s stuff is so cute!
sublime stitching jenny hart guitar teatowel

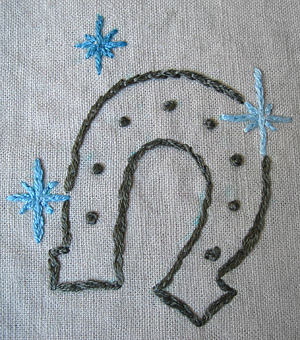
Here’s a close up of the horseshoe. The artwork is from some clipart on my computer. I had to simplify it a bit before I could use it for stitching.
sublime stitching jenny hart guitar teatowel

Aren’t those french knots cute? Now I am totally in love with stitching and I can’t wait to try something else!

project notes: Tea towel pattern from Linen, Wool, Cotton. Guitar from Sublime Stitching. Linen fabric and embroidery thread from my stash.
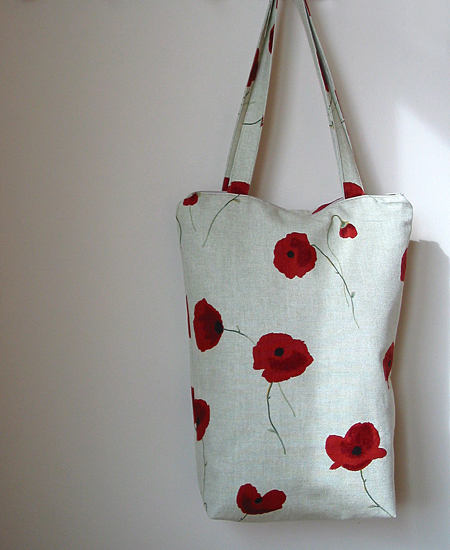
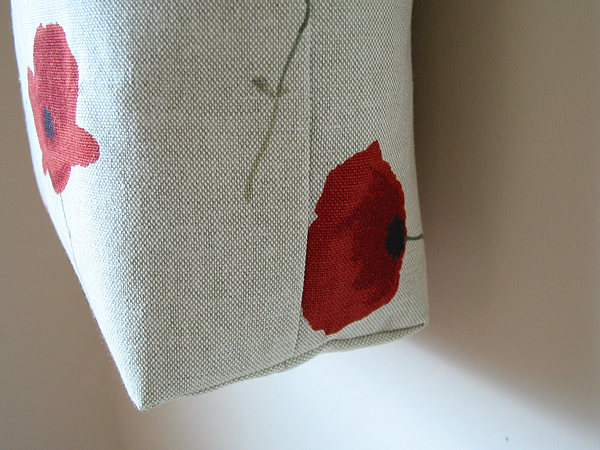
my new laptop bag…and all the details

laptop bag

During the past week, this bag has carried my laptop through the airport, been my purse to a wedding, and toted stuff to the beach. That’s a lot of jobs for one bag. I’m happy to say it performed all of its required duties wonderfully. And it looked pretty darn cute, too. Here’s how I planned the design:

Size
Most importantly, this bag needed to be large enough to fit my laptop, but small enough to meet airline carry-on luggage guidelines. I checked the FAA and NWA website and both set my limit at 45 linear inches. Mine turned out to be 13.5 x 16.5 x 4 inches, or 34 linear inches. Part of me wished I had made it a little bigger, but there’s less room for your bag under an aisle seat, so in the end, this size worked great.

laptop bag

Inside
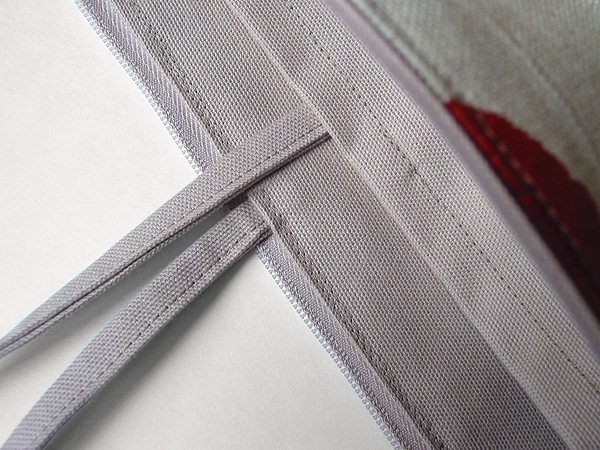
I wanted a separate sections for my laptop and my other things. I created two pockets and added a tie to the laptop side. When I used this as a purse, the laptop side was filled with fun things for distracting my daughter, like coloring books, story books, stickers, etc. At the beach, it held my book and knitting project.

laptop bag

Outside
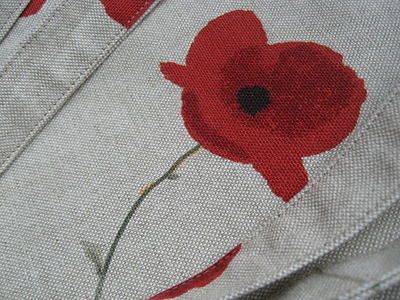
A zipper closure was essential. I didn’t want anything to fall out during airport screening and I didn’t want any sand getting inside. Durability was important, also. The outside is an upholstery fabric and the inside is a cotton canvas.

How-to
This bag is basically an oversized zipper pouch with handles and two inside large pockets. It seems silly to write up a tutorial when there are so many great ones already out there. For this project, I referenced the following:

Adding the handles was easy. I just sandwiched them between the outside fabric and zipper when I was sewing it all together. I reinforced the handles with a few rows of extra stitching.

stash: Fabric came from this remnant sale. Zipper was thrifted.

my new laptop sleeve

I knew I’d have to do some work on our trip to the beach and I had given my Timbuk2 bag to my husband when he got his new computer. He has made it clear that my Timbuk2 belongs to him now, so I had to come up with something else. I decided to sew my own laptop sleeve and bag. First, I started with the sleeve:

quilted laptop case

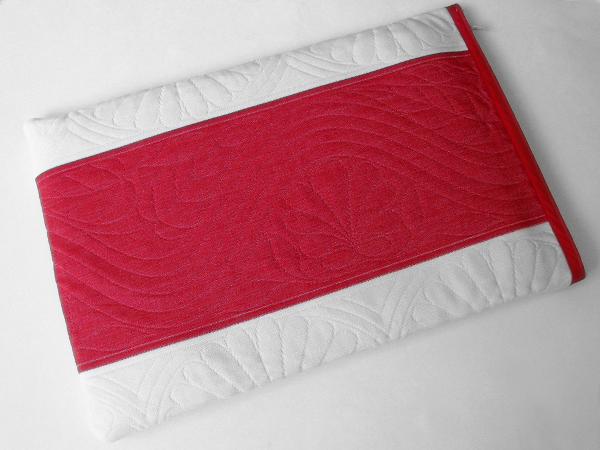
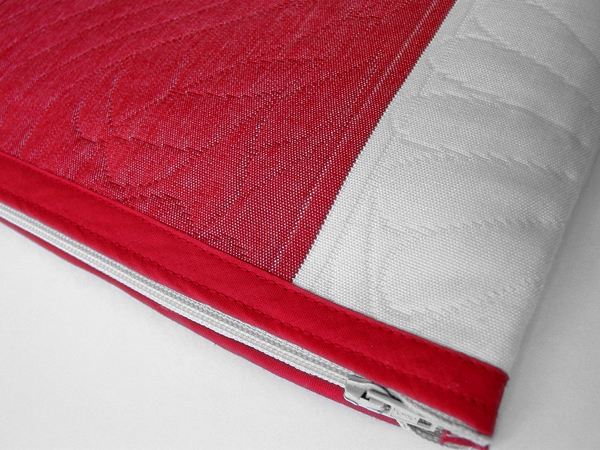
The fabric was an upholstery remnant that was already striped and quilted. I used some bias tape to enclose the raw edges before I sewed on the zipper and I serged the inside seams.

quilted laptop case

I love fabric that comes with the hard stuff already finished. No patchwork or quilting was needed for this project, but it looks kind of fancy, don’t you think?

stash: The remnant came from the east campus textile sale. Zipper and bias tape from the thrift store.

my creative space

laptop bag purse

Today my creative space is filled with finishing. I just finished this laptop bag/purse for myself. Hopefully, we’ll get a little sun today so I can get some more pics. I’m also finishing up another tote for an etsy order. Plus, I’ve got to whip up two gift bags for these projects and I’m going to try and fit in a little mending in the evening.

What’s in your creative space today?

Visit more creative spaces over at Kirsty’s blog.

how to sew a baby quilt in five easy steps

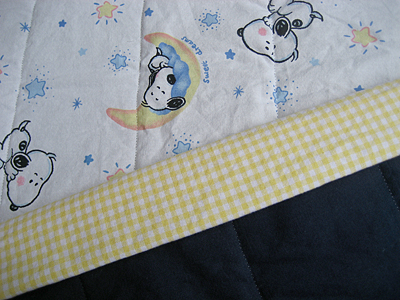
snoopy baby quilt

So you’d like to make a quilt, but you’re intimidated by all of those little pieces, right? I am, too. But you can make a quilt without blocks. It’s easy and looks just as nice! Here’s how I did it:

Materials
1 – 36×36″ piece of top fabric
1 – 36×36″ piece of bottom fabric
1 – 36×36″ piece of batting
1 – 38×8″ piece for making the trim*
matching thread
bias tape tool
rotary cutter and ruler
walking foot (optional)

*even easier: use 4 yards (plus a few inches) of pre-made bias tape

Step 1
Lay your fabric on the floor wrong sides together with the batting in the middle. Pin baste from the center outward.

Step 2
Starting from the center and working your way outward, draw parallel lines every four inches with sewing chalk, water soluble pen or light pencil.

Step 3
Starting from the center, sew along these lines working your way outward, taking out the basting pins as you go. Here’s where a walking foot is helpful, but if your batting isn’t too thick, you should be fine without it. Square up your edges with a rotary cutter and ruler.

Step 4
Cut your trim fabric according to the measurements for your bias tape tool and make the trim. Even easier: open the package of pre-made bias tape.

Step 5
Fold the trim over the edge and attach with a zig zag stitch. Fold the ends over at the corners to enclose the raw edges.

snoopy baby quilt

I hope I didn’t oversimplify this, but it’s really easy. The zig zag trim takes a little practice. This was my first time, and I’m sure it will get a lot neater the more I do it.

resource: I was inspired by Soule Mama’s Beach Blanket To-go for this blanket. One day I hope to make something as beautiful as her daughter’s quilt, but for now, I’m going to stick with single pieces of fabric until I’ve got more free time.

sleeping snoopy baby quilt

sleeping snoopy baby quilt

Every time I turn around it seems like someone else is having a baby. I love crafting for babies. This quilt is almost finished. All I need to do is attach the binding. I bought a lot of this fabric off of ebay awhile ago. You might be thinking, “That looks familiar!” The first quilt I made was backed with fleece. This one is backed with navy cotton. (It’s really not that dark, but I don’t have much sun for taking pictures today.) I only have a little bit of the binding fabric, but it should be just enough.

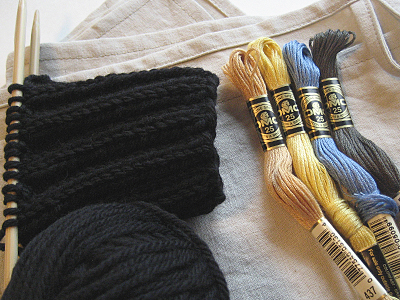
Update on birthday crafting: The knitted gift is finished. The embroidery tea towels are almost done. These are going much better than my experiment with cross stitch. I’m using a simple split stitch and loving it. I can’t wait until I can post pictures!

stash: So far I’ve used stash yarn, embroidery thread, fabric and batting for all of my projects. Having everything at my fingertips really makes all of the thrifting and garage sale-ing I did earlier in the year worth it!

my creative space

linen tea towels and wool knit gloves

Today my creative space is filled with gift making. I’m embroidering, sewing, and knitting and having so much fun! Unfortunately, I can’t show you more until after the gifts have been delivered.

I can tell you that I am making more tea towels and really need to get practicing with that rolled hem foot again. I’d really like to make some more towels and napkins for my family. They don’t need to be fancy, but we should be using them more than we use paper towels and napkins.

Visit more creative spaces over at Kirsty’s blog.

project to do: beach blanket to go

amanda soule mama handmade home beach blanket to go

Have you read Amanda Soule’s new book Handmade Home? I love all of her projects, but the Beach Blanket to Go really got my attention. I’m going to a beach wedding in October and have been wondering what to make for a gift. I think this will be perfect! I’m going to add a label that marks the date and place, too.

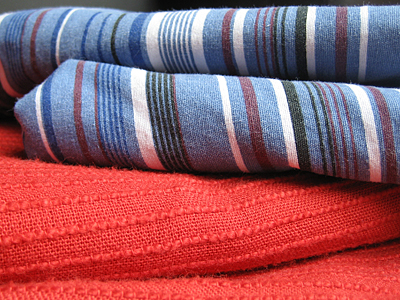
Finding the bedspread and sheet for this project was like a little bit of crafty kismet. Friday morning I was searching vintage fabric on ebay and put a red bedspread exactly like the one above in my watched items list. That evening, I headed out to a few thrift stores to see what I could find. I wasn’t planning to go to the store where I found these, but I felt a pull toward that direction.

I decided to follow my instincts and was shocked to see the same exact bedspread that I had bookmarked earlier that day. What’s more, this sheet was right next to it on the rack. I opened them both up and they were in excellent condition. It was almost as if they were destined to become this blanket. Now all I have to do is figure out my binding and put it all together.

Do you ever get that thrifty feeling? Like something is pulling you to a particular store because the exact thing you are looking for is there?

a little bicycle mending

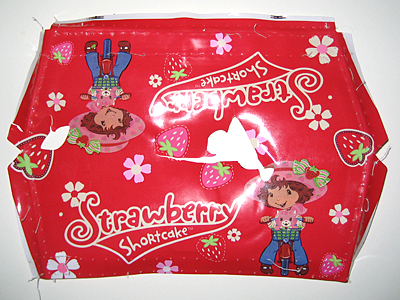
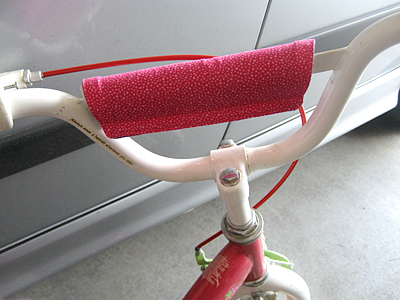
This summer we bought our daughter a cute bike from our neighbor’s garage sale. My husband is planning to take the pedals off and make it a balance bike. My job was to mend the handle bar cover, which was torn.

Using my trusty seam ripper, I picked out the hem and removed the velcro. With a cloth on top and low heat, I pressed it flat and used this as my pattern.

handle bar cover

The cotton I chose was too lightweight on its own, so I backed it with some denim. Here’s how I did it:

  1. Traced around the pattern on both fabrics adding 1/4 inch seam allowance.
  2. With right sides together, I stitched around leaving a gap for turning.
  3. Clipped my corners, turned right side out, and top stitched around, closing up the gap along the way.
  4. Reattached the velcro.

I think it looks better than the original, especially since my daughter doesn’t even know about Strawberry Shortcake.

handle bar cover

mend: Simple sewing projects can make me so happy. I love being able to say, “I can fix that!” Cotton fat quarter from my stash, denim from thrifted jeans.

first day of preschool

bella preschool

Well, sort of. This was right before we went to the preschool open house. Basically, it was an hour for parents and kids to become acquainted with the teachers and each other.

On her actual first day I made the mistake of trying to take her picture outside. As soon as I opened the door, all she wanted to do was run around the yard. So much excitement and energy!

Also, she refuses to wear the backpack I made for her. Oh, well. She had tons of fun on her first day and came home exhausted. I hope she has just as much fun today!