craft challenge creativity tote

Looking for the Sew, Mama, Sew giveaway? Click here!

Remember when I won second place in Crafty Nation’s contest for Christina’s denim messenger bag? One of the prizes was a free month to Christy’s Craft Challenge. Our local Lincoln Handmade Team is sponsoring the prize and I’m donating my challenge entry to the gift package!

creativity tote

I made a tote bag, because that’s what I do best. There’s plenty of room to carry a crafty project, plus two small notebooks and a pen for recording creative inspirations. Here’s how I used the challenge items:

  • blue fabric and cute buttons used for the pockets (there’s a matching pocket on the other side)
  • flower paper used for the notebook covers
  • flower, leaf and wire used for the pen

creativity tote

I was excited to find the blue floral fabric in my stash. It matched the challenge fabric perfectly. The rest of the tote is made out of cotton I got at a garage sale, of course.

I’m excited to see what everyone else puts together with the same “ingredients.” Go check them out and vote for your favorite at ChristyNelson.net!
sew, mama, sew may giveaway day

may giveaway day
I’m participating in Sew, Mama, Sew’s May Giveaway Day. Remember that beautiful tablecloth I was going to make into tote bags? Here’s the first one!

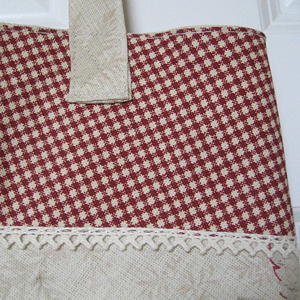
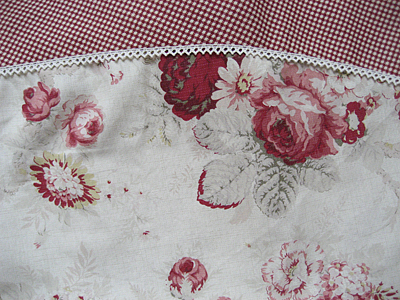
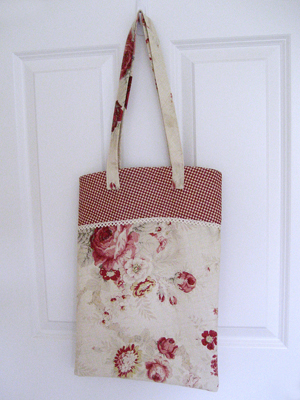
tablecloth tote bag

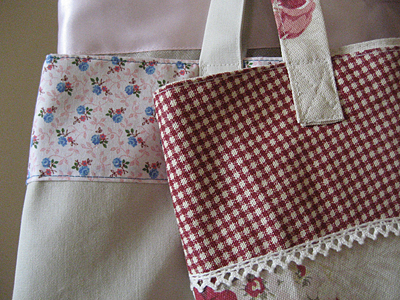
The top has a slight curve because the tablecloth is round. I love how the trim fabric contrasts with the floral print. The lace tape really pulls it together!

tablecloth tote bag

I’ll be making three more for my etsy shop, but I’m giving this one away! I’ll even ship internationally.

All you have to do to enter is leave a comment on this post. Yep! That’s it! You have until midnight, May 31st to enter. I will choose a winner with a random number generator. After you leave a comment, check out Sew, Mama, Sew for more fabulous giveaways!

recycle: original tablecloth purchased from garage sale here

Like this tote? Subscribe to my RSS feed or follow me on twitter for more recycled crafty goodness!

wardrobe refashion: pants to skirt

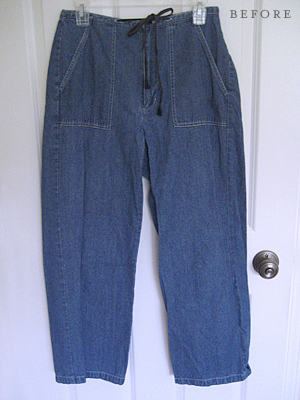
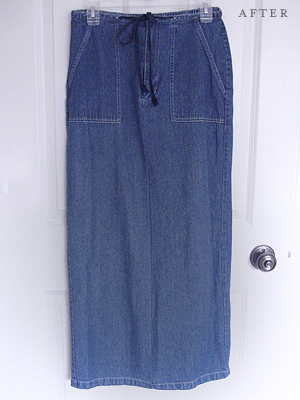
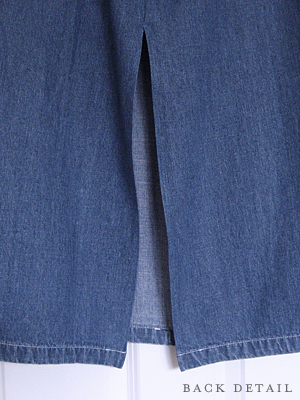
I finished the refashion of those denim pants that made me look like I was waiting for a flood. It was much easier than I thought. I have a pair of khakis that are the same style. I think I’m going to to take some pics next time and write up a tutorial.

jeans

jeans

jeans

refashion: sewing a cute skirt is a great way to transform out-dated pants so you can continue to wear and enjoy them.

coordinating cashmere box bag

box bag

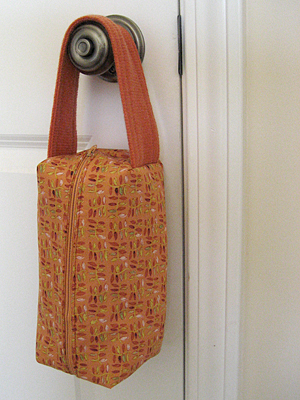
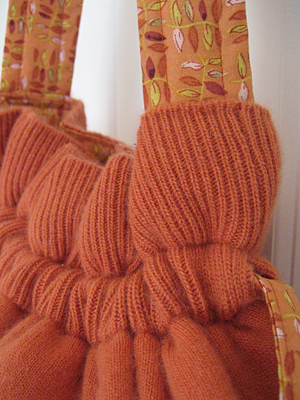
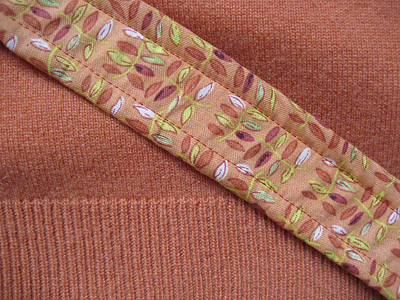
I finished a box bag to go with the cashmere sweater tote. It’s the first time I’ve used part of a sweater for one of these. The handle is sewn out of the turtle neck portion of the sweater. I delivered both to their new owner last night and she loves them.

I’ve got a lot of project deadlines this weekend so I’m trying to get a little mending out of the way today. Mostly fixing ripped seams and a few holes. It’s the calm before the sewing storm!

custom cashmere sweater bag

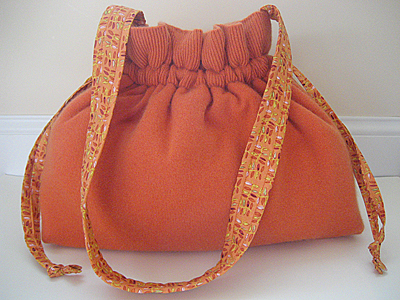
Remember the little peek I gave you of the custom cashmere bag? It’s finished!

drawstring sweater bag

It’s based off of Simplicity 3531. My friend gave me the pattern to let me know what she wanted. Problem with working with sweaters, though, is that the sweater dictates the pattern, not the other way around. I was worried that it might not turn out exactly how she wanted.

cashmere sweater tote

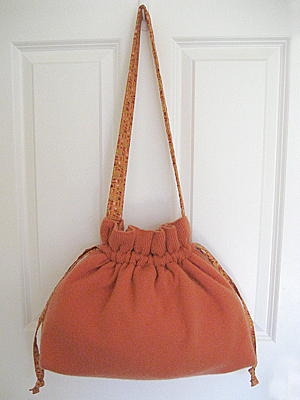
I think it looks better than ones pictured on the envelope. I was most concerned about the drawstring, but the cashmere ruffles up nicely.

sweater purse

I like it so much, I’m thinking about making a few more.

refashion: custom bag for a friend, sweater was thrifted, she provided the coordinating fabric

wardrobe refashion: t-shirt to cardigan

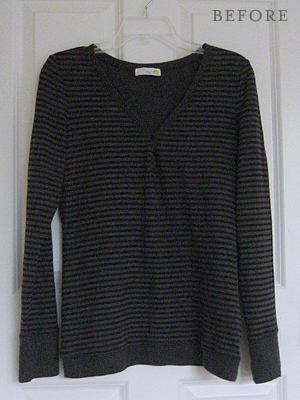
A few days ago I went to straighten up downstairs for house guests and I found this shirt in the closet. I forgot that my mom had left it for me after her last visit. She wasn’t happy with how the v-neck looked. When I tried it on, I thought the same thing. It didn’t look bad; it just didn’t look great. It was a nice size on me, though. I liked the colors and it’s really soft.

t-shirt to cardigan

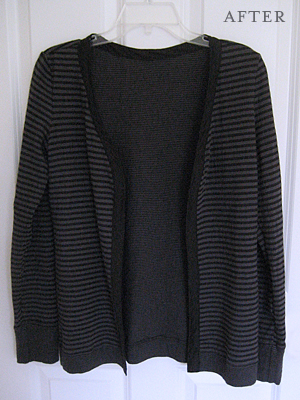
I decided to turn it into a cardigan. I’m always chilly in the summer when I’m inside in the air conditioning. I think this will be perfect to throw over a tank top or short sleeve shirt.

t-shirt to cardigan

How I Did It
• Made the bias tape out of some black cotton from my stash.
• Removed the buttons.
• Cut a straight line from the v-neck to the bottom.
• Sandwiched the raw edge in the bias tape and pinned.
• Sewed all the way around 1/8 inch from the inside edge of the tape.
• Sewed all the way around 1/8 inch from the outside edge of the tape.

I really like how it turned out. I did an ok job sandwiching the edges in the bias tape. I may fiddle with how I do that in the future. Overall, I think my first wardrobe refashion was a success!

refashion: If you have a shirt that you really like, but it doesn’t fit well, turn it into a cardigan. Cotton for bias tape from my stash, shirt from my mom.

too many projects started…

…not enough finished.

I’ve been really busy lately, but don’t have many pictures to post. How does that happen? This week I worked on a custom sweater bag with coordinating box bag. It’s almost ready for pics. Here’s a peek.

cathy bag

Doesn’t it look soft? It’s cashmere and sewing up beautifully.

I also finished up a gift for a friend who is moving at the end of the month. She brought some yarn to knitting group to destash because she didn’t want to move it all back to NYC with her. The yarn was so pretty and soft I decided to knit a cowl for her. You can check out pics on her blog. I’ve been really bad with pics this week. I just realized I didn’t take one of another box bag I finished and mailed off. Oh, well.

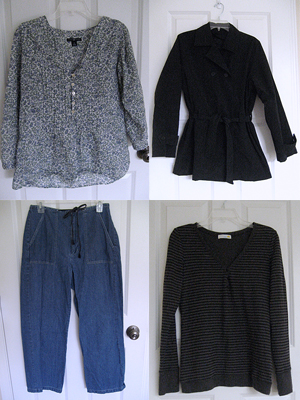
I’ve also started some refashioning projects. The denim pants are halfway to becoming a skirt. The striped shirt is going to become a cardigan. The floral shirt and jacket were from my neighbor’s garage sale.* I wasn’t planning to buy anything at the neighborhood sales this weekend, but felt I should at least stop by and say hello. I’m not sure how these made it home with me. Oops! The jacket has a removable quilted lining! Both are a little too big, but should be easy to resize.

refashion

A tablecloth sort of kind of came home with me as well. I’m thinking it will make some really beautiful tote bags.

table cloth for tote bags

All right. Better stop writing and start sewing so I have something to post tomorrow!

*If you are looking for kids clothes and toys, come to our neighborhood this weekend. The garage sales are kid central around here!

recycle and refashion: sweater was thrifted, client provided coordinating fabric, box bags made from stash fabric, clothes are from my closet, my mom, and garage sales, tablecloth from garage sale

how to sew a placemat zipper pouch with only four seams

zipper pouch tutorial

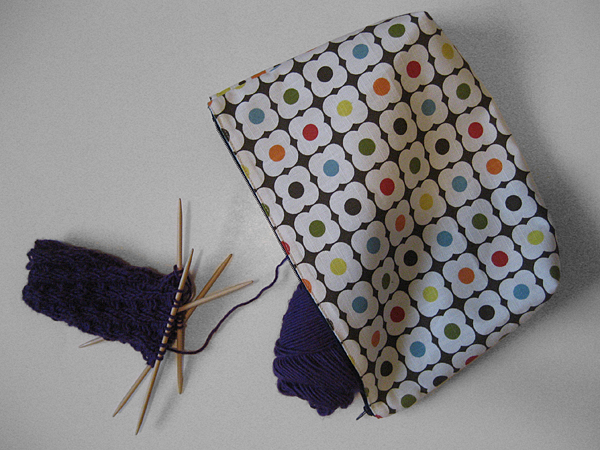
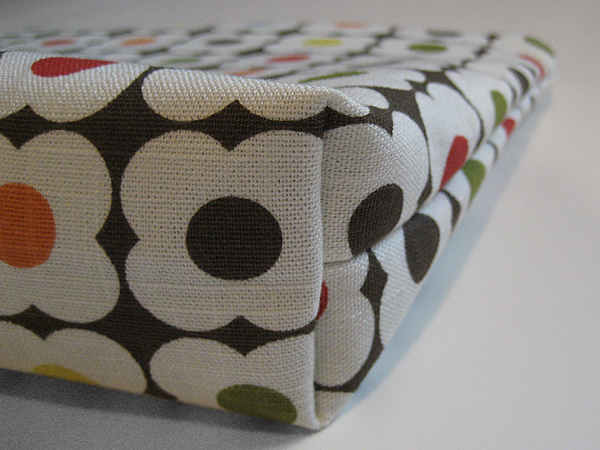
I found this cute Orla Kiely placemat at Target a few weeks ago and wanted to make something quick and easy for my knitting. Because the edges are already finished, I only needed to sew four seams. If you want a gusseted pouch, you can sew two more seams. Either way, it’s a very fast and easy project.

zipper pouch tutorial

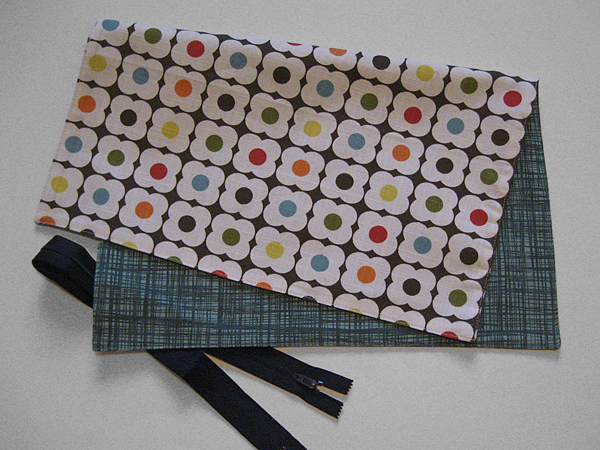
Materials
a placemat (mine was 14 x 17 inches)
a zipper that’s at least 14 inches
coordinating thread
heavy duty sewing needle
zipper foot

zipper pouch tutorial

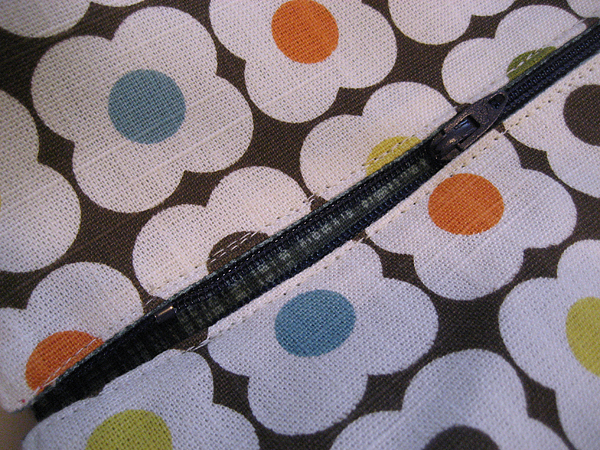
Using your zipper foot, stitch each 14 inch side to the zipper, beginning and ending 1/2 inch from each side.

zipper pouch tutorial

With the zipper halfway open, turn the placemat inside out. Sew your side seams while holding the zipper out of the way. (This is why you left 1/2 inch unsewn on each side.)

zipper pouch tutorial

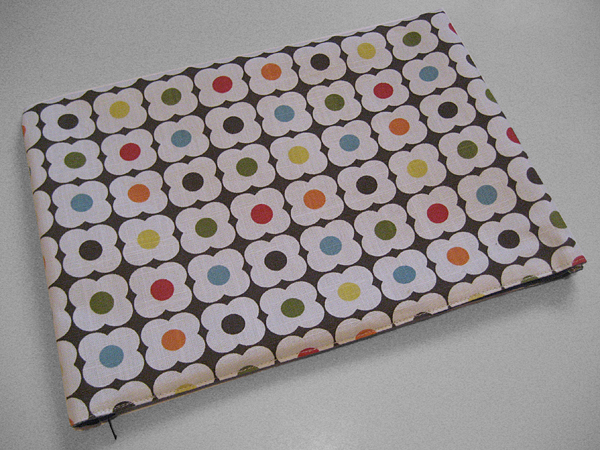
Turn the placemat right side out and you’re done! If your zipper was longer than 14 inches, you can trim the extra.

Optional Gussets

zipper pouch tutorial

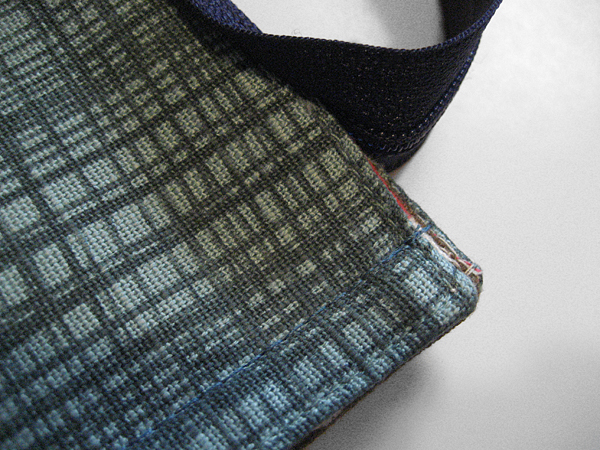
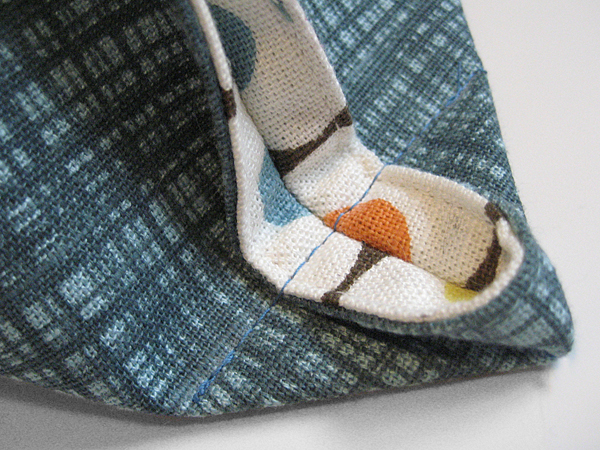
Box your corners, but don’t trim. The triangles are small and won’t take up much room. Plus, you’ll have no raw edges that might unravel.

zipper pouch tutorial

Want to see more projects using Orla Kiely placemats? Thimbly Things made a cute purse with hers and linked to a bunch more adorable bags.

refashion: Using finished items like placemats make your projects fast and easy because your edges are already finished.

Thanks to Whip Up, Craft Gossip and One Pretty Thing for linking to my tutorial. Subscribe to my RSS for more crafty goodness!