wardrobe refashion: t-shirt to bike shorts

wardrobe refashion

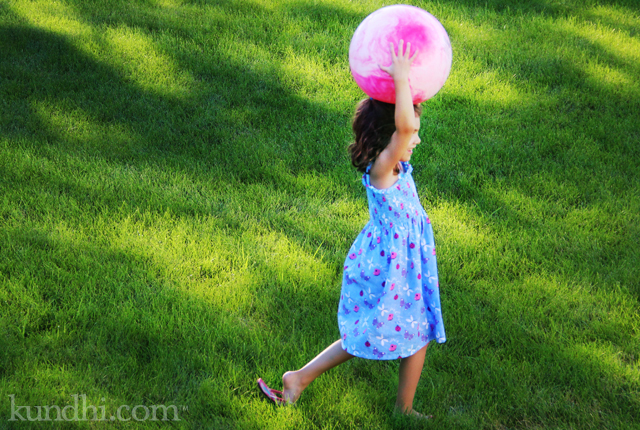
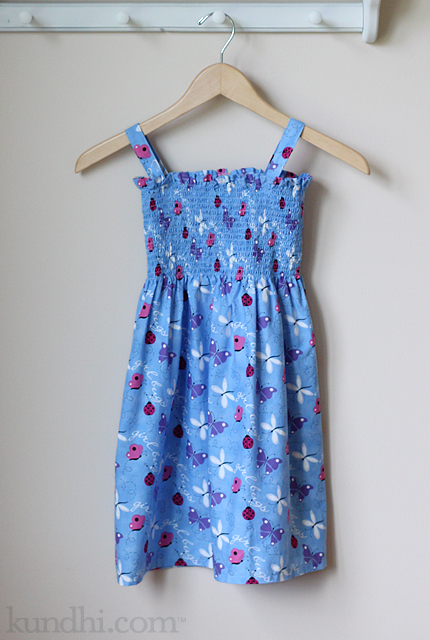
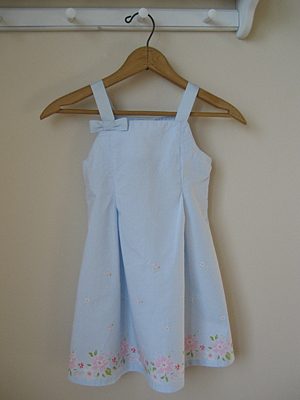
My daughter loves wearing dresses. She also loves to climb tall jungle gyms and roll around in the grass with her feet in the air. She understands the concept of modesty, but she’s too busy running, jumping and playing to be worried about such things right now. I get it. I want her to have fun and not be self conscious. So the new rule: bike shorts under dresses.

A few years ago, I posted a pattern for easy kids shorts. I followed the same basic steps to come up with the bike short pattern. I had also planned to share the template with you, but it’s gone missing. Whoops!

I have a few more to make, so I guess I’ll be redrawing the pattern. I’ll let you know when it’s posted. In the meantime, I’ll be outside teaching my daughter how to do cartwheels.

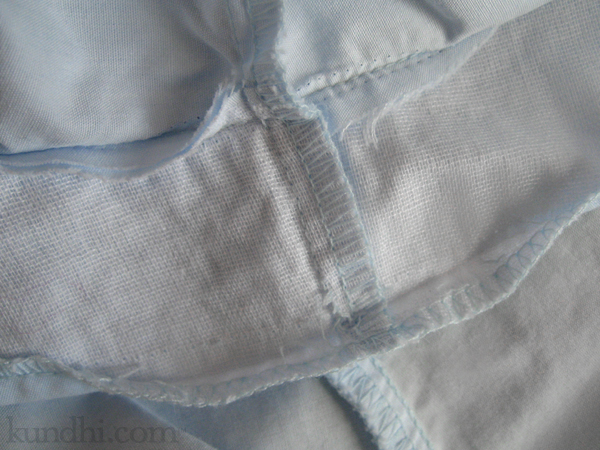
stash: One of my t-shirts rescued from the donation bag. Thrifted elastic.

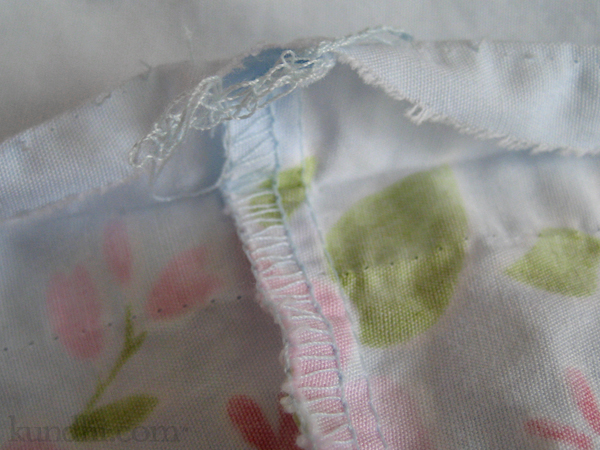
A seriously fast, easy and inexpensive project. Plus, they go under a dress, so they don’t have to be perfect!

re-refashioned tote bag

More sewing! I’m on a roll!

A few years ago I refashioned this conference tote bag* with an old t-shirt. I used it until poor Siouxsie started to get holes. Amazingly, the canvas tote underneath showed practically no wear. I think it might be indestructible.

refashioned conference tote bag

So I re-refashioned it. I have another black tote and I’m thinking of making a set. I really love this fabric.

refashioned conference tote bag

*Wow. Did you click on that link? My blog photos have really improved over the past few years!

ladybug water bottle carrier

water bottle carrier

Yes! I did a little bit of sewing!

The heat wave has passed, but it’s still hot. (It is Summer, after all.) My daughter has a few days left of camp outside, so I got her a small water bottle to take along. I couldn’t imagine her carrying it around without leaving it somewhere, so I whipped up a little carrier for her.

“It’s not a water bottle carrier, Mom. At camp they just call it a bottle carrier.”

Whatever. I made one of these awhile back and it came out kind of snug. I added generous seam allowances to this one and it’s a little big. Maybe if I make third one it will fit just right.

And yes, it matches her neck cooler. She’ll be super coordinated next year at the Kearney Cruise.

resources: I really did wing this, but not before checking out tutorials by Pink Chalk Studio and The Long Thread.

neck coolers to the rescue

skip to my lou neckcooler

Every July, car enthusiasts migrate to Kearney, NE for Cruise Night. It’s actually an entire weekend of events. We just go for Saturday afternoon and evening, leaving right before the actual “cruising” begins.

The highlight of the afternoon is the car show. It’s hot. Steel, pavement, brick and asphalt radiate an overwhelming amount of heat. That doesn’t seem to keep anyone away. In fact, if people aren’t talking about cars, they are usually comparing heat indexes.

“This is better than last year.”
“No way! Last year was much hotter.”
“Remember that first year we came? It was miserable!”

We are crazy like that.

This year I came prepared to beat the heat with neck coolers. These things were so easy to make and they ROCK! They are supposed to work best in low humidity, but stick them in an ice cooler for a few minutes and they feel heavenly!

Since it was a car event, I used checkered flag fabric for the guys. My daughter picked out lady bugs for herself and (thankfully!) wore it all day long. If you are spending any amount of time outside this summer, I highly recommend them.

pattern: I used Skip to My Lou’s tutorial exactly for the adults. For the kids, I decreased the length to 26 inches and sewed on some velcro to keep them in place. I found cracked ice crystals at Michael’s in the floral section.

How do you keep cool outside during the summer months?

the ladybug dress

girl bug fabric

blog flashback: Two years ago I refashioned a woman’s shirred shirt into a dress for my daughter.

A few months ago, I got a message from a friend about some free fabric. I tried to resist. I really don’t need any more fabric. I did need a little quiet time with friends, though. Besides, what if I found something really cool?

girl bug fabric

I have always wanted to make a dress out of pre-shirred (or mock-smock) fabric. This happened to be the perfect amount: just shy of 1 1/2 yards. (It’s hard to tell how much you’ll need with all that elastic. My daughter’s chest is 21 inches, if that gives you some perspective.)

girl bug fabric

I made the dress long, hoping and praying she might be able to wear it next year. I even hid some extra strap length inside the back. I guess I could always turn it into a shirt next year, too.

What do you think about mock smock fabric? Have you ever shirred fabric with elastic thread?

fabric dog tag (good for penguins, too)

fabric dog tag

You’ve met Puppy before. He’s the one who got a new nose. He’s my daughter’s best stuffed friend. I get really nervous when we take him on trips. I can’t imagine what life would be like if he got lost.

Right before our San Diego trip last year, I made fabric tags for Puppy and his little cat friend Gnocchi. It was a last minute idea. I cut out small rectangles of muslin and applied fray check to the edges. When they were dry, I used a fabric marker to write “If found, please call” with my cell phone number. Then I hand stitched the corners to each stuffed friend.

It was my intention to make something soft so it wouldn’t poke my daughter at night. Of course, now she sleeps with a hard, plastic penguin, too. Kids! I wound up stitching a label to Pengi’s leg for this trip. When everyone gets home safely, I snip the stitches and save the labels for next time.

Does traveling with your child’s “special friends” make you nervous? How do you ensure their safe travels?

how to: adjust the side seams of a dress in
4 easy steps

how to alter little girl dress

I’ve been waiting for this dress to fit my daughter for two years. When she tried it on this Spring, it was just above her knees, but still too big in the body. The only way she would be able to wear it would be if I took it in at the sides. It was actually very easy. All you need is a seam ripper and some matching thread.

Step 1
Unpick the facing under the arm and the bottom hem a few inches on either side of the seams.

how to alter little girl dress

how to alter little girl dress

how to alter little girl dress

Step 2
Unfold the fabric. Press the facing and hem flat.

how to alter little girl dress

how to alter little girl dress

Step 3
Mark the new seam and stitch. (My daughter is kind of squirmy. I measure in thumbs, not inches. I took this dress in one thumbnail on each side.)

how to alter little girl dress

Step 4
Re-fold the facing and hem. Stitch over the original holes.

how to alter little girl dress

how to alter little girl dress

See? Really easy! I didn’t even trim the new seam allowance. The edges were already finished with a serger, so I just pressed them toward the back of the dress before stitching everything back together.

I have a feeling I’ll be doing this to a lot of my daughter’s dresses this Summer. Let me know if you try it!

how to: blind hem stitch without a special foot

Last week I had to hem a pair of pants and I was so excited to use the blind hem stitch for the first time. I checked out a few online tutorials and everyone started out with the same thing: you’ll need a blind hem foot, switch to your blind hem presser foot, first you’ll need a blind hem foot that has a guide.

Huh? When the women demo’d the blind hem stitch to me on my machine, she did not use a different foot. So, I did a little bit of experimenting with some practice fabric. Here’s the hem.

blind hem without a blind hem foot

Here it is folded back. I pinned it in place.

blind hem without a blind hem foot

I did some practice stitches to figure out where the fold should be positioned for the best result. I used a magnetic seam guide to mark the best position. Painter’s tape would work just as well.

blind hem without a blind hem foot

What you want is for the hem stitch to just barely catch the fabric…

blind hem without a blind hem foot

…so when you look at the right side, the stitches are small little dots. When you use matching thread, they’ll become practically invisible.

blind hem without a blind hem foot

And that’s it! No special foot needed. I took a picture of my guide position for future reference. You could write it in your manual or just leave the painter’s tape on your machine if you are going to do a lot of hemming.

resources: This video does a good job of showing how to fold your fabric before hemming. This is a great tutorial for hand-stitching a blind hem, which is a nice alternative if you are in the mood for a little bit of hand work.

my creative space

side zipper creative space

This space hasn’t been very creative in the past week. I’ve been sick since last Saturday. I’ve spent a lot of time sleeping and not much else.

Right before that I had made a trip to the thrift store and started work on some summer refashioning. I also drafted a skirt pattern from scratch and made this muslin. Notice what’s on the side? A zipper! I’m not sure why I’m so intimidated by these buggers, but I’m going to conquer that fear this summer. So long elastic waistbands!

pattern: I used the a-line skirt formula in Sew What! Skirts. Muslin fabric is a floral sheet.

More creative spaces here.

how to: personalize end-of-year teacher gifts
in 3 easy steps

tutorial fabric marker artwork on sewing gifts

Ok, so this really could be a how to: personalize any gift. It’s just that I really wanted to get my daughter involved with her teacher thank you gifts this year and this was all her idea.

She had been playing with a fabric gift card sleeve of mine and asked if we could make something similar for her teachers for “receipts and stuff.” She also wanted to decorate it herself.

You could do this with any fabric gift: zipper pouch, bookmark, you could even buy some blank canvas tote bags from the craft store. The important thing is to get your child involved!

Materials
In addition to your project supplies, you’ll need:
-disappearing ink pen
-fabric markers

Step 1
With your disappearing ink pen, mark off the area where your child can draw. It’s ok if she wants to draw outside of the lines, just make sure that the most important artwork is in the marked area.

Step 2
Let her go to town! When she’s finished, follow the directions on your fabric markers. Mine did not require heat to set the ink, but it did recommend two coats of ink. I traced over her lines after she went to bed.

Step 3
Sew up the gift!

tutorial fabric marker artwork on sewing gifts

What surprised me most about this project was how specific my daughter was for each drawing. Sueann received a picture of a treasure map (something she saw at school) with X marks the spot at a heart-shaped rock. Lorie received flowers (it was nature school—makes sense). Diane received a picture of “things falling” (not sure about that one—neither was Diane). They were all so different! She made sure I put a tag on each gift so it went to the correct teacher.

stash: I wish I thought to put a note about all of the recycled textiles that went into this gift. Nature school teachers are all about reusing. The fabric was thrifted and the zippers were recycled from other textiles. I wish I took a pic of the insides. She picked out different linings for each teacher, too!