how to adjust the waist of your pants/jeans in 4 easy steps

My “Finished on Friday” project this week has turned into a tutorial. I think you are going to love it. I had written a similar tutorial about a month ago complete with pictures. Something just didn’t feel right about it, though. I figured there must be an easier way to tackle this problem. Then I found a great fitting pair of jeans at the thrift store. The secret: a “comfort elastic waistband.” See how the elastic is incorporated around the entire waist?
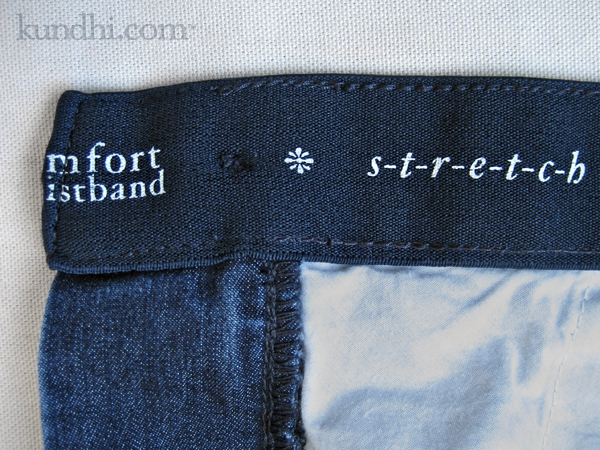
take in pants jeans at the waist

Then my friend Amy commented on my frustrations taking in the waist on these pants. “When I have encountered that I sometimes just open the side seam in the waistband area and thread new elastic right over the old.”

Aha! Remember my adjustable elastic tutorial? This is kind of the same, but better. The elastic goes around the entire waist, so there’s no bunching up in any one place. The fabric is evenly distributed for a smoother finish.

You can even do this without a sewing machine as long as you don’t mind a little hand stitching.
take in pants jeans at the waist

Materials
3/4″ or 1″ wide elastic
small, sharp pair of scissors
Fray Check
pin, needle and thread

Step 1
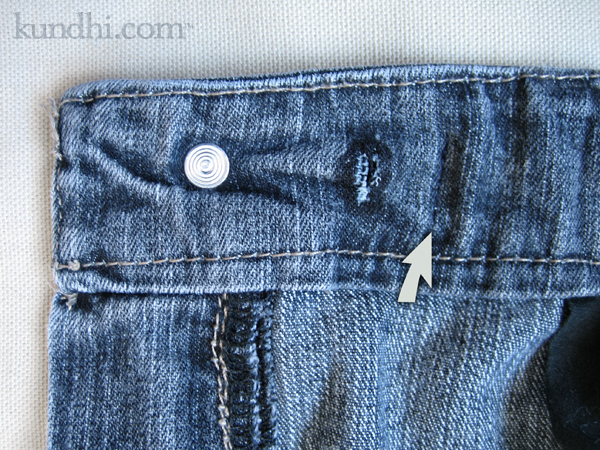
Snip two holes on either side of the waist to create a casing for the elastic — one just inside the buttonhole/snap and the other just inside the button/other snap. Make sure your scissors don’t go through to the other side! Apply Fray Check to the raw edges.

Step 2
Thread the elastic through the casing and secure with stitches on one side. (My thread matched the denim a little too well. The arrow is pointing to the stitches. If you look really close, you’ll see them.)

Step 3
Try on pants and pull on the elastic until you’ve got a good fit.

Step 4
Pin elastic in place, take off pants and secure with stitches on the other side. Trim excess elastic.

That’s it! Totally easy! You can do this to any pants that:

  • fit your hips, but are too big in the waist
  • fit everywhere except that annoying gap in the back
  • are made of denim without that 2% of spandex to make then snap back into shape after one wearing
  • need to tide you over while you lose weight and fit into the next size
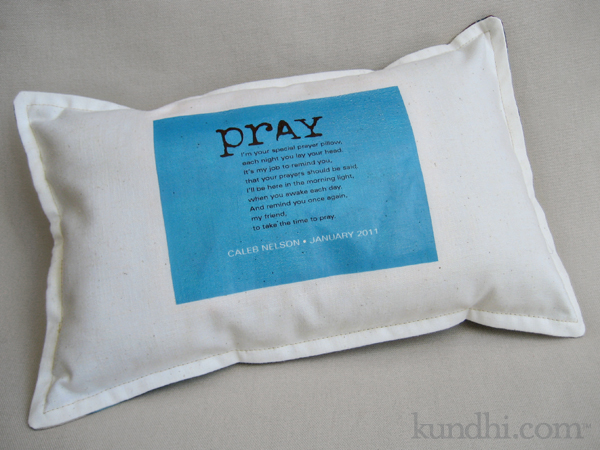
handmade baptism gift: prayer pillow

prayer pillow

This weekend I went to my first Mormon Baptism. I did some research to see if there was a traditional gift, but turns out it’s pretty much like a Catholic Baptism (except the children are a little older and get a little more wet).

I kept seeing prayer rocks popping up in my search. I never heard of these before, but liked the idea behind them — the prayer reminder, not the bonking-in-the-head and stubbing-of-the-toe with a rock part. I decided a prayer pillow would be a nicer, gentler gift.

prayer pillow

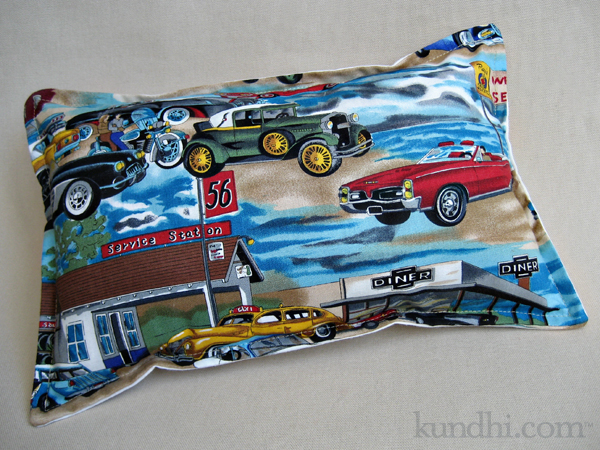
I was excited to use some of my retro automobile fabric for this project. I made a matching drawstring bag, too. I used ink-jet iron-on transfer paper to print the poem and personalize it. It turned out so cute! The only thing I would change next time is to trim the iron-on paper with some fun patterned craft scissors instead of a plain rectangle.

prayer pillow

I think this would make a great gift for anyone celebrating an important faith milestone: Baptism, First Communion, Confirmation.

stash: Everything for this project was in my stash. My daughter helped me stuff it with polyfil. It was nice to involve her in the project. Prayer pillow poem can be found here.

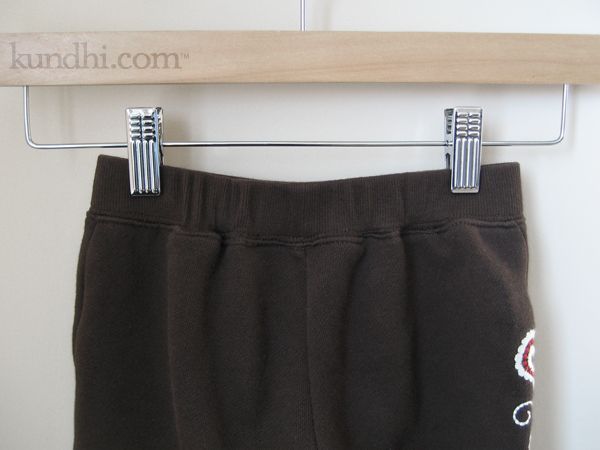
finished: elastic waist surprise

altered waist

These pants are from the mending pile. They fit my daughter in length, but were too big in the waist. They looked like an easy fix: open up the waistband, take in the elastic, stitch the casing closed.

As I started with Mr. Seam Ripper, I noticed that there were a lot of stitches. In fact, it looked like a row of regular stitches over a serged row of stitches. What the? Then I realized there was no casing. The elastic was sewn directly into the waistband and pants.

If I took them in the correct amount on only one side, the back would look lopsided. I decided to take them in half the amount on either side, just like darts. (In hindsight, sewing darts over the elastic would have been easier!)

I got things put back together fairly well. On the hanger they look a little bunched up, but when my daughter wears them they look just fine.

Next time, I will pay closer attention to the construction before I start ripping out stitches.

What have you finished this week?

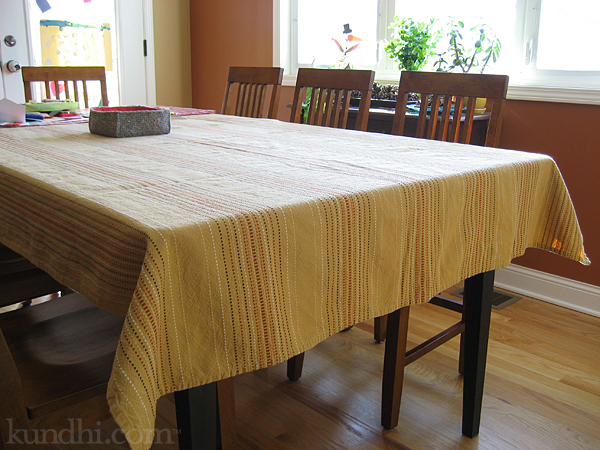
new (to me) tablecloth

tablecloth refashion

I’m starting with an after picture so you’ll see the pretty new tablecloth first. I’m a little bit embarrassed posting the before picture, but I guess when you publicly make a commitment to finishing up some long overdue projects, that’s what happens. In my defense, the chair at the end of the table usually covers up the orange tablecloth. Here it is:

tablecloth refashion

Some history: a few years ago we ordered a table base online and had a local guy make the top for us. Our plan was to stain it the same color as our cabinets. The stain gives me a headache, so it needs to be done outside. There aren’t a lot of good days for that with Nebraska’s cold winters and windy summers. I bought the red striped tablecloth to help protect the unfinished wood.

Then my daughter got to the drinking-milk-out-of-a-cup stage, followed by spilling-milk-on-the-table stage and I needed something to protect the wood better. The vinyl tablecloth I found was too big, but it matched our decor. It’s nice for messy group projects, like carving pumpkins or birthday parties. I figured I’d wait to hem it until I found a more permanent tablecloth.

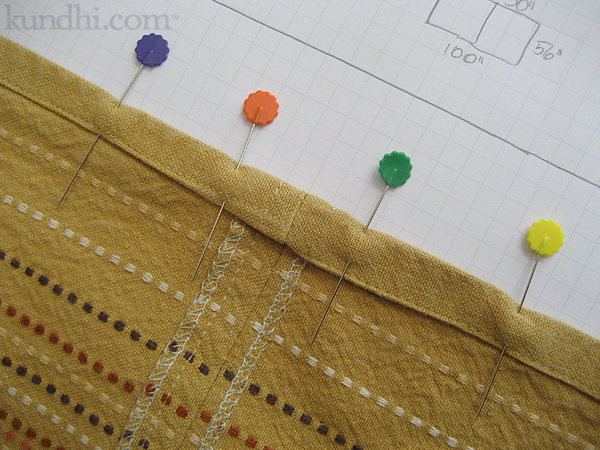
Fast forward to last week: I finally found the perfect tablecloth. Unfortunately it was too small, but fortunately there were two! I cut off the extra, serged the ends and unpicked the hems for a “seamless” seam.

tablecloth refashion

The extra fabric will become matching pillow cushion covers for the adjoining room. And the vinyl tablecloth finally got hemmed! I’m not sure what I’m going to do with the extra vinyl fabric. Any suggestions?

thrifted: original tablecloth was on clearance at Target, but all of the others are from local thrift stores.

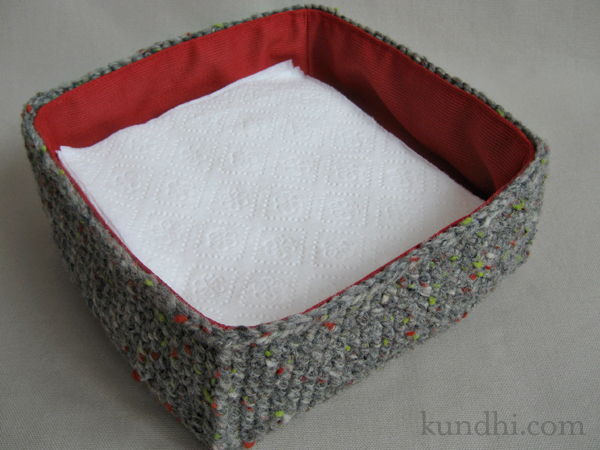
finished: crochet basket lining

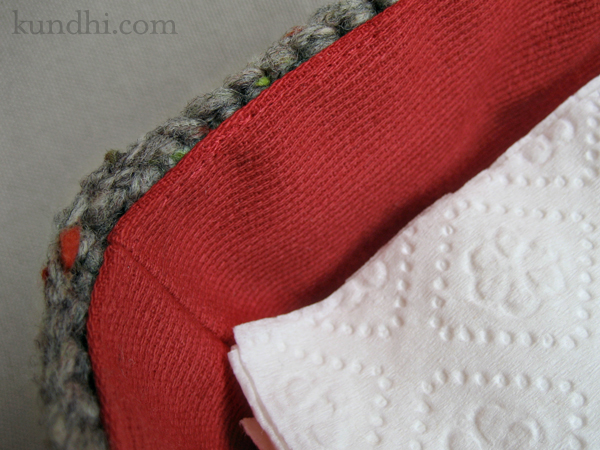
lined crochet napkin basket

My first official Finished on Friday post: remember this basket? Back in September I mentioned that it was ready for a lining. Then it sat around for a few months before I decided to just start using it.

Without a lining, though, the sides were getting a little saggy and our napkins were getting a little wooly. Not only that, but every time I sat down at the kitchen table I felt UFO Guilt. (UFO=unfinished object)

lined crochet napkin basket

It didn’t take that long to do: just a little sewing in the afternoon and some hand-stitching in the evening.

stash: I wound up using some leftover upholstery fabric from the rollie pollie.

What did you finish this week? Share in the comments!

the big to-do pile

big to-do pile

A few things got put on hold over the holidays. Most of them are simple mending projects: fix a hole here, sew a button there. I should mention that the basket isn’t entirely full of clothing. The bottom half is filled with yarn bits for granny squares. The mending just sort of moved in and set up camp on top of them. But in the spirit of full disclosure, there is another pile not pictured that needs the same attention.

I’m making it a goal to finish one project a week. I’ll probably get motivated to do more once I get started, but I want a realistic goal that I can keep. My plan is to highlight each one on a new “Finished on Friday” weekly post. Hopefully, writing it down here will seal my commitment!

I actually completed one project earlier this week. While I was working on the puppy nightshirt, I let the hems down on these and these from last year. Yay for progress!

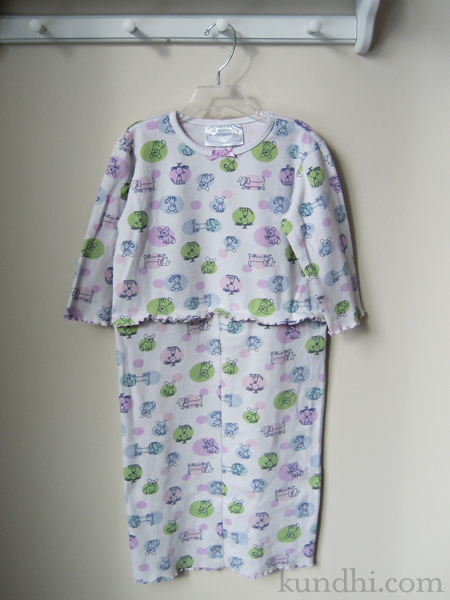
wardrobe refashion: puppy nightshirt

This nightshirt used to be a pair of pajamas. Repeated washings have caused them to shrink, but instead of getting smaller all over, they got shorter and wider. I tried to convince my daughter they were ready for the donate pile, but the “doggie pajamas are her most favorite.” She asked me if I could turn them into a nightshirt like her Mickey pajamas.

pajamas turned nightshirt

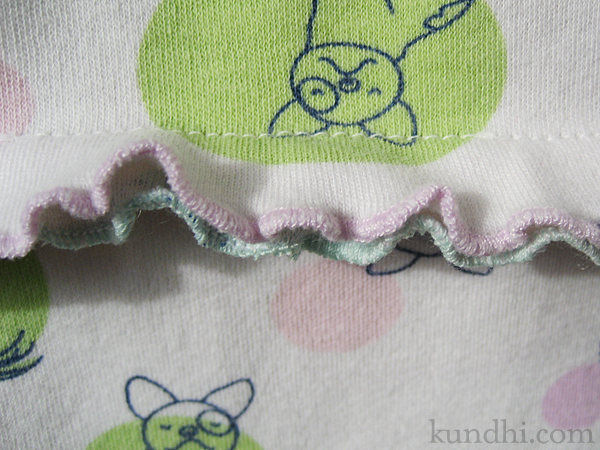
Since they were so wide, all I had to do was remove the elastic waistband, sew the pant legs into a tube, and attach them to the shirt. I added a rolled hem to the raw edge of the waist to match the shirt for a little more ruffle action: pink hem original, green hem mine.

pajamas turned nightshirt

technical note: I had a serious problem with skipping stitches on this project, no matter what my tension, regular or ball point needle, even different thread. When I switched to a muslin scrap the stitches were fine. I figured it must be the fabric so I tried putting a piece of paper tissue under the presser foot. It worked like a charm and the tissue tore away easily. I’m not sure where I first read this idea, but I’m glad I remembered it!

wardrobe refashion: I don’t think the life of these pajamas really need to be extended much longer. We’ve had them awhile and they are well loved. I’m curious how long they’ll last in their new form.

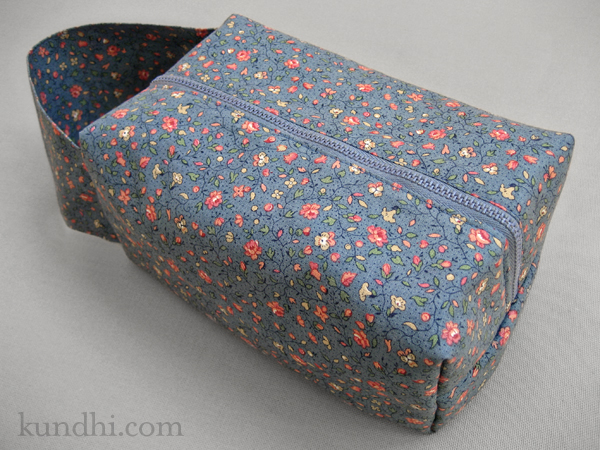
little blue box bag

blue box bag

Just a quick post today because I’m spending all of my free time working on the little baby sweater. (It’s about half finished. Completing it for Saturday just might be a realistic goal!)

A few months ago when my friend asked me if I wanted her odds and ends of yarn, I told her I’d make her a box bag in return. Of course, now that I’ve received the very large tote of goodies, I think I need to make something else for her, too. Maybe a matching tote bag? Hmmm…

stash: fabric, denim lining and zipper all from my thrifted stash.

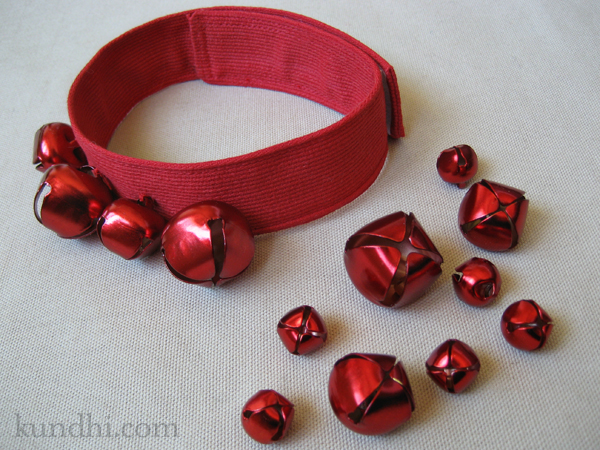
jingle all the way…

My daughter found a loop of jingle bells at the coffee shop and insisted I buy them for her. They were kind of expensive for a handful of bells and very loud, as well. Thankfully, I convinced her that we could make our own jingle bells together. She was super excited when we found red bells at the craft store. “Red is my favorite color!” I stitched a little loop of fabric with some velcro and tada!

handmade jingle bells

I’ve been purposely slow on finishing this project. Four bells are plenty jingly and loud. I may add on a few more before packing them away for next year. Funny that they don’t sound as loud now as they did when we had rockin’ roll Christmas music playing in the house 24/7.

stash: red upholstery fabric left over from the rollie pollie. velcro from stash.

how to make mini race flags in 3 easy steps

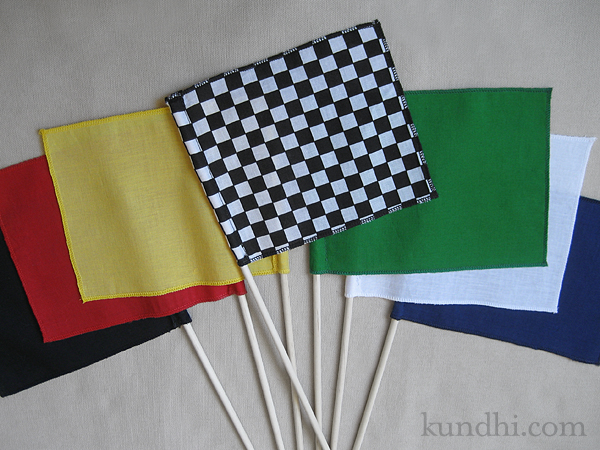
race flag tutorial

My daughter didn’t ask for many things this Christmas. I wasn’t surprised a race track was one of the few items on her list, but I wasn’t expecting a request for a set of racing flags. I figured they’d be easy to make, but they couldn’t look homemade. They were coming from Santa, after all. These would make great gifts for the little racing fans in your life — girls and boys alike.

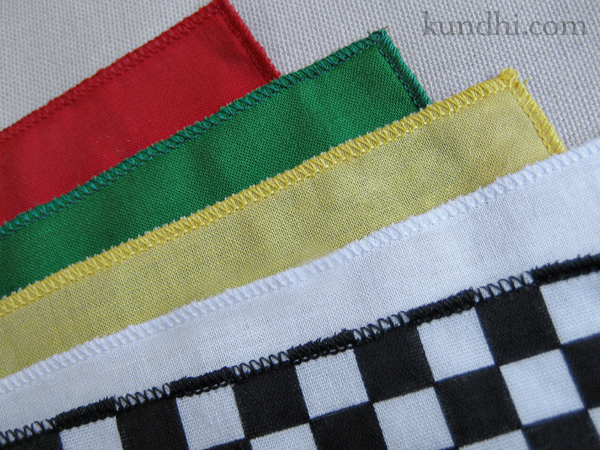
You’ll need a serger for this project. I suggest making a few sets at once. The project itself is super easy, but changing the serger thread is a bit time consuming. It’s definitely not a last minute Christmas Eve project, ahem.

Materials
5″ x 7″ rectangles of various colored fabric (flag definitions here)
3/8″ x 12″ wood dowels
matching thread, three spools each
fray check

Notes
Thread: Those big grab bags of half-used spools of thread at the thrift store are perfect for these. You’ll need a lot of spools, but not a lot of thread.

Changing serger thread: I don’t re-thread my serger every time I change thread. Simply snip the original thread close to the spool and tie on a new spool. Then lift your presser foot to release the tensions and pull the threads through. Try not to run the knots through your tension wheels and be careful with the knot at the needle’s eye. You may have to re-thread the needle. Once new threads are through, drop your presser foot and start serging!

race flag tutorial

Step 1
Serge all four sides of each rectangle with a rolled hem.

Step 2
Fold one shorter side over 1/2″ and press. Sew the top and side closed, stitching close to the rolled hem. Leave an opening at the bottom for the dowel.

Step 3
Trim ends. Secure the serged ends with Fray Check. Slide flag onto dowel.

storage: A drawstring bag made with the checkered flag fabric would be so cute for these! A mailing tube from the office supply store also works.

confession: I bought new, same brand fat quarters of fabric for this project. It almost killed me to do so, but my daughter is really enjoying the idea of Santa this year, so I caved. Normally I would have raided my fabric stash of scraps for this project. Next time for sure!