my creative space

my creative space

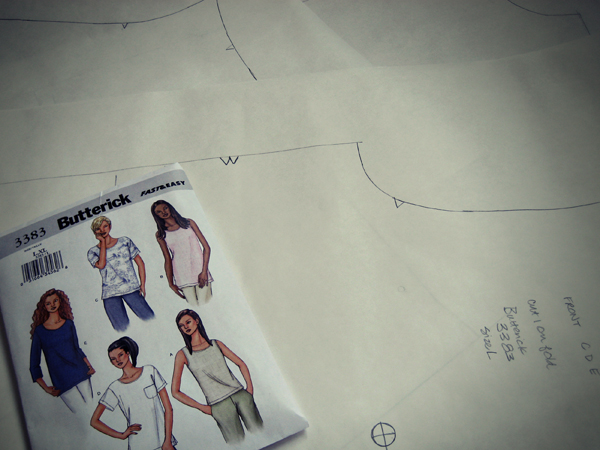
In my creative space today I’m still thinking about sleeves. I’m not sure if I’m going to make a shirt from scratch or use these pattern pieces on an existing garment. Can’t. Stop. Thinking. About. Sleeves.

What creative things are you thinking about today? Don’t forget to check in on the great creative minds over at Kirsty’s blog.

wardrobe refashion: hippie shirt

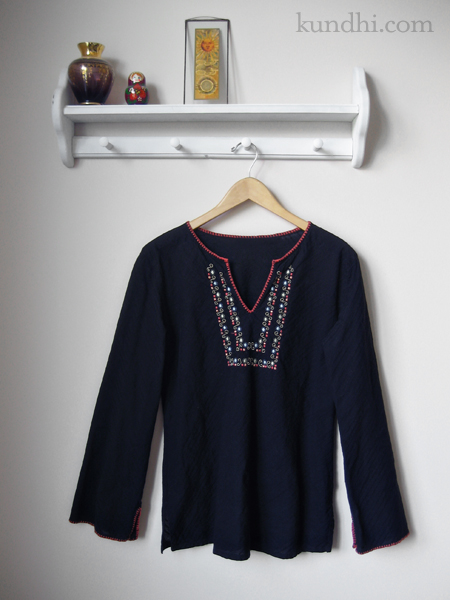
thrifted hippie tunic

It occurred to me as I got dressed this morning that I never blogged about one of my favorite refashions: the hippie shirt. I love the look of these style tunics, but they’re not the most flattering for me. I really need a defined waist.

I refashioned this last year before I ever attempted to remove a sleeve from a shirt. I just used my 80s sweater method and took it in a little bit under the arms and around the waist.

Luckily this material was forgiving and it turned out pretty good. I’d like to do the same to some of my knit jersey shirts, but I think I’m going to have to take the sleeves apart to alter them. I plan to practice on a few of my thrifted shirts. Hopefully, I’ll have some success stories to post soon!

last-minute abby cadabby fairy wings

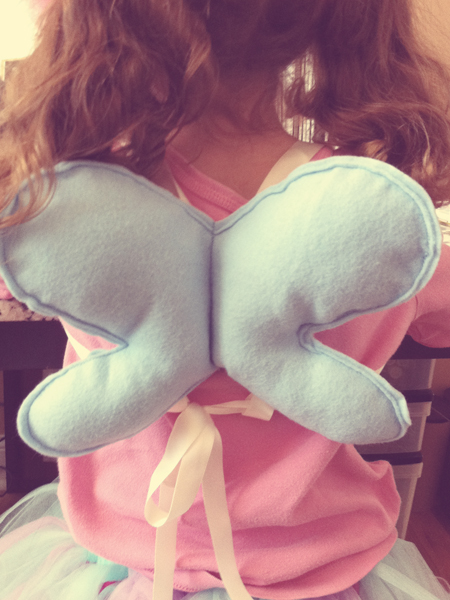
abby cadabby fairy wings

My daughter insisted she was going to wear her Abby Cadabby costume again for Halloween. I was a little worried she might change her mind at the last minute. Yesterday I asked her what she was going to wear underneath the skirt. She told me the pink leggings and silver fairy shoes she wore last year. I reminded her that she no longer fits in those and suggested jeans and her school shoes.

Well, that was not going to work. Abby Cadabby does not wear jeans or regular shoes, she told me. Oh, and she needed fairy wings this year. Last year she didn’t need them because she had a wand, but this year she had to have both.

I tried to go the easy route. Thankfully, Target had silver fairy shoes and pink leggings in her size. The costume area was totally picked over and there were no wings to be found. I came home and dug through my stash for some felt, stuffing and ribbon. Luckily, I wound up with something that could pass as fairy wings. She loves them. I like that they aren’t attached to anything so she can wear them over a sweater or coat if it gets cold.

What on earth would I do without a sewing machine and fabric stash?

holiday gift idea: sweater sleeve socks

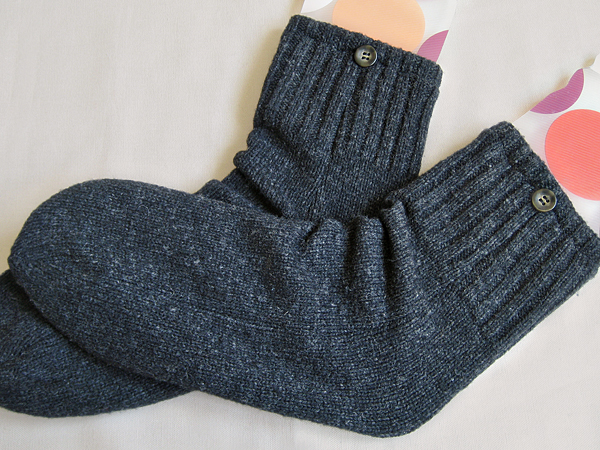
sweater sleeve socks

Ever since I started knitting socks, I’ve wanted to knit a pair for everyone in my family. There’s something about giving a gift of warmth, especially when it’s handmade, that I really like. I just don’t have time to make it happen, so I started to think of alternatives.

One day I was looking through Linen, Wool, Cotton and saw a pattern for socks using angora wool and I got an idea. I’ve got plenty of wool sweaters in my stash. Why not make a pair of socks out of that?

These are basically a tube with one rounded end. I didn’t felt the wool, but used my serger to enclose the raw edges. The cuff has a casing for elastic to help them stay up. The button is just for decoration.

I see more of these in my future. I’ll be looking for superwash or wool blend sweaters so they can be machine washed. I’m also thinking about stripes, fair isle and cables. The possibilities are endless!

alternatives: If you don’t have a serger, you could felt the sweaters first so the edges don’t unravel or try the zig zag stitch on your machine. Felted socks may be too thick to wear with shoes, but would make great slipper socks for lounging around.
personalized denim tote bags

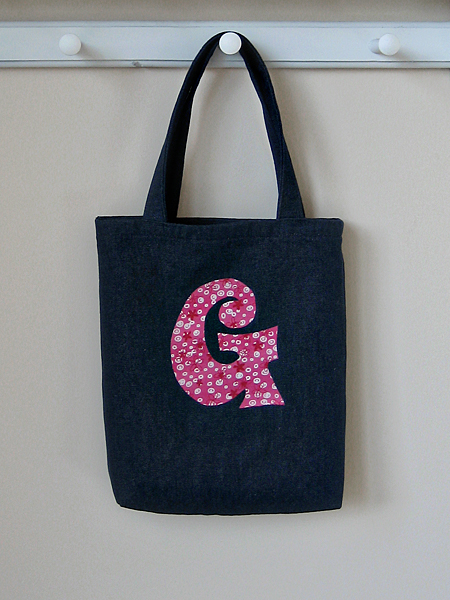
small denim gift bag

Thanks to Sister Diane, I spent more time cleaning than crafting this weekend. She wrote a post about how we crafters just don’t seem to put things away and I looked around my room and thought, “Yep, that’s me!” I figured if I wasn’t brave enough to take a picture of my to-do piles then they needed to go.

I did get a little bit of sewing done, though. I was inspired by a denim tote my daughter received as a gift and decided to make a few for upcoming birthdays. I found this denim in my stash and it was already hemmed at the top (yes!) so all I had to do was serge the sides and make some handles. I used Heat n Bond Ultra Hold for the initials. I made a total of three small and one big, which I think is destined to become a project tote for myself.

font: I used the House Industries Haulnhouse font for the initial caps. You can find a similar, free download of the “Austin Powers” font from about.com. By the way, House Industries occasionally gives away free fonts. You should check them out because they are all pretty awesome.

my creative space

zipper fabric bible cover

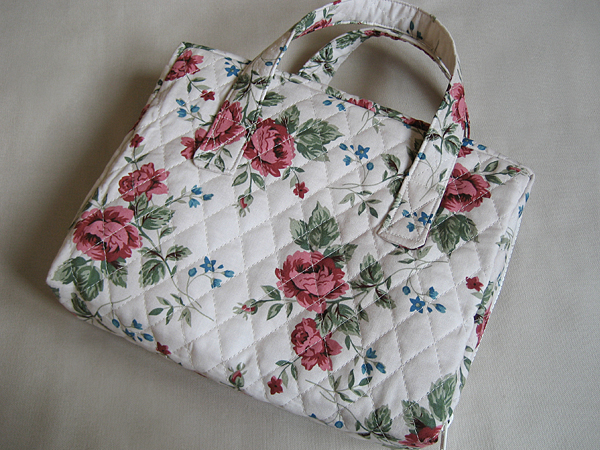
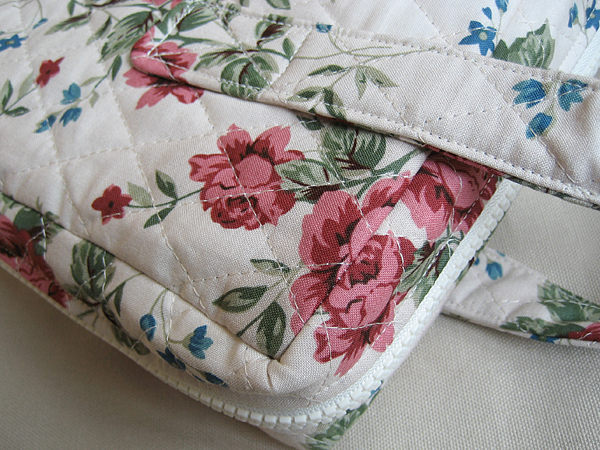
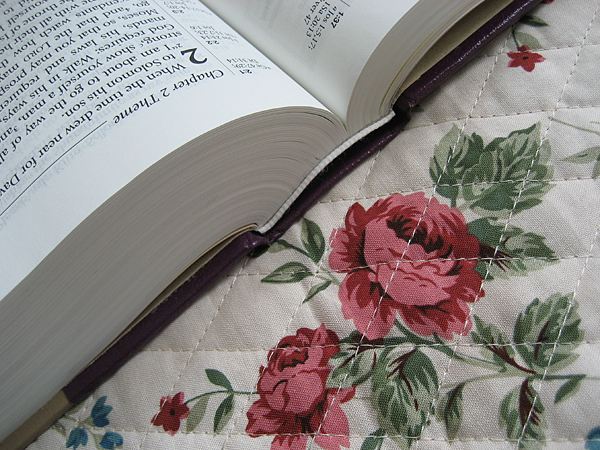
In my creative space today I finished up the zippered book cover from last week. I snapped this pic before I sewed in the book flaps.*

zipper fabric bible cover

They were a little tricky and if I make another one, I’d do them differently. They made my seams a little wonky.

My friend loved it, though, and that’s what’s most important, isn’t it?

*It’s getting dark earlier and I’m losing my evening photo opportunities. Pretty soon I’ll be taking them in the afternoon with my four-year old assistant. Don’t be surprised if you see a waving hand in the background. She’s just saying hello to the blogosphere.

wardrobe refashion: simple knit jersey skirt hem

wardrobe refashion hem jersey skirt easy

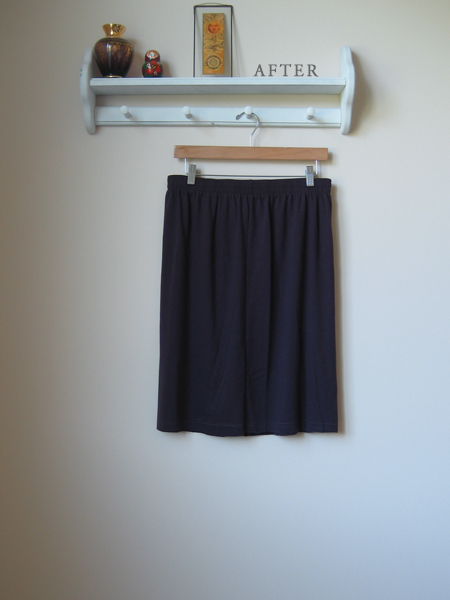
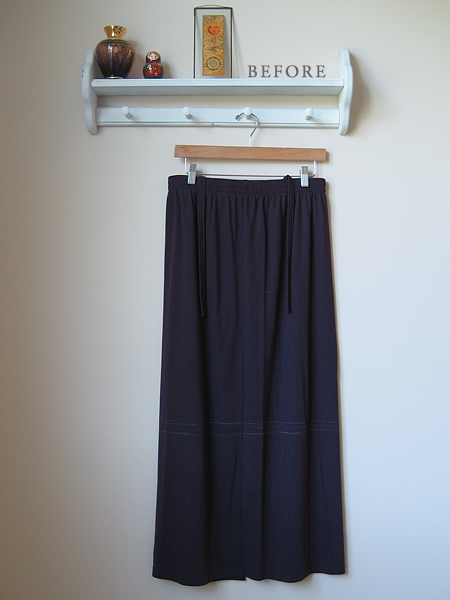
So far this has been the easiest refashion ever. The original skirt was ankle length and had these weird suspender-like ties sewn inside the waist. I’m leaving the bottom edge unfinished to see if it adds a little interest to the plainness of the solid, straight style.

wardrobe refashion hem jersey skirt easy

Just in case it doesn’t turn out as I hope, I left myself an inch at the bottom to clean up and hem. So the top chalk line is where I want it to hit my leg and the bottom chalk line is my cut line. I simply cut at the bottom line and put it on to wear. That’s it. Oh, and I snipped those silly suspender things off.

I’ll keep you posted how the edge turns out after a few washes and if I decide to do a clean hem instead.

thrifted: another 99 cent sale skirt transformation

home ec class: reusable grocery tote

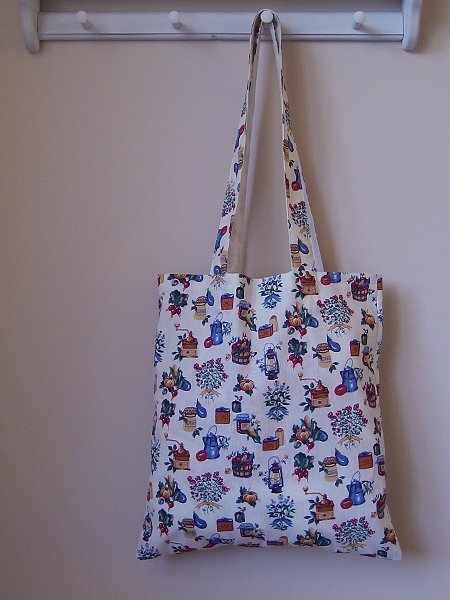
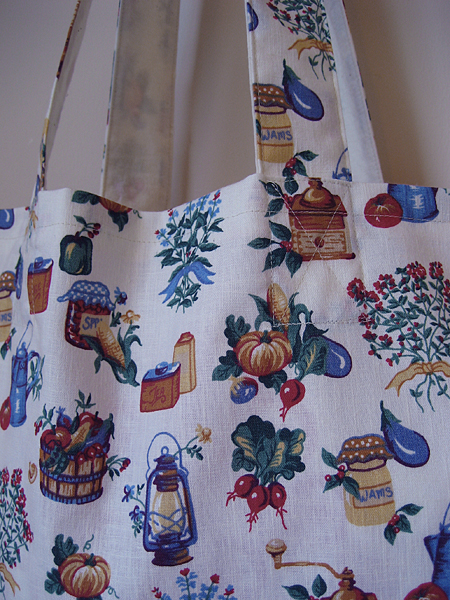
I know today is usually all about my creative space at the moment, but I’m working on the beach blanket and there isn’t much else to show you except a nice pretty fabric pic like this one. Instead, I’m sharing my third home ec project: a reusable grocery tote.

home ec class handmade reusable grocery tote

This project got me thinking about handles. I usually seam up the sides first, fold over and stitch the top hem, then add handles. This project changed the order: top hem, handles, side seams. I can definitely see the wisdom in doing the handles on a flat piece of fabric. It makes a lot of sense. But, I also really like how the top hem hides the side seams when folded over. It’s something to think about. (Yes, I do think about these things.)

home ec class handmade reusable grocery tote

I’m planning to make some heavy duty grocery totes for our weekly shopping because I’d like something with a square bottom. I love this for the Farmers’ Market, though. The fabric is totally appropriate!

stash: I’ve been holding on to this fabric for awhile and I can’t remember where I found it. I was saving it for a farmers’ market tote, so now I can cross that off my to-do list!