teacher thank you gifts

teacher gifts

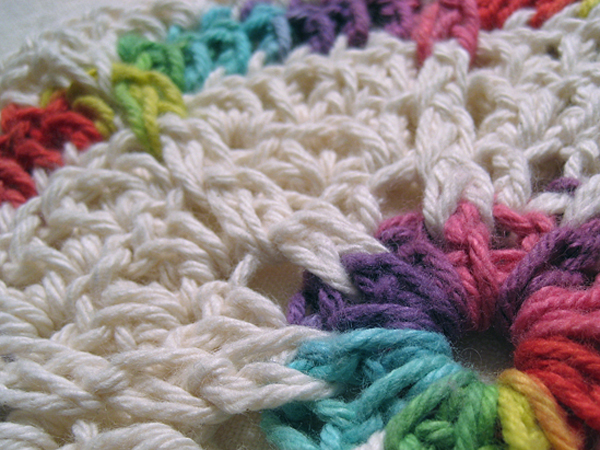
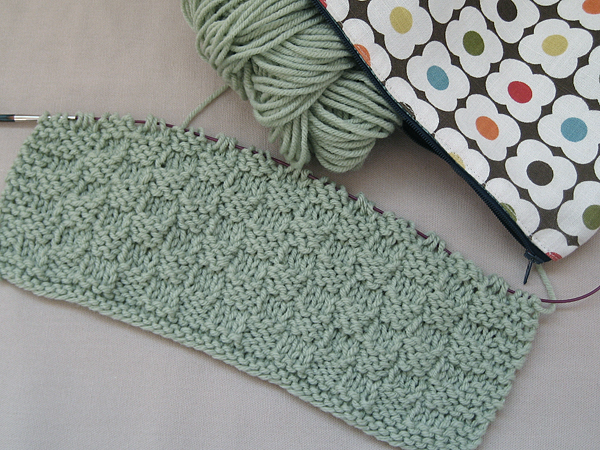
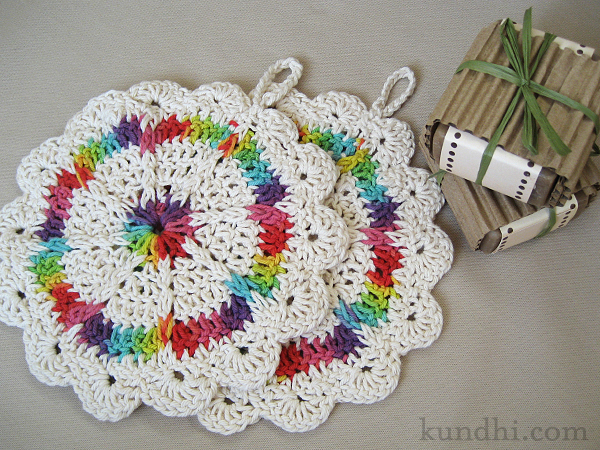
Do these look familiar? I posted a sneak peak a few weeks ago. I made these washcloths for my daughter’s teachers, added a bar of soap and put them in a little fabric drawstring bag. Actually, I made a lot more than these. This pattern is addicting!

details: Yarn was from my stash. (Boy, do I have a lot of brightly colored cotton!) Fire Blossom pattern is a free ravelry download. Soaps are from yummy suds on etsy. They smell delicious!

fabric from india

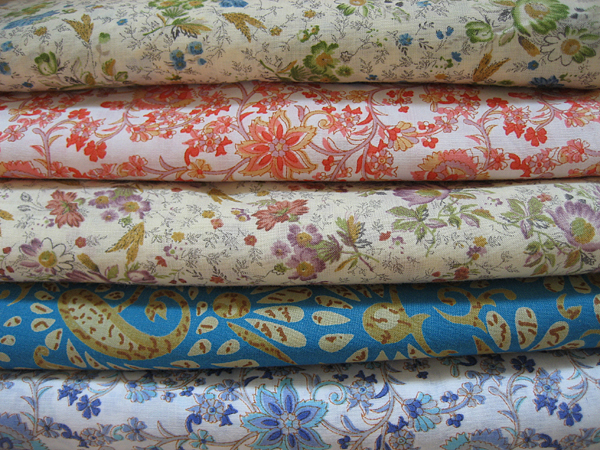
Another internationally-inspired blog post! I’ve had this fabric for awhile and can’t believe I neglected to share it with you.

A few months ago, my father-in-law went to India and asked if I wanted anything. I told him a little bit of fabric — something colorful — if it wasn’t any trouble. (Trips back to India are usually filled with lots of family obligations and little time for shopping.)

fabric from india

I was blown away when I received my package! Aren’t these gorgeous? I know I’ll make one or two summer skirts, but I’m not sure I’ll do with the rest. It’s all so beautiful I don’t want to cut into it.

AFPs: Believe it or not, I’ve got some Actual Finished Projects to post for the rest of the week. (I can hear a collective, “It’s about time!”)

knitting and planting

planting seeds

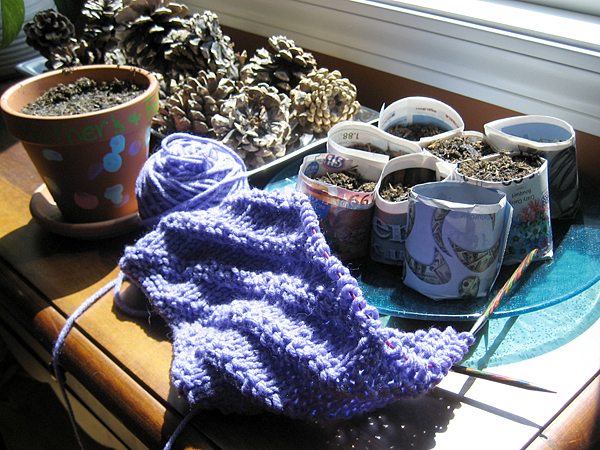
Today was another slow day. I feel bad for my daughter. She’s getting bored with this mama-isn’t-feeling-well business. I tried to make today all about her. Most of the morning we hung out on the living room floor. She did her thing and I worked on another charity blanket square.

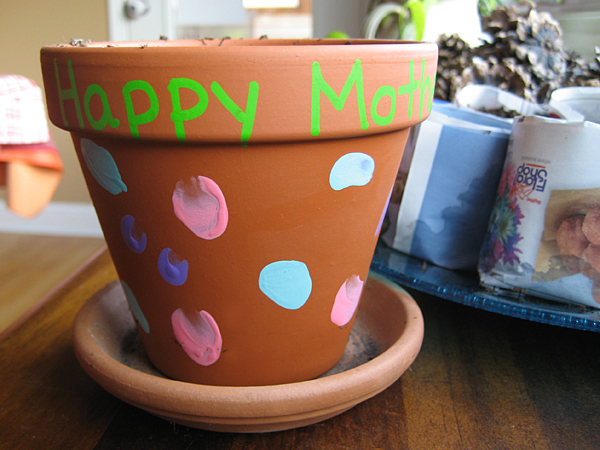
After lunch, the sun came out, and we spent some time on the deck planting seeds. She painted this little flower pot in school for Mother’s/Father’s day and her teacher put a packet of marigold seeds in it.

planting seeds

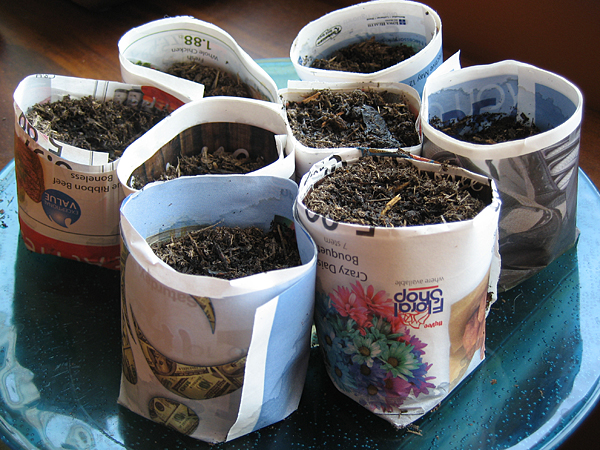
We planted a few in the pot and some other small containers I found in the garage. She was having so much fun that I decided to make some paper pots so she could keep on planting. Toilet paper rolls cut in half also work well. You can just drop the whole thing in the ground when it’s ready!

planting seeds

It was a good, but tiring day. I am ready to be feeling better and back at my sewing machine. Those upholstery sample totes are calling my name!

stash: Acrylic yarn from my stash. I don’t remember where I got my PotMaker. I’ve had it a long time. It’s just like this one.

totes in waiting

upholstery sample totes

Thank you everyone for the sweet comments on my giveaway tote. I’ve been overwhelmed by your responses! They’ve inspired me to make some more totes from my upholstery stash. Last night I put together color combinations for three more bags. Now, if I can only find the time to sew them up!

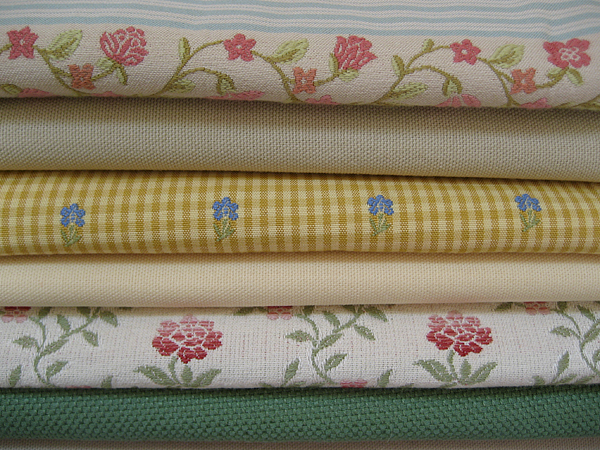
recycle: All of these are thrifted fabrics. Aren’t they lovely?

my creative space

handmade gifts

Good grief! May is almost half over! You wouldn’t know it by the weather. It feels more like Fall than Spring. Yesterday I realized I’ve got some gift making to do this month. I can’t give too much detail right now, but I’m combining this with some handmade goodies from etsy.com. I’ll do a full reveal after they’ve been gifted.

Check out more creative spaces over at Kirsty’s blog.

mother’s day idea: how to make a photo frame applique in 3 easy steps

photo frame applique tutorial

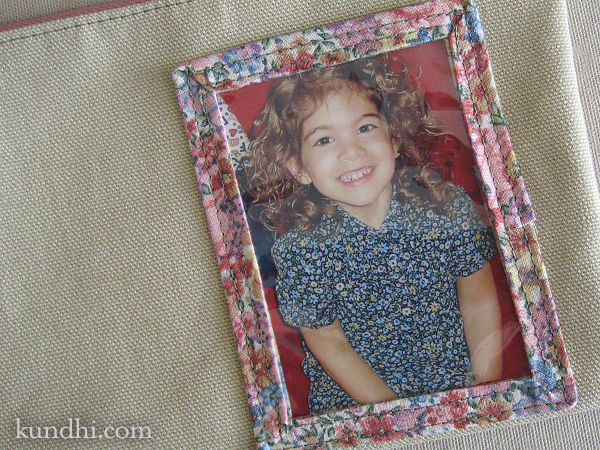
A few years ago, my mother gave me a little photo frame change purse. I had been using it for knitting bits and bobs, but it’s kind of small. I decided to make a bigger one for myself.

This applique will add a great touch to any Mother’s Day gift. I love mine!

Materials
photo: 2 1/2 x 3 1/2 inches
plastic: 3 x 4 inches
bias tape (or make your own)
heavy duty sewing needle

photo frame applique tutorial

I used the packaging from a set of sheets for my plastic. The same kind of packaging is used for blankets, comforters, tablecloths and shower curtains. (Don’t forget to save the zipper, too!)
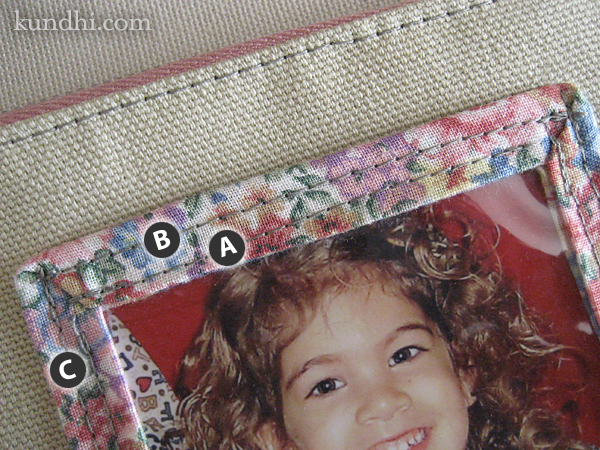
photo frame applique tutorial

Step 1
Stitch the bias trim to your plastic (A). Here’s a great video on how to miter your corners.

Step 2
You’ll only be stitching three sides of the applique to your fabric because you need an opening to slip in the photo. Top stitch the fourth side so it will match the others when you are finished (B).

Step 3
Position your applique on the fabric and stitch the remaining three sides in place (C). Make sure you don’t pin it through the plastic! Pin through the fabric trim instead.

Obviously it’s easier to add this to a work in progress while your piece is still flat, but you can stitch this to already made items, too.

Try other sizes like a 5×7 on a small bag or even a 8×10 on a large tote. Simply add the width of your bias tape to your photo dimensions to get the size for your plastic. Make sure you adjust the length of your trim and add 1-2 inches for overlap.
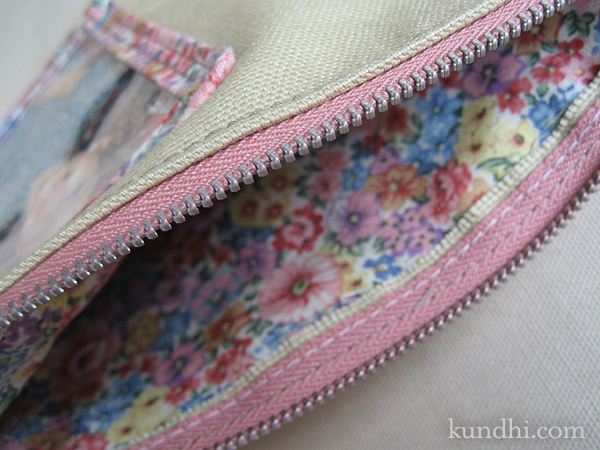
photo frame applique tutorial

project details: Zipper, upholstery and lining fabric all thrifted. Sheet packaging from my linen closet. I always save the ones with zippers because they make great storage for yarn and fabric.
test driving curtain fabric

sweater unravel crochet blanket

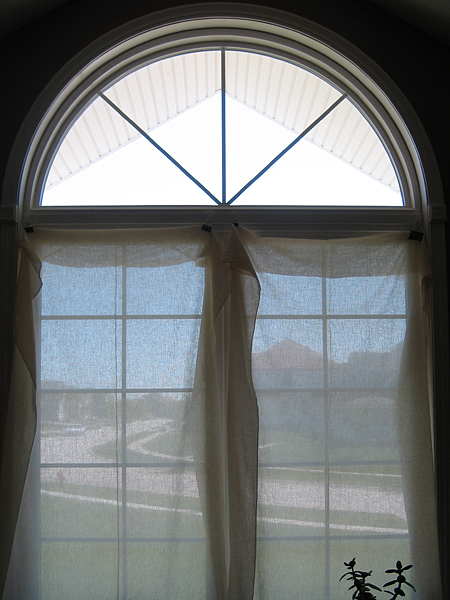
I haven’t been very successful at getting up early to have some creative time for myself. However, I am up early enough to know that my creative space is too warm for coffee and work in the morning. This big, beautiful window faces east. Not only does it heat things up, but it puts a glare on my laptop screen. Curtains are a must.

I love my view and was happy to find this nice muslin in my stash. I hung it up while my daughter was in school this morning and it immediately cooled the room down. You can’t see through it with the sun beaming, but after Noon, I had my view back! The big question comes tomorrow morning. Is it opaque enough to keep my creative space cool so I can enjoy my morning coffee while I work? I hope so!

stash: I bought a brand new bolt of this at a garage sale last year for a few bucks. It was still in the kraft paper wrapping! I have a feeling a few more rooms in my house will be getting curtains in the coming weeks.

cool birthday gift idea for boys

I was at the bookstore the other night and found a book called How to Draw Cool Cars.* These weren’t your average cool cars, but super fast ones like Ferrari, Alfa Romeo, Maserati, Lamborghini — you get the idea. I had never seen anything like it and knew I needed to get it for Wyatt’s ninth birthday.

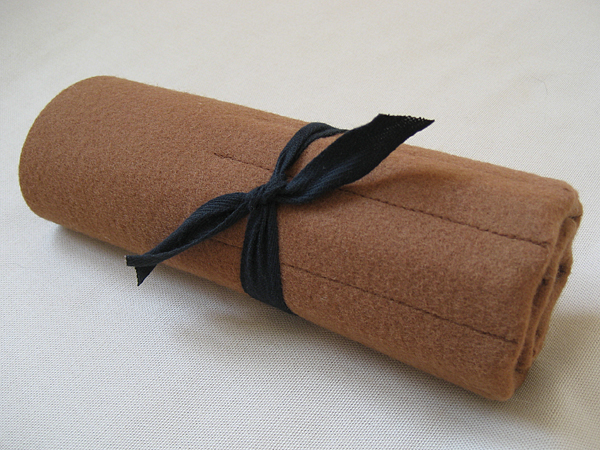
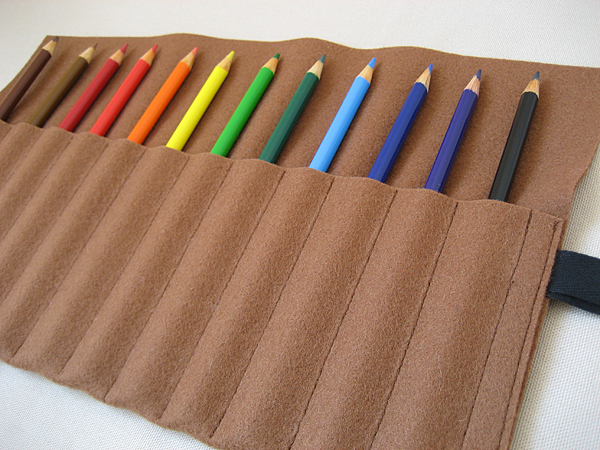
A few years ago I made a bunch of crayon rolls, including one for Wyatt with car fabric. You can’t really draw a Lamborghini with crayon, though. It just doesn’t seem right. So, I made him a much more grown-up colored pencil roll.

felt pencil roll

I have this really nice, thick wool felt that I got at a garage sale a few years ago. I never knew what to do with it, but it had Japanese characters printed on it with a sparkly gold ink. I knew I had to save it. I was so glad I did. It was perfect for this project!

felt pencil roll

I saved the printed part of the wool for myself. It will make a cool crochet hook roll, don’t you think?

stash: If you don’t have a use for a certain fabric right away, but it speaks to you somehow, I recommend keeping it in your stash. It might just be waiting for the perfect project to come along.

*I can’t find the exact book online, but this one looks similar.

my creative space

my creative space

Are you sitting down? My creative space is filled with knitting today. Yes, I said knitting. Can you believe it? It’s been awhile.

Our local guild is making squares for charity blankets again. I took a break from this last year, but the year before I met my goal of 12 squares — one a month. I was hoping to meet that goal again in 2010, but here it is almost May and I’m on my first square! We’ll see how many I get done.

There were some lovely creative spaces last week listed on Kirsty’s blog. Did you check them out? You should!

stash and pattern: More acrylic from my thrifted stash. These skeins must multiply when I’m not looking! The patterns are being chosen by the group. This is the January square listed on the Hanks website.

sweater wool 220

upcycled sweater yarn

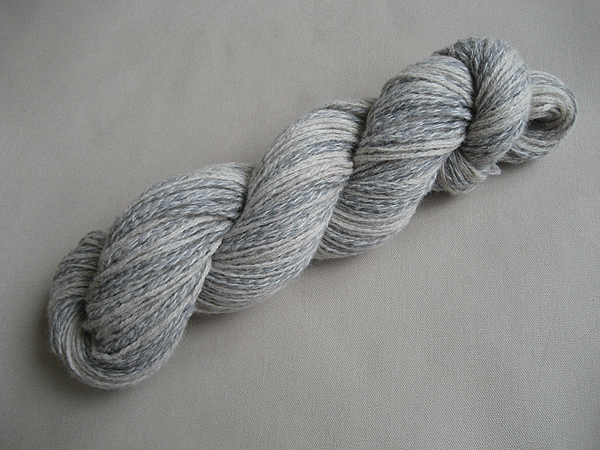
After yesterday’s trade, I got to thinking about my stash. My projects are usually small: hats, scarves, fingerless gloves. There’s no way I’ll use an entire sweater’s worth of wool or cotton for anything. So, I’ve decided to keep some and share some. First up is the beautiful cream and gray wool I’ve been working my way through. It looks so lovely after I took the kinks out. I’ve got a skein of 220 yards in my shop. You’ll find more pictures and details there, too.