wardrobe refashion: dressing up a pair of flip flops

What kind of shoes should a three-year-old girl wear to a beach wedding in October? Will the weather be warm or cold? Should the shoe be casual or dressy? Should you invest in sandals that will probably be too small by next Spring? Where are you even going to find sandals this late in the season?

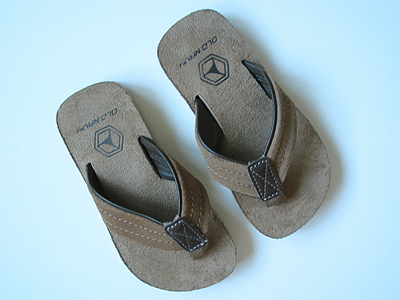
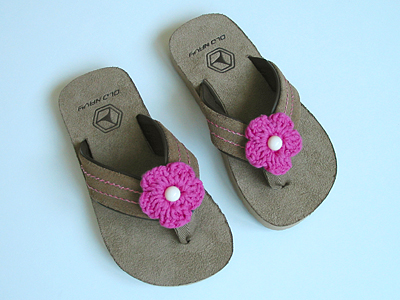
I decided to take some simple, casual flip flops and dress them up. Here is the before picture:
dress up a pair of flip flops

Step 1
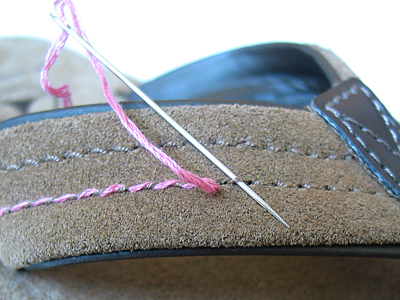
I took four strands of embroidery thread and weaved them through the existing stitches with a needle.
dress up a pair of flip flops

Step 2
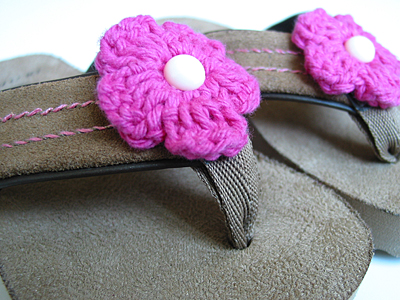
I crocheted a flower and stitched a button on the center. Then I sewed the flower onto the strap.
dress up a pair of flip flops

Step 3
I tried to get my daughter to wear them, but she wasn’t interested at all. In fact, she wound up wearing her sporty little sandals with her cute frilly dress. I guess I can always remove the flowers and put them on another pair of flip flops next season.
dress up a pair of flip flops

refashion: I used embroidery thread, cotton yarn and vintage buttons from my stash. The flip flops came from Once Upon a Child. The crochet flower pattern is from My Crochet Stuff.

how to sew a baby quilt in five easy steps

snoopy baby quilt

So you’d like to make a quilt, but you’re intimidated by all of those little pieces, right? I am, too. But you can make a quilt without blocks. It’s easy and looks just as nice! Here’s how I did it:

Materials
1 – 36×36″ piece of top fabric
1 – 36×36″ piece of bottom fabric
1 – 36×36″ piece of batting
1 – 38×8″ piece for making the trim*
matching thread
bias tape tool
rotary cutter and ruler
walking foot (optional)

*even easier: use 4 yards (plus a few inches) of pre-made bias tape

Step 1
Lay your fabric on the floor wrong sides together with the batting in the middle. Pin baste from the center outward.

Step 2
Starting from the center and working your way outward, draw parallel lines every four inches with sewing chalk, water soluble pen or light pencil.

Step 3
Starting from the center, sew along these lines working your way outward, taking out the basting pins as you go. Here’s where a walking foot is helpful, but if your batting isn’t too thick, you should be fine without it. Square up your edges with a rotary cutter and ruler.

Step 4
Cut your trim fabric according to the measurements for your bias tape tool and make the trim. Even easier: open the package of pre-made bias tape.

Step 5
Fold the trim over the edge and attach with a zig zag stitch. Fold the ends over at the corners to enclose the raw edges.

snoopy baby quilt

I hope I didn’t oversimplify this, but it’s really easy. The zig zag trim takes a little practice. This was my first time, and I’m sure it will get a lot neater the more I do it.

resource: I was inspired by Soule Mama’s Beach Blanket To-go for this blanket. One day I hope to make something as beautiful as her daughter’s quilt, but for now, I’m going to stick with single pieces of fabric until I’ve got more free time.

granny square scarf almost finished

granny square scarf

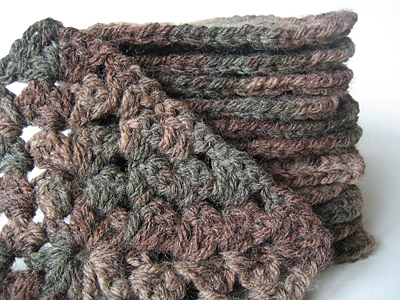
You’d think that with all of this gift making I wouldn’t have any time to make something for myself. These granny squares are perfect for fleeting moments of “me time” and I can’t believe the progress I have made! I’m going until I’m out of yarn, which will probably be two more squares. I’m loving the atypical, monochromatic look.

Even though these are fun and working up quickly, I can’t imagine doing enough for a blanket. I’m not even looking forward to seaming these together for a scarf. Any future granny projects will probably be small ones for me!

project notes: Granny pattern from Attic24. Yarn from Freecycle.

sleeping snoopy baby quilt

sleeping snoopy baby quilt

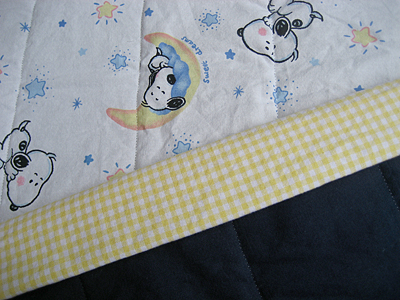
Every time I turn around it seems like someone else is having a baby. I love crafting for babies. This quilt is almost finished. All I need to do is attach the binding. I bought a lot of this fabric off of ebay awhile ago. You might be thinking, “That looks familiar!” The first quilt I made was backed with fleece. This one is backed with navy cotton. (It’s really not that dark, but I don’t have much sun for taking pictures today.) I only have a little bit of the binding fabric, but it should be just enough.

Update on birthday crafting: The knitted gift is finished. The embroidery tea towels are almost done. These are going much better than my experiment with cross stitch. I’m using a simple split stitch and loving it. I can’t wait until I can post pictures!

stash: So far I’ve used stash yarn, embroidery thread, fabric and batting for all of my projects. Having everything at my fingertips really makes all of the thrifting and garage sale-ing I did earlier in the year worth it!

a little bicycle mending

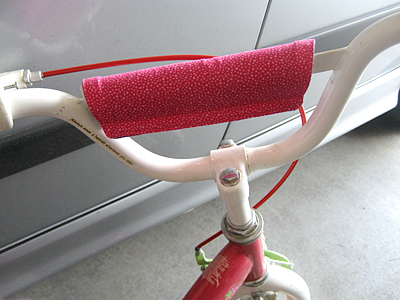
This summer we bought our daughter a cute bike from our neighbor’s garage sale. My husband is planning to take the pedals off and make it a balance bike. My job was to mend the handle bar cover, which was torn.

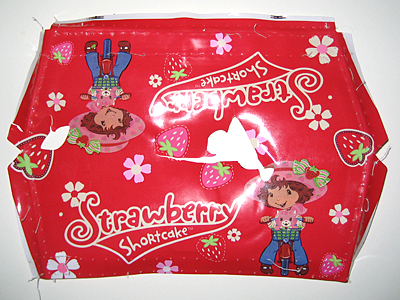
Using my trusty seam ripper, I picked out the hem and removed the velcro. With a cloth on top and low heat, I pressed it flat and used this as my pattern.

handle bar cover

The cotton I chose was too lightweight on its own, so I backed it with some denim. Here’s how I did it:

  1. Traced around the pattern on both fabrics adding 1/4 inch seam allowance.
  2. With right sides together, I stitched around leaving a gap for turning.
  3. Clipped my corners, turned right side out, and top stitched around, closing up the gap along the way.
  4. Reattached the velcro.

I think it looks better than the original, especially since my daughter doesn’t even know about Strawberry Shortcake.

handle bar cover

mend: Simple sewing projects can make me so happy. I love being able to say, “I can fix that!” Cotton fat quarter from my stash, denim from thrifted jeans.

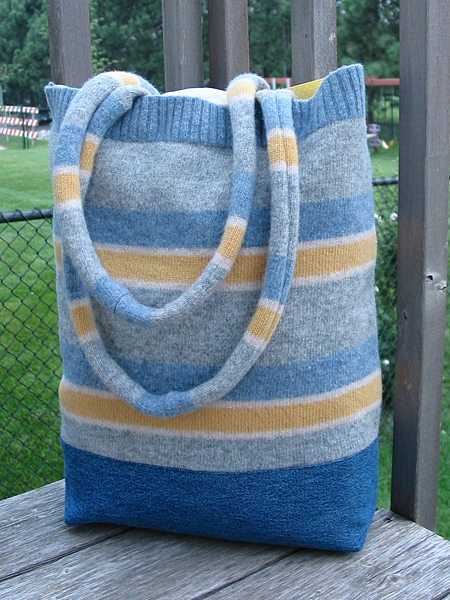
blue and yellow custom sweater bag

It’s been awhile since I’ve made a sweater bag and I had forgotten how much fun it is to work with felted wool. I especially love how you can whip it into shape with a hot iron and a little steam.

thrifted felted custom sweater bag

My friend Cathy LOVES tote bags. She frequently brings a thrifted sweater to knitting group and asks me to make the largest bag possible. This sweater felted up so well that I was worried it wouldn’t be big enough for her. I added denim at the bottom to give her some more room.

thrifted felted custom sweater bag

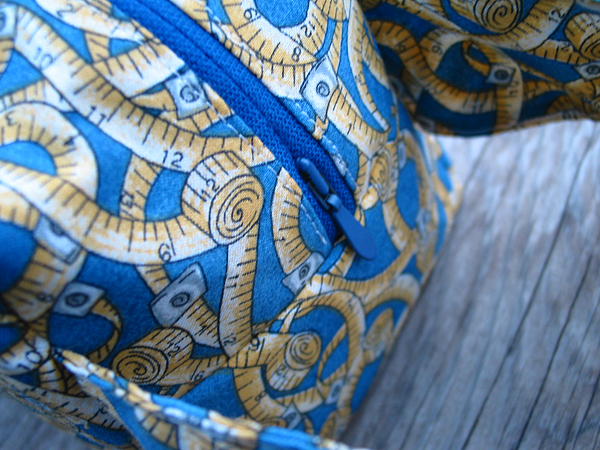
Cathy is on the Board of Directors for our local Sewing for Babies. She is constantly knitting and sewing the cutest baby items. That’s why she likes having lots of big, roomy totes. She also asked me to make a box bag for some of her smaller projects. Don’t you just love this fabric?

measuring tape fabric box bag

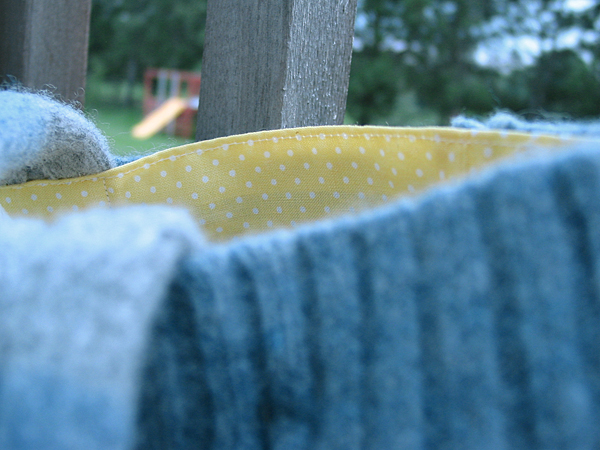
project notes: Thrifted sweater was 100% lambswool from the Gap. Their lambswool sweaters always felt nicely. Lining and box bag fabric provided by Cathy. Denim from a pair of thrifted jeans in my stash. Garage sale interfacing and zipper for the box bag.

quick and easy birthday shirt

third birthday shirt

My daughter’s birthday was last week and I wanted her to have a special shirt. Turning three is a big deal! I used one of her summer t-shirts, some Heat n Bond, and some fabric scraps from my stash.

stash: Appliques are great way to use up your fabric scraps! You can usually find Heat n Bond at garage sales, but it’s so inexpensive that you should go ahead and buy some with your 40% off coupon. One package lasts a long time!

chromium star blanket finished!

chromium star baby blanket

Not only is it finished, but it’s blocked, too! I really love this project and Brown Sheep Cotton Fleece has got to be one of my favorite yarns. I will definitely be making more of these.

project notes: I used exactly one skein of white (I had only inches left over) and two skeins of red. I didn’t measure, but it’s lap-blanket size. It would be a nice size for a newborn, too.

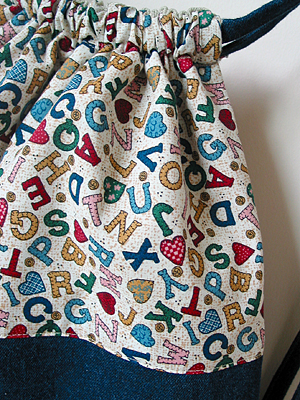
easy backpack with bias tape straps

My daughter starts preschool next week and she needed a backpack. I asked her if she’d like me to make one for her and she said YES!

I let her choose fabric from my stash and helped her with coordinating the colors. I really like how it turned out and she loves it. My only problem is getting her to wear it. Right now, she just wants to carry it by the straps.

martha stewart easy beach bag

I used Martha’s Easy Beach Bag pattern with a few modifications:
• inside is canvas instead of nylon
• inside has two pockets
• used fabric instead of cord for the straps
• serged the raw edges inside

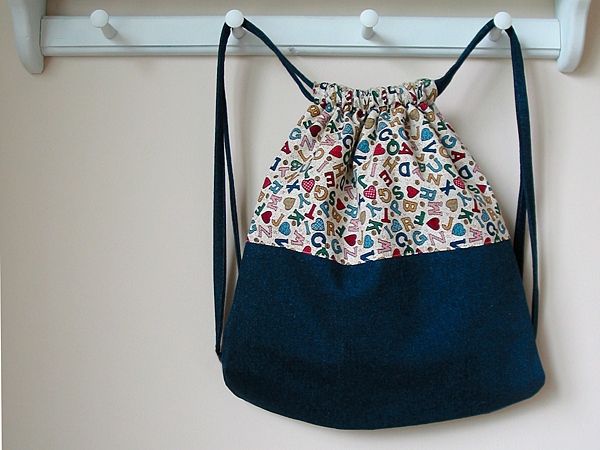
drawstring back pack with lining

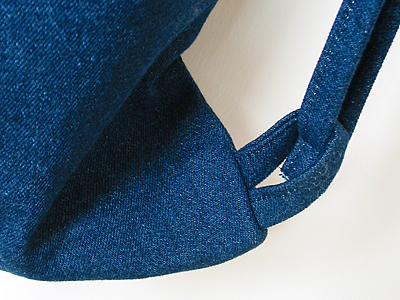
Drawstring Strap How-to:
Feed strips of denim through a 1-inch bias tape maker, fold the tape in half and stitch it together. Once threaded through the loops, sew the ends together because they’ll be too thick to knot.

drawstring back pack with lining

stash: This is one of those occasions that I love having a stash of fabric. It’s so easy to dive right into a project when the motivation strikes! Plus, using a thrifty stash is so affordable. I’m guessing this cost less than $2 to make. Sweet!

thrifted placemat dilemna

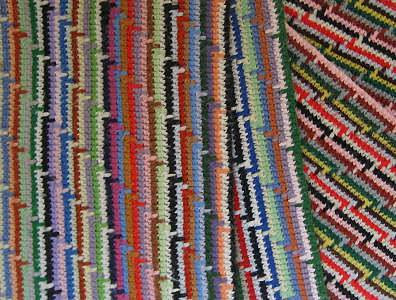
crochet placemats

I bought these crocheted placemats at daycare garage sale a few months ago and I still can’t decide what to do with them. At first I thought I’d make two tall totes, but after seeing them folded in half on my shelf, I also considered four zipper pouches. Then I thought maybe just one large tote. I can’t make up my mind. (Yes, I did consider actually using them as placemats, but they are kind of small.)

Any suggestions?

thrifting: Usually I pass up things I can easily make myself, but I really liked the pattern of these. Plus, they were only 25 cents. I wonder what the person who made these by hand would think of that price.