home ec class: patchwork pin cushion

It may come as a bit of a surprise, but I’ve never taken sewing lessons. Apart from my friend helping me with my first project, I’ve learned from books, the Internet, crafty colleagues and lots of trials and errors. Some of my friends were tweeting about an online Home Ec class they were taking and I was curious, so I followed the link. The class says it’s for beginners, but there are some really cool projects using techniques I’ve been wanting to try.
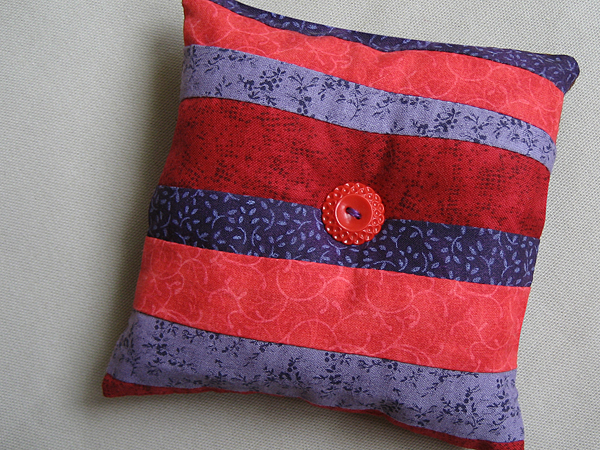
home ec class patchwork pincushion

I signed up at once and promised myself I’d follow the directions for each project as they are written, because sometimes it’s a little technique for something simple that can totally change how you do things. I started the class a little late because I’ve been waiting for my daughter to go back to school. Now that I have some time to dedicate to my sewing, I’ll be cruising through the projects a little faster.

First on the list was a patchwork cushion. I followed the pattern exactly and have fallen in love with my scrap bin. Seriously, I had no idea how fun making little fabric stripes could be.
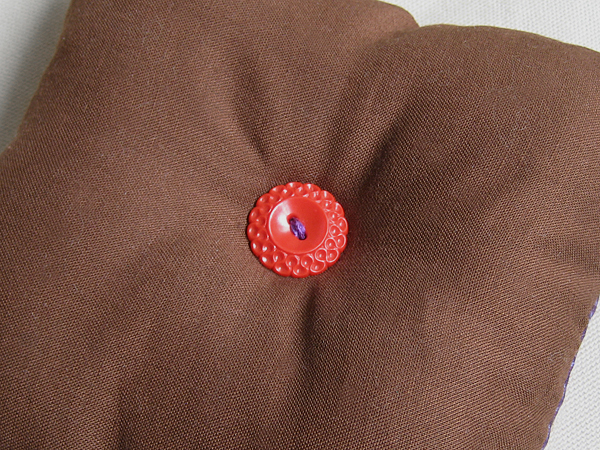
home ec class patchwork pincushion

stash: This is a great stash busting project that’s perfect for those little pieces you can’t bear to throw away. Anyone recognize the buttons?

project info: This was a bonus project, and Leigh-Ann has a tutorial posted on her blog. You should go make one, too!

class info: You can preview the class projects here and here.
another wedding, another beach blanket to go

handmade home beach blanket to go

I’ve got another beach wedding to attend. It isn’t directly on the beach, but it’s outside and you can see the ocean. That reason enough to make another beach blanket, don’t you think?

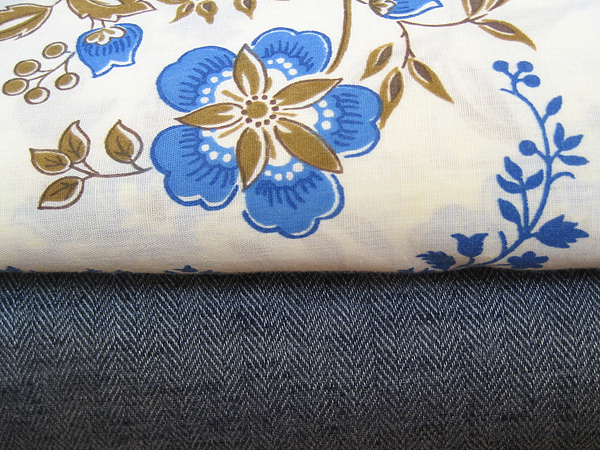
I picked up the print fabric at the textile sale. The wool tweed is from my stash. I washed both in hot and was surprised that the wool didn’t felt. The texture is slightly softer, but that’s it. No shrinkage at all. Interesting!

I haven’t decided on a bias trim yet. I was actually thinking about skipping that step. Would that be so terrible? I’d still do the ties for sure. We’ll see.

pattern info: Why do I not own this book yet? Pattern inspiration from Amanda Soule’s Handmade Home.

it’s hip to be mitt

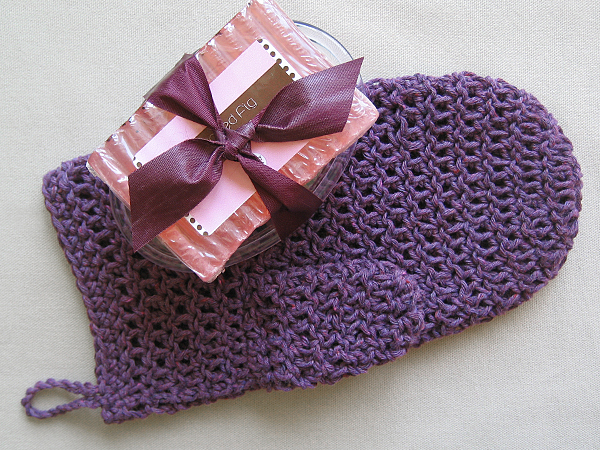
crochet bath mitt

Dishcloths, charity squares, blanket squares — I needed a break from squares. I still had a few washcloth and soap gifts to make and give, but I couldn’t bear to make another square. I started cruising on ravelry and it hit me: Bath Mitt!

This was so much fun to make. I’ll definitely be making more, including one for me! Other changes to my “standard” gift: I’ve added a soap saver along with the fancy soap. Can’t believe I didn’t think of this before.

project info: stash (aunt lydia’s) cotton yarn, thrifted ribbon, etsy soap, lion brand pattern.

how to: crochet or knit single row stripes

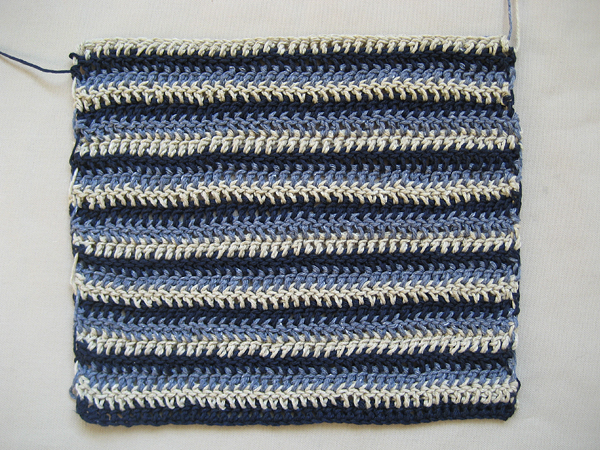
I first heard about this at knitting retreat. It’s a really simple idea and I can’t believe it has never occurred to me on my own. I love skinny stripes, but breaking yarn at each row leaves too many ends to weave. I always figured that I’d have to do two rows of each color in order to carry the yarn. But, if you do three colors, there’s yarn at the end of every row just waiting to be carried up. So simple! So cool!

how to: crochet or knit single row stripes

This works for both knitting and crochet. I’ll show you what I mean on my dishcloth in progress, which happens to be crochet. (Knitters, ignore the chain row and cast on with Color A. Row 1 begins with Color B, etc.)

how to: crochet or knit single row stripes

Chain your number of stitches in Color A (navy).
R1: DC across in Color A (navy).
R2: Join in Color B (tan) and DC across.
R3: Join in Color C (light blue) and DC across.
R4: Carry up Color A and DC across.
R5: Carry up Color B and DC across.
R6: Carry up Color C and DC across.
repeat rows 4-6 until finished.

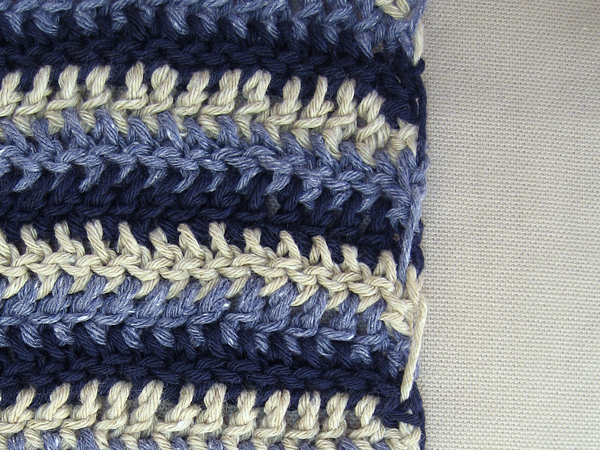
When you carry up the yarn, your edges will look like this.

how to: crochet or knit single row stripes

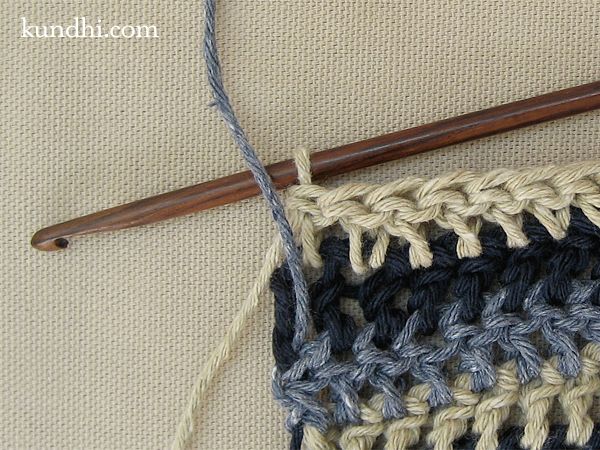
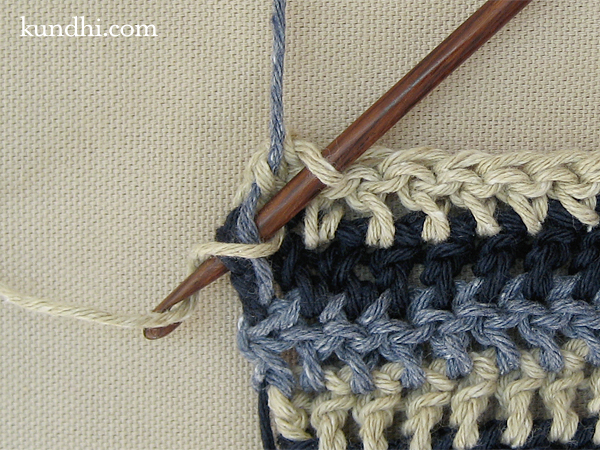
I know some crocheters like to incorporate the transition from one yarn to the other in their chain stitches, but I prefer to start my rows with the faux double crochet, so here’s how I catch the yarn on the way up. I assume you know how to do a double crochet, so I’m not including pics of all the stitch steps, just the ones that are different.

how to: crochet or knit single row stripes

Work across until you have one stitch left. Bring the next yarn up and over your working yarn.

how to: crochet or knit single row stripes

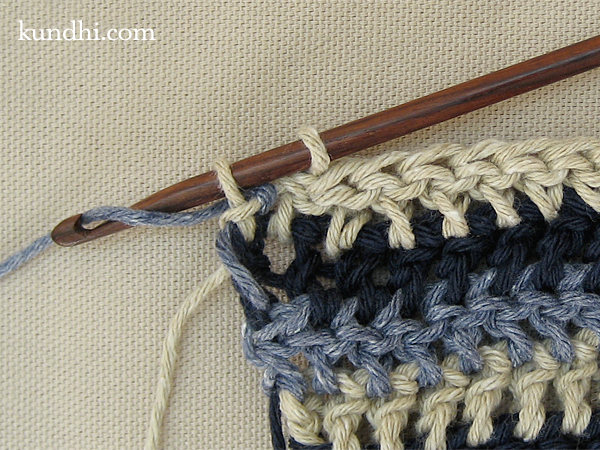
Continue on as usual with the working yarn. See how the carried yarn is getting tucked neatly in the work?

how to: crochet or knit single row stripes

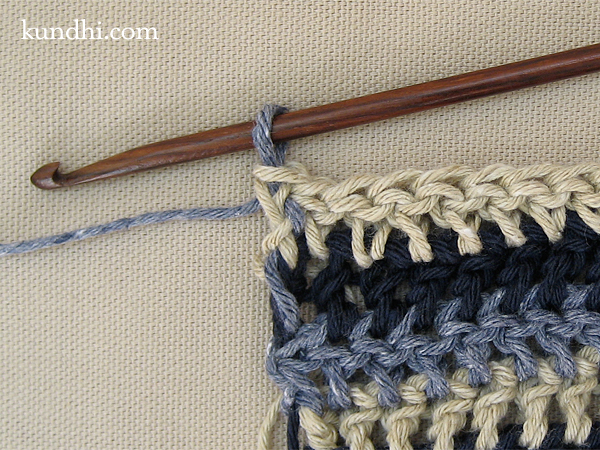
When you have two loops left on your hook, drop the working yarn and pick up the new yarn. Yarn over and pull through the last too loops.

how to: crochet or knit single row stripes

Look at that! Now you are ready to turn your work and start the next row with the new yarn!

stash: This is an awesome stash busting idea. Imagine how many more odds and ends you can use up with this method!

thrifty thursday

thrifty thursday

I skipped the Thursday garage sales today because I’m planning on checking out Goodwill’s 99 cent day tomorrow. There’s nothing like some good 99 cent retail therapy and I haven’t been to the sale in a few months.

Since I didn’t have anything thrifty to report today, I took a look around my creative space, which is filled with thrifty goodness, and noticed a theme. Some may say that Nebraska has infected my taste in colors or I could be subconsciously planning for the holidays. I think maybe I spend too much time looking at cabbage roses and vintage French linen.

There’s a story behind the fabric. When one of my readers realized that we both live in Lincoln, she emailed me about a big box and big bag of fabric that she no longer wanted. Was there anything I could do with it? I picked it up that evening (small world: she practically lives in my neighborhood!) and started spreading the word.

First I met two friends for coffee and they left with almost half of it! Then I took what was left to knitting group to give to my friend who helps out with Sewing for Babies. I kind of feel sorry for those babies, because the knitters went to town on what was left. However, I’m happy that we kept a lot of fabric out of the landfill and bypassed the thrift store grab bags.* Everyone left with something they really wanted and the rest is going to a good cause.

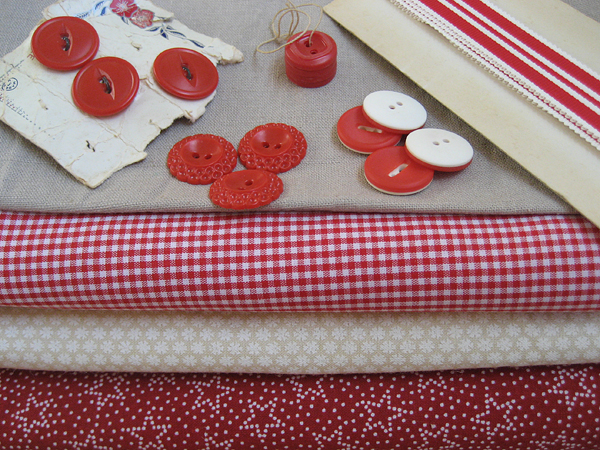
Of course I picked out a few little pieces for myself. Right now I’m spending more time with yarn, so I can’t overdo it on my stash.

thrifting: The buttons and ribbon are thrifted from all over the place: Goodwill, church sales and garage sales.

* Don’t you hate it when you find one or two things you love at the thrift store and they’re packaged in a “grab bag” with a bunch of things you don’t want? Have you ever just bought the bag, taken out what you want and then immediately donated back the rest? Me, too.

sewing for socks

hand knit socks

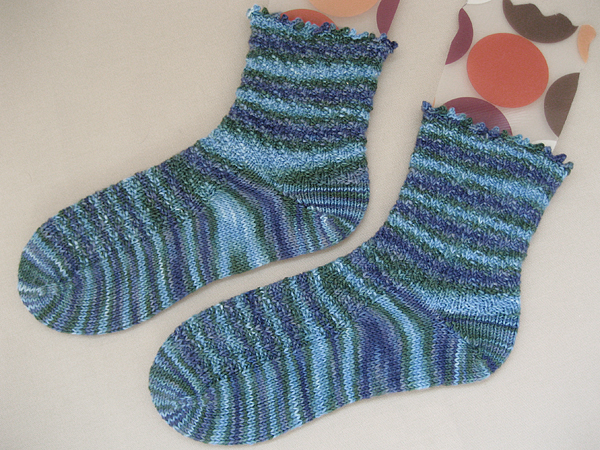
I recently refashioned a messenger bag for my friend Carrie. She asked if she could pay me in sock yarn. I laughed and told her I had too much sock yarn, but she was welcome to knit a pair for me out of my stash. I was surprised when she said yes. Of course, she’s a much faster and more dedicated sock knitter than I am.

hand knit socks

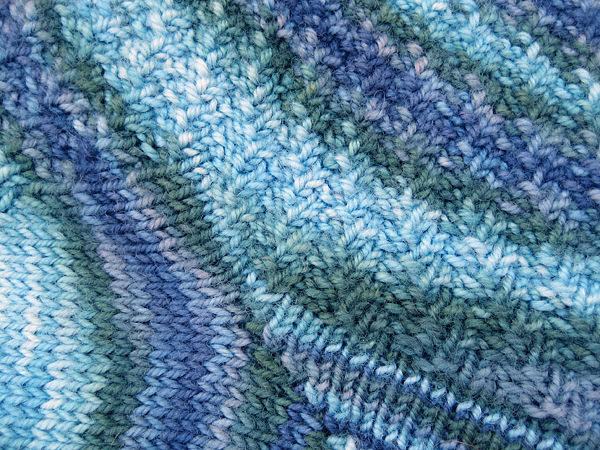
They are one of the best fitting pair of handmade socks I have ever worn, and this has got to be one of the best craft for craft deals ever. I’ll be posting about the messenger bag refashion this week.

stash: Socks that Rock Bella Coola from the 2007 sock club. Pattern is Carrie’s own design. (ravelry link)

super cute (and quick) wine bottle gift bag

wine bag

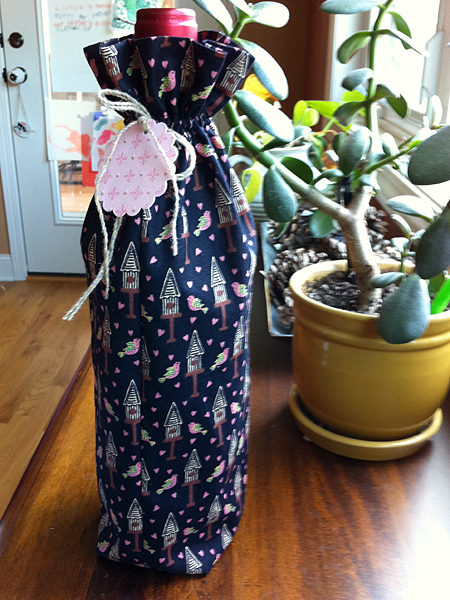
I love when I can make something totally out of recycled and thrifted materials. I whipped up this wine bag one afternoon—the serger makes some projects so darn fast! Free fabric from way back. (Don’t you love the little bird houses?) Thrifted yarn from the big spool of wool. Gift tag made from upcycled thank you note. Personally, I think it’s much cuter than anything you could buy at Hallmark, but that’s just me.

star swatch no.2: felted (i think)

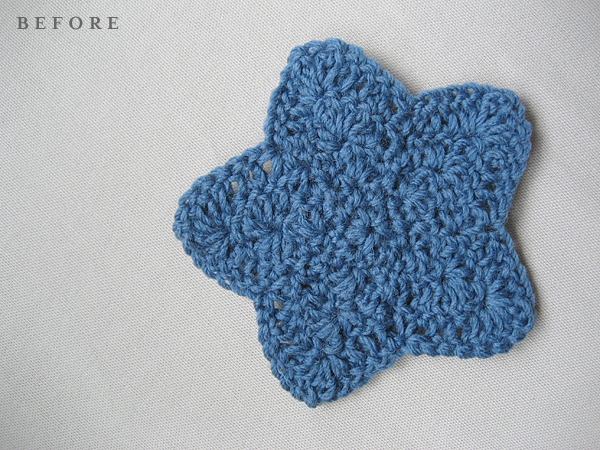
It occurred to me last night after I posted the pic of my swatch that a before shot would have been nice. How else would you be able to tell that the stitch definition had been lost?

star blanket swatch

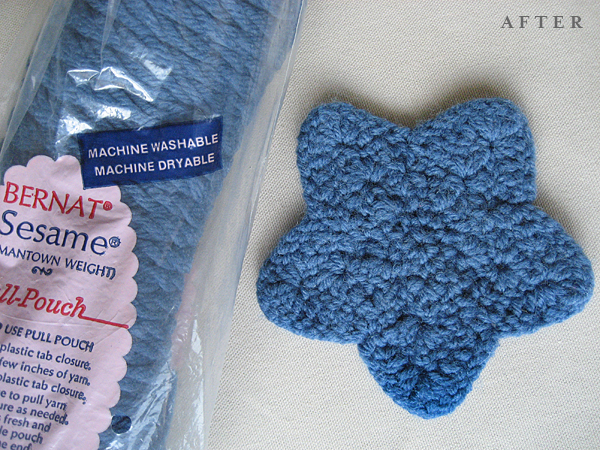
I crocheted another one last night and remembered to take a “before” shot this time. The second swatch was washed in cold. It also felted. Except that it didn’t shrink. Before and after are the same size and shape. Maybe “felted” is the wrong term.

It’s like the yarn is blooming. It’s incredibly soft. I’m starting to think I might even like it. I’m going to wash it again — maybe a few times — to see how it holds up. What’s more important to a newborn: soft and cuddly or nice stitch definition? I’m thinking soft and cuddly.

star swatch no.1: felted

star blanket swatch

I usually don’t swatch. When I do, it’s never the 4×4 inch square I’m supposed to make. Mine are small. Calling them 2×2 inches is generous. Usually gauge doesn’t matter for a lot of the items I make.

Last week I made a swatch, not to check gauge, but to check the yarn label’s claim: machine washable and dryable. 100% virgin wool. Keyword that was missing: superwash. I put the swatch in with some linens on the warm setting. It didn’t felt that much, but a lot of the stitch definition has disappeared. I’m going to try another swatch washed in cold. After that, I’ll be stash diving for some cotton.

vintage yarn: I am in love with the color blue of this yarn. I read somewhere that a lot of wool used to contain recycled bits, so that’s why so many of the vintage yarns say 100% “virgin” wool. I can’t help but giggle when I read it. Apparently I have the sense of humor of a twelve-year-old.

stitch patterns: crochet washcloths

crochet cotton washcloths

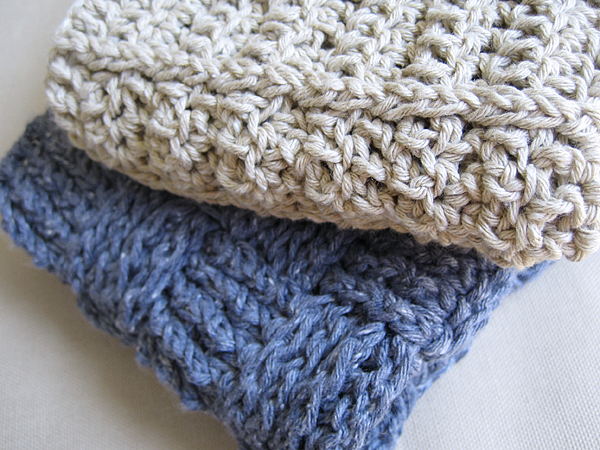
My latest gift-giving obsession continues: fancy soap and washcloths. I know so many people who deserve a little bit of pampering, but are too busy to take time for themselves. Hopefully these will help them relax and wash their stress away. They are crocheted out of the super soft Aunt Lydia’s cotton.

Want to make some yourself? Here are the patterns.

Note: You’ll notice that I don’t chain at the beginning of each row. I’ve started using faux double crochets instead. They really make your edges much neater.

crochet cotton washcloths

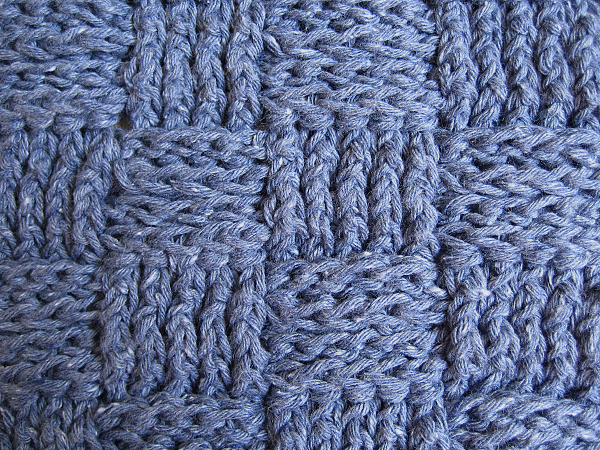
Basket Weave
gauge: 4 stitches per inch, blocked to 10 inches
first stitch in each row is a faux double crochet instead of chain 3

  • Row 1: chain 40
  • Row 2: dc across
  • Row 3-6: *5 dc through the front post, 5 dc through the back post* repeat until 5 stitches left, 5 dc through the front post
  • Row 7-10: *5 dc through the back post, 5 dc through the front post* repeat until 5 stitches left, 5 dc through the back post
  • Repeat rows 3-10 four more times.

crochet cotton washcloths

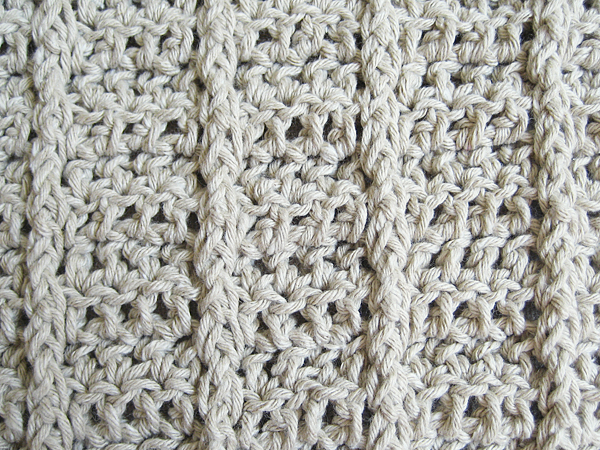
Columns
gauge: 4 stitches per inch, blocked to 10 inches
first stitch in each row is a faux double crochet instead of chain 3

  • Row 1: chain 39
  • Row 2: dc across
  • Row 3: *4 dc, dc through front post* repeat until 4 stitches left, 4 dc
  • Row 4: *4 dc, dc through back post* repeat until 4 stitches left, 4 dc
  • Repeat rows 3-4 until you have a square.