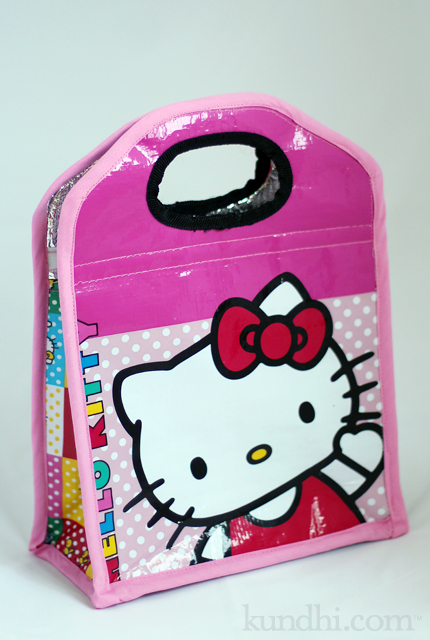
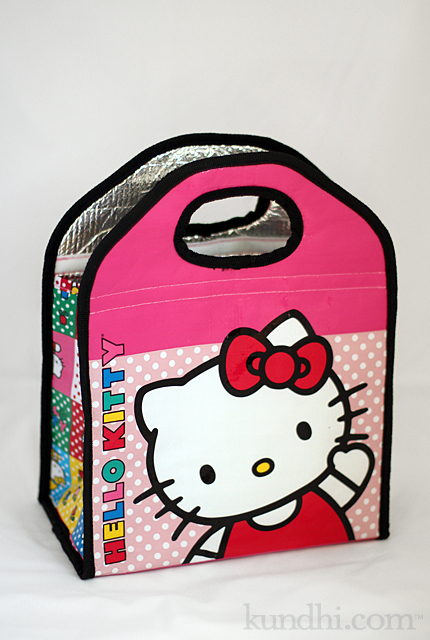
after: hello kitty lunch bag + some helpful tips

lunch bag refashion

So, I survived this crazy project. Actually, the only thing that was really difficult was the bias trim, especially around the corners. But I’m not very good at bias trim to begin with, so there’s that.

I was surprised how easy this insulated-plastic-foil material is to sew. I picked out the original trim stitches and all of the pieces fell apart. I cut everything down to size and serged around all of the edges, then I serged the pieces back together. I know that sounds like overkill, but the material was made up of three layers and I didn’t want manipulate six layers of slippery stuff when I did the trim.

Some very important things to keep in mind for a project like this:

  • Remind yourself how much you love your child. I found this especially helpful sewing around those corners with the trim.
  • Have a friend close by via text for encouragement. Send her pictures of your bent sewing machine needle just for fun.
  • Keep chanting the mantra: It doesn’t have to be perfect, it just needs to make my child happy.
  • Embrace your organic style as breaking the rules and your wonky stitches as a design element.
  • Remind yourself that some kid in China probably put this together the first time. If she could do it, so can you.
  • Let go of the little things, like matching the black and pink trim in the handle. It’s just another design element.

That’s about all I’ve got to say about this lunch bag. My daughter loves the pink and she stuffed it in her backpack this morning with no problem.

stash: Finally digging into my thrifted stash of bias trim. It’s about time!
before: hello kitty lunch bag

lunch bag refashion

I am crazy. I normally have no problem taking a seam ripper to anything. I cut up stuff and turn it into something new all the time.

Except for this lunch bag.

It fits a little too snug in my daughter’s backpack. Her teacher mentioned a bigger backpack or smaller lunch bag would be helpful. We actually have a Hello Kitty metal lunch box that she can use, but she wants this bag.

“You can fix it, Mama. Just make it a little smaller. Please?

I texted a picture to my friend Kelly. “You can do it!” she said. I told my daughter it might not look exactly the same and I’d have to cut into the picture of the kittens on the back. “That’s ok, Mama. You can do it.” she said.

So I guess tomorrow I’ll be cutting up this cute little bag so it will fit in her backpack. Why won’t she just use the metal Hello Kitty lunch box you ask? Because that’s what she uses for her toy food, silly.

Wish me luck!

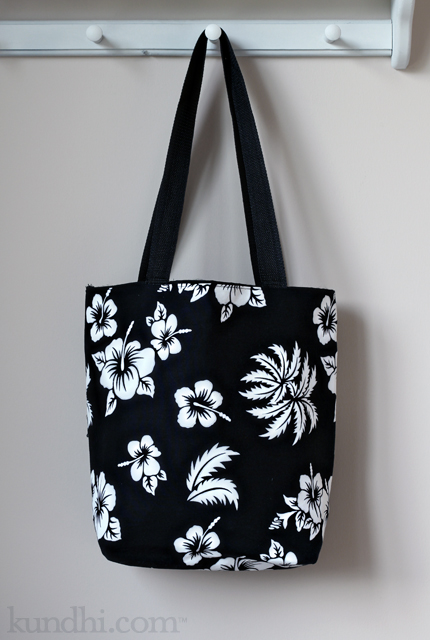
re-refashioned tote bag

More sewing! I’m on a roll!

A few years ago I refashioned this conference tote bag* with an old t-shirt. I used it until poor Siouxsie started to get holes. Amazingly, the canvas tote underneath showed practically no wear. I think it might be indestructible.

refashioned conference tote bag

So I re-refashioned it. I have another black tote and I’m thinking of making a set. I really love this fabric.

refashioned conference tote bag

*Wow. Did you click on that link? My blog photos have really improved over the past few years!

nature hike tote bags

capri pants turned into totes

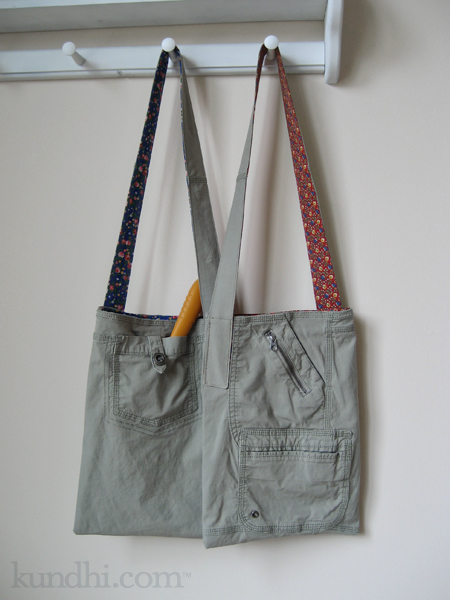
You knew I was going to turn those capri pants into tote bags, didn’t you? Not just any bags, however, but bags with a purpose: keeping nature out of my pockets and my purse.

I’m sure many of you can relate to this: Mama, can you hold this rock? Here’s a present for you, Mama. It’s a leaf! I’m just going to put this stick in your purse for later. Did you put my feather in your pocket? Later, as you are digging around for latte money, the barista gives you a funny look as random bits of nature fall on to the counter.

I made two of these: one for my daughter and one for her friend. They’re the same except for the lining. Now when we go on walks together, the girls can carry their own bits of nature. There are all kinds of pockets perfect for acorns, rocks, twigs and leaves. The buttoned back pocket is perfect for storing a shovel. You never know when you’ll need to dig for treasure!

I love how these turned out and will be making more. How perfect would they be for a day of garage sailing or thrifting with different compartments for cash, phone, water and a snack! They would also make a cool craft project bag with pockets for all of your notions.

project details: Pants from my closet, lining fabric from my thrifted stash.

personalized denim tote bags

small denim gift bag

Thanks to Sister Diane, I spent more time cleaning than crafting this weekend. She wrote a post about how we crafters just don’t seem to put things away and I looked around my room and thought, “Yep, that’s me!” I figured if I wasn’t brave enough to take a picture of my to-do piles then they needed to go.

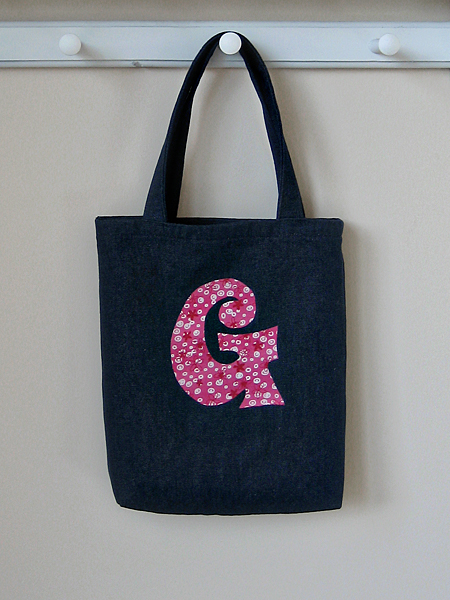
I did get a little bit of sewing done, though. I was inspired by a denim tote my daughter received as a gift and decided to make a few for upcoming birthdays. I found this denim in my stash and it was already hemmed at the top (yes!) so all I had to do was serge the sides and make some handles. I used Heat n Bond Ultra Hold for the initials. I made a total of three small and one big, which I think is destined to become a project tote for myself.

font: I used the House Industries Haulnhouse font for the initial caps. You can find a similar, free download of the “Austin Powers” font from about.com. By the way, House Industries occasionally gives away free fonts. You should check them out because they are all pretty awesome.

reusable fabric snack bags

fabric snack bag amy karol angry chicken

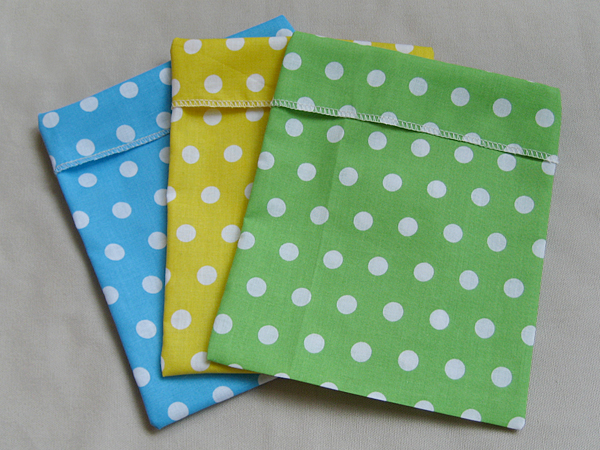
Ever since Amy posted a tutorial for fabric snack bags on her blog, I’ve been itching to make some. I took the photo after three were finished because I was losing daylight, but I made a total of nine. I easily got three bags out of a each fat quarter of fabric. Serging made this a super fast project, but I don’t think it would take too long with a sewing machine and some pinking shears.

reuse: I’m slowly reducing the plastic bag consumption in our household. The fabric is left over from the toy storage bags I made a few years ago.

home ec class: handmade reusable gift bag

I’m only on my second project and I’m already not following the directions. That didn’t take long! In my defense, it was because I wanted to learn something new.

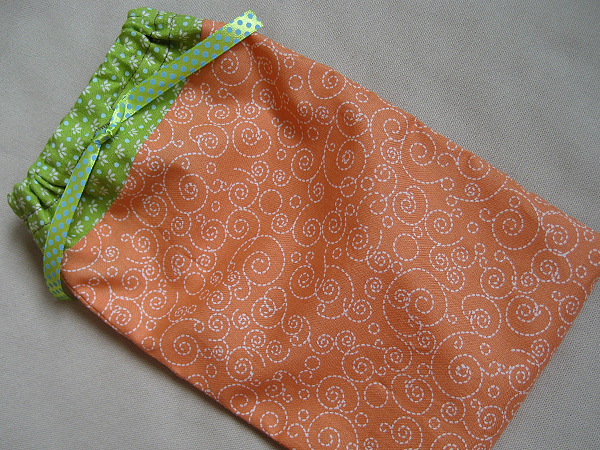
home ec class handmade fabric drawstring gift pouch

The project calls for a hand-sewn buttonhole, but I already know how to do that. I’m embarrassed to say, however, that I didn’t know how to use the buttonhole setting on my machine. How I managed to tackle zippers, but avoid buttonholes is beyond me. It’s so easy.

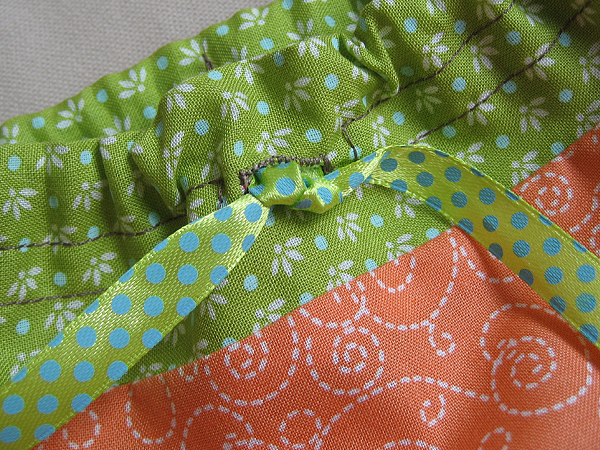
home ec class handmade fabric drawstring gift pouch

I also put a few stitches at the back of the casing to keep the ribbon from sliding out. That’s because this will probably go to my daughter for storing her magformers.

stash: Fabric from fat quarter bundle. Matching ribbon from somewhere else completely. They coordinate really well, though!

how to: messenger bag refashion

messenger bag refashion

It’s taken me awhile to write about this project because it’s not just a set of simple instructions. It’s more of a guide to what is possible. Before you rip one seam or sew one stitch, I recommend you sit down in a quiet place with pen and paper to plan. I know this is hard for some — it’s hard for me! I don’t even really like following patterns. When you are working with an existing bag, once you cut you can’t go back. You can’t buy more fabric and start over.

So that’s how I started this project — with paper and pen. Below are before and after pics with my thoughts and ideas. I hope you give this a try. There are so many “almost perfect” bags out there. Visit your local thrift store or garage sale and give them an “absolutely perfect” life outside of the landfill.

Materials
seam ripper
good scissors
heavy duty needle
matching thread

messenger bag refashion

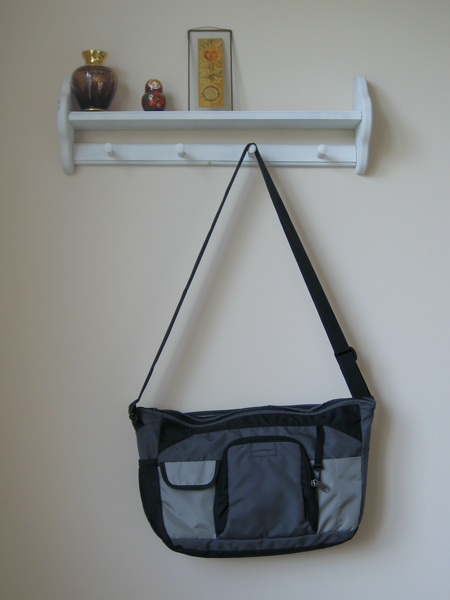
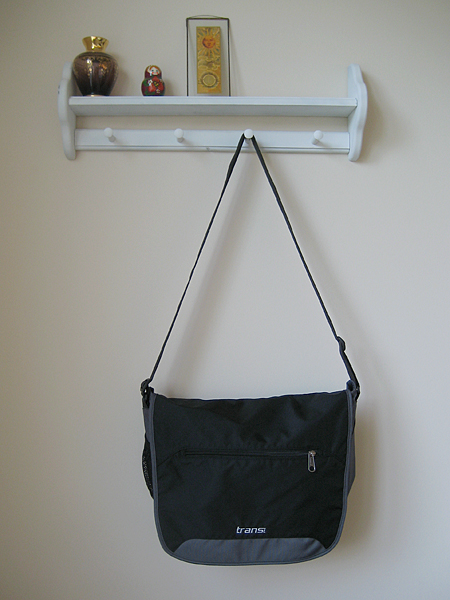
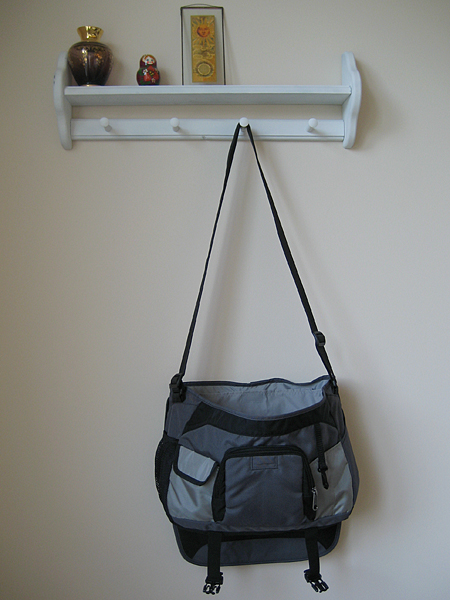
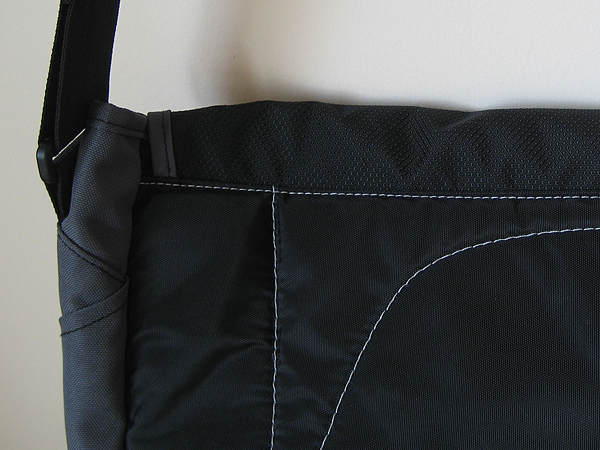
Here is the original bag. Carrie didn’t want the fold over flap. She asked me to replace it with a zipper.

messenger bag refashion

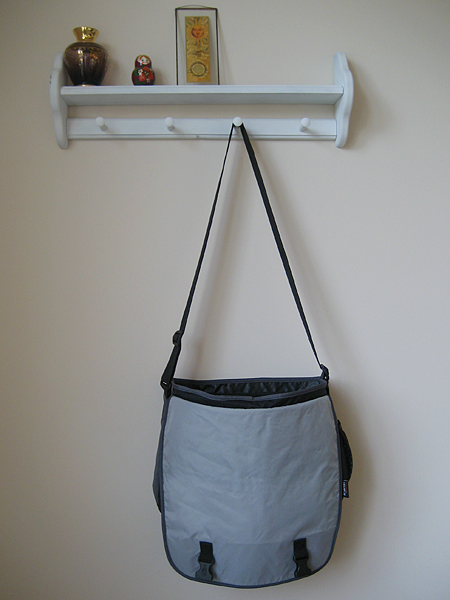
Because she didn’t want the flap, she didn’t need the big plastic clips either. I carefully removed them with a seam ripper. The ones on the flap were easy.

messenger bag refashion

The ones on the bottom were sewn into the seams of the bag so I had to carefully pick them out and resew the bottom seam.

messenger bag refashion

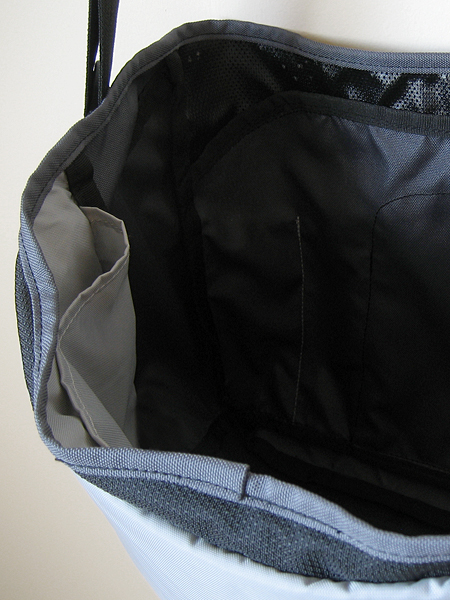
She was happy with the pockets on the outside, but she wanted more pockets on the inside. Most important was having a big pocket to keep her knitting projects safe.

messenger bag refashion

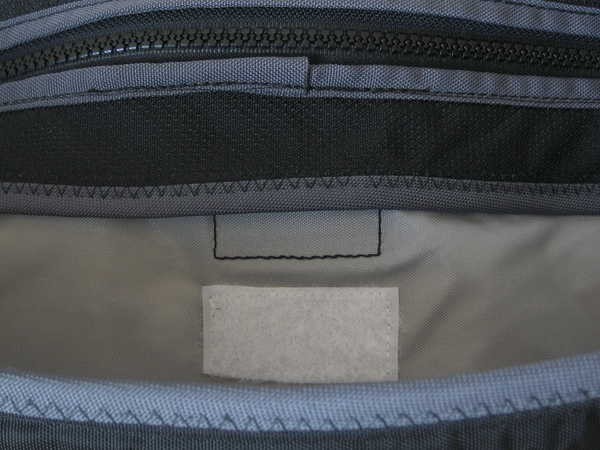
When I opened up the seam to take out the flap I got a nice surprise: another pocket! The only issue was the unfinished edges. I decided I could cover them with the trim from the flap.

messenger bag refashion

Here is the new pocket finished with the trim from the flap. It was too difficult to sew this with a straight stitch and get it even, so I zig zagged it instead. I added velcro and voilà: an easy access pocket for knitting projects!

messenger bag refashion

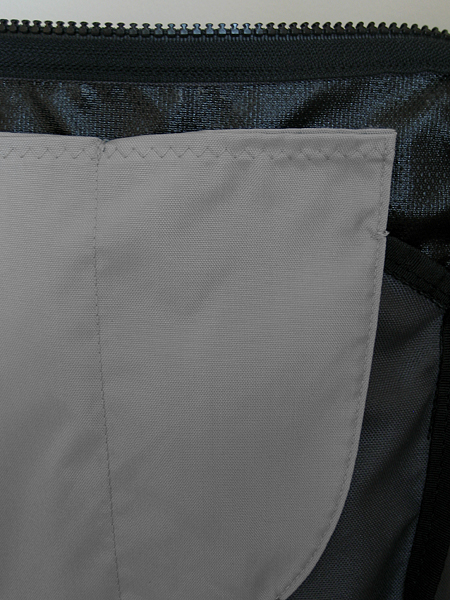
I decided to use the gray fabric from the messenger flap for the inside pockets. There wasn’t a lining in this bag, so I couldn’t sew the pockets directly to the fabric — the outside pockets were in the way. I decided to make the pockets independent of the bag and then just anchor them at different places where the stitches wouldn’t show on the outside.

messenger bag refashion

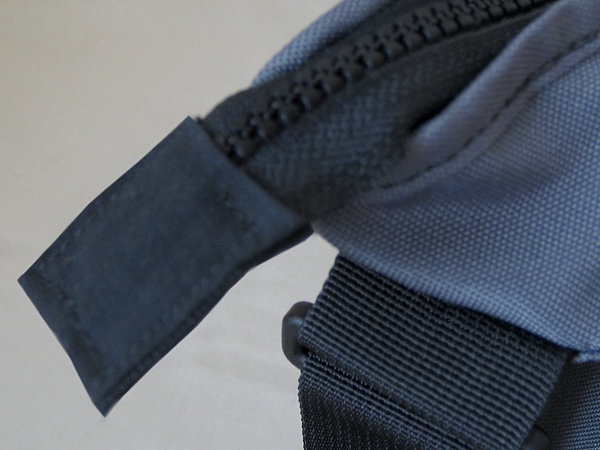
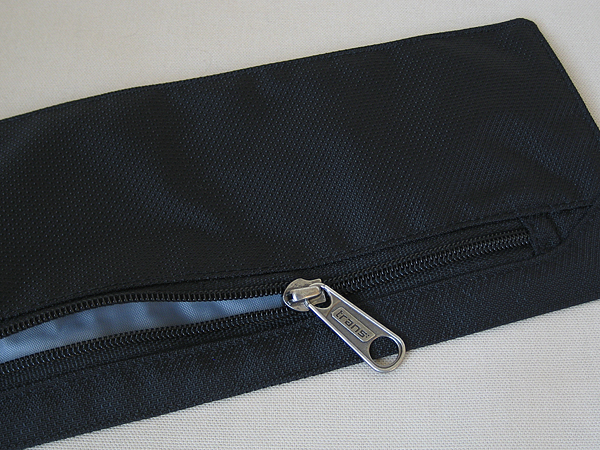
I saved the zipper for last. I just followed the stitch line on the existing trim when I sewed it in. Instead of anchoring the zipper end to the inside, I finished it off with a fabric tag. It felt a little more sporty that way and was also easier on my sewing machine!

messenger bag refashion

If you’ve been reading my blog for awhile, you know I hate to let anything go to waste. It took a little bit folding and unfolding, but I figured out to make a zipper pouch out of the remaining piece of the flap. Cool!

messenger bag refashion

Here’s the after picture again. I hope this “how to guide” is helpful. If you have any questions, let me know. Carrie loves her bag, by the way. Yay!

super cute (and quick) wine bottle gift bag

wine bag

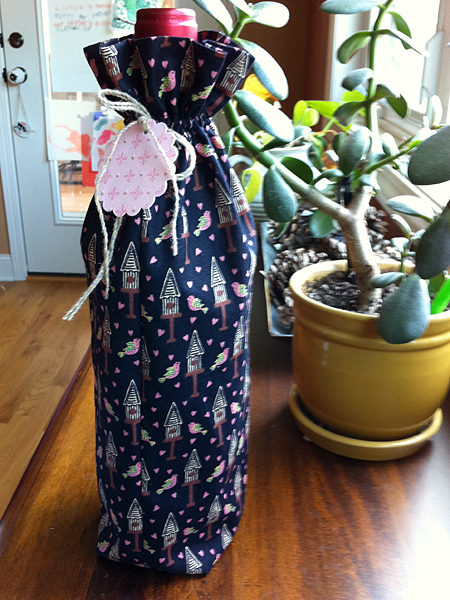
I love when I can make something totally out of recycled and thrifted materials. I whipped up this wine bag one afternoon—the serger makes some projects so darn fast! Free fabric from way back. (Don’t you love the little bird houses?) Thrifted yarn from the big spool of wool. Gift tag made from upcycled thank you note. Personally, I think it’s much cuter than anything you could buy at Hallmark, but that’s just me.

totes in waiting

upholstery sample totes

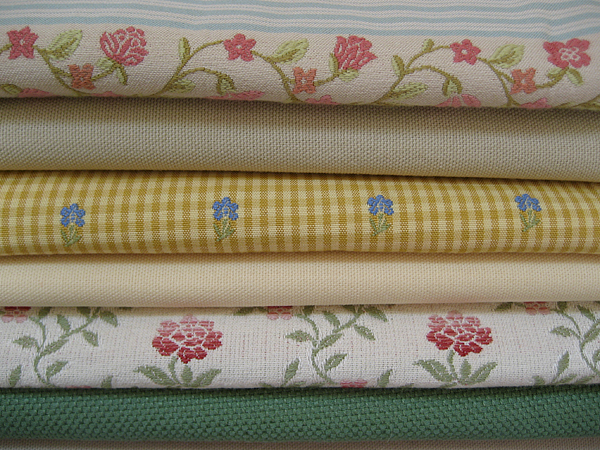
Thank you everyone for the sweet comments on my giveaway tote. I’ve been overwhelmed by your responses! They’ve inspired me to make some more totes from my upholstery stash. Last night I put together color combinations for three more bags. Now, if I can only find the time to sew them up!

recycle: All of these are thrifted fabrics. Aren’t they lovely?