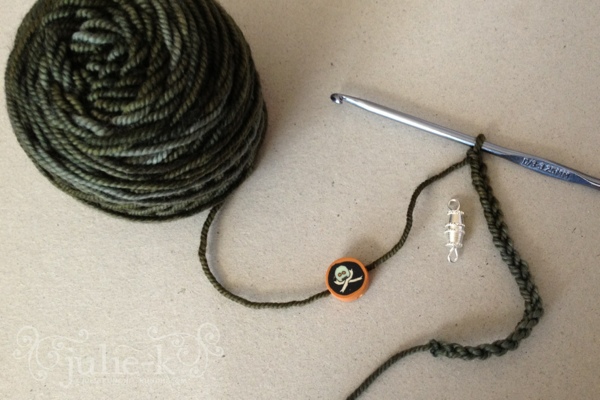
I’m not one to wear bats or skulls as jewelry during the month of October, but when I spotted this little bead in my daughter’s collection, I knew I had to make it into a necklace. I have been thinking a lot about mixing yarn and beads lately, and this finally convinced me to sit down and get to work. I’ll post a pic when it’s finished.
recycle: how to make felted beads from yarn scraps
I’m going to say something silly, but I’m sure there are others out there feel the same. I have a hard time throwing out wool scraps. I don’t feel the same about cotton or acrylic yarn and I’m not sure why. There’s just something about the wooly ends. It pains me to toss them.
One night after amassing a large pile of granny square ends, I had an idea. I pulled the plies apart, walked over to the sink where my husband was doing dishes, and doused them with hot water. I added a tiny drop of soap and started rolling them in my hands. Within seconds I had the most adorable little felted bead! Just recently, I made some while the camera was out, and decided to take a few pics for the blog.
How to Make Felted Beads
1. Collect your wool ends. Here are a few from recent projects.
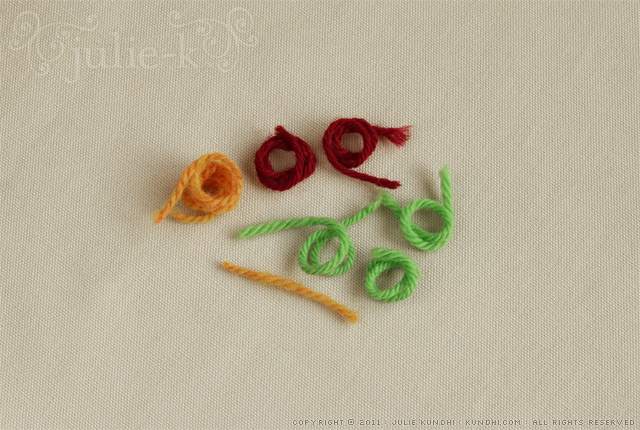
2. Separate the plies. Skip this step with single ply yarn.
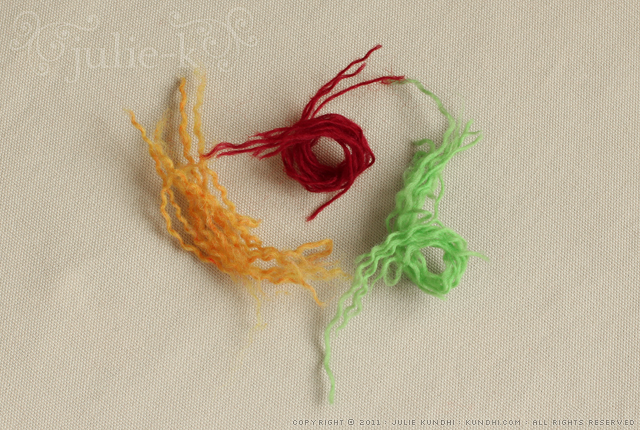
3. Pull apart the individual plies until you’ve got a fluffy ball of wool. The fluffier the ball, the more even it will felt.
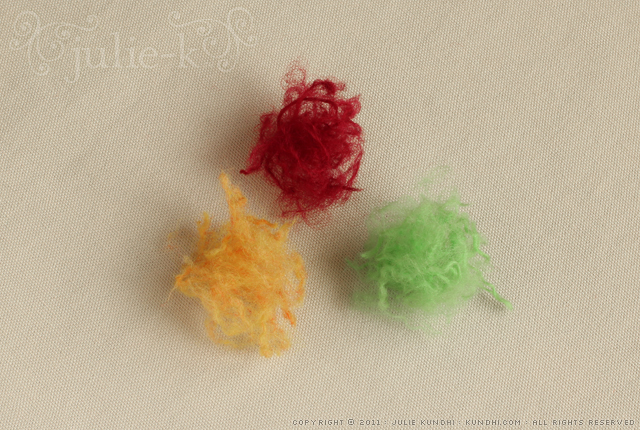
4. Felt them by hand. Sometimes I use hot water from the tap. Other times I heat a small mug of water in the microwave. Get the wool wet and then squeeze out the excess water. Roll the wool between your palms until it starts to felt. Sometimes a little bit of soap helps get the process going.
Rinse out the soap and you’re left with these little cuties:
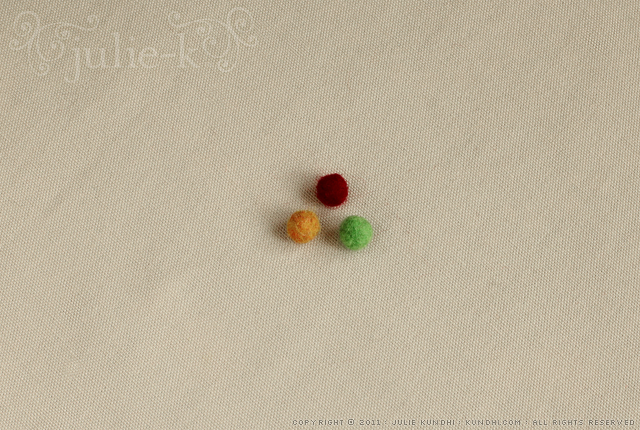
I have great ideas for these, but I must admit that they are currently in a jar with a rainbow of other colors. I’d like to make a bracelet or necklace with them. I’d also like to use one as a center for a crochet flower hair tie. In the meantime, I just keep felting and collecting, happy that I’ve found a use for my wooly ends.
What do you do with your yarn scraps?
tiny crochet ornament bookmark pattern
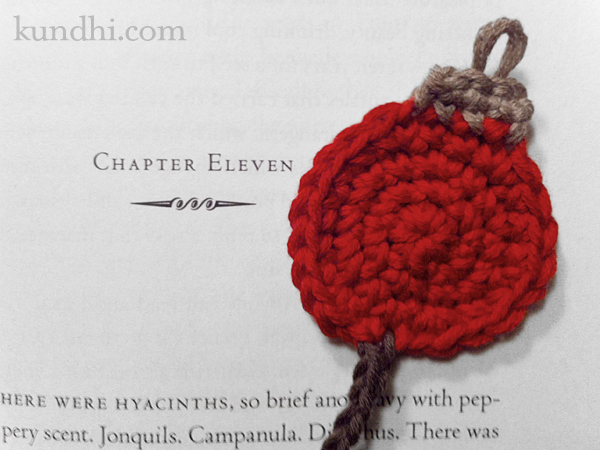
I’m sorry my pictures aren’t the greatest for this post. The sun went down too early today. I can’t wait for the winter solstice. I just can’t get my photo-taking act together before dinnertime. I might try and retake the photos over the weekend.
This is the same pattern I used for the tiny baseball bookmarks, without the little top of course. If you want to do baseballs, I recommend marking the curves with a disappearing ink pen before embroidering the red stitches. It really helps!
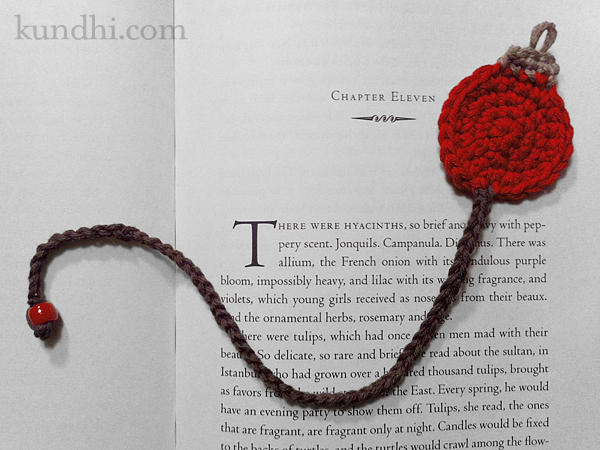
Tiny Crochet Ornament Bookmark Pattern
worsted weight yarn (I used Brown Sheep Cotton Fleece)
size F/5 (3.75mm) and D/3 (3.25mm) crochet hooks
tapestry needle for weaving ends
small bead
sl st: slip stitch
sc: single crochet
inc: 2 sc in one stitch
gauge: not important, but mine is about 1 1/2 inches wide
ornament
With larger hook, make a magic ring.
R1: 6 sc into ring
Ornament worked as a spiral. Place marker to keep track of rounds.
R2: inc in each stitch around
R3: *inc, sc* around
R4: *2 sc, inc* around until last two stitches. Sl st in last two stitches.
R5: sc in first stitch, change to smaller hook, chain 55, add bead, chain 5
Finishing: cut yarn, tie knot, thread end back through bead, tie double knot, trim close to knot.
ornament top
R1: pick up stitches at top of ornament as follows: pick up and chain 1, *pick up and sc* three times, turn work
R2: chain 1, sc 3
Finishing: cut yarn, add a little loop between middle two stitches while weaving in ends
These work up really fast and add a nice handmade touch to book gifts this holiday season. I’ve got a lot of books on my list for Santa — better make a few more just for myself. Enjoy!
stash: These only take a tiny bit of yarn. You can definitely go stash diving for this project!
my daughter’s first necklace
Thank you to everyone who commented about their creative time of day. I’m encouraged that so many of you find the morning hours so productive. I’m definitely going to give it a try. I even went to bed early last night! Of course, that might have had something to do with the major destash and deep cleaning of my creative space. I was pretty exhausted the next day.
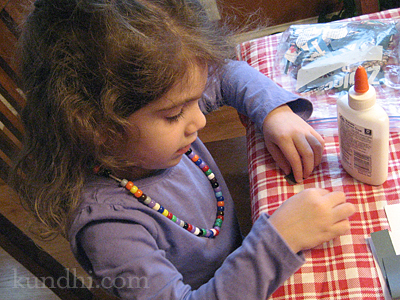
My parents also went home yesterday. The first few days after their visits are always an adjustment, especially getting my daughter back into her routine with some independent play time. Today I got some precious time alone while she strung beads. I helped her get started and then she just took off!
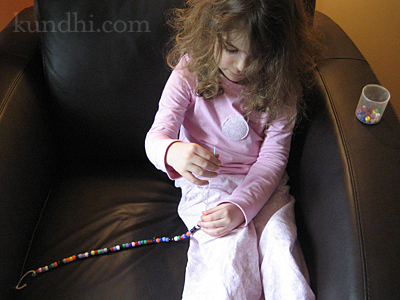
Excuse the jammies, but Fridays are usually our “stay at home” days. I did make her get dressed before lunch, and she spent the rest of her day wearing her new necklace. Here she is crafting at her special end of the kitchen table.
As for me, well, I’ve got a lot of projects that are almost finished. The weather has been kind of glum the past few days. Yesterday we even had snow! I’m hoping for sun this weekend so I can take some pictures for the blog. I’ve got some fun things to share!
stash: Beads are actually from my amigurumi stash. My daughter has been asking to play with them forever. I think they might become her jewelry stash.
