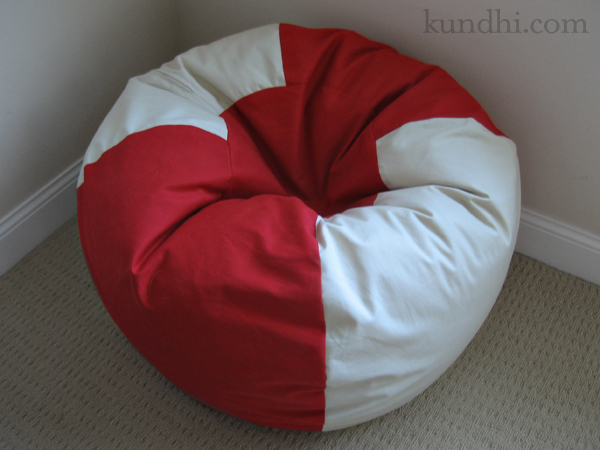
The Rollie Pollie bean bag chair that I started sewing at the craft retreat is finished! Here are all of the nitty gritty details:
I used the tutorial from Dana posted on the So You Think You’re Crafty site. Dana has a pattern available for sale on her website. You don’t need the pattern, but I saw a copy at the retreat and it’s very comprehensive.
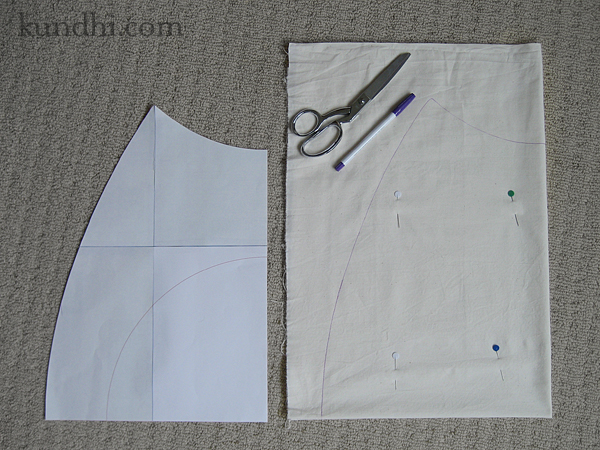
I only enlarged and printed a quarter of the pattern to save paper and ink. I folded my lining fabric in quarters, traced and cut. Then I used the lining pieces as my pattern for the cover fabric.

Dana recommends sewing the seam and then going back and adding a serged seam for durability. I couldn’t think of a reason to finish the raw edges, so I just sewed a double seam: one at 1/2 inch and one at 1/4 inch from the edge.
I was planning on adding the handle, but as I was sewing up the cover, my daughter lifted the bag up over her head and carried it to her bedroom, so I skipped it.
The fabric and zipper were thrifted. The outside is upholstery fabric and the lining is cotton muslin.
The stuffing is new. I had been looking for a thrifted bean bag on craigslist and they were all pretty grungy. Then I read that even Goodwill doesn’t accept beanbags, so I decided repurposed stuffing wasn’t going to happen. I wound up buying two bags of bean bag pellets from here. Shipping is almost as expensive as the pellets, but I bought a few other things on my gift list and got free shipping. (The have a nice selection of Melissa and Doug items.)
When I started this project, I didn’t realize it would be so expensive. I also had no idea that bean bags were so pricey! I’m glad I made the large size so my daughter can get lots of use out of it. It currently resides in her “reading corner” next to her basket of library books. It was a fun project and has brought my daughter a lot of joy. I definitely give it two thumbs up!