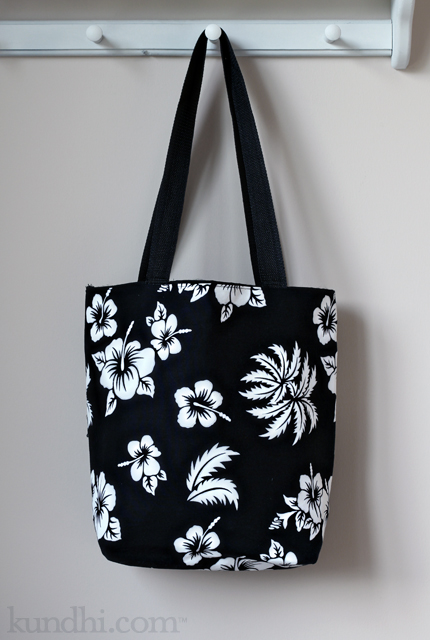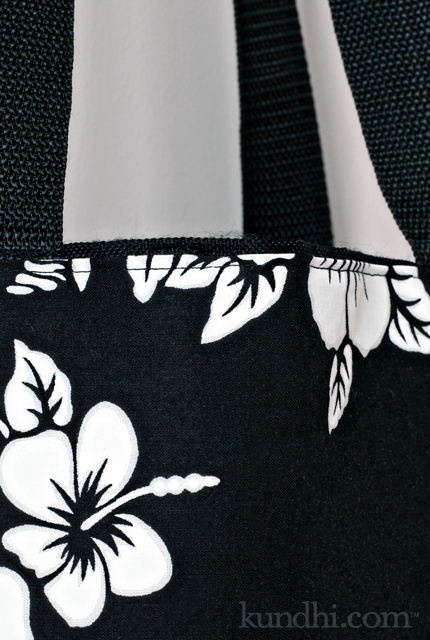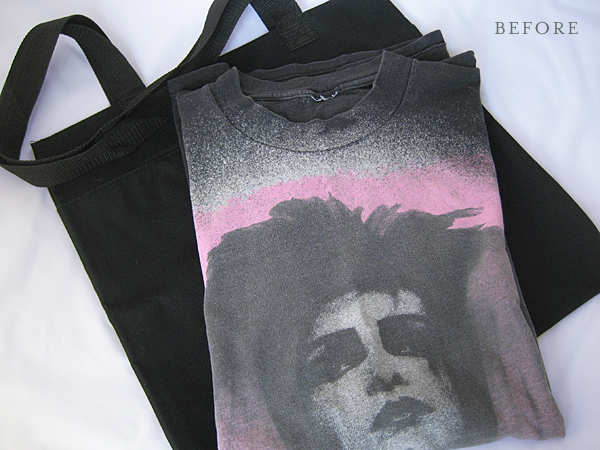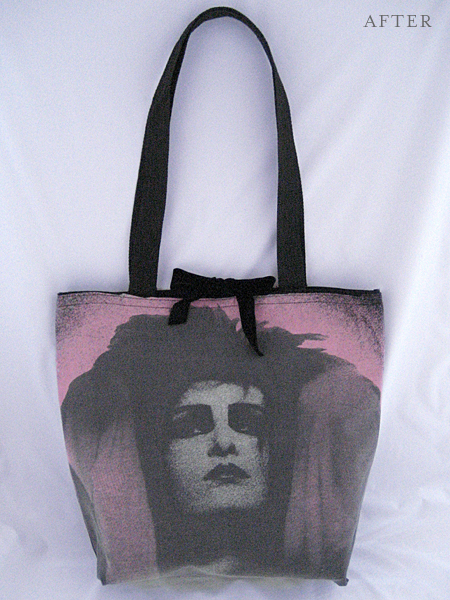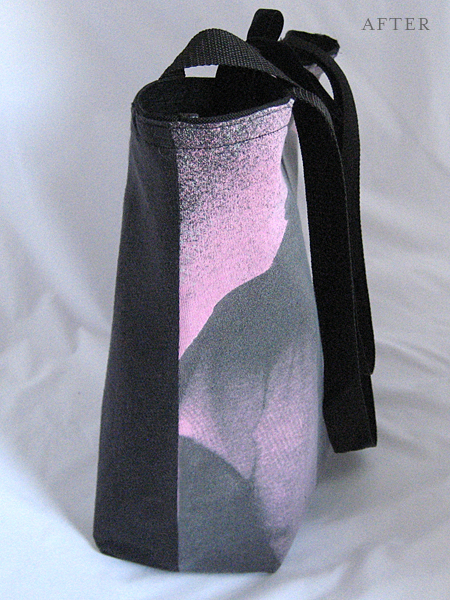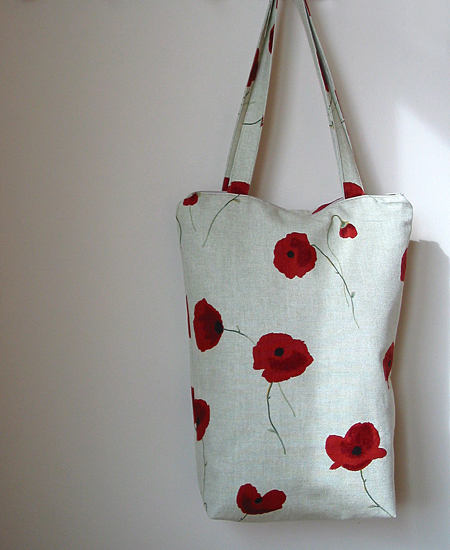
During the past week, this bag has carried my laptop through the airport, been my purse to a wedding, and toted stuff to the beach. That’s a lot of jobs for one bag. I’m happy to say it performed all of its required duties wonderfully. And it looked pretty darn cute, too. Here’s how I planned the design:
Size
Most importantly, this bag needed to be large enough to fit my laptop, but small enough to meet airline carry-on luggage guidelines. I checked the FAA and NWA website and both set my limit at 45 linear inches. Mine turned out to be 13.5 x 16.5 x 4 inches, or 34 linear inches. Part of me wished I had made it a little bigger, but there’s less room for your bag under an aisle seat, so in the end, this size worked great.
Inside
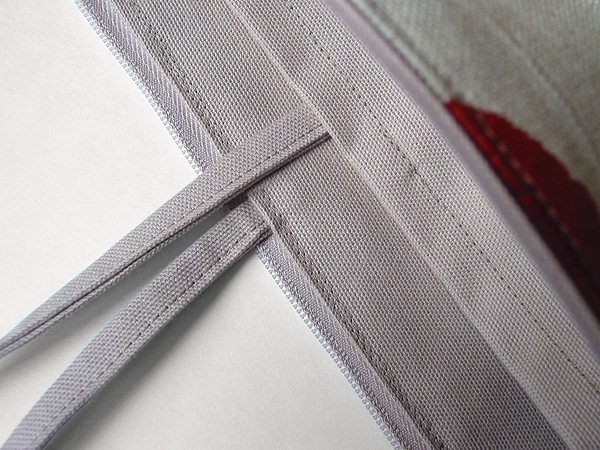
I wanted a separate sections for my laptop and my other things. I created two pockets and added a tie to the laptop side. When I used this as a purse, the laptop side was filled with fun things for distracting my daughter, like coloring books, story books, stickers, etc. At the beach, it held my book and knitting project.
Outside
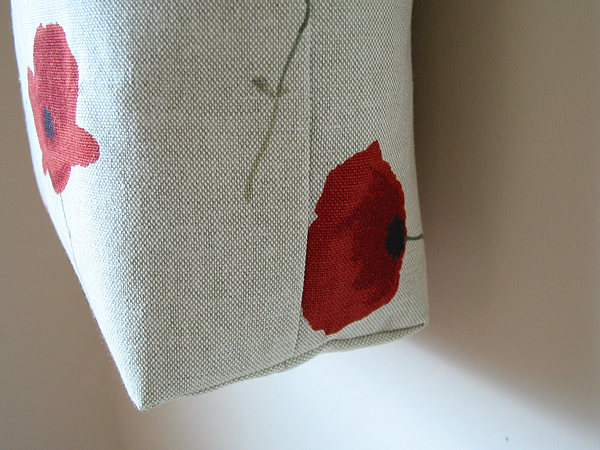
A zipper closure was essential. I didn’t want anything to fall out during airport screening and I didn’t want any sand getting inside. Durability was important, also. The outside is an upholstery fabric and the inside is a cotton canvas.
How-to
This bag is basically an oversized zipper pouch with handles and two inside large pockets. It seems silly to write up a tutorial when there are so many great ones already out there. For this project, I referenced the following:
Adding the handles was easy. I just sandwiched them between the outside fabric and zipper when I was sewing it all together. I reinforced the handles with a few rows of extra stitching.
stash: Fabric came from this remnant sale. Zipper was thrifted.
