more glue stick collages

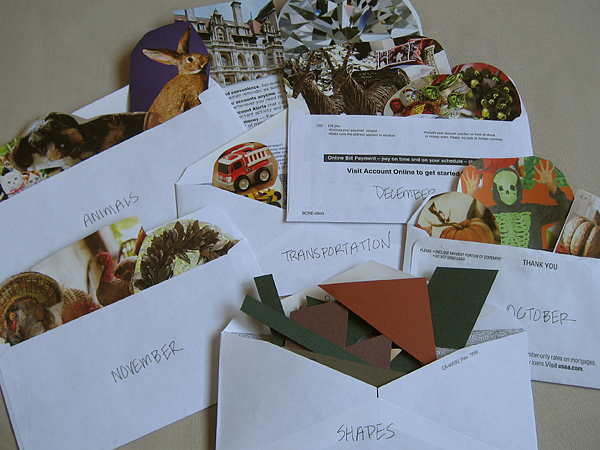
cutting and sorting photos for collages

Wow. This time last year I was doing the same exact thing: cutting out pictures for my daughter to paste on paper. It must be the official start of the holiday direct mail season.

Last year we put all of the shapes together in a single envelope, which created a lot of mess. She’d dump all of them out just to find one or two that she wanted. This year we are sorting them by category to make it a little easier.

Now that she’s using scissors, this is even more fun for her. Of course, we’ve created a whole different mess of scraps on the floor, but who cares. It keeps her busy and she enjoys it. I just need to remind her that we only cut paper and not hair!

envelopes: My daughter loves writing little notes and was cruising through my stash of envelopes. I started saving the ones that come with all of our junk mail. She’s got a nice supply now and that’s what we used to sort her cutouts.

catalogs: Did you know you can cut down the amount of paper that gets delivered to your mailbox? I’ve had good luck with Catalog Choice. Only problem is when you order something new, you get put on the mailing list again. At least we’re putting the catalogs to good use!
how your child can make wrapping paper in 3 easy steps

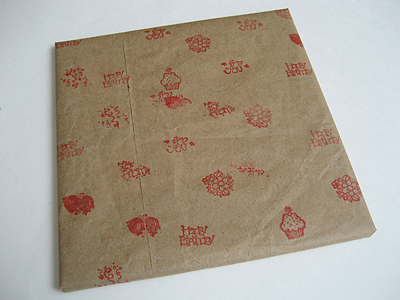
handmade eco-friendly wrapping paper

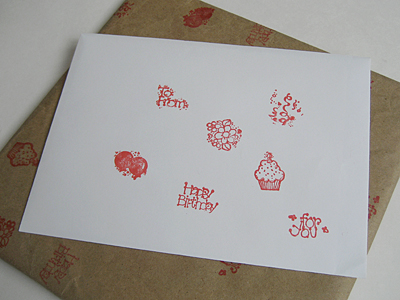
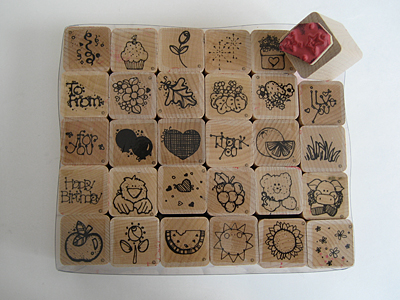
A few months ago I found these stamps while digging through the craft section at the thrift store. One of my daughter’s favorite things to do is stamp — anything and everything!

handmade eco-friendly wrapping paper

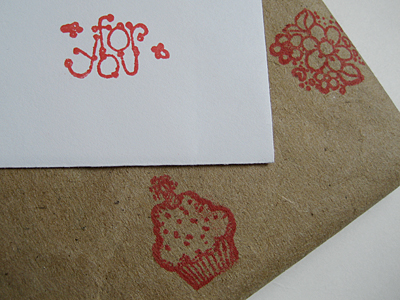
She already makes birthday cards for her friends by hand, and I thought it would be fun to have her make wrapping paper for the gifts, too. Fabric gift bags are great, but sometimes kids just need to rip paper.

I usually use kraft paper for this, but a paper bag works just as well.

Materials
kraft paper or paper bags
rubber stamps
washable ink stamp pads

Step 1
If using kraft paper off the roll, tape it to the table first so your child has a flat surface on which to stamp. If using a paper bag, cut it flat and use a low heat iron to smooth out the wrinkles. (They won’t disappear, but will flatten out.)

Step 2
Roll up your child’s sleeves. We’ve had elbows in the stamp pad many times, which is why washable ink is a good idea.

handmade eco-friendly wrapping paper

Step 3
Wrap the gift! If your child wants to help with this step, hold the paper and let her apply small pieces of tape.

Bonus!
Have your child stamp the envelope to match the paper.

handmade eco-friendly wrapping paper

recycle: If you missed my post with the frightening statistics about wrapping paper, you should really check it out. I’m happy to say this is one resolution that I’ve had no problem keeping! (Price for the stamps: $4.)

my first crochet hat

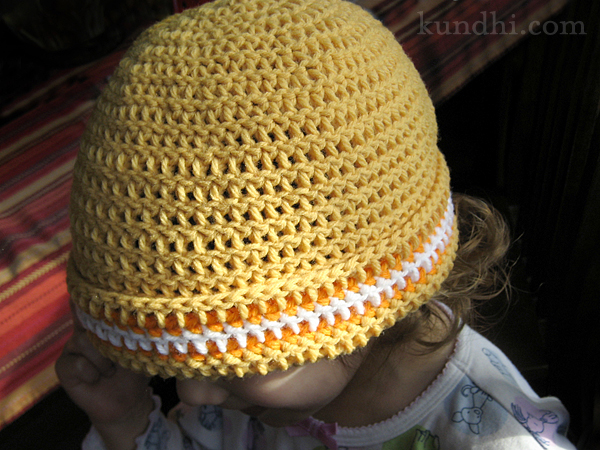
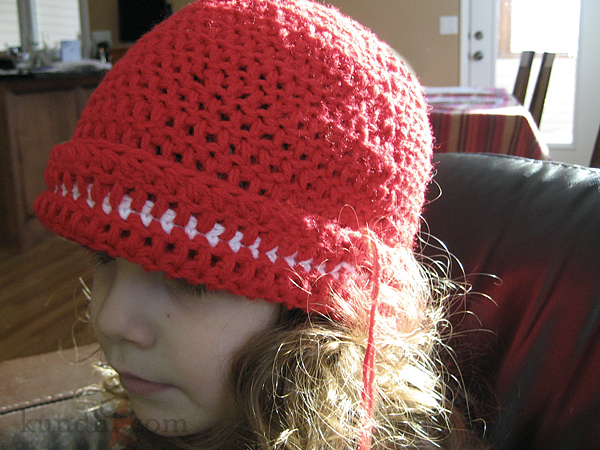
first crochet beanie

I’ve got too much acrylic yarn. I like to keep a stash on hand for spontaneous amigurumi projects, but it’s gotten out of hand. I was planning to give it away, but it’s been so cold out, I thought maybe I’d do something useful with it.

A few months ago, my friend Lisa asked all of her crafty friends if they would consider making some hats for students at her school who needed warm clothing for winter. I actually started one and then the holidays hit and I completely forgot about it.

As you probably know (unless you’ve been living under a very warm rock), it’s been pretty cold in Nebraska the past week. I’ve been thinking about the kids who usually walk to school. Then I remembered the hat I started.

I was surprised how fast this worked up. (I was also surprised that my daughter agreed to wear it for a photo.) I definitely plan to make a few more of these.

pattern: This is a basic double crochet beanie like this one. I modified it a bit as I went along. My yarn was sport weight, so I double stranded it and used a larger hook. It is thick and warm!

embroidered sun pillow

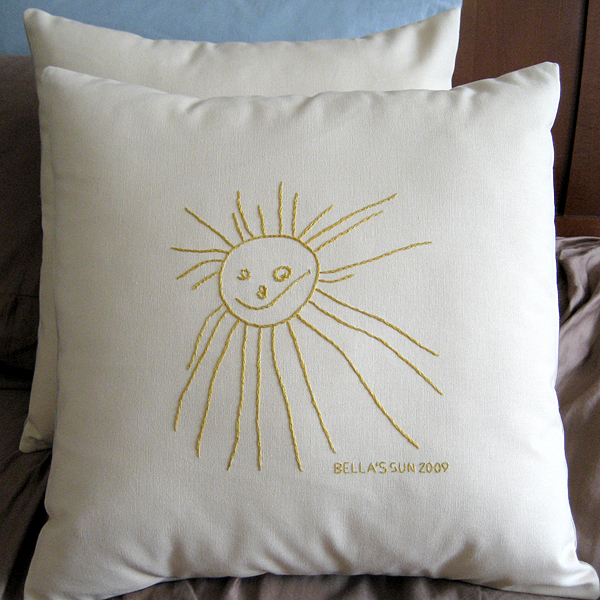
handmade embroidered sunshine pillow

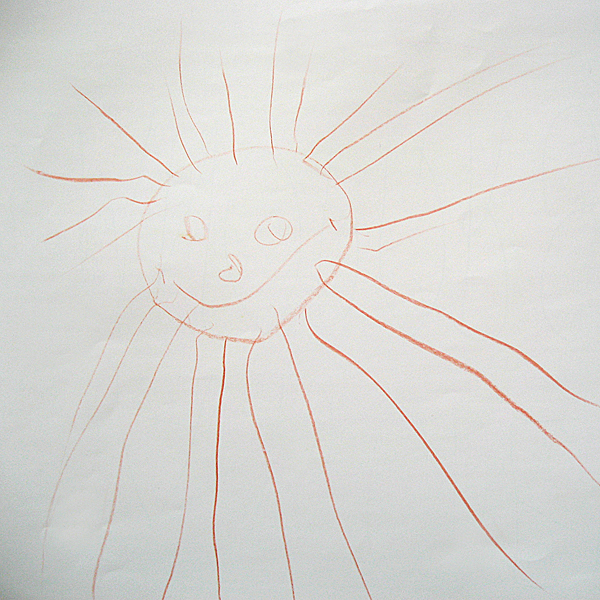
A few months ago, my daughter was drawing at her easel while I was making dinner. She said, “Look, Mom! A sun!” Not only was it a sun, but it was her very first face, complete with two eyes, a nose and a smile. Since then, she’s drawn lots of suns with faces: fat ones, small ones, some even with freckles. This one is special, though. This one was the first.

handmade embroidered sunshine pillow

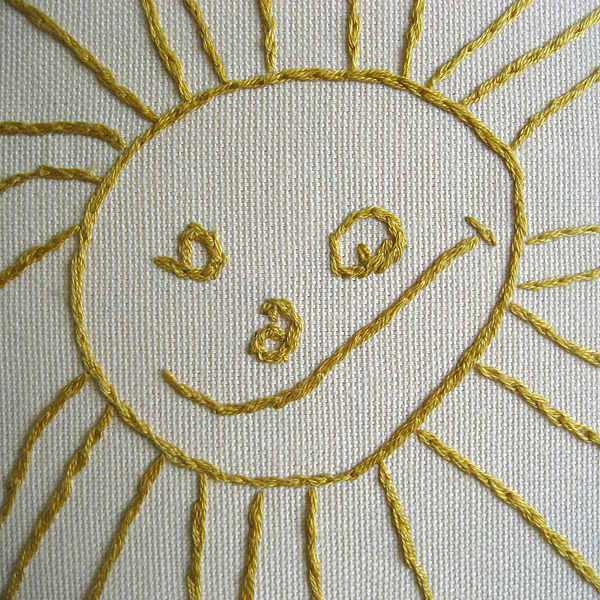
I decided to share her sun with her grandparents for Christmas. I took a photo of her original artwork, printed it and traced over it with a marker. Then I taped it to a window, taped the fabric over the paper, and traced it with disappearing ink. After embroidering it, I sewed it up into a pillow cover.

handmade embroidered sunshine pillow

I hope to make one for myself this year. Maybe a smaller version for her room? She loves her sun and has the printout taped to her wall. I’ve got the original tucked away for safe keeping.

stash: Everything except the pillow forms came from my stash. The upholstery fabric colors were perfect for this project and I used quite a bit of yellow embroidery thread.

how to sew a baby quilt in five easy steps

snoopy baby quilt

So you’d like to make a quilt, but you’re intimidated by all of those little pieces, right? I am, too. But you can make a quilt without blocks. It’s easy and looks just as nice! Here’s how I did it:

Materials
1 – 36×36″ piece of top fabric
1 – 36×36″ piece of bottom fabric
1 – 36×36″ piece of batting
1 – 38×8″ piece for making the trim*
matching thread
bias tape tool
rotary cutter and ruler
walking foot (optional)

*even easier: use 4 yards (plus a few inches) of pre-made bias tape

Step 1
Lay your fabric on the floor wrong sides together with the batting in the middle. Pin baste from the center outward.

Step 2
Starting from the center and working your way outward, draw parallel lines every four inches with sewing chalk, water soluble pen or light pencil.

Step 3
Starting from the center, sew along these lines working your way outward, taking out the basting pins as you go. Here’s where a walking foot is helpful, but if your batting isn’t too thick, you should be fine without it. Square up your edges with a rotary cutter and ruler.

Step 4
Cut your trim fabric according to the measurements for your bias tape tool and make the trim. Even easier: open the package of pre-made bias tape.

Step 5
Fold the trim over the edge and attach with a zig zag stitch. Fold the ends over at the corners to enclose the raw edges.

snoopy baby quilt

I hope I didn’t oversimplify this, but it’s really easy. The zig zag trim takes a little practice. This was my first time, and I’m sure it will get a lot neater the more I do it.

resource: I was inspired by Soule Mama’s Beach Blanket To-go for this blanket. One day I hope to make something as beautiful as her daughter’s quilt, but for now, I’m going to stick with single pieces of fabric until I’ve got more free time.