except this

at least for now

I wonder how much longer the magic will continue.
except this

at least for now

I wonder how much longer the magic will continue.

She told her dad she’d need help cutting the top of the tree net open. Just barely, though. Not pictured: how short her pajama bottoms are. Last Christmas they were too long. The next size up is huge around the waist. I foresee some tailoring in my future.
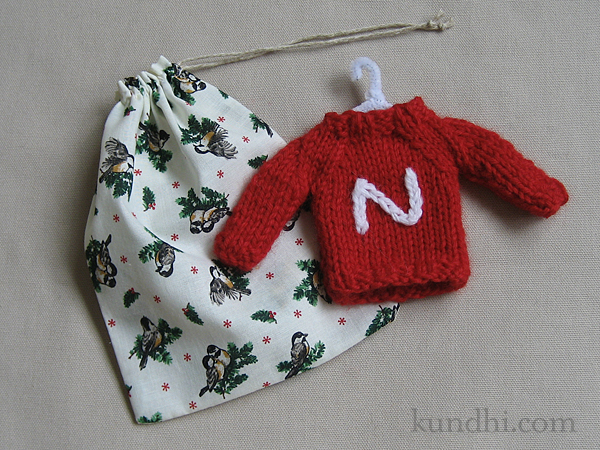
I’ve wanted to make these ornaments for a long time. The pattern is from Last-Minute Knitted Gifts. The inspiration for the Husker “N” came from my friend Christy, who has made a gazillion of these. The pattern suggests making a hanger out of a pipe cleaner and I think it’s absolutely adorable.
I’m having a hard time blogging because a lot of what I’ve been making hasn’t been gifted yet. I don’t think the recipients read my blog, but if you get one of these from me, just act surprised, ok?
stash: Red wool from the 2010 East Campus garage sale. White wool from the 2009 East Campus garage sale. Fabric for gift bag from here. Crazy that I remember all of that!
p.s. Congratulations to giveaway winner Shana Putnam!
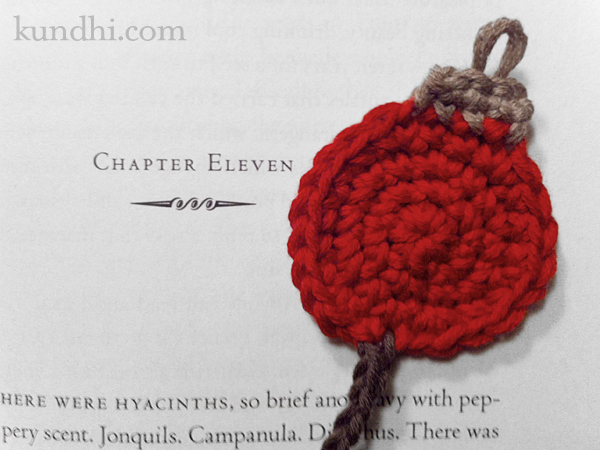
I’m sorry my pictures aren’t the greatest for this post. The sun went down too early today. I can’t wait for the winter solstice. I just can’t get my photo-taking act together before dinnertime. I might try and retake the photos over the weekend.
This is the same pattern I used for the tiny baseball bookmarks, without the little top of course. If you want to do baseballs, I recommend marking the curves with a disappearing ink pen before embroidering the red stitches. It really helps!
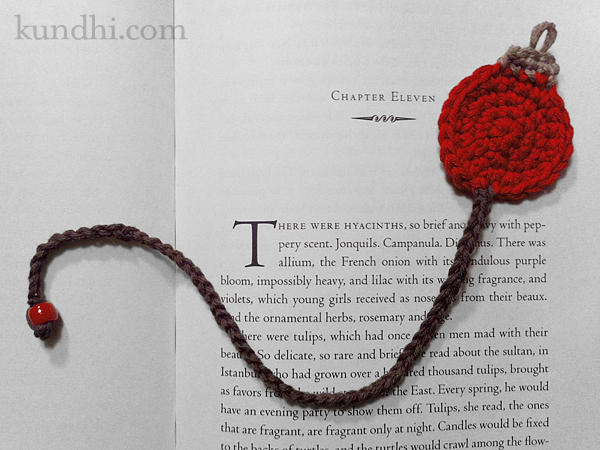
Tiny Crochet Ornament Bookmark Pattern
worsted weight yarn (I used Brown Sheep Cotton Fleece)
size F/5 (3.75mm) and D/3 (3.25mm) crochet hooks
tapestry needle for weaving ends
small bead
sl st: slip stitch
sc: single crochet
inc: 2 sc in one stitch
gauge: not important, but mine is about 1 1/2 inches wide
ornament
With larger hook, make a magic ring.
R1: 6 sc into ring
Ornament worked as a spiral. Place marker to keep track of rounds.
R2: inc in each stitch around
R3: *inc, sc* around
R4: *2 sc, inc* around until last two stitches. Sl st in last two stitches.
R5: sc in first stitch, change to smaller hook, chain 55, add bead, chain 5
Finishing: cut yarn, tie knot, thread end back through bead, tie double knot, trim close to knot.
ornament top
R1: pick up stitches at top of ornament as follows: pick up and chain 1, *pick up and sc* three times, turn work
R2: chain 1, sc 3
Finishing: cut yarn, add a little loop between middle two stitches while weaving in ends
These work up really fast and add a nice handmade touch to book gifts this holiday season. I’ve got a lot of books on my list for Santa — better make a few more just for myself. Enjoy!
stash: These only take a tiny bit of yarn. You can definitely go stash diving for this project!
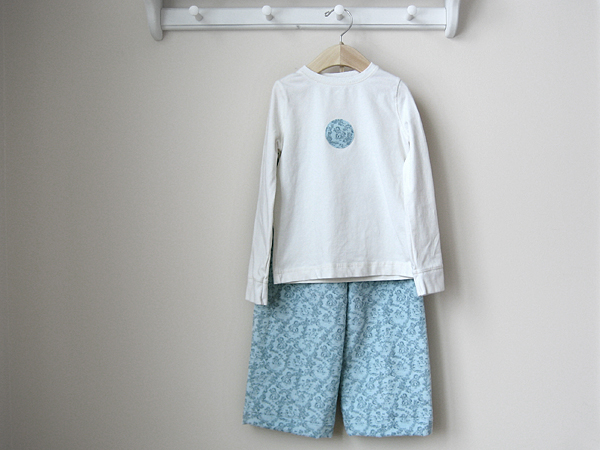
I was planning to make two pairs of pajamas. Only one pair got finished. When I showed them to my daughter, she said they were very cool, but she didn’t want to wear them to bed. I was a little crushed. Fast forward to today: they’ve been on for over 24 hours and she doesn’t want to take them off. Success?

The flannel was thrifted from somewhere—I’m starting to lose track of where I get these things! I was planning to use a Simplicity pattern, but didn’t have enough fabric. Instead, I used a pillow case pajama pants tutorial, and it worked out perfectly.
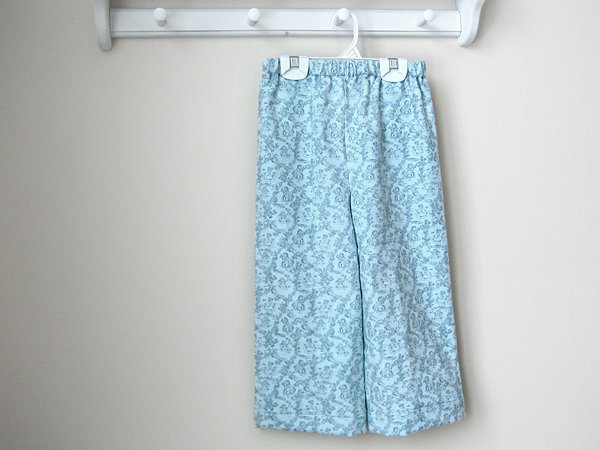
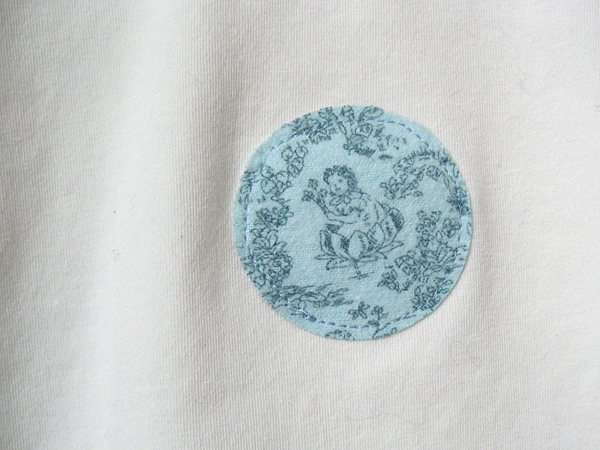
The top is just a plain t-shirt from Target. I added a little appliqué to help it coordinate with the pants.
I’m very happy with how these turned out. I’ll be making the other pair this weekend.
project notes: Making a pattern from measurements tutorial from Brandy over at Minivan Life. Very easy to follow. I highly recommend it!
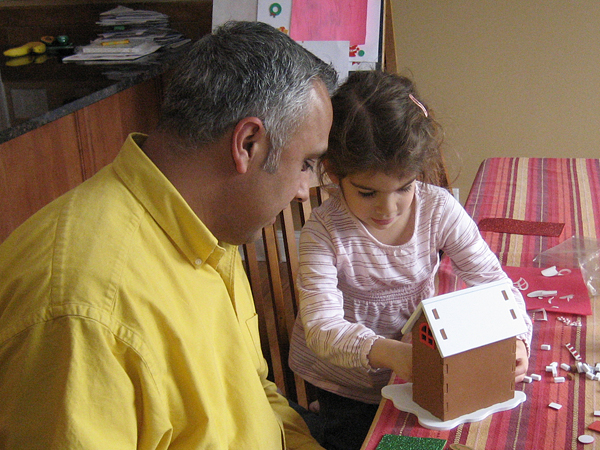
I bought this little gingerbread house for my daughter to put together with her dad this afternoon while I do a little bit of sewing. It’s just a little crafty thing with some sticky appliqués and glitter, but they seem to really be enjoying themselves.
I’m planning to make some Christmas Eve pajamas for her to wear tonight. Better get off the computer and get sewing!
Receiving them!
When I pick up my daughter from preschool I always ask about her day. Did you learn a new song? Did you paint? Color? Draw? Did you sit still for story time? For the past few weeks she’s been telling me about her tree. “Today we painted our tree.” “Today we put ornaments on our tree.” “Today we put sparkles on our tree.”
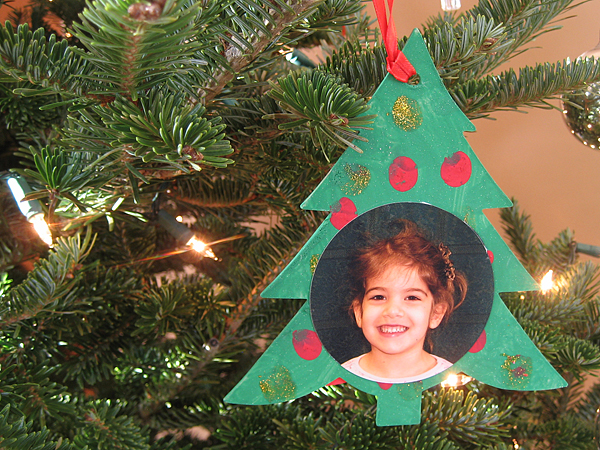
I honestly thought she was making some kind of giant tree painting the way she described it. Imagine my surprise when she came home with this little tree ornament! It was wrapped in a paper bag (or sack as they say in Nebraska)* decorated with holiday stickers. I waited for my husband to come home so we could open it together. It is the most beautiful ornament on our tree.
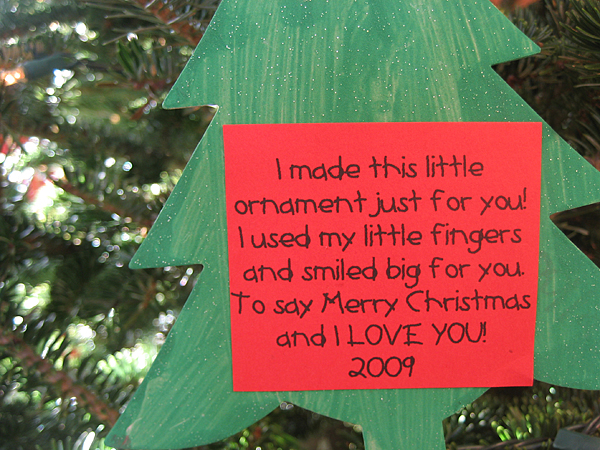
*When I called it a paper bag, my daughter said, “NO MOM! Mrs. Tisdale said it’s a SACK!”
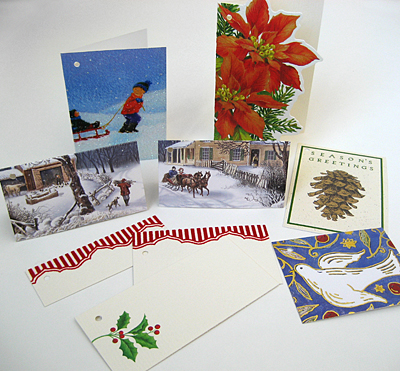
Last year I saved a few of my favorite holiday cards for crafting. I planned to reuse the artwork to make new cards, but when I realized I didn’t have any cute gift tags in my stash, I started cutting! I began with 5 cards and ended with almost 30 gift tags in all shapes and sizes.
You’ll need:
-paper cutter
-embossing stylus, crochet hook or knitting needle for scoring
-ruler
-small hole punch
I just started slicing away without thinking too hard about the end result. Then I went back and sorted all of the bits.
Most cards are made out of heavy paper stock and need to be scored before you fold them or they will crack on the fold. If the surface is glittery, cover with a thin piece of paper before scoring.
The final step was to punch holes in the corners so they can easily be tied on to gift packages.
reuse and recycle: This little project didn’t take long and was so much fun. If you sent me a really cute card last year, thanks! You just might be getting it back on a gift this year.

Today my creative space is filled with finishing gifts. I can show you this one because I don’t think my daughter’s teachers read the blog. I just took the “apple for teacher” gift a little further and added a cozy. This idea is brilliant for those who throw a piece of fruit in their bag for a snack. The cozy keeps it from getting bruised. I really want to make one for myself, but not until after holiday gifts are finished.

Creative spaces are going on holiday until 2010. Head over to Kirsty’s blog for your end-of-year fix.
pattern notes: I had to add a few rows for it to cover my apple. Adorable Apple Cozy is available as a free ravelry download.