
Remember the San Diego t-shirt refashion? It was a success!
Isn’t it an awesome feeling when your child loves your crafty work?

Remember the San Diego t-shirt refashion? It was a success!
Isn’t it an awesome feeling when your child loves your crafty work?
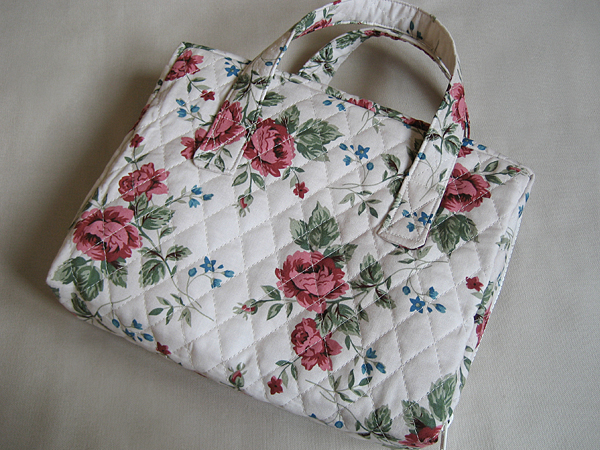
In my creative space today I finished up the zippered book cover from last week. I snapped this pic before I sewed in the book flaps.*
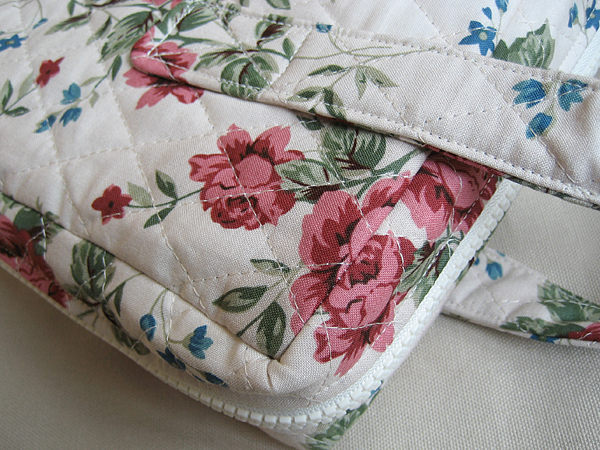
They were a little tricky and if I make another one, I’d do them differently. They made my seams a little wonky.
My friend loved it, though, and that’s what’s most important, isn’t it?
*It’s getting dark earlier and I’m losing my evening photo opportunities. Pretty soon I’ll be taking them in the afternoon with my four-year old assistant. Don’t be surprised if you see a waving hand in the background. She’s just saying hello to the blogosphere.
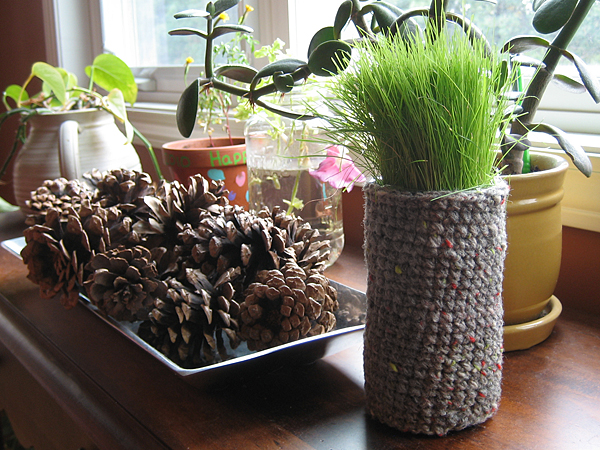
This is what’s left of my outdoor garden. We did not have very good luck this year: no tomatoes and only one cucumber. My petunias were doing great until a big storm almost blew them out of the pot. Sadly, I didn’t notice the roots were above the soil until the whole thing was turning brown.
You know what is growing? My daughter’s little grass pot. She made this in summer camp and it’s the greenest, healthiest plant of the summer. The container is just a recycled plastic jar and I figured after almost two months, it finally deserved a proper cover.
How to Crochet a Jar Cover in 3 Easy Steps
Materials
worsted weight yarn
size G hook
Gauge is not important for this project.
Adjust your hook size for different yarn weight.
Step 1
Chain enough stitches so that the chain fits snugly around the jar. Join to make a circle.
Step 2
Single crochet around and around until you’ve got the height you want.
Step 3
You’re going to want an even top edge, so we’re going to pick a spot to start the top row. (You can use the tail as a guide and follow the line of stitches up if you want to be precise.) Slip stitch, chain one and single crochet around until you reach the chain one. Slip stitch into the chain one and finish off.
When you weave in your ends, use the tails to even up the bottom and top edges. You can see in the picture that my bottom edge isn’t perfect. Oh, well.
stash: This is a great project for using up leftover yarn. Because the rows spiral up, it’s not great for stripes. You’ll get a “jog” when you change colors.
This summer we bought our daughter a cute bike from our neighbor’s garage sale. My husband is planning to take the pedals off and make it a balance bike. My job was to mend the handle bar cover, which was torn.
Using my trusty seam ripper, I picked out the hem and removed the velcro. With a cloth on top and low heat, I pressed it flat and used this as my pattern.
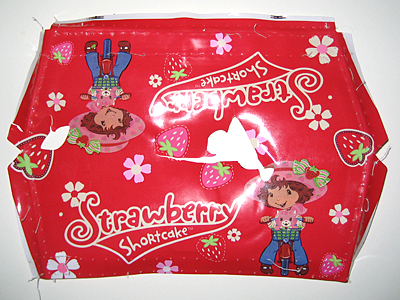
The cotton I chose was too lightweight on its own, so I backed it with some denim. Here’s how I did it:
I think it looks better than the original, especially since my daughter doesn’t even know about Strawberry Shortcake.
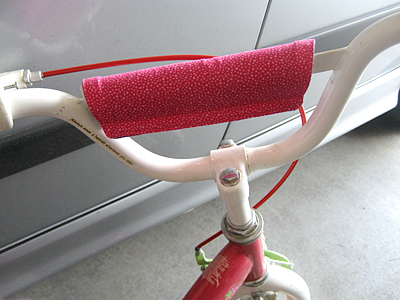
mend: Simple sewing projects can make me so happy. I love being able to say, “I can fix that!” Cotton fat quarter from my stash, denim from thrifted jeans.