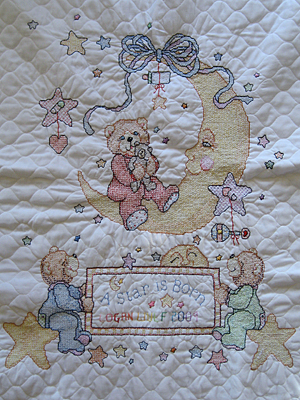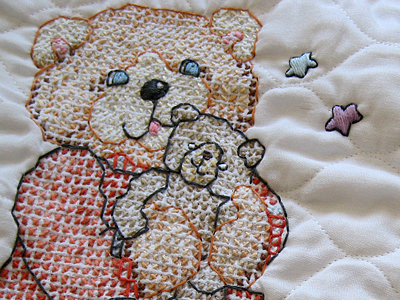
I spent more time thinking about this project than actually sewing it. I guess I was being extra careful with it because of all of the handwork. It’s not like I could go out and buy new fabric if I messed something up.
Here were my concerns:
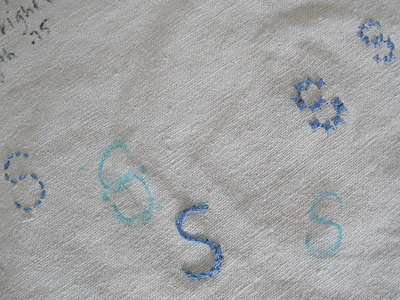
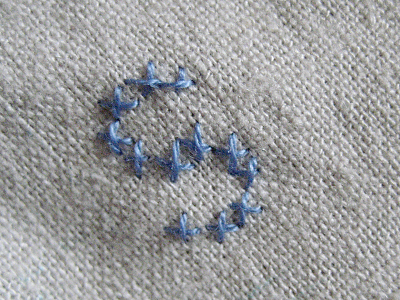
- The cross stitch had caused the top piece to pucker. I needed it to lay flat. Pressing it with an iron didn’t help much.
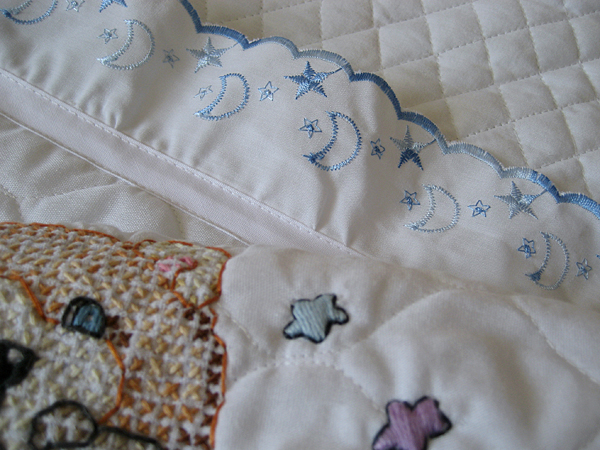
- Both the front and back pieces were quilted and together were too thick to easily fit into the ruffle trim.
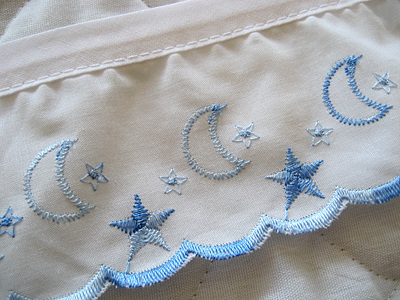
- The ruffle trim was in two pieces and one was wider than the other.
Here were my solutions:
- I tied the top and bottom like a quilt, working from the center outward. I didn’t want the ties to be visible, so I started and finished inside, sandwiching the ends between the two pieces of fabric.
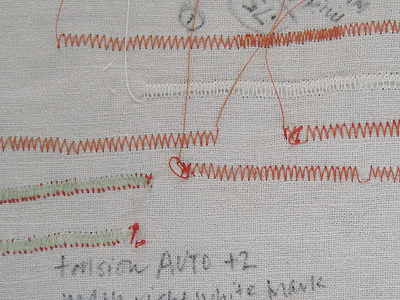
- I serged the two fabrics together to create a nice even edge for the trim.
- I took the trim apart a few inches on each end sewed them back together on a slight diagonal. There are places were the ruffle is shorter than others, but the transition from shorter to longer is a smooth one. I am probably the only one who will notice this.
I learned a lot putting this project together. I’m glad I took the time to think things through. I’m also happy that I had my serger to make things easier!
