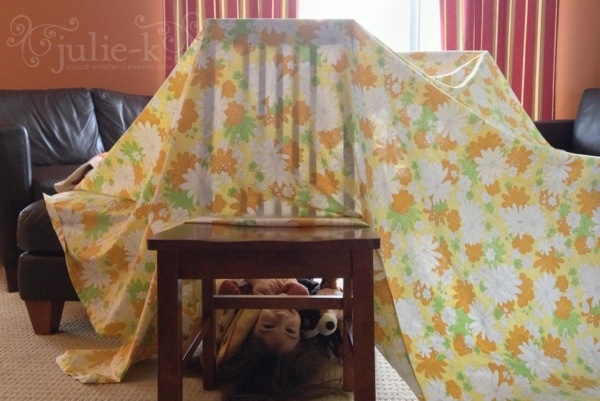
It’s making a most excellent fort for today’s snow day.
the ladybug dress
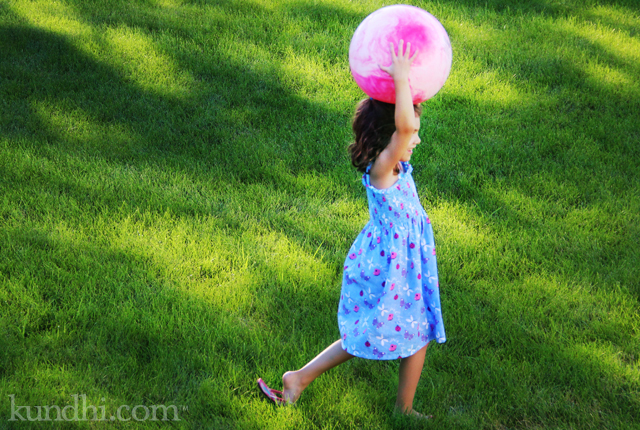
blog flashback: Two years ago I refashioned a woman’s shirred shirt into a dress for my daughter.
A few months ago, I got a message from a friend about some free fabric. I tried to resist. I really don’t need any more fabric. I did need a little quiet time with friends, though. Besides, what if I found something really cool?
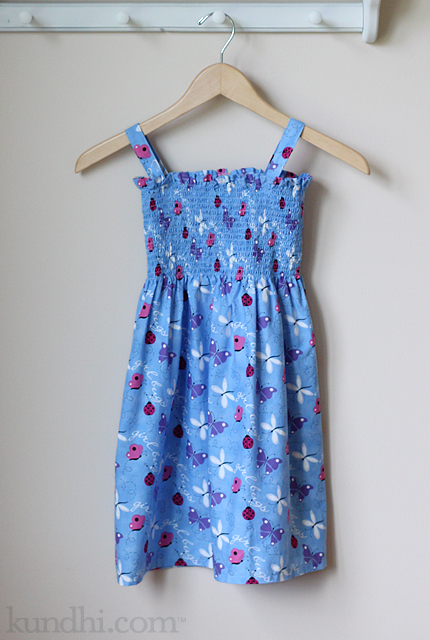
I have always wanted to make a dress out of pre-shirred (or mock-smock) fabric. This happened to be the perfect amount: just shy of 1 1/2 yards. (It’s hard to tell how much you’ll need with all that elastic. My daughter’s chest is 21 inches, if that gives you some perspective.)
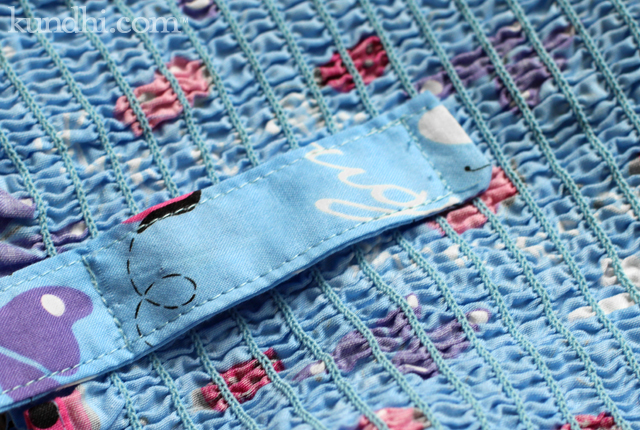
I made the dress long, hoping and praying she might be able to wear it next year. I even hid some extra strap length inside the back. I guess I could always turn it into a shirt next year, too.
What do you think about mock smock fabric? Have you ever shirred fabric with elastic thread?
how to: personalize end-of-year teacher gifts
in 3 easy steps
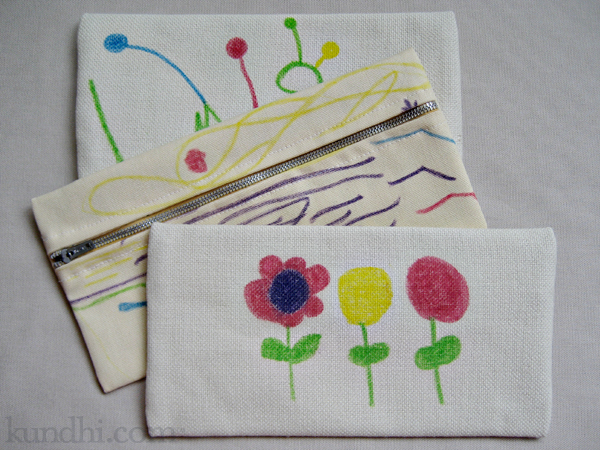
Ok, so this really could be a how to: personalize any gift. It’s just that I really wanted to get my daughter involved with her teacher thank you gifts this year and this was all her idea.
She had been playing with a fabric gift card sleeve of mine and asked if we could make something similar for her teachers for “receipts and stuff.” She also wanted to decorate it herself.
You could do this with any fabric gift: zipper pouch, bookmark, you could even buy some blank canvas tote bags from the craft store. The important thing is to get your child involved!
Materials
In addition to your project supplies, you’ll need:
-disappearing ink pen
-fabric markers
Step 1
With your disappearing ink pen, mark off the area where your child can draw. It’s ok if she wants to draw outside of the lines, just make sure that the most important artwork is in the marked area.
Step 2
Let her go to town! When she’s finished, follow the directions on your fabric markers. Mine did not require heat to set the ink, but it did recommend two coats of ink. I traced over her lines after she went to bed.
Step 3
Sew up the gift!
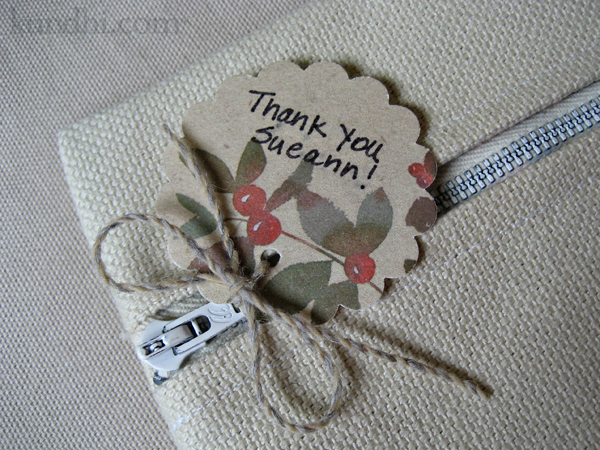
What surprised me most about this project was how specific my daughter was for each drawing. Sueann received a picture of a treasure map (something she saw at school) with X marks the spot at a heart-shaped rock. Lorie received flowers (it was nature school—makes sense). Diane received a picture of “things falling” (not sure about that one—neither was Diane). They were all so different! She made sure I put a tag on each gift so it went to the correct teacher.
stash: I wish I thought to put a note about all of the recycled textiles that went into this gift. Nature school teachers are all about reusing. The fabric was thrifted and the zippers were recycled from other textiles. I wish I took a pic of the insides. She picked out different linings for each teacher, too!
thrifty find: fabric book panels
Remember all of those hours I spent thrifting without finding anything to wear? Well, I did find something cool on the way out of one store: a huge box of brand new quilting fabric. I couldn’t resist a little peek and what did I spy? Books!
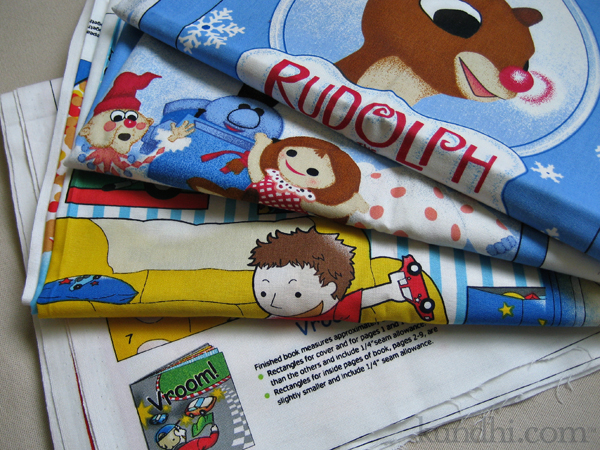
I don’t know why I haven’t thought of making fabric books before. My daughter had a few and loved them. She’d crumble them up, chew on them, drop them on the floor and after a run in the washing machine they’d be just like new.
thrifty second thoughts: Last week, I was proud of myself for not going overboard and buying the whole box. After doing a little online search, I wish I would have bought a few more.
my creative space
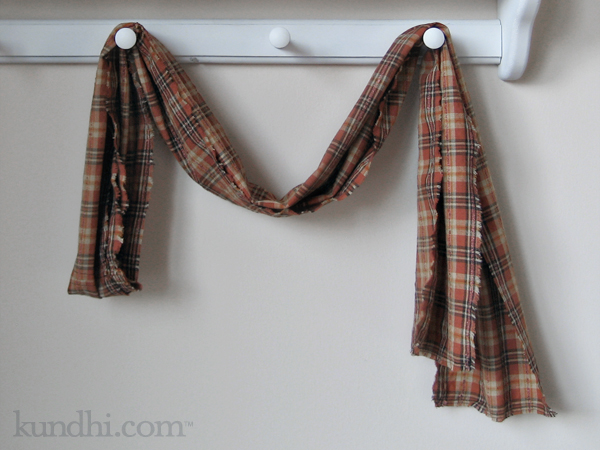
In my creative space today I was in serious need of a finished project. Remember last year’s Spring scarf? I made another fabric scarf today, only no ruffles. Just a simple, long rectangle.
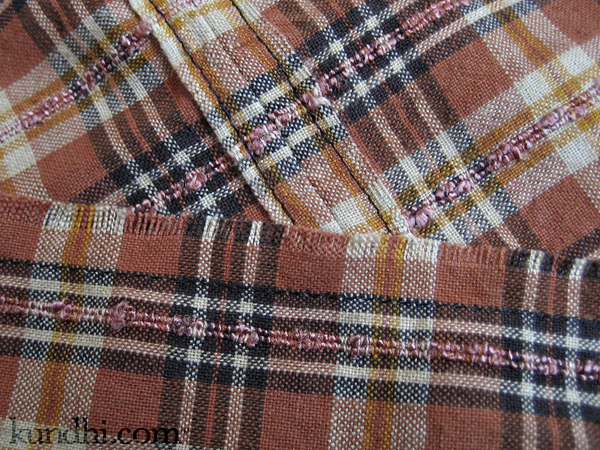
I grabbed some thrifted/gifted fabric, cut it into two skinny rectangles and joined them at the selvedges. Then I stitched the selvedges down. No fraying or unraveling at the seam! I did want the border to be unfinished, so I ran a stitch all the way around and then fringed
What’s in your creative space today? Play along over at Kirsty’s blog.
p.s. I finally finished my fused bag project. Pics to come tomorrow (I hope!).
ikea fabric
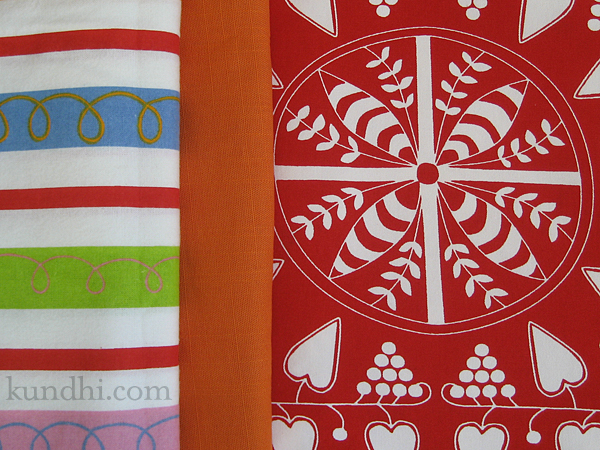
Until I started reading crafty blogs, I had no idea Ikea sold fabric. I grew up with an Ikea practically in my backyard. I got my college furniture there. I accessorized my first apartment from there. Fabric? Never knew it existed.
We went home for a few days over the Thanksgiving holiday and I found myself sitting in my parents’ livingroom less than two miles from the big blue and yellow store. I decided it was time to check out the textiles.
I loved the prints, although the pattern repeats are so large, I can’t imagine how I’d use some of them. I purchased three yards of the red and white fabric just because I loved it, there was only three yards left, and at $2.49 a yard (!) my husband insisted. (Seriously. He made me buy it all up!)
I also had fun remnant diving. The striped fabric is flannel. At first I thought blanket, but now I’m thinking jammies for my daughter. The orange will be sewn into pillow covers for our livingroom. I think they’ll look lovely with my thrifted afghan.
So there you have it. I’ve had the cinnamon rolls, put together furniture with an allen wrench and have bought fabric. My Ikea experience is now complete.
remnants: Did you know there are huge bins of fabric in the “as is” section down by the checkout? It was super fun digging through it all.
reusable fabric snack bags
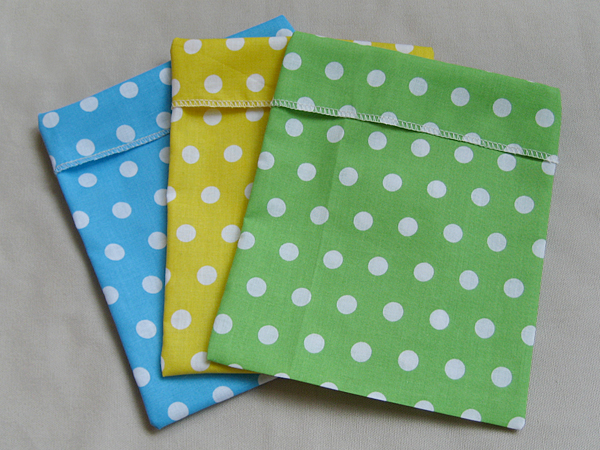
Ever since Amy posted a tutorial for fabric snack bags on her blog, I’ve been itching to make some. I took the photo after three were finished because I was losing daylight, but I made a total of nine. I easily got three bags out of a each fat quarter of fabric. Serging made this a super fast project, but I don’t think it would take too long with a sewing machine and some pinking shears.
reuse: I’m slowly reducing the plastic bag consumption in our household. The fabric is left over from the toy storage bags I made a few years ago.
home ec class: reusable grocery tote
I know today is usually all about my creative space at the moment, but I’m working on the beach blanket and there isn’t much else to show you except a nice pretty fabric pic like this one. Instead, I’m sharing my third home ec project: a reusable grocery tote.
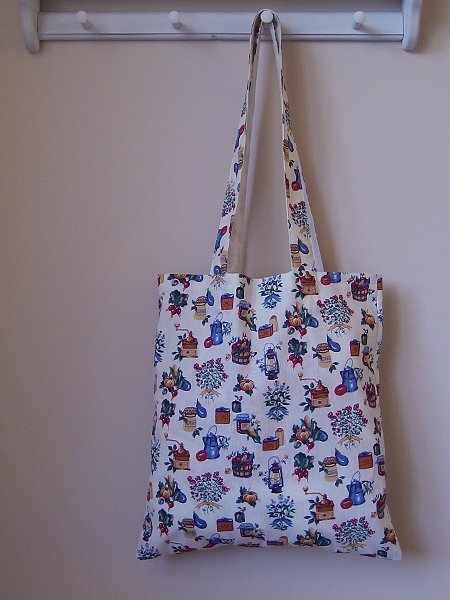
This project got me thinking about handles. I usually seam up the sides first, fold over and stitch the top hem, then add handles. This project changed the order: top hem, handles, side seams. I can definitely see the wisdom in doing the handles on a flat piece of fabric. It makes a lot of sense. But, I also really like how the top hem hides the side seams when folded over. It’s something to think about. (Yes, I do think about these things.)
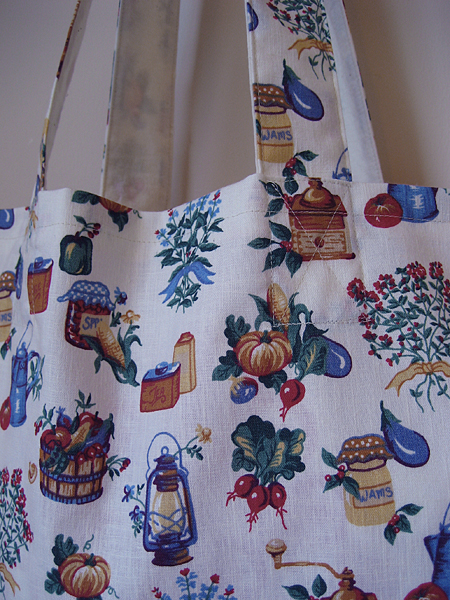
I’m planning to make some heavy duty grocery totes for our weekly shopping because I’d like something with a square bottom. I love this for the Farmers’ Market, though. The fabric is totally appropriate!
stash: I’ve been holding on to this fabric for awhile and I can’t remember where I found it. I was saving it for a farmers’ market tote, so now I can cross that off my to-do list!
home ec class: handmade reusable gift bag
I’m only on my second project and I’m already not following the directions. That didn’t take long! In my defense, it was because I wanted to learn something new.
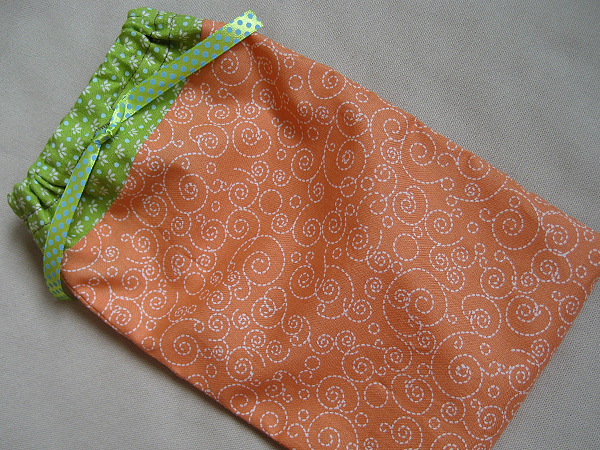
The project calls for a hand-sewn buttonhole, but I already know how to do that. I’m embarrassed to say, however, that I didn’t know how to use the buttonhole setting on my machine. How I managed to tackle zippers, but avoid buttonholes is beyond me. It’s so easy.
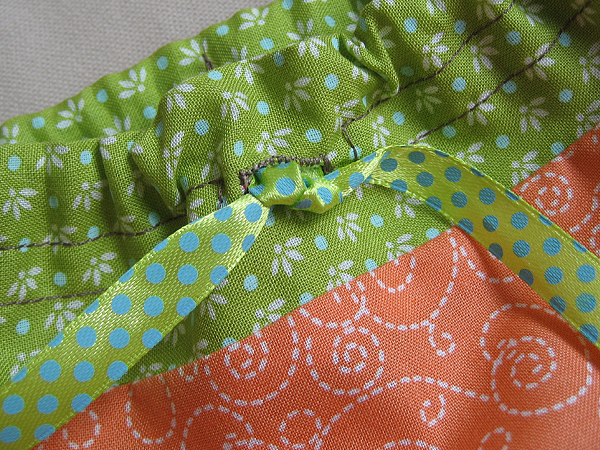
I also put a few stitches at the back of the casing to keep the ribbon from sliding out. That’s because this will probably go to my daughter for storing her magformers.
stash: Fabric from fat quarter bundle. Matching ribbon from somewhere else completely. They coordinate really well, though!
review: natural dyeing by jackie crook
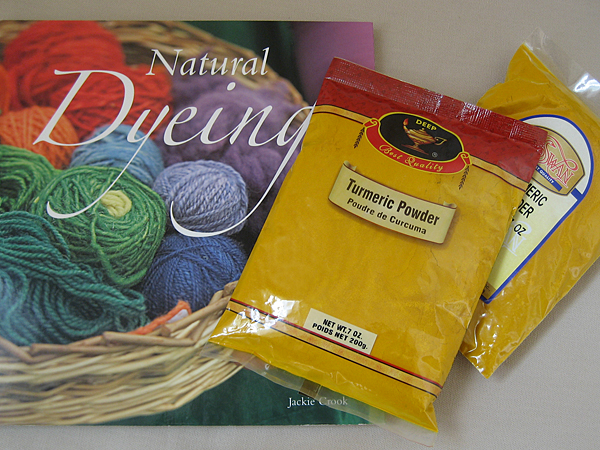
This book has been on my mind on and off for the past year, but I’m working on so many different things. When would I ever find time to try something new? Last Wednesday at knitting group I spotted a copy in the Barnes and Noble sale bin and figured it was time to come home with me.
I already have plenty things to dye with in my pantry: tea, henna and lots of turmeric. I’m also itching to try red cabbage, onion skin and avocado skin. Don’t think I’ll ever be able to dye with blackberries. though. They’d be gone from the refrigerator too fast!
The steps are well illustrated and the photography is beautiful, but I’m disappointed in the choice of mordants. They are all toxic metals and definitely not something I can pick up locally. Plus, I don’t think I’d feel comfortable playing around with that stuff while I’ve got a curious little girl one step behind me in the kitchen. Right now I’m at the “add a glug of vinegar to the slow cooker” stage.
I’ll definitely be keeping my copy, though. Like I said, the photography is beautiful. I’m sure it will be a starting point for many ideas. At least I’ll be able to do something with all of my turmeric!
review: Natural Dyeing by Jackie Cook isn’t on sale anywhere else that I can find. It must have been because the cover of my book was a little worn.
