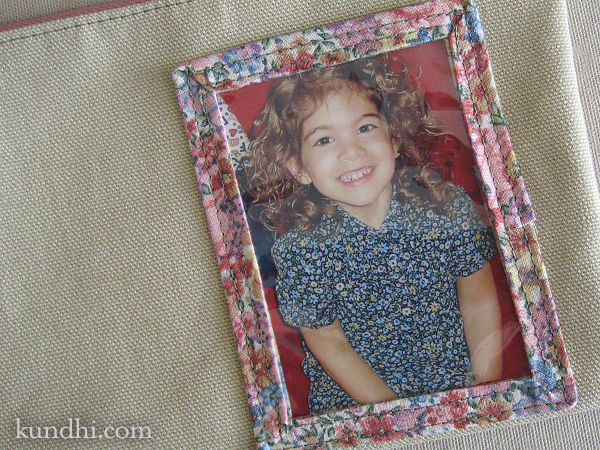
A few years ago, my mother gave me a little photo frame change purse. I had been using it for knitting bits and bobs, but it’s kind of small. I decided to make a bigger one for myself.
This applique will add a great touch to any Mother’s Day gift. I love mine!
Materials
photo: 2 1/2 x 3 1/2 inches
plastic: 3 x 4 inches
bias tape (or make your own)
heavy duty sewing needle

I used the packaging from a set of sheets for my plastic. The same kind of packaging is used for blankets, comforters, tablecloths and shower curtains. (Don’t forget to save the zipper, too!)
Step 1
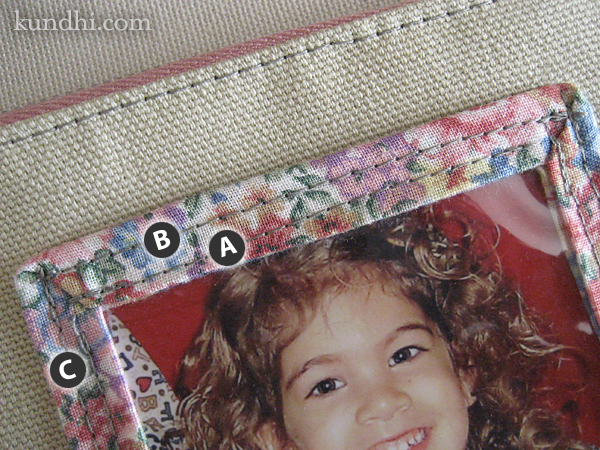
Stitch the bias trim to your plastic (A). Here’s a great video on how to miter your corners.
Step 2
You’ll only be stitching three sides of the applique to your fabric because you need an opening to slip in the photo. Top stitch the fourth side so it will match the others when you are finished (B).
Step 3
Position your applique on the fabric and stitch the remaining three sides in place (C). Make sure you don’t pin it through the plastic! Pin through the fabric trim instead.
Obviously it’s easier to add this to a work in progress while your piece is still flat, but you can stitch this to already made items, too.
Try other sizes like a 5×7 on a small bag or even a 8×10 on a large tote. Simply add the width of your bias tape to your photo dimensions to get the size for your plastic. Make sure you adjust the length of your trim and add 1-2 inches for overlap.
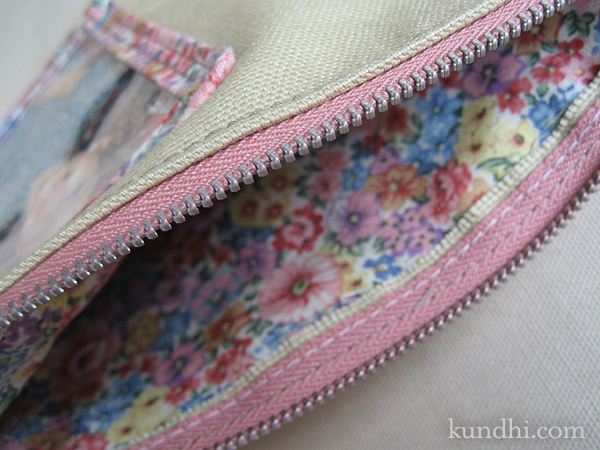
project details: Zipper, upholstery and lining fabric all thrifted. Sheet packaging from my linen closet. I always save the ones with zippers because they make great storage for yarn and fabric.
