valentine’s cookie for a friend

20130213-125706.jpg

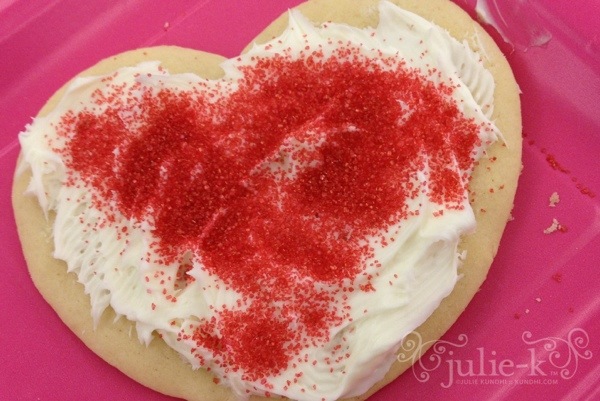
Last night when I picked my daughter up from Girl Scouts she had a huge iced heart cookie with her. My initial thoughts were: More icing? Not before bedtime! Combined with Valentine’s candy and cupcake decorating club…

“Mom! Look what I made for Mallory! Can we drop it off tonight? I made her a card, too!”

I love how excited she was to make this for her friend. I love how Girl Scouts encourages her to do kind things for others without a thought of getting anything in return.

Most of all, with five cupcakes coming home each week from club, I’m glad this cookie was a gift for someone else!

how to: personalize end-of-year teacher gifts
in 3 easy steps

tutorial fabric marker artwork on sewing gifts

Ok, so this really could be a how to: personalize any gift. It’s just that I really wanted to get my daughter involved with her teacher thank you gifts this year and this was all her idea.

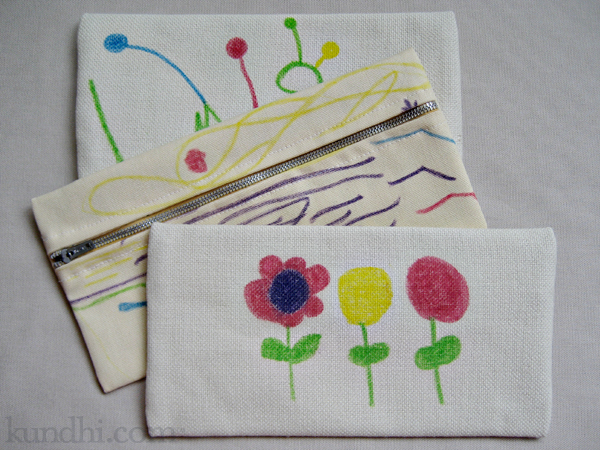
She had been playing with a fabric gift card sleeve of mine and asked if we could make something similar for her teachers for “receipts and stuff.” She also wanted to decorate it herself.

You could do this with any fabric gift: zipper pouch, bookmark, you could even buy some blank canvas tote bags from the craft store. The important thing is to get your child involved!

Materials
In addition to your project supplies, you’ll need:
-disappearing ink pen
-fabric markers

Step 1
With your disappearing ink pen, mark off the area where your child can draw. It’s ok if she wants to draw outside of the lines, just make sure that the most important artwork is in the marked area.

Step 2
Let her go to town! When she’s finished, follow the directions on your fabric markers. Mine did not require heat to set the ink, but it did recommend two coats of ink. I traced over her lines after she went to bed.

Step 3
Sew up the gift!

tutorial fabric marker artwork on sewing gifts

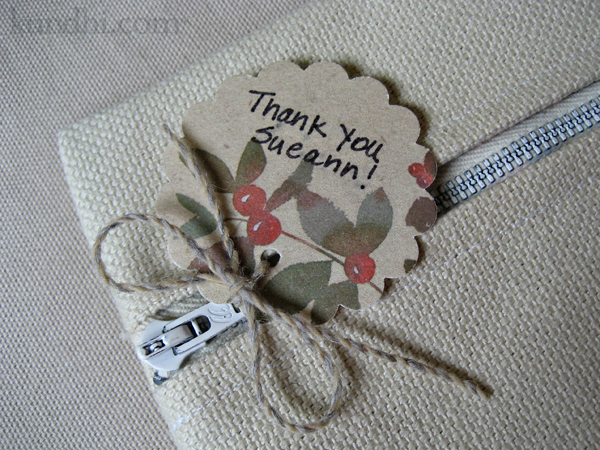
What surprised me most about this project was how specific my daughter was for each drawing. Sueann received a picture of a treasure map (something she saw at school) with X marks the spot at a heart-shaped rock. Lorie received flowers (it was nature school—makes sense). Diane received a picture of “things falling” (not sure about that one—neither was Diane). They were all so different! She made sure I put a tag on each gift so it went to the correct teacher.

stash: I wish I thought to put a note about all of the recycled textiles that went into this gift. Nature school teachers are all about reusing. The fabric was thrifted and the zippers were recycled from other textiles. I wish I took a pic of the insides. She picked out different linings for each teacher, too!

valentine’s day rose pins

valentine's day crochet rose pin

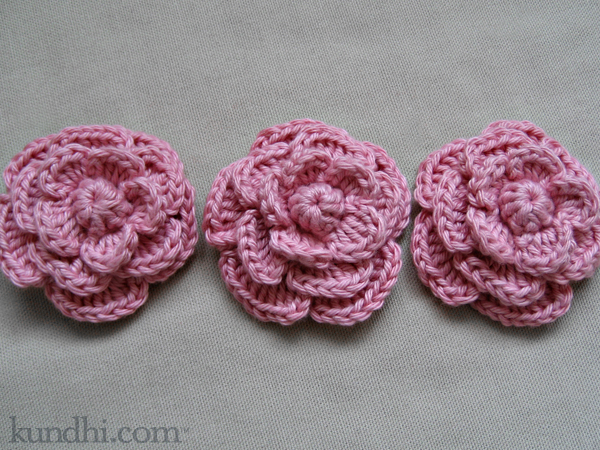
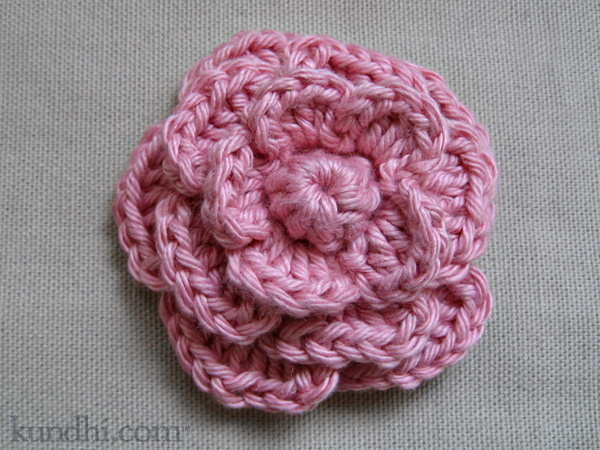
Did you get roses for Valentine’s Day? Some of my daughter’s teachers did.* This is probably the cutest crochet flower I have ever made.

valentine's day crochet rose pin

I made them out of all types of yarn. I think the pattern looks best with cotton.

valentine's day crochet rose pin

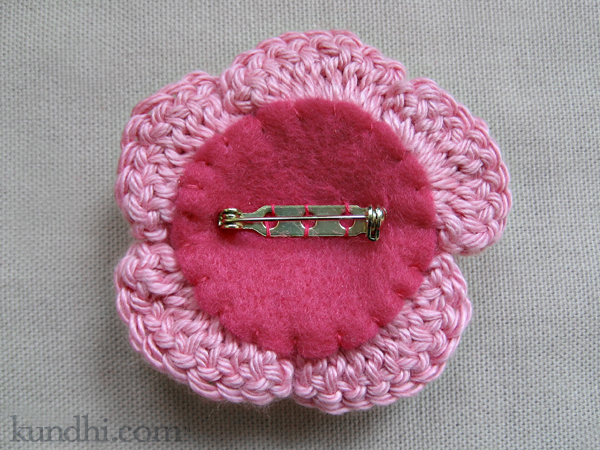
Only problem with these and other tiered flower patterns is that they don’t have a flat back for the pin. I used a piece of felt to even out the back and tacked it securely to the flower before stitching around.

project details: Pattern from Crochet Embellishments. All of my supplies were from my stash.

*A few of her teachers received flower pins last year. This year I made them bookmarks with tiny crochet hearts.

how to make mini race flags in 3 easy steps

race flag tutorial

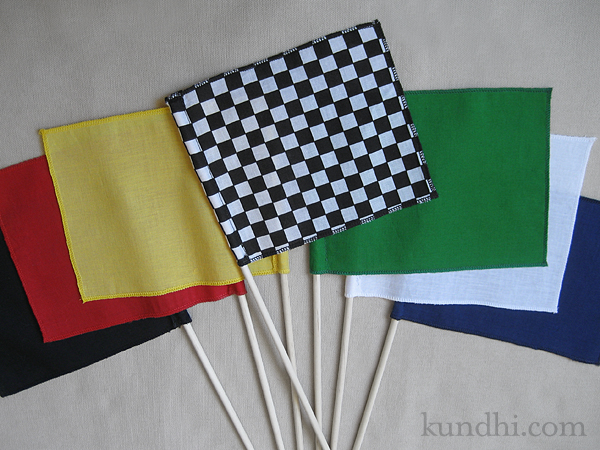
My daughter didn’t ask for many things this Christmas. I wasn’t surprised a race track was one of the few items on her list, but I wasn’t expecting a request for a set of racing flags. I figured they’d be easy to make, but they couldn’t look homemade. They were coming from Santa, after all. These would make great gifts for the little racing fans in your life — girls and boys alike.

You’ll need a serger for this project. I suggest making a few sets at once. The project itself is super easy, but changing the serger thread is a bit time consuming. It’s definitely not a last minute Christmas Eve project, ahem.

Materials
5″ x 7″ rectangles of various colored fabric (flag definitions here)
3/8″ x 12″ wood dowels
matching thread, three spools each
fray check

Notes
Thread: Those big grab bags of half-used spools of thread at the thrift store are perfect for these. You’ll need a lot of spools, but not a lot of thread.

Changing serger thread: I don’t re-thread my serger every time I change thread. Simply snip the original thread close to the spool and tie on a new spool. Then lift your presser foot to release the tensions and pull the threads through. Try not to run the knots through your tension wheels and be careful with the knot at the needle’s eye. You may have to re-thread the needle. Once new threads are through, drop your presser foot and start serging!
race flag tutorial

Step 1
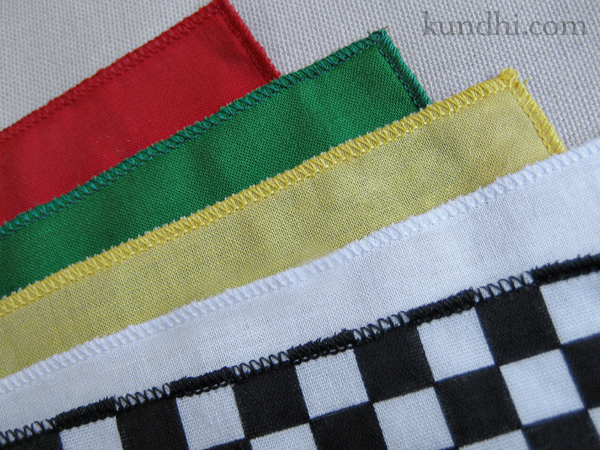
Serge all four sides of each rectangle with a rolled hem.

Step 2
Fold one shorter side over 1/2″ and press. Sew the top and side closed, stitching close to the rolled hem. Leave an opening at the bottom for the dowel.

Step 3
Trim ends. Secure the serged ends with Fray Check. Slide flag onto dowel.

storage: A drawstring bag made with the checkered flag fabric would be so cute for these! A mailing tube from the office supply store also works.

confession: I bought new, same brand fat quarters of fabric for this project. It almost killed me to do so, but my daughter is really enjoying the idea of Santa this year, so I caved. Normally I would have raided my fabric stash of scraps for this project. Next time for sure!
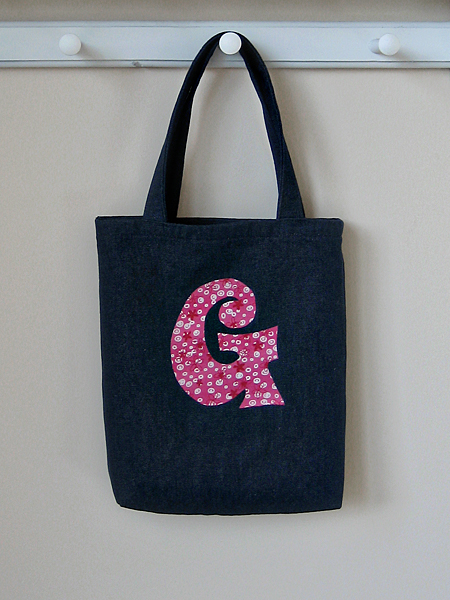
personalized denim tote bags

small denim gift bag

Thanks to Sister Diane, I spent more time cleaning than crafting this weekend. She wrote a post about how we crafters just don’t seem to put things away and I looked around my room and thought, “Yep, that’s me!” I figured if I wasn’t brave enough to take a picture of my to-do piles then they needed to go.

I did get a little bit of sewing done, though. I was inspired by a denim tote my daughter received as a gift and decided to make a few for upcoming birthdays. I found this denim in my stash and it was already hemmed at the top (yes!) so all I had to do was serge the sides and make some handles. I used Heat n Bond Ultra Hold for the initials. I made a total of three small and one big, which I think is destined to become a project tote for myself.

font: I used the House Industries Haulnhouse font for the initial caps. You can find a similar, free download of the “Austin Powers” font from about.com. By the way, House Industries occasionally gives away free fonts. You should check them out because they are all pretty awesome.

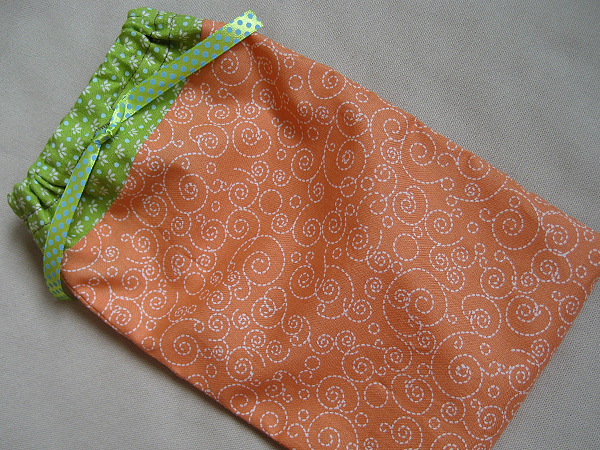
home ec class: handmade reusable gift bag

I’m only on my second project and I’m already not following the directions. That didn’t take long! In my defense, it was because I wanted to learn something new.

home ec class handmade fabric drawstring gift pouch

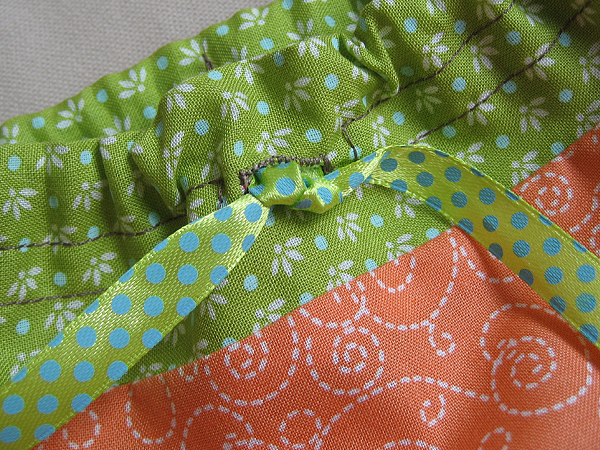
The project calls for a hand-sewn buttonhole, but I already know how to do that. I’m embarrassed to say, however, that I didn’t know how to use the buttonhole setting on my machine. How I managed to tackle zippers, but avoid buttonholes is beyond me. It’s so easy.

home ec class handmade fabric drawstring gift pouch

I also put a few stitches at the back of the casing to keep the ribbon from sliding out. That’s because this will probably go to my daughter for storing her magformers.

stash: Fabric from fat quarter bundle. Matching ribbon from somewhere else completely. They coordinate really well, though!

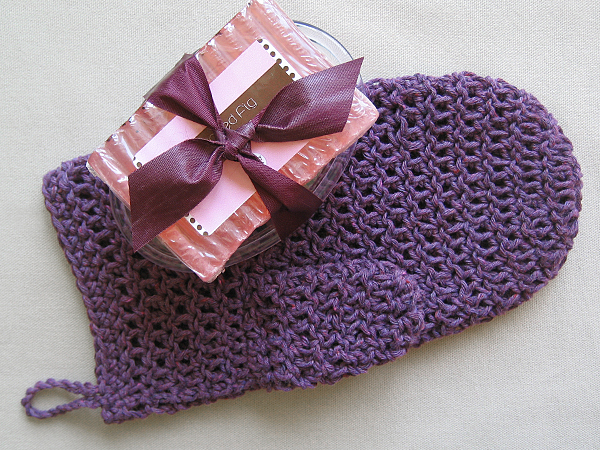
it’s hip to be mitt

crochet bath mitt

Dishcloths, charity squares, blanket squares — I needed a break from squares. I still had a few washcloth and soap gifts to make and give, but I couldn’t bear to make another square. I started cruising on ravelry and it hit me: Bath Mitt!

This was so much fun to make. I’ll definitely be making more, including one for me! Other changes to my “standard” gift: I’ve added a soap saver along with the fancy soap. Can’t believe I didn’t think of this before.

project info: stash (aunt lydia’s) cotton yarn, thrifted ribbon, etsy soap, lion brand pattern.

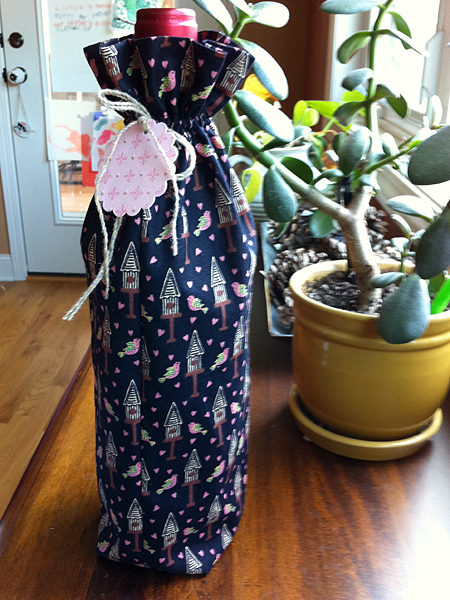
super cute (and quick) wine bottle gift bag

wine bag

I love when I can make something totally out of recycled and thrifted materials. I whipped up this wine bag one afternoon—the serger makes some projects so darn fast! Free fabric from way back. (Don’t you love the little bird houses?) Thrifted yarn from the big spool of wool. Gift tag made from upcycled thank you note. Personally, I think it’s much cuter than anything you could buy at Hallmark, but that’s just me.

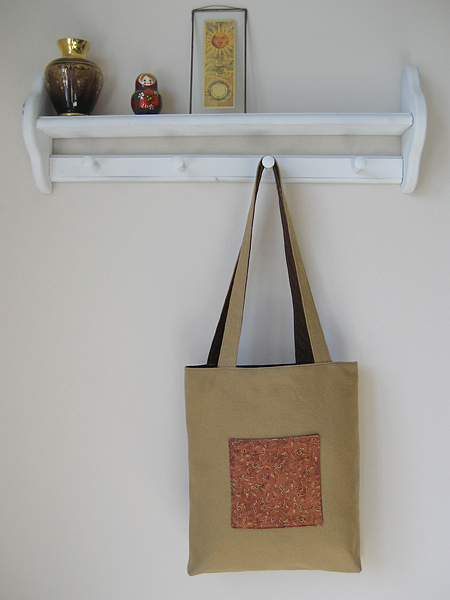
noteworthy graduation gift for a music student

handmade graduation gift

Our neighbor’s daughter is graduating from high school this week. She’s a very talented violinist and I love when the windows are open in the summer and I can hear her play. She’s planning to study music at the university in the Fall and I wanted to make her something special. Honestly, I had a hard time coming up with something music specific, so I went with a school-book theme.

This tote is made out of upholstery fabric and hopefully will last for many years after she graduates from college. The pockets have tiny music notes on them. Inside I added this cool manuscript notebook that I found at music store downtown. I think it will be perfect for music theory or composition class.

stash: Everything except the notebook was from my thrifted stash. The upholstery fabric didn’t behave all that nice and kept unraveling on me while I sewed. Note to self: overlock all of the edges next time even on seams that won’t be exposed. It will make life much easier.

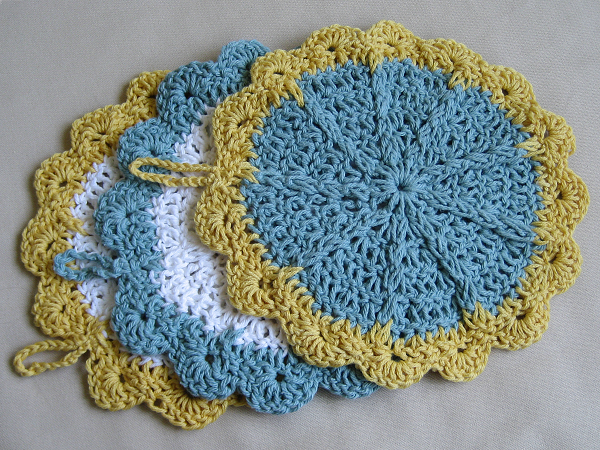
handmade birthday gift for a special friend

handmade birthday gift

Yesterday when I told you this pattern was addicting, I really meant it. I just finished one for myself today, which makes six total! (I’ll spare you the sixth picture.) I think I am finished for awhile — need to get back into a granny square groove.

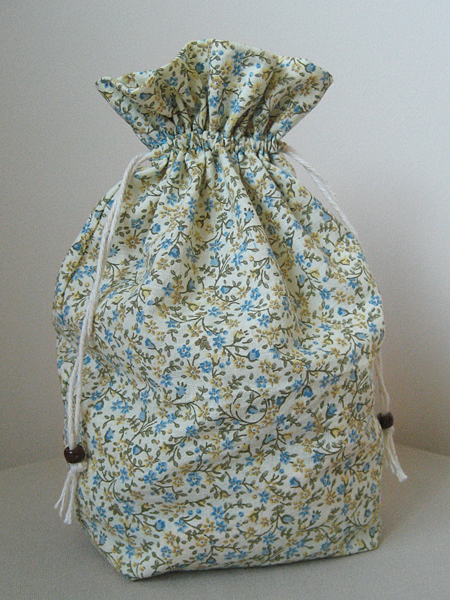
I chose the colors because my friend is a UCLA alum. Of course, after having her second baby boy, she’s probably up to her eyeballs in blue. In hindsight, maybe I should have done something in pink! The blue and yellow coordinated nicely with the little drawstring bag I made. I included more soaps from yummy suds.

handmade birthday gift

stash: I am really putting a dent in my stash. It feels good. Just in time for garage sailing on Saturday!