how to make mini race flags in 3 easy steps

race flag tutorial

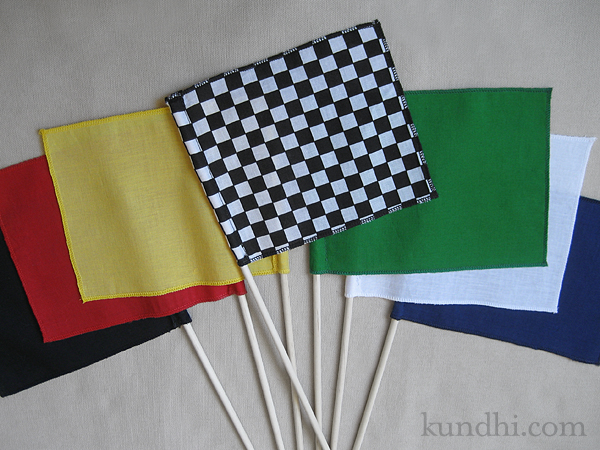
My daughter didn’t ask for many things this Christmas. I wasn’t surprised a race track was one of the few items on her list, but I wasn’t expecting a request for a set of racing flags. I figured they’d be easy to make, but they couldn’t look homemade. They were coming from Santa, after all. These would make great gifts for the little racing fans in your life — girls and boys alike.

You’ll need a serger for this project. I suggest making a few sets at once. The project itself is super easy, but changing the serger thread is a bit time consuming. It’s definitely not a last minute Christmas Eve project, ahem.

Materials
5″ x 7″ rectangles of various colored fabric (flag definitions here)
3/8″ x 12″ wood dowels
matching thread, three spools each
fray check

Notes
Thread: Those big grab bags of half-used spools of thread at the thrift store are perfect for these. You’ll need a lot of spools, but not a lot of thread.

Changing serger thread: I don’t re-thread my serger every time I change thread. Simply snip the original thread close to the spool and tie on a new spool. Then lift your presser foot to release the tensions and pull the threads through. Try not to run the knots through your tension wheels and be careful with the knot at the needle’s eye. You may have to re-thread the needle. Once new threads are through, drop your presser foot and start serging!
race flag tutorial

Step 1
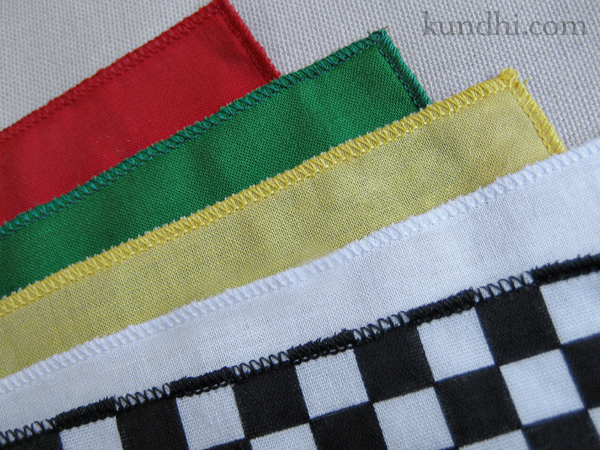
Serge all four sides of each rectangle with a rolled hem.

Step 2
Fold one shorter side over 1/2″ and press. Sew the top and side closed, stitching close to the rolled hem. Leave an opening at the bottom for the dowel.

Step 3
Trim ends. Secure the serged ends with Fray Check. Slide flag onto dowel.

storage: A drawstring bag made with the checkered flag fabric would be so cute for these! A mailing tube from the office supply store also works.

confession: I bought new, same brand fat quarters of fabric for this project. It almost killed me to do so, but my daughter is really enjoying the idea of Santa this year, so I caved. Normally I would have raided my fabric stash of scraps for this project. Next time for sure!
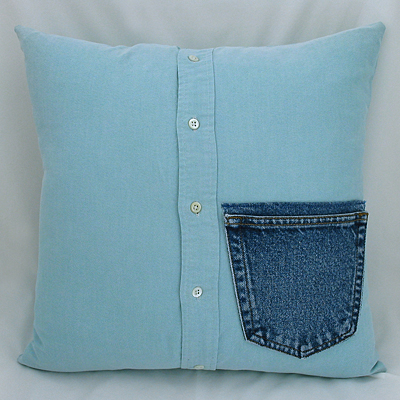
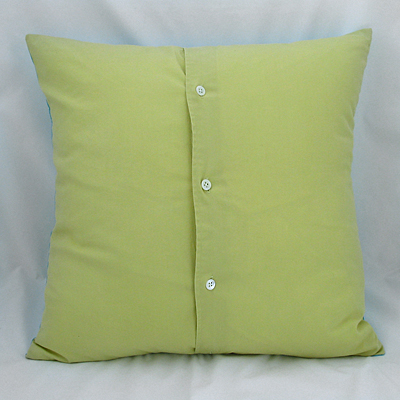
how to sew a remote control pillow in five easy steps

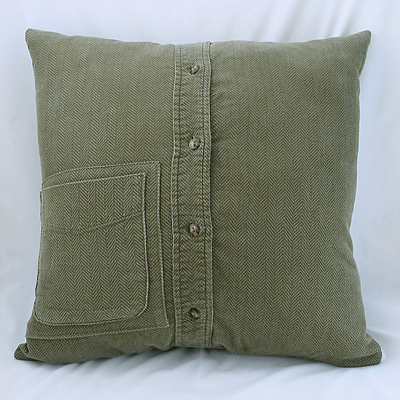
I’m not sure why I’ve had pillows on my mind. Maybe because the sun has been hiding behind the clouds for too many days to count? Maybe it’s because I’ve been feeling under the weather? Maybe it’s because the holidays are fast approaching and I need some gift ideas for the guys in my life? Whatever the reason, I’ve been having fun. These are really easy. I know you’ll have fun, too.

remote control pillow

Notes

  • Remote Control Pillow v 2.0 is for those who only have one tv remote or are using a universal remote for all of their equipment. If you need a multi-pocket pillow, check out my Remote Control Pillow v 1.0 pattern.
  • Most likely, your pocket will have to be flipped and moved to accommodate a remote control. If your shirt doesn’t have a pocket, you can easily make one out of the sleeve or a contrasting scrap fabric. Be creative! Try a denim pocket from a pair of jeans.
  • Some men’s shirts don’t have buttons past the belt line. You can take one from the collar or cuff and stitch it on the band.
  • If you are using a smaller shirt, simply use a smaller pillow form. I usually sew the cover 1″ smaller than the pillow form size so the final pillow will be nice and firm.

denim pocket men's shirt pillow

Materials
1 – large men’s button shirt with pocket
1 – 18″ pillowform
seam ripper
matching thread

Step 1
With the shirt buttoned, cut a 17 1/2″ square out of the front of the shirt. Cut another 17 1/2″ square out of the back of the shirt.

Step 2
Carefully remove the pocket using a seam ripper. Spritz shirt with water and steam press to close up any holes. Reposition the pocket and topstitch in place.

Optional Step 3
If your holes don’t close, if you accidentally rip your fabric, or you are using a shirt like corduroy and the nap won’t fluff back up, you’ll need a patch. Just cut a square from the sleeve and topstitch it over the original area.

Step 4
Lay the pieces together right sides together and sew around the whole square with a 1/4″ seam allowance. Make sure to undo one or two buttons before sewing so you can turn it right side out afterward.

Step 4
Clip your corners, turn right side out and press.

Step 5
Insert your pillow form and button it up!

affordable decorative pillow button down shirt

This is an easy way to make decorative pillows, too. If you go to Goodwill on 99 cent day, this becomes a really affordable project. Plus, they organize their clothes by color, which makes it easy to find shirts that match your fabric. I used a little less than a fat quarter of fabric for the decorative pillow.

home decor pillow on a budget

recycle: Before you head out to the thrift store, check your own closet. All three of these shirts came from my husband. In fact, I have him trained now to ask me first before donating any of his clothes!