how your child can make wrapping paper in 3 easy steps

handmade eco-friendly wrapping paper

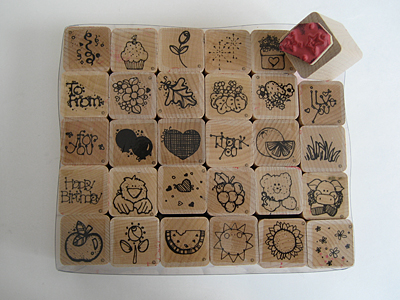
A few months ago I found these stamps while digging through the craft section at the thrift store. One of my daughter’s favorite things to do is stamp — anything and everything!
handmade eco-friendly wrapping paper

She already makes birthday cards for her friends by hand, and I thought it would be fun to have her make wrapping paper for the gifts, too. Fabric gift bags are great, but sometimes kids just need to rip paper.

I usually use kraft paper for this, but a paper bag works just as well.

Materials
kraft paper or paper bags
rubber stamps
washable ink stamp pads

Step 1
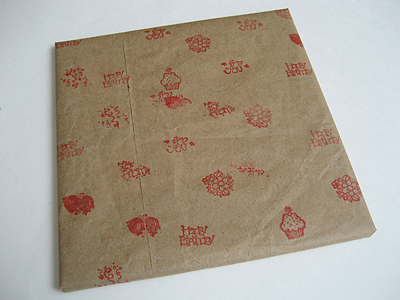
If using kraft paper off the roll, tape it to the table first so your child has a flat surface on which to stamp. If using a paper bag, cut it flat and use a low heat iron to smooth out the wrinkles. (They won’t disappear, but will flatten out.)

Step 2
Roll up your child’s sleeves. We’ve had elbows in the stamp pad many times, which is why washable ink is a good idea.
handmade eco-friendly wrapping paper

Step 3
Wrap the gift! If your child wants to help with this step, hold the paper and let her apply small pieces of tape.

Bonus!
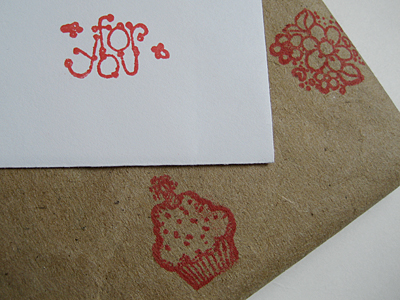
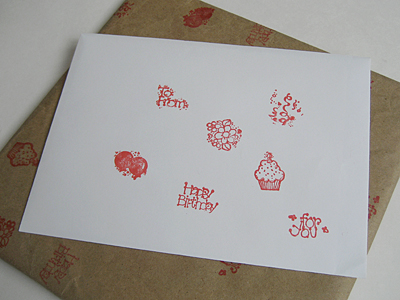
Have your child stamp the envelope to match the paper.
handmade eco-friendly wrapping paper

recycle: If you missed my post with the frightening statistics about wrapping paper, you should really check it out. I’m happy to say this is one resolution that I’ve had no problem keeping! (Price for the stamps: $4.)
wardrobe refashion: dressing up a pair of flip flops

What kind of shoes should a three-year-old girl wear to a beach wedding in October? Will the weather be warm or cold? Should the shoe be casual or dressy? Should you invest in sandals that will probably be too small by next Spring? Where are you even going to find sandals this late in the season?

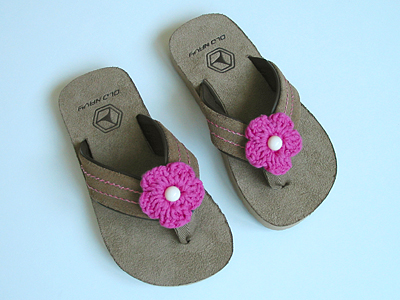
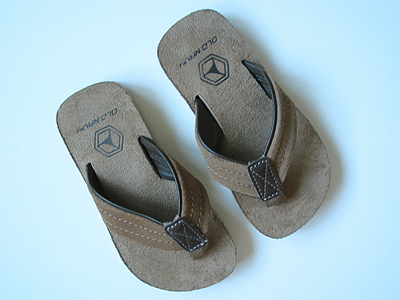
I decided to take some simple, casual flip flops and dress them up. Here is the before picture:

dress up a pair of flip flops

Step 1
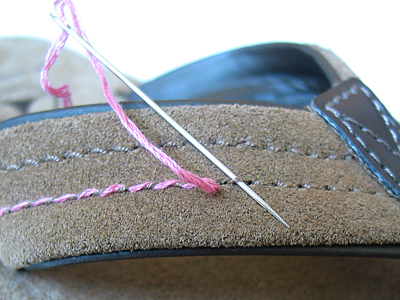
I took four strands of embroidery thread and weaved them through the existing stitches with a needle.

dress up a pair of flip flops

Step 2
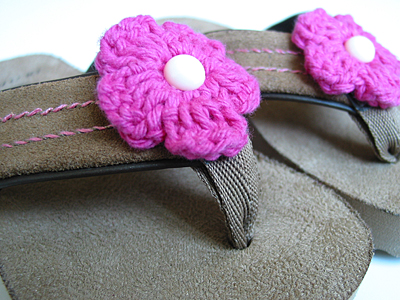
I crocheted a flower and stitched a button on the center. Then I sewed the flower onto the strap.

dress up a pair of flip flops

Step 3
I tried to get my daughter to wear them, but she wasn’t interested at all. In fact, she wound up wearing her sporty little sandals with her cute frilly dress. I guess I can always remove the flowers and put them on another pair of flip flops next season.

dress up a pair of flip flops

refashion: I used embroidery thread, cotton yarn and vintage buttons from my stash. The flip flops came from Once Upon a Child. The crochet flower pattern is from My Crochet Stuff.

how to sew a baby quilt in five easy steps

snoopy baby quilt

So you’d like to make a quilt, but you’re intimidated by all of those little pieces, right? I am, too. But you can make a quilt without blocks. It’s easy and looks just as nice! Here’s how I did it:

Materials
1 – 36×36″ piece of top fabric
1 – 36×36″ piece of bottom fabric
1 – 36×36″ piece of batting
1 – 38×8″ piece for making the trim*
matching thread
bias tape tool
rotary cutter and ruler
walking foot (optional)

*even easier: use 4 yards (plus a few inches) of pre-made bias tape

Step 1
Lay your fabric on the floor wrong sides together with the batting in the middle. Pin baste from the center outward.

Step 2
Starting from the center and working your way outward, draw parallel lines every four inches with sewing chalk, water soluble pen or light pencil.

Step 3
Starting from the center, sew along these lines working your way outward, taking out the basting pins as you go. Here’s where a walking foot is helpful, but if your batting isn’t too thick, you should be fine without it. Square up your edges with a rotary cutter and ruler.

Step 4
Cut your trim fabric according to the measurements for your bias tape tool and make the trim. Even easier: open the package of pre-made bias tape.

Step 5
Fold the trim over the edge and attach with a zig zag stitch. Fold the ends over at the corners to enclose the raw edges.

snoopy baby quilt

I hope I didn’t oversimplify this, but it’s really easy. The zig zag trim takes a little practice. This was my first time, and I’m sure it will get a lot neater the more I do it.

resource: I was inspired by Soule Mama’s Beach Blanket To-go for this blanket. One day I hope to make something as beautiful as her daughter’s quilt, but for now, I’m going to stick with single pieces of fabric until I’ve got more free time.