satin stitch: making a buttonhole smaller

20121109-141844.jpg

A few years ago I found a really nice raincoat at a garage sale. It’s got a removable, quilted lining that makes it extra toasty on cold days.

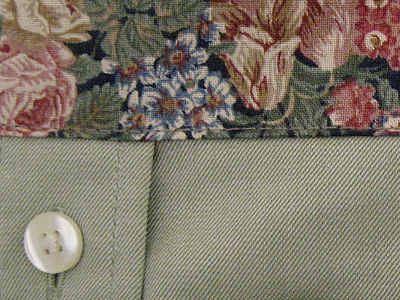
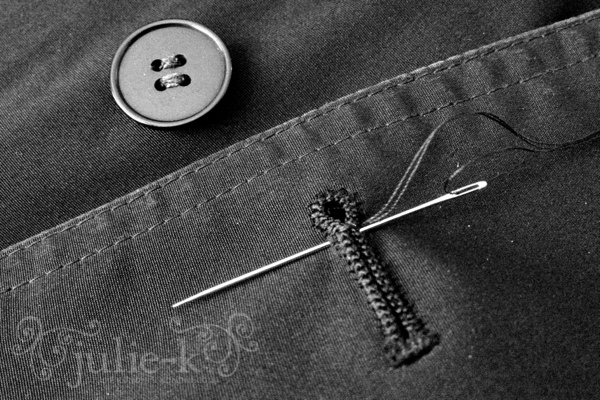
I love everything about it except one thing: the buttons. They’re always popping out of the holes. I chalked it up to the fabric being slippery, but one day while I was complaining about them, my daughter said: Why don’t you just make the buttonholes smaller? Upon closer inspection, I realized they are bigger than necessary.

Smart kid!

I’m closing them up with a little bit of satin stitch on the side of the hole that will be hidden when buttoned. I’m ready for the cold, rainy autumn days ahead — if we ever get any.
a little bicycle mending

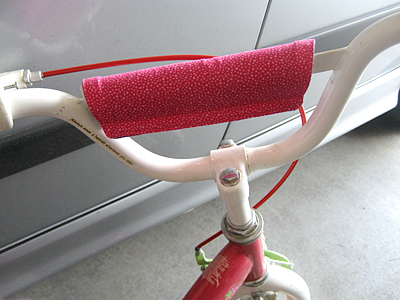
This summer we bought our daughter a cute bike from our neighbor’s garage sale. My husband is planning to take the pedals off and make it a balance bike. My job was to mend the handle bar cover, which was torn.

Using my trusty seam ripper, I picked out the hem and removed the velcro. With a cloth on top and low heat, I pressed it flat and used this as my pattern.

handle bar cover

The cotton I chose was too lightweight on its own, so I backed it with some denim. Here’s how I did it:

  1. Traced around the pattern on both fabrics adding 1/4 inch seam allowance.
  2. With right sides together, I stitched around leaving a gap for turning.
  3. Clipped my corners, turned right side out, and top stitched around, closing up the gap along the way.
  4. Reattached the velcro.

I think it looks better than the original, especially since my daughter doesn’t even know about Strawberry Shortcake.

handle bar cover

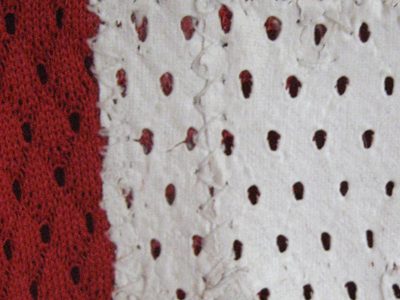
mend: Simple sewing projects can make me so happy. I love being able to say, “I can fix that!” Cotton fat quarter from my stash, denim from thrifted jeans.

how to refashion an ’80s sweater in five easy steps

UPDATE: Thanks to the Craft Magazine blog for their link to my tutorial!

March is Mending Month over at Craftzine. I’ve been doing a lot of mending lately. I keep a bag next to my desk for whenever I have a little time for sewing a button or fixing a hem. Mending is good for the soul, at least mine anyway.

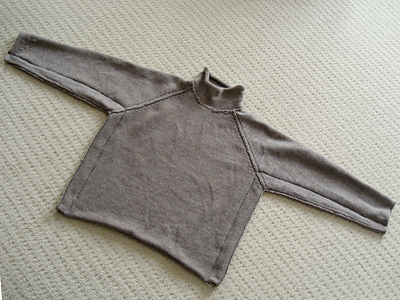
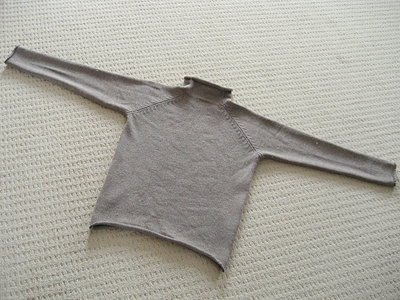
Last week I posted a scarf I made out of sweater scraps from resizing my brother-in-law’s ’80s style sweaters. It was super easy. I probably wouldn’t try this with an heirloom sweater, but it’s great for all those oversized sweaters you may have collecting dust in the back of your closet.

Step 1
Try on the sweater inside out and pin along the sides and under the arms for a more fitted shape. (I used safety pins for this step.)

Step 2
Lay the sweater flat and adjust the pins make sure your seams are straight and equal in size. (I changed to straight pins at this point.)

sweater tutorial

Step 3
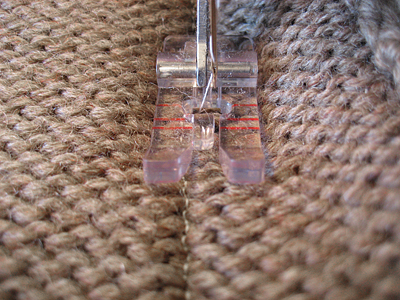
Machine stitch the new side seams with a straight stitch. Then repeat with zigzag stitch to catch the frayed ends. (A serger would be perfect for this.)

sweater tutorial

Step 4
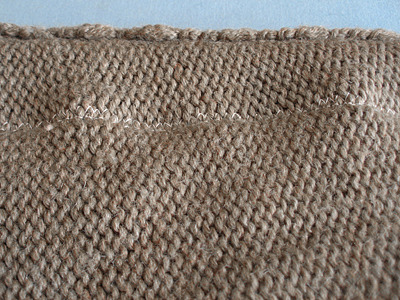
Your seams might be a little wobbly after stitching. Press with a warm steam iron. Use a press cloth if your sweater isn’t 100% wool. Trim excess.

sweater tutorial

Step 5
Turn sweater right side out and press open the seams. That’s it!

sweater tutorial