paper cardinal ornament

cardinal ornament

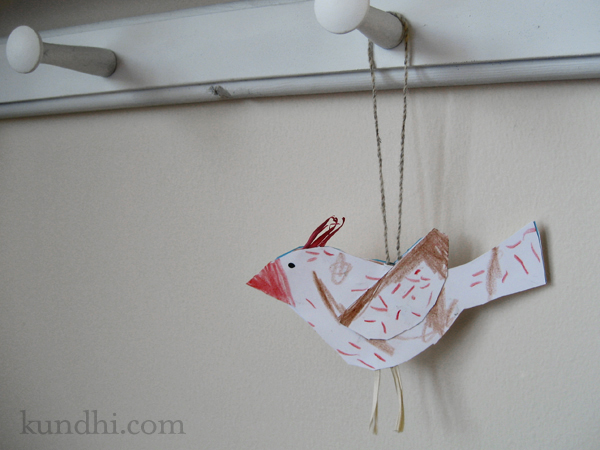
Winter break + snow day = a very long time away from nature school. The kids will be studying the Northern Cardinal when they finally return and had homework over the holidays: choose either the male or female to study and make an ornament for the class tree. My daughter chose the female, which we learned is not the brilliantly red colored bird usually depicted as the cardinal.

I let her do this mostly by herself. I printed the template on cardstock and she cut out the pieces, colored them and glued them together. I helped her pry them apart so we could add the top feathers, legs and string and then we re-glued them together.

This was another exercise in letting go for me. I resisted trimming the blue template lines that are peeking out of the edges and adding more brown feathers. When I suggested a little more brown, she said the cardinal is “a little bit snowy.”

pattern template: I downloaded Purl Soho’s Simple Sewn Bird Ornament pattern for this project. Since we used paper and didn’t need a seam allowance, I just used the interface template. I printed the original and a mirror image for the other side. Paper, string, raffia all from the stash.
little sweater ornaments

sweater ornament

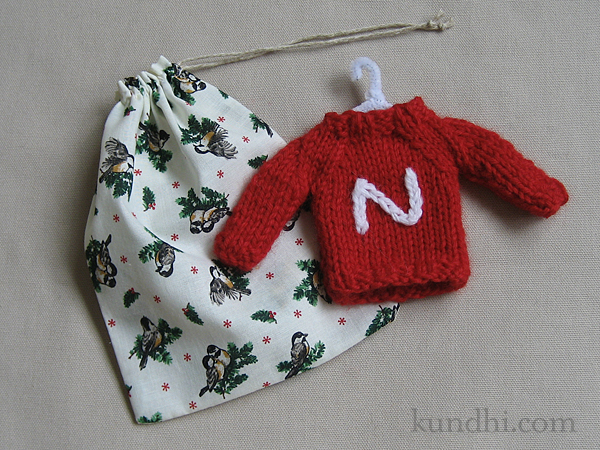
I’ve wanted to make these ornaments for a long time. The pattern is from Last-Minute Knitted Gifts. The inspiration for the Husker “N” came from my friend Christy, who has made a gazillion of these. The pattern suggests making a hanger out of a pipe cleaner and I think it’s absolutely adorable.

I’m having a hard time blogging because a lot of what I’ve been making hasn’t been gifted yet. I don’t think the recipients read my blog, but if you get one of these from me, just act surprised, ok?

stash: Red wool from the 2010 East Campus garage sale. White wool from the 2009 East Campus garage sale. Fabric for gift bag from here. Crazy that I remember all of that!

p.s. Congratulations to giveaway winner Shana Putnam!

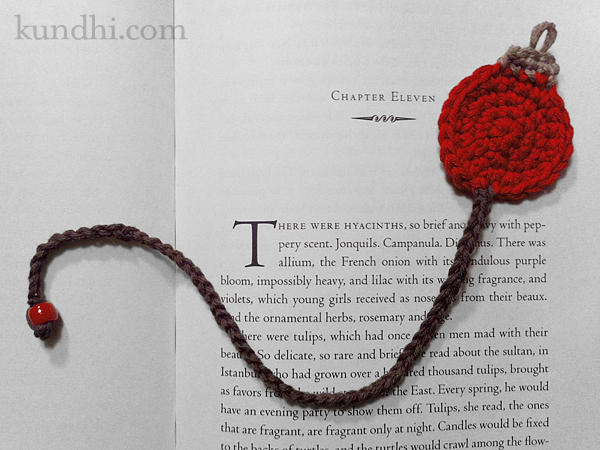
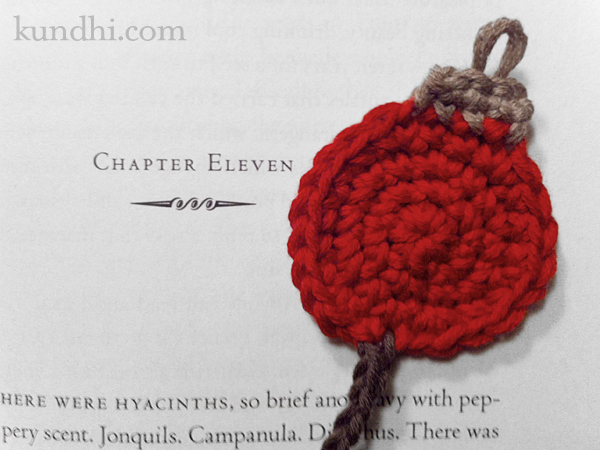
tiny crochet ornament bookmark pattern

tiny ornament bookmark crochet pattern

I’m sorry my pictures aren’t the greatest for this post. The sun went down too early today. I can’t wait for the winter solstice. I just can’t get my photo-taking act together before dinnertime. I might try and retake the photos over the weekend.

This is the same pattern I used for the tiny baseball bookmarks, without the little top of course. If you want to do baseballs, I recommend marking the curves with a disappearing ink pen before embroidering the red stitches. It really helps!

tiny ornament bookmark crochet pattern

Tiny Crochet Ornament Bookmark Pattern
worsted weight yarn (I used Brown Sheep Cotton Fleece)
size F/5 (3.75mm) and D/3 (3.25mm) crochet hooks
tapestry needle for weaving ends
small bead

sl st: slip stitch
sc: single crochet
inc: 2 sc in one stitch

gauge: not important, but mine is about 1 1/2 inches wide

ornament
With larger hook, make a magic ring.
R1: 6 sc into ring
Ornament worked as a spiral. Place marker to keep track of rounds.
R2: inc in each stitch around
R3: *inc, sc* around
R4: *2 sc, inc* around until last two stitches. Sl st in last two stitches.
R5: sc in first stitch, change to smaller hook, chain 55, add bead, chain 5
Finishing: cut yarn, tie knot, thread end back through bead, tie double knot, trim close to knot.

ornament top
R1: pick up stitches at top of ornament as follows: pick up and chain 1, *pick up and sc* three times, turn work
R2: chain 1, sc 3
Finishing: cut yarn, add a little loop between middle two stitches while weaving in ends

These work up really fast and add a nice handmade touch to book gifts this holiday season. I’ve got a lot of books on my list for Santa — better make a few more just for myself. Enjoy!

stash: These only take a tiny bit of yarn. You can definitely go stash diving for this project!

my daughter’s creative space

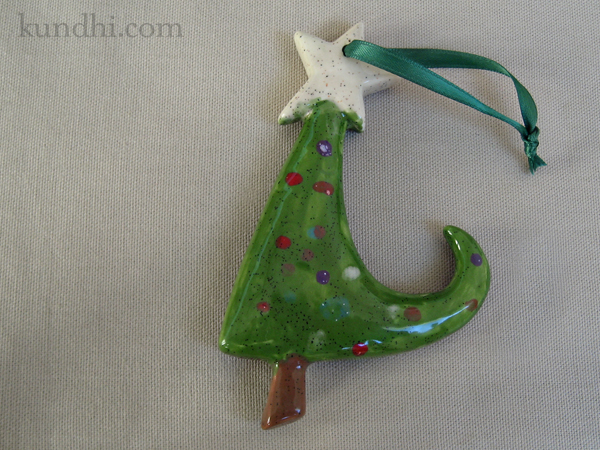
paint yourself silly christmas tree ornament

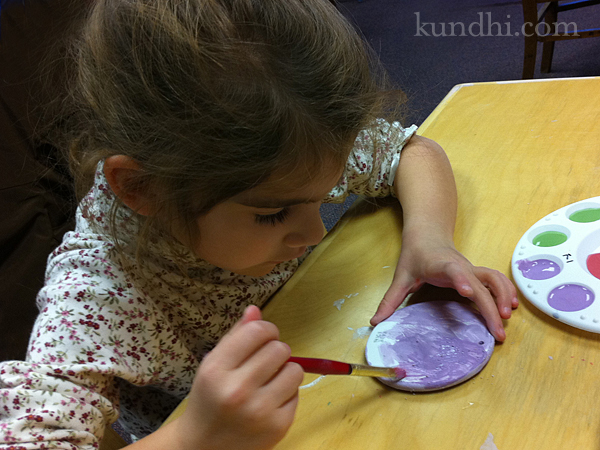
I think my daughter is officially in love with painting pottery. In the past few weeks, we’ve been to Paint Yourself Silly twice. Her first time she had fun, but didn’t really know what to expect. The second time she painted like a pro and once she saw her first project finished and sparkly, she was hooked.

paint yourself silly christmas tree ornament

Both times we went, I didn’t paint. I’m the official pottery holder so she can paint the edges and other side. I point out places she missed and remind her what needs a second coat. I’m also in charge of adding her name and date on the back.

I try to provide art direction, but this girl has a mind of her own. She knows exactly what paint she wants where. It’s difficult for me to not pick up a brush and “fix” something. (I might have sneaked in a few touch ups here and there when she wasn’t looking!)

I guess it’s good practice for me. I have a feeling there will be lots painting in our future. Next time I’ll just have to get my own piece of pottery.

This is the last official creative space of 2010 over at Kirsty’s blog. I’ll be posting them through the end of the year, though. Want to join me?

what’s better than giving handmade gifts?

Receiving them!

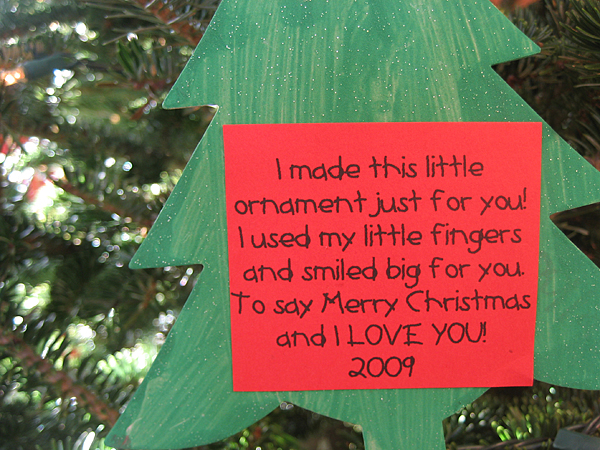
When I pick up my daughter from preschool I always ask about her day. Did you learn a new song? Did you paint? Color? Draw? Did you sit still for story time? For the past few weeks she’s been telling me about her tree. “Today we painted our tree.” “Today we put ornaments on our tree.” “Today we put sparkles on our tree.”

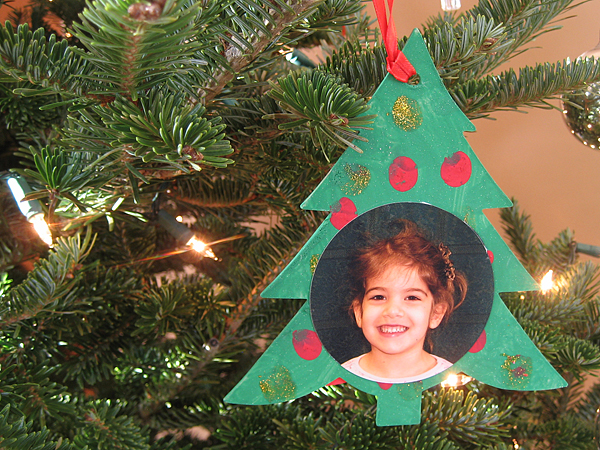
handmade tree ornament

I honestly thought she was making some kind of giant tree painting the way she described it. Imagine my surprise when she came home with this little tree ornament! It was wrapped in a paper bag (or sack as they say in Nebraska)* decorated with holiday stickers. I waited for my husband to come home so we could open it together. It is the most beautiful ornament on our tree.

handmade tree ornament

*When I called it a paper bag, my daughter said, “NO MOM! Mrs. Tisdale said it’s a SACK!”

thrifty finds: advent calendar

I’ve also been kicking it into high gear for the holidays. Unfortunately, that means it’s hard to show you work-in-progress pictures. I’ve knitted quite a few gifts over the past year and spent yesterday weaving in ends, soaking them in wool wash and blocking.

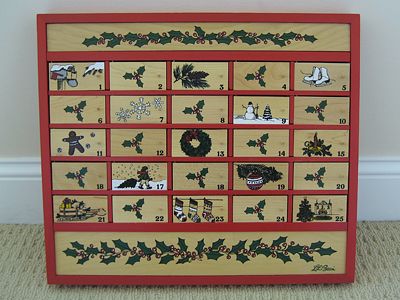
I’m also trying to play catch-up for Advent. Two summers ago I found this wooden L.L. Bean Advent calendar at Goodwill. I couldn’t help noticing how cute it was—especially for $4.99. Then the Goodwill lady told me everything in housewares was 50% off, so I bought it.

wooden advent calendar ll bean

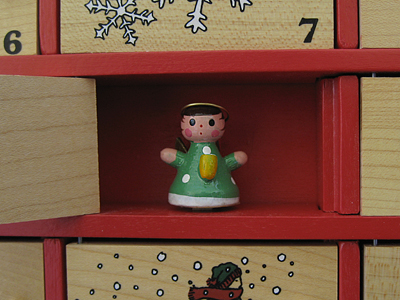
It’s pretty much in mint condition except for a bit of double-sticky foam tape in a few boxes that needs to be removed. Here’s what it looks like when you open the little door.

wooden advent calendar l.l. bean

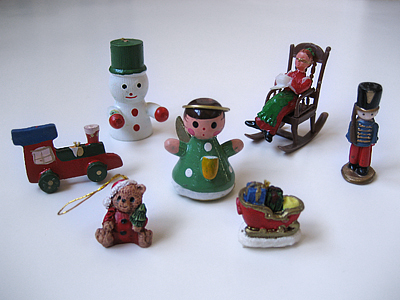
It came with a little bag of holiday trinkets. Most of them are ornaments with the strings removed. I guess they stuck them in the boxes with the sticky tape.

wooden advent calendar l.l. bean

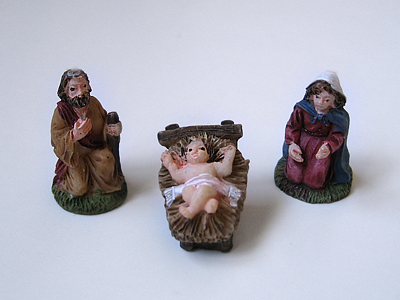
I’m going to re-glue the thread loops and turn them back into ornaments. My daughter has a little tree in the kitchen and each day we’ll take an ornament out to decorate her tree. We even have a Joseph, Mary and little baby Jesus for December 25th!

wooden advent calendar l.l. bean

I know I am late getting started, so I’d really like to get it finished this weekend. It will be my second project using hot glue. Wish me luck!

thrifting: Sometimes I can’t believe the little gems I find at the thrift store. I think I even like it better than the one they sell now.

mini santa hat pattern!

from the julie-bird.com archives

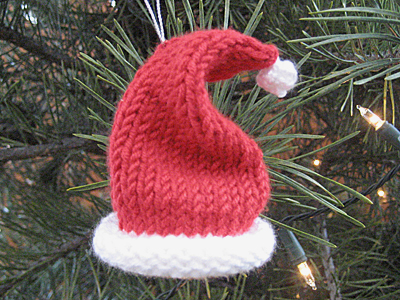
Last year I tried knitting a little stocking for our knitting group’s ornament exchange and it turned out really wonky. The night before the exchange, I whipped up this little Santa hat instead.

santa hat

For this year’s exchange, I knit the stocking from Last Minute Knitted Gifts and it turned out MUCH better. Tana, who picked my Santa hat from last year, picked the stocking this year. I knit them both out of the same yarn. Too funny! I should see if I can complete her set with a mini sweater next season.

I’ve been thinking a lot about the little Santa hat ornament. It was so cute and easy! So the other night I decided to knit another one for our tree. I love it so much! Here’s the pattern so you can knit up some cuteness for your tree.

Knitted Santa Hat Ornament

Yarn: Lion Brand Micro Spun colors red and white
Needles: I used size 3 dpns
Gauge: 6 stitches = 1 inch
Time to complete: Less than two episodes of the Sopranos.

Hat

Using white yarn, cast on 30 stitches and divide evenly over 3 dpns.
Join and knit 8 rows in white (add rows if you need to so it forms a nice roll brim).
Change to red yarn and knit 12 rows.

Begin decreases:
Knit the first two stitches on each needle together.
Knit a plain round.

Repeat these two rows until you only have 3 stitches left. Tie them off.

Pom Pom

Start with a slip knot of white yarn on a single needle.
Knit in the front and back of the stitch, increasing to 2 stitches.
Knit in the front and back of both stitches, increasing to 4 stitches.
Repeat once more for a total of 8 stitches.

Begin decreases:
Knit two together across, decreasing to 4 stitches.
Repeat, decreasing to 2 stitches.
Repeat once more and tie off.

Pull the two ends together and shape a little ball. With a darning needle, thread the ends through the top of the hat and tie a knot.

If you want your hat to hang straight, string it up from the top. If you want it to have a little curl, like mine, string it up from the middle.

Hang on the tree and admire your craftiness. Merry Christmas!

reuse: Don’t let all of those tiny balls of leftover yarn go to waste. Use them for small projects like tree ornaments.