home ec class: handmade reusable gift bag

I’m only on my second project and I’m already not following the directions. That didn’t take long! In my defense, it was because I wanted to learn something new.
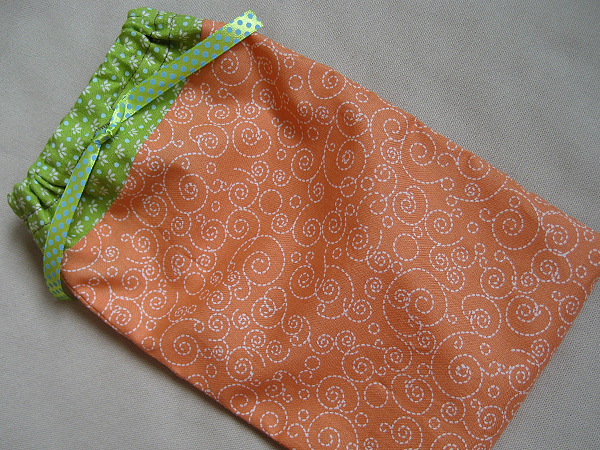
home ec class handmade fabric drawstring gift pouch

The project calls for a hand-sewn buttonhole, but I already know how to do that. I’m embarrassed to say, however, that I didn’t know how to use the buttonhole setting on my machine. How I managed to tackle zippers, but avoid buttonholes is beyond me. It’s so easy.
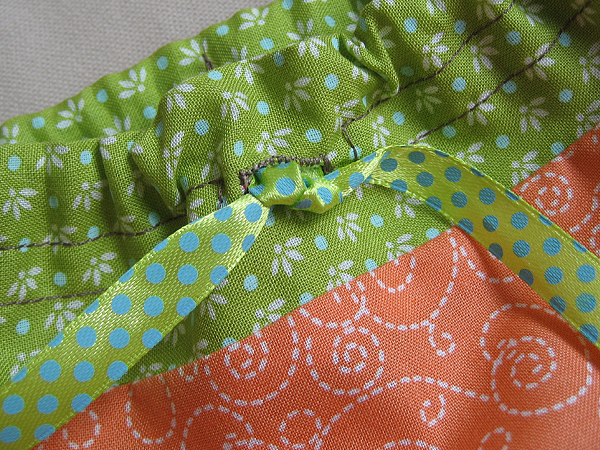
home ec class handmade fabric drawstring gift pouch

I also put a few stitches at the back of the casing to keep the ribbon from sliding out. That’s because this will probably go to my daughter for storing her magformers.

stash: Fabric from fat quarter bundle. Matching ribbon from somewhere else completely. They coordinate really well, though!
sweetheart zipper bag

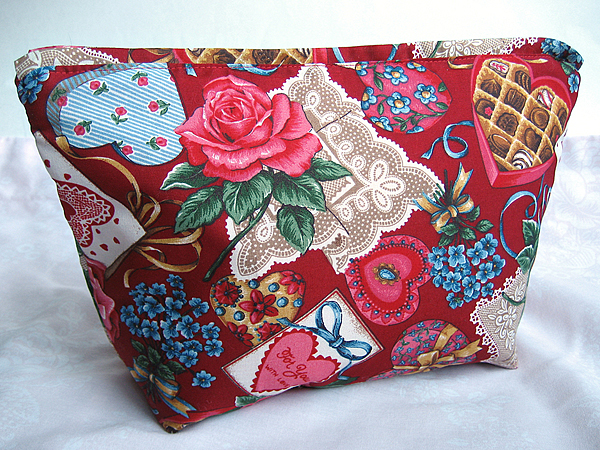
sweetheart cosmetic bag

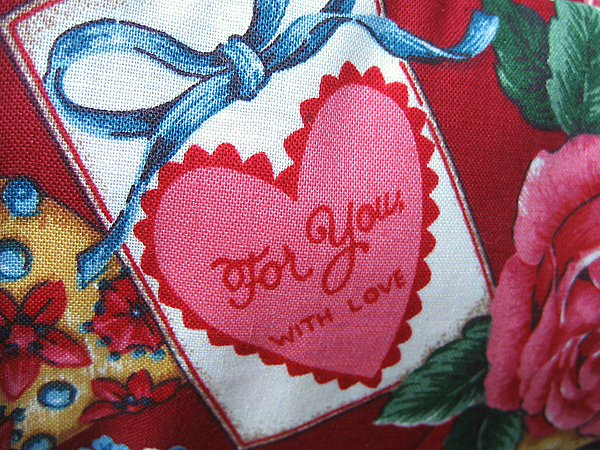
This fabric is a little more kitschy than my usual style, but I really love it. Valentine’s Day is just around the corner and I wanted to make something fun. I couldn’t bring myself to cut into all of those cute hearts, so I used the entire piece for one big bag.

sweetheart cosmetic bag

Some would say it would be great for cosmetics, but it can easily hold two skeins of yarn and knitting/crochet notions. I used fleece for the interfacing, so it stands up on its own, but it’s still soft. I’m tempted to keep it, but right now I’ve got it up in the shop. (I can’t keep everything I make!)

thrifting: This fabric came from The Grandmother Stash, same as the pink eyelet quilt.

my creative space (a day late)

scarf, bunting and zipper bag

I can’t believe I missed the first Creative Space of 2010! I was so busy last night playing around with my “new yarn” that I totally forgot to write a blog post. Whoops!

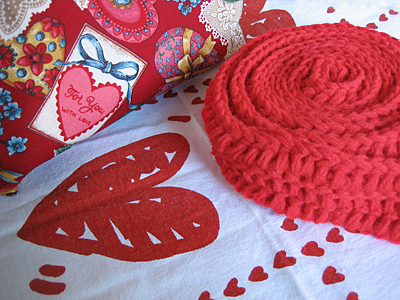
My creative space for today, and most of this weekend, is filled with the color red and lots of pretty hearts. I’m making good progress on my red scarf for Craft Hope. I have to take pictures of a sweetheart zipper bag that I finished up yesterday. And last, but not least, I plan on making a Valentine’s Day bunting out of this tea towel.

I’ve been missing Kirsty’s Creative Spaces and I’m so glad she’s hosting them again. You really should check out all of the wonderful blogs listed!

loving this little zippy wallet

purple zipper wallet

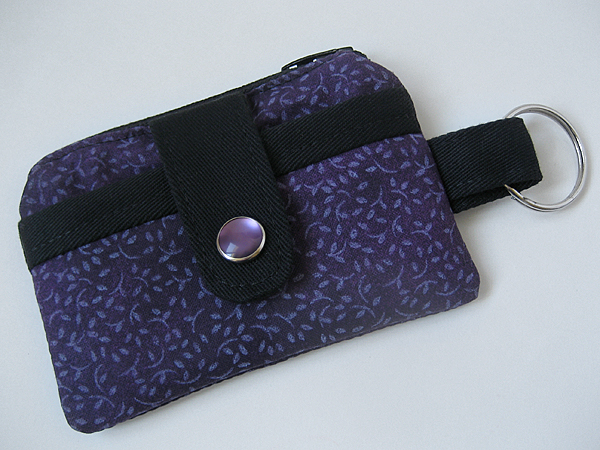
Making this super cute wallet was lots of fun. I tucked in a gift card to Starbucks and sent it off to a friend for her birthday. If you’re thinking this fabric looks familiar, you’re right! I had some bits left over from this bag. It’s the perfect project for those who can’t part with their scraps!

purple zipper wallet

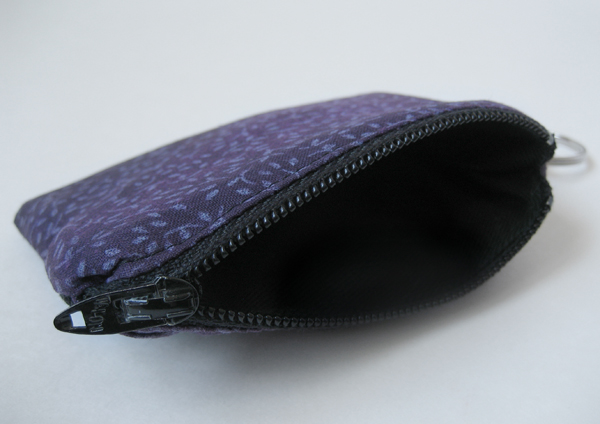
reuse and recycle: Purple fabric from my scrap box. Black fabric from a pair of cotton twill pants. Ring from keyring I never used. Zipper was thrifted.

pattern review: I used Anna’s Zippy Wallet Tutorial and found it very easy to follow. My only modification was to add a keyring. These would make great holiday gifts, don’t you think?

oversized swatch becomes cute wool clutch

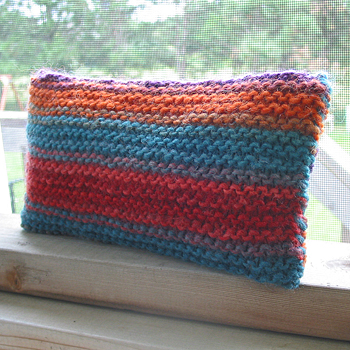
Last weekend my friend Jennifer drove up from Kansas City to hang out. It had been over 20 years since the last time we’d seen each other. We had a lot of catching up to do. She wanted to learn how to knit, which is a great way to spend your catching-up time. I cast on some wool to show her how to start. We kept talking and I kept knitting. Without realizing it, I had knit all of my yarn. What was I going to do with this gorgeous rectangle?

Hand Knit Wool Clutch with Denim Lining and Zipper Closure

I folded my oversized swatch in half, whip stitched the sides and added a lining. The result: super duper cute clutch! The good thing about me finishing this so fast is that I got to show Jennifer how to bind off. She caught on quickly and is doing awesome with her first scarf. Another person successfully converted to the fiber arts. Yay!

Visit my etsy shop for close up pics of those lovely garter stitches.

stash: This is a great stash busting project. Yarn was gifted to me by a friend who was ironically destashing it. Denim lining from my garage sale stash. Thrifted zipper.

handmade student emergency kit

virginia tech birthday gift

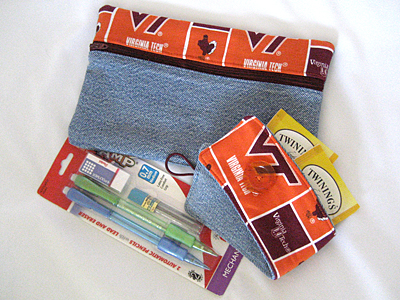
My brother is very smart. He’s got one of those jobs where he can’t tell you what he does. I have a feeling I probably wouldn’t understand a lot of it if he could. He’s also working on his PhD. Both involve a lot of hard work and math. Two things that he can always use: pencils and caffeine.

virginia tech birthday gift

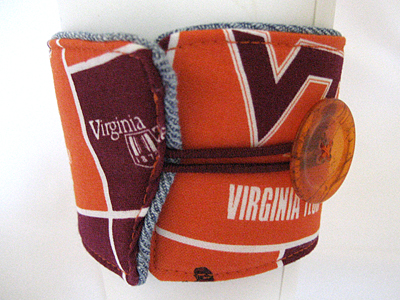
If you’ve been reading my personal blog for awhile, you know that he went/goes to Virginia Tech. He never tires of Hokie-themed gifts. (I asked.) I figured what he needed these days was something for all of those pencils and caffeine. I made him a pencil case and tucked some extra mechanical pencils, lead and erasers inside. I also made him an adjustable coffee sleeve and sent him a big bag of his favorite tea.

recycle: I can’t believe I am still using up VT fabric scraps from a yard I purchased over a year ago. Denim was from a pair of jeans. (Freecycle is a great source for denim!) Fabric and button were from my stash. Elastic was a colored pony tail holder.

how to sew a placemat zipper pouch with only four seams

zipper pouch tutorial

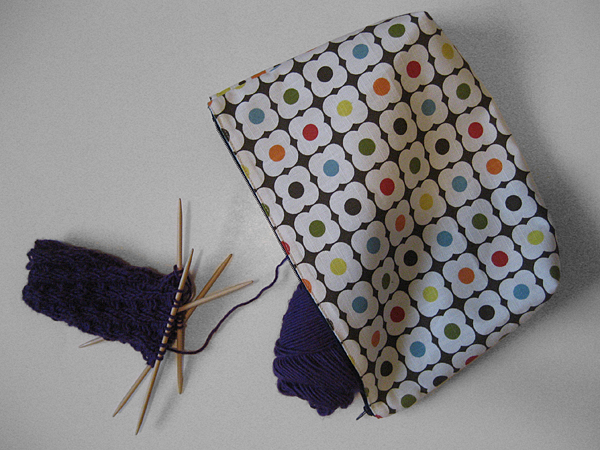
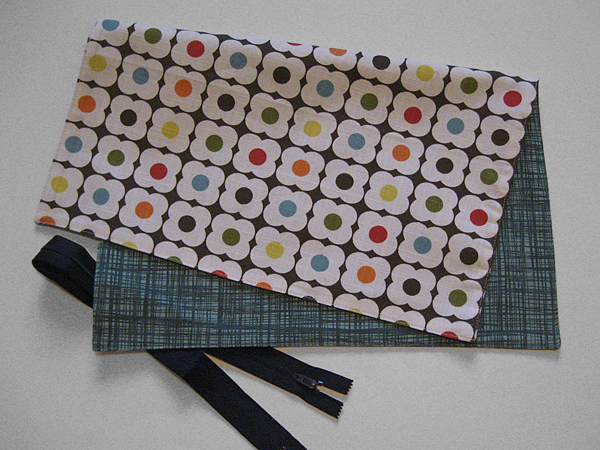
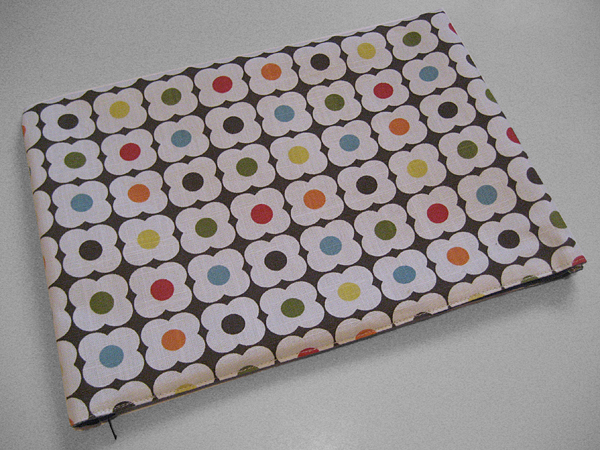
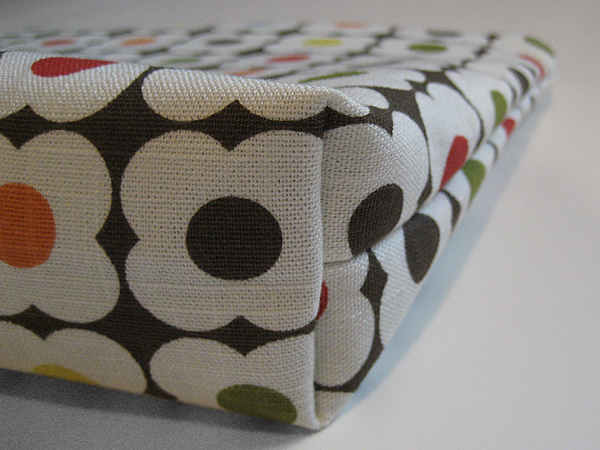
I found this cute Orla Kiely placemat at Target a few weeks ago and wanted to make something quick and easy for my knitting. Because the edges are already finished, I only needed to sew four seams. If you want a gusseted pouch, you can sew two more seams. Either way, it’s a very fast and easy project.

zipper pouch tutorial

Materials
a placemat (mine was 14 x 17 inches)
a zipper that’s at least 14 inches
coordinating thread
heavy duty sewing needle
zipper foot

zipper pouch tutorial

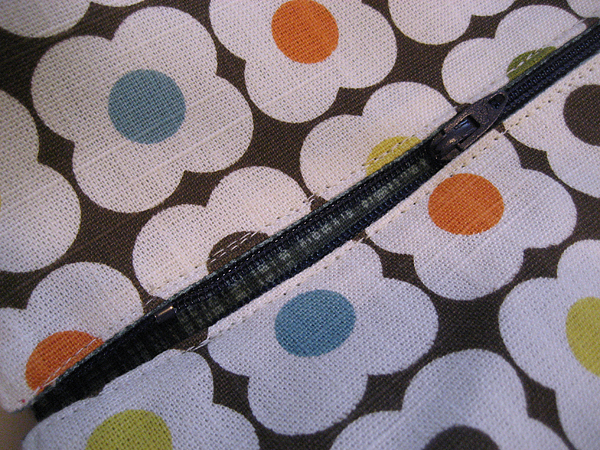
Using your zipper foot, stitch each 14 inch side to the zipper, beginning and ending 1/2 inch from each side.

zipper pouch tutorial

With the zipper halfway open, turn the placemat inside out. Sew your side seams while holding the zipper out of the way. (This is why you left 1/2 inch unsewn on each side.)

zipper pouch tutorial

Turn the placemat right side out and you’re done! If your zipper was longer than 14 inches, you can trim the extra.

Optional Gussets

zipper pouch tutorial

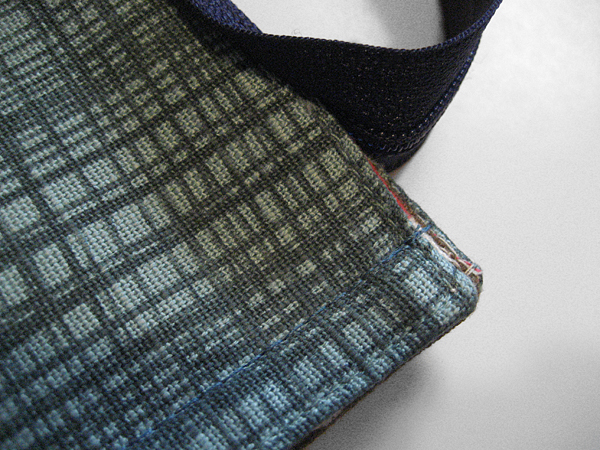
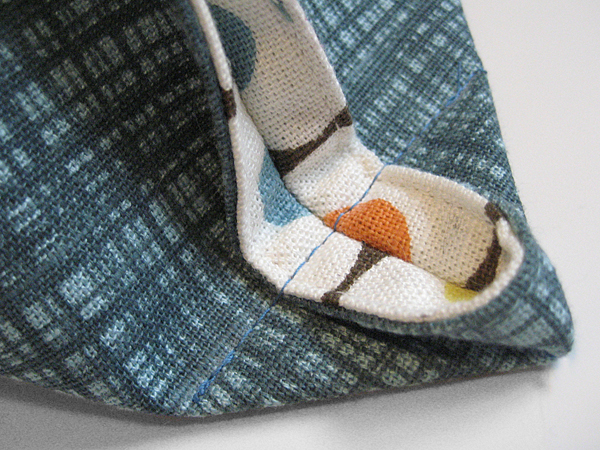
Box your corners, but don’t trim. The triangles are small and won’t take up much room. Plus, you’ll have no raw edges that might unravel.

zipper pouch tutorial

Want to see more projects using Orla Kiely placemats? Thimbly Things made a cute purse with hers and linked to a bunch more adorable bags.

refashion: Using finished items like placemats make your projects fast and easy because your edges are already finished.

Thanks to Whip Up, Craft Gossip and One Pretty Thing for linking to my tutorial. Subscribe to my RSS for more crafty goodness!

pinquitos change purse

bean bag zipper pouch

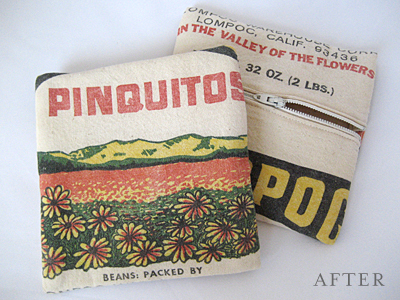
I love how these little purses turned out. They weren’t at all what I was thinking, but I really wanted to show off the flowers and mountains. A square zipper pouch was the best way to do just that.

bean bag zipper pouch

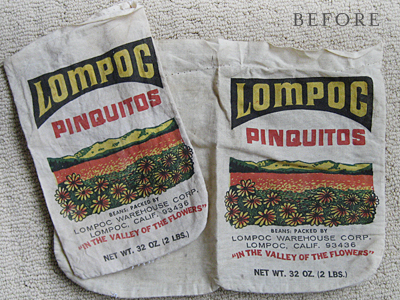
I didn’t want to wash them because I was afraid that the color might fade, but I had to because they were kind of dirty. I was worried that they might unravel, so I sewed a basting stitch around the edges before I put them in the wash. Good thing, too! The edges totally frayed up to the stitches.

The bags were a little delicate and I wanted to make them more substantial so I used some cotton quilt batting to give them their shape. I used the front of the bag for the outside and the back of the bag for the lining. To solve the fraying issue, I enclosed the raw edges in a french seam. There were a few holes from the original stitching that didn’t work themselves out in the wash. They don’t look like they are going to unravel, but I dotted them with some Fray Check just in case. These were super fun to make and I finished them in one evening.

recycle: bean bags purchased at garage sale, leftover batting from stash, one zipper was thrifted, one zipper was reclaimed from a garment