wardrobe refashion: pj pants to nightshirt

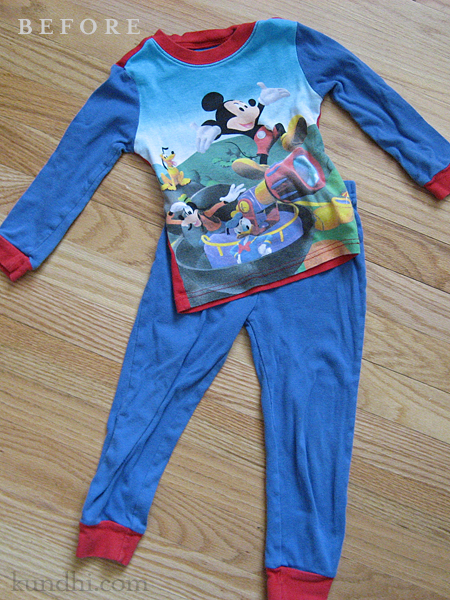
When I was at my craft weekend away, one of my friends was serging a nightshirt for her daughter. Another friend was making dresses out of t-shirt scraps. I blame them for this crazy idea: a nightshirt out of a pajama top and bottom scraps.

pajamas night shirt

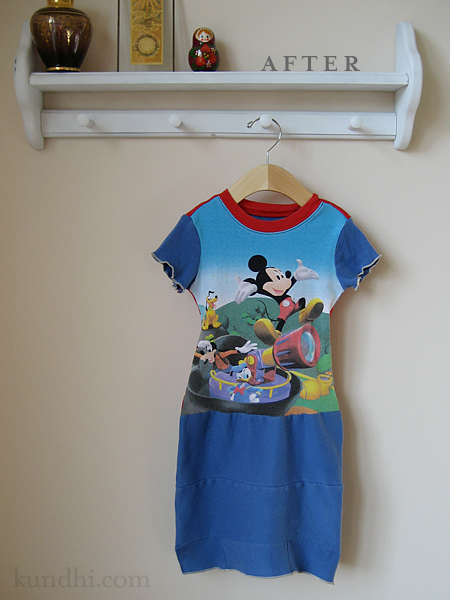
This was a lot cuter in my head and my sketches than it turned out. I had hoped the skirt would be a bit more ruffled, but there really wasn’t a lot of fabric in the bottoms. I wound up piecing together the sleeves, too. (Sorry for the unstaged “before” photo, but I was really excited to dive into this project!)

pajamas night shirt

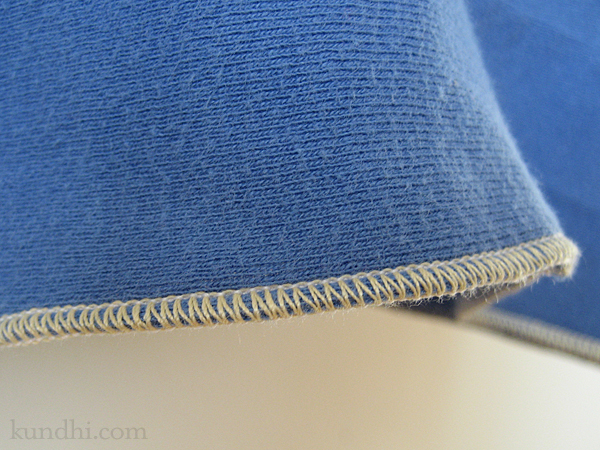
Thankfully, I tested this on the Mickey pajamas first. Although she loves Mickey, she loves her Minnie pajamas even more. I will probably use one of my old t-shirts for that refashion. I also might keep the sleeves at 3/4 length. Oh, speaking of the sleeves, check out this awesome rolled hem. Swoon!

pajamas night shirt

refashion: Even though the sleeves and legs of my daughter’s clothes are getting too small, the body still fits nicely. I’m getting lots of opportunities to be creative!

a weekend of sweater unraveling

I’ve been thinking about white lately. Not bright white, but ivory, soft white and ecru. I’ve been keeping my eye out at the thrift stores, but all I could seem to find was that yellowish cream. Yuck. I even strolled down the yarn aisles at craft stores, which I haven’t done in a long time. I couldn’t bring myself to buy new. Not when I had so much at home.

Then one day while I was digging around in my stash closet I saw a beautiful, un-felted Gap sweater. It was the perfect color white and so soft: wool, nylon, angora rabbit and cashmere. And it had perfect seams for unraveling (those Gap sweaters always do!)

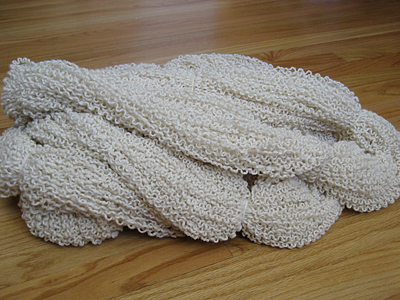
Friday evening I used a seam ripper to carefully take apart the front, back and sleeves. Saturday evening I unraveled it with the help of my swift and ball winder. This is what I had Sunday morning.

unraveled wool sweater

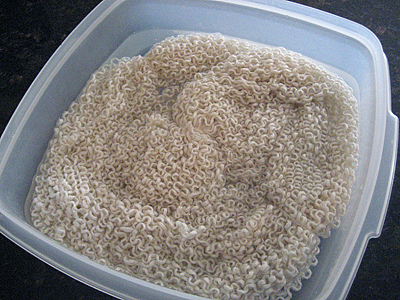
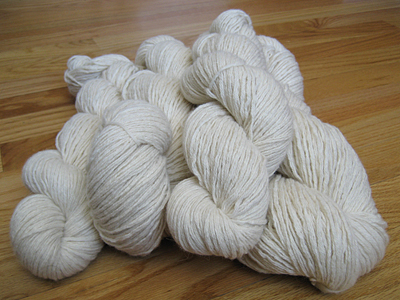
Don’t you just love how un-knit yarn looks like ramen noodles? Usually I will just work from noodle-y yarn, but I decided to try and get some of the kinks out. I soaked each bundle in cold water for 15-30 minutes.

unraveled wool sweater

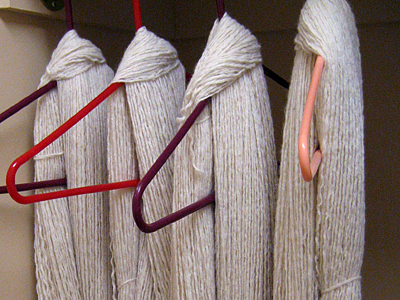
After soaking, I hung them up to dry. I put a few wooden blocks in plastic grocery bags to weight the yarn at the bottom.

unraveled wool sweater

Look at what I have now! Isn’t it beautiful? Goodwill is having their 99 cent sale this weekend. I might have to check out the sweater rack.

unraveled wool sweater

thrifty reuse: I bought this sweater at a garage sale for $1. Can you believe it? Here’s my favorite online tutorial for unraveling a sweater for yarn.

gift bag resolution

After my daughter was born, we had a huge supply of gift bags. Most of them were pink, but we had our fair share of gender neutral and holiday bags, too. It’s been over three years, but I’m almost finished using them for gifts.

Honestly, it felt like my stash would never be gone. When I got close to the end of my pile, I started thinking about how I would wrap presents in the future. I did a little bit of research on the web and found some startling statistics about gift wrap.

Wrapping paper, from an ecological point of view, is a pretty worthless use of trees. Each year in the United States, 4 million tons go from logs to landfills to make wrapping paper and holiday shopping bags, according to the Clean Air Council, a Philadelphia-based nonprofit organization.

Once I got past the shock of 4 MILLION TONS EACH YEAR I read something even more unsettling. You know how some people throw wrapping paper into their fireplace?

Decorative wrapping paper, much of which is made in countries such as China that have looser environmental regulations, can contain lead, synthetic inks, plastic film, chlorine or metal-based foils, which release toxic and carcinogenic compounds into the air when burned. Metallic paper may or may not have a greater environmental footprint than other types, but it’s certainly not meant to be inhaled. Who’s most vulnerable to this indoor pollution? Children, whose systems are still developing.

You may be able to recycle gift wrap depending on where you live, but metallic accents, glitter and too much tape can make them un-recyclable. Plus, if it’s unsafe to burn, is it really safe for your child to be tearing it apart?

handmade fabric gift bag

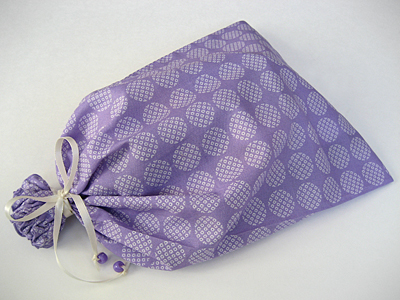
So, I’ve resolved to only use fabric gift bags and plain recyclable paper going forward. I really like how my first fabric birthday bag turned out. Does anyone want to make this resolution with me? There are some great ideas to inspire you over at That Little Bit Greener.

resource: Quotes taken from this Washington Post article.

how to make microwave crayon shapes in 3 easy steps

microwave heart crayons

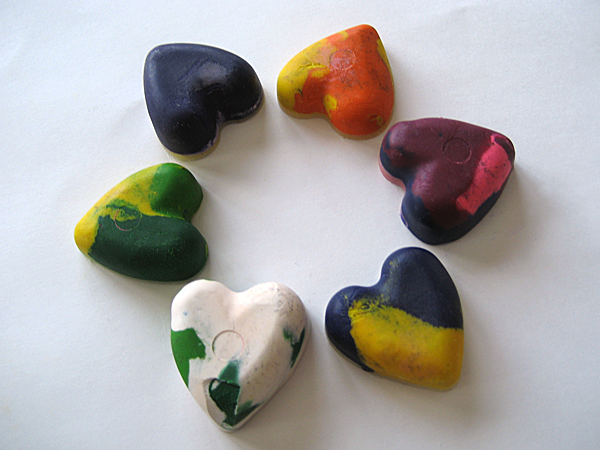
Maybe I should call these Really Lazy Crayon Shapes. I’d been thinking of making them for awhile, but all of the tutorials I found online suggested baking in the oven, melting over a double boiler or melting into cups and pouring into molds. Those were just too many steps for me.

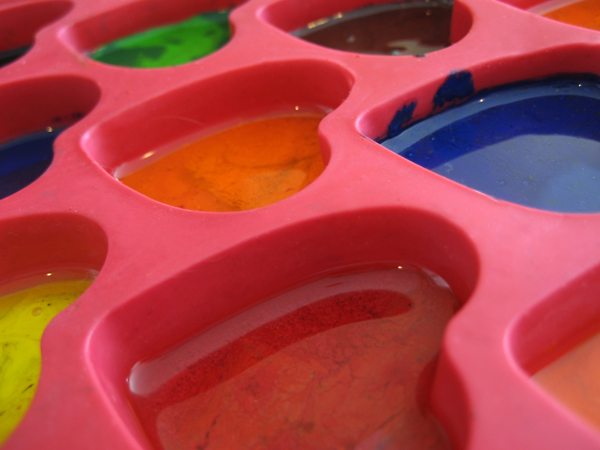
I found a silicone mold at the thrift shop for only a few bucks, so I wasn’t too concerned if I ruined it. I threw all caution to the wind and microwaved the crayons directly in the mold. It was simple, fast and easy to clean up.

microwave heart crayons

Materials
crayon bits
silicone mold
knife
toothpick

Step 1
Put your crayon bits directly in the mold. Break up any bits that are too big with a knife.

Step 2
Microwave on high for 1-2 minutes. (I’m sure times will vary based on microwaves. Watch your first batch carefully!) Use a toothpick to stir if your bits aren’t melting evenly.

Step 3
Allow to cool and then pop them out of the mold. I put mine outside because we’re having a frigid winter and it didn’t take long, but you could stick them in the freezer, too.

Clean up: Put some water in the mold, microwave it for about a minute and dump it out. The crayon residue wipes out easily with a paper towel.

*After searching, I found that my mold is actually an ice cube tray and shouldn’t be exposed to heat. It held up just fine, but I wouldn’t use it for ice cubes or food after heating just to be safe.

recycle: This is a great way to use all of those crayon bits that are too small for little hands to hold.

how to: recycled holiday card gift tags

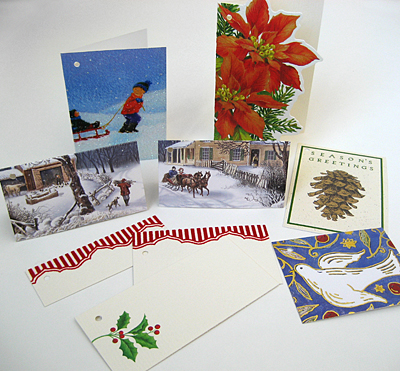
recycled gift tags from holiday cards

Last year I saved a few of my favorite holiday cards for crafting. I planned to reuse the artwork to make new cards, but when I realized I didn’t have any cute gift tags in my stash, I started cutting! I began with 5 cards and ended with almost 30 gift tags in all shapes and sizes.

You’ll need:
-paper cutter
-embossing stylus, crochet hook or knitting needle for scoring
-ruler
-small hole punch

I just started slicing away without thinking too hard about the end result. Then I went back and sorted all of the bits.

  • Large rectangles were scored for fold-over tags. (boy pulling sled)
  • Borders made great matching flat tags. (red and cream stripes)
  • Images were cut in half to make coordinating card sets. (snow scene)
  • Die cuts made really fancy cards. (poinsettia)

Most cards are made out of heavy paper stock and need to be scored before you fold them or they will crack on the fold. If the surface is glittery, cover with a thin piece of paper before scoring.

The final step was to punch holes in the corners so they can easily be tied on to gift packages.

reuse and recycle: This little project didn’t take long and was so much fun. If you sent me a really cute card last year, thanks! You just might be getting it back on a gift this year.

reuse-or-recycle package labels

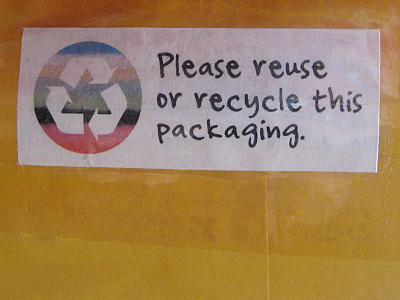
reuse recycle envelope labels

Usually I just handwrite this message on my packages, but sometimes I forget when I’m rushing to get things in the mail. Now I have labels! I printed them on the back of already used paper and just slip them under the packing tape. I suppose you could print stickers, but that’s too involved for me. Until I find a way to seal packages without packing tape, this will work just fine.

The image is a striped, felted sweater. I’m thinking of making some with holly leaves and berries for the holidays.

resource: I also made a template for you! Please download it and use it often!

how to sew a remote control pillow in five easy steps

I’m not sure why I’ve had pillows on my mind. Maybe because the sun has been hiding behind the clouds for too many days to count? Maybe it’s because I’ve been feeling under the weather? Maybe it’s because the holidays are fast approaching and I need some gift ideas for the guys in my life? Whatever the reason, I’ve been having fun. These are really easy. I know you’ll have fun, too.
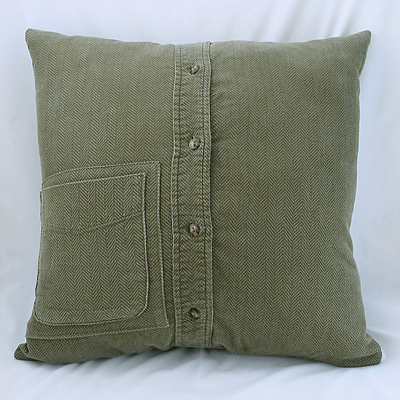
remote control pillow

Notes

  • Remote Control Pillow v 2.0 is for those who only have one tv remote or are using a universal remote for all of their equipment. If you need a multi-pocket pillow, check out my Remote Control Pillow v 1.0 pattern.
  • Most likely, your pocket will have to be flipped and moved to accommodate a remote control. If your shirt doesn’t have a pocket, you can easily make one out of the sleeve or a contrasting scrap fabric. Be creative! Try a denim pocket from a pair of jeans.
  • Some men’s shirts don’t have buttons past the belt line. You can take one from the collar or cuff and stitch it on the band.
  • If you are using a smaller shirt, simply use a smaller pillow form. I usually sew the cover 1″ smaller than the pillow form size so the final pillow will be nice and firm.
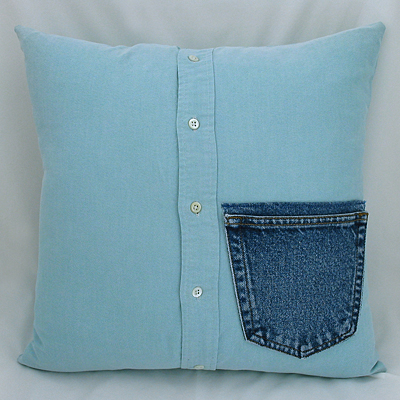
denim pocket men's shirt pillow

Materials
1 – large men’s button shirt with pocket
1 – 18″ pillowform
seam ripper
matching thread

Step 1
With the shirt buttoned, cut a 17 1/2″ square out of the front of the shirt. Cut another 17 1/2″ square out of the back of the shirt.

Step 2
Carefully remove the pocket using a seam ripper. Spritz shirt with water and steam press to close up any holes. Reposition the pocket and topstitch in place.

Optional Step 3
If your holes don’t close, if you accidentally rip your fabric, or you are using a shirt like corduroy and the nap won’t fluff back up, you’ll need a patch. Just cut a square from the sleeve and topstitch it over the original area.

Step 4
Lay the pieces together right sides together and sew around the whole square with a 1/4″ seam allowance. Make sure to undo one or two buttons before sewing so you can turn it right side out afterward.

Step 4
Clip your corners, turn right side out and press.

Step 5
Insert your pillow form and button it up!
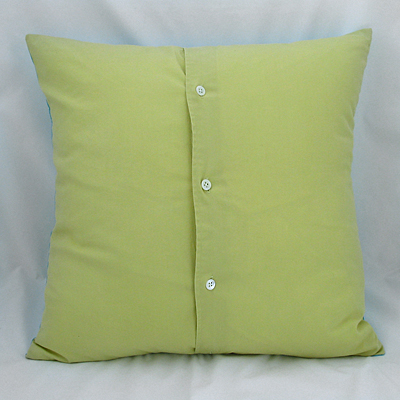
affordable decorative pillow button down shirt

This is an easy way to make decorative pillows, too. If you go to Goodwill on 99 cent day, this becomes a really affordable project. Plus, they organize their clothes by color, which makes it easy to find shirts that match your fabric. I used a little less than a fat quarter of fabric for the decorative pillow.
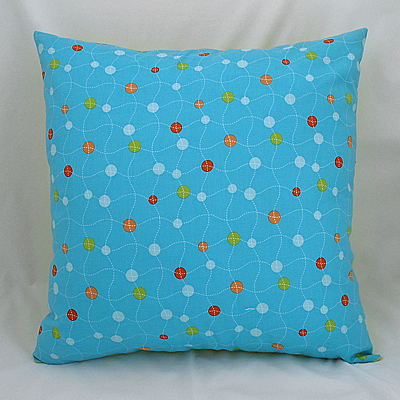
home decor pillow on a budget

recycle: Before you head out to the thrift store, check your own closet. All three of these shirts came from my husband. In fact, I have him trained now to ask me first before donating any of his clothes!
reuse: plastic sea shell container

super target archer farm almond container

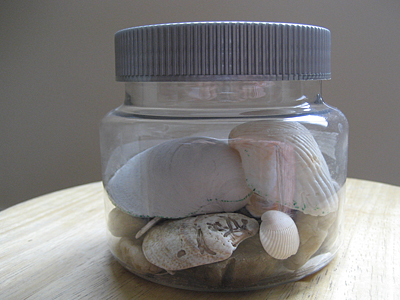
I am just in love with the shape of Archer Farm’s almond containers. They’re nice and durable and have this great silver/gray lid. I held a few back from the recycle bin because I thought I’d be able to make something cute with them.

When we came back from the beach, my daughter had lots of pretty shells and rocks. We couldn’t figure out where to store them. They were too pretty to put away, but I didn’t want them laying around, either. Then I remembered these containers. Perfect!

reuse: I still have two more containers and I’m thinking of decoupage with gray and silver paper scraps. What do you think? Any other ideas?

pretty, plastic granny squares

I try hard to limit our impact on the earth. When I’m at the grocery store, I look for items with recyclable packaging. Sometimes, it isn’t always possible, though. For example, we eat a lot of frozen peas, I don’t always have time to make our bread, and I don’t have any time at all to make tortillas!

I know I need to cut myself a break now and then, but this week we were overwhelmed with plastic. Last week was my daughter’s birthday and there were bags filled with air, bags to hold toy parts, and for some reason, a lot of food bags. Every time I went to put one in the trash I had this question in my head: How long will this be sitting in a landfill?

Yes, I worry about our landfills. I’m concerned about what seeps into the ground and finds its way into our drinking water. I wonder how many big piles (or holes, I guess) of trash will exist when my daughter is my age. I know this worry is kind of crazy, especially for someone who tries hard to minimize my impact on the planet, but I know I can always do better.

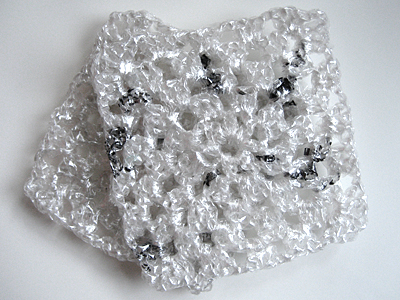
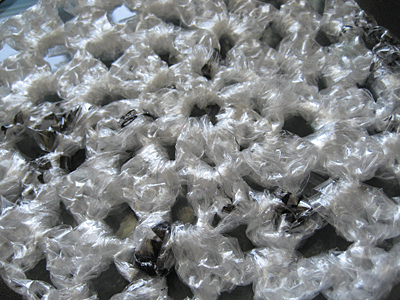
plastic crochet granny square

Yesterday I grabbed a bunch of clear plastic packaging bags and made some granny squares. I’m thinking of turning them into a small zipper pouch. It was hard to capture with the camera, but they are very sparkly.

plastic crochet granny square

They just made a dent in my bags for the week. I’d like to fuse my extra bags and make “fabric” for sewing totes, but I’m concerned about the fumes. I am very sensitive to smells and I’m worried about getting a headache that might last all weekend. Maybe if I did it outside on the deck? Does anyone have any experience with this?

recycle: I’m always looking for ways to recycle our non-recyclables, but in the end, I think the best thing to do is limit what we bring into our homes. It’s hard, especially in our convenience-packed culture, but it’s something I think is really important.

mixing bread bags and wool with crochet

A long time ago I started to crochet a tote out of plastic grocery bags. I thought it would be a good way to keep the bags out of the landfill. It wasn’t fun. The plastic was sticky and it hurt my wrists. Then my recycle guy started accepting the bags for curbside pick up. That was the end of the guilt and the project.

The past few weeks, I’ve been taking a hard look at what we put in the trash. Was there anything else I could possibly recycle? Tea bag envelopes? Receipts? Bread bags?

I did some investigating and my recycling guy only accepts newspaper, dry cleaning and grocery bags. If I can’t put them at the curb, what else can I do with them? I know others have crocheted them just like grocery bags, but when I tried, they kept breaking. Plus, I’d need to eat a lot of bread to make anything substantial. Then I got an idea. What if I cut really thin strips and held them along with something else?

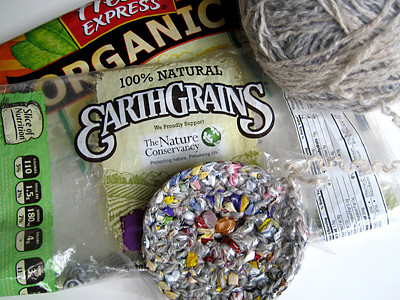
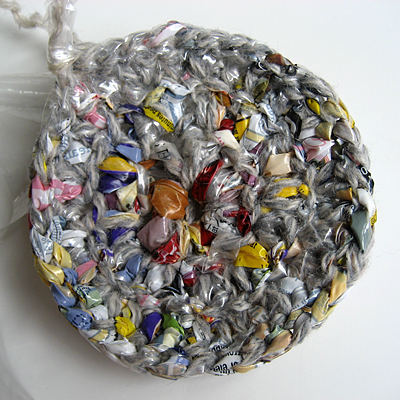
crochet bread bag and wool

I am totally loving this! I’m using recycled sweater yarn that has a bunch of knots. The plastic hides the yarn imperfections and the yarn keeps the plastic from breaking. If the plastic does break, the yarn holds the “fabric” together.

This is so much easier on my wrists! And check out the pretty colors! Not bad for some plain old gray recycled yarn.

crochet bread bag and wool

So far I’ve used bread and tortilla bags. I’ve also got a salad bag to throw into the mix. I’ll keep you posted on my progress!

recycle and reuse: I love thinking of new things to knit and crochet. The yarn is from my first attempt at recycling sweater wool. This is a good project for both frugal and green crafters!