progress report no.2

floral shirt refashion

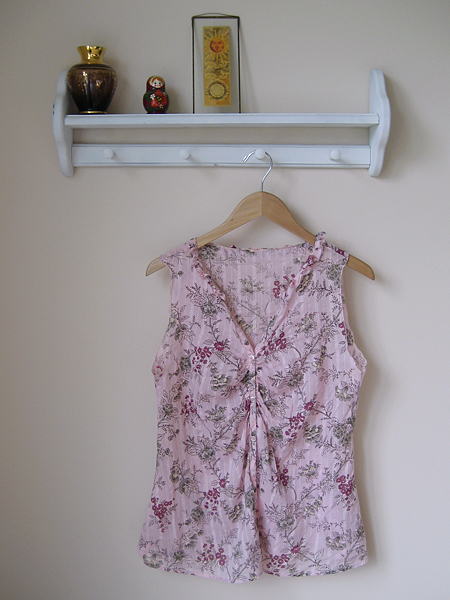
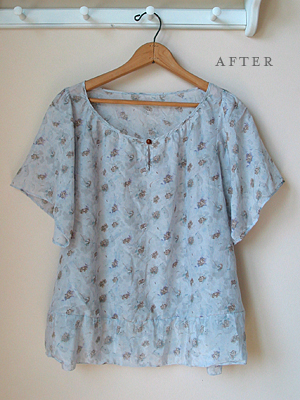
I finished my floral shirt refashion and I’m really happy with the fit. Here are the refashion details:

  • took in the sides to create a more streamlined waist
  • finished the sleeves and neck with a rolled hem
  • added a ruffle trim around the neck

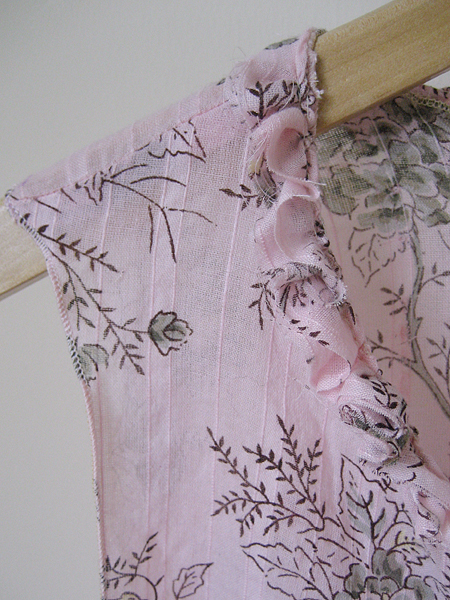
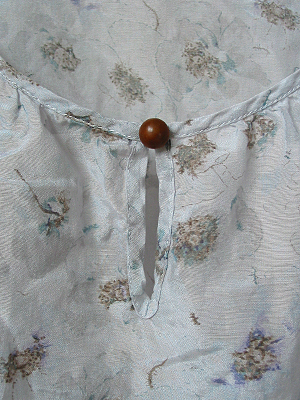
Here is a close up of the ruffle. This was really easy and I’m totally loving it!

floral shirt refashion

Sock update: Yarn is wound, pattern is picked and I got gauge on my first swatch. Can’t wait to cast on!

thrifted: Got this shirt at the thrift shop. I think it was worth the 99 cents!

how to make a ruffle scarf in 3 easy steps

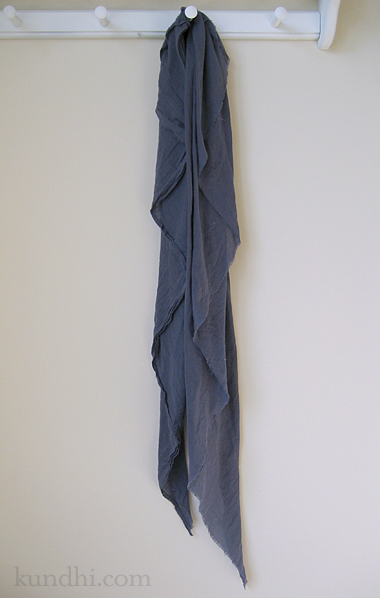
The other day I saw a woman wearing a cotton scarf that was layered and unfinished in the most beautiful way. She looked like she just walked off a catalog shoot. I’ve never been able to pull off that “I just threw it on and it looks perfectly ruffled” look, so I decided to design one that made it easy.

ruffle scarf tutorial

Step 1
Cut a large triangle of fabric on the bias. I chose a lightweight cotton, but anything with a nice drape would work. (Flannel would be nice for Fall.) My piece measured 80 inches across the base and 32 inches high. Run it through the washer and dryer to fray the edges.

Step 2
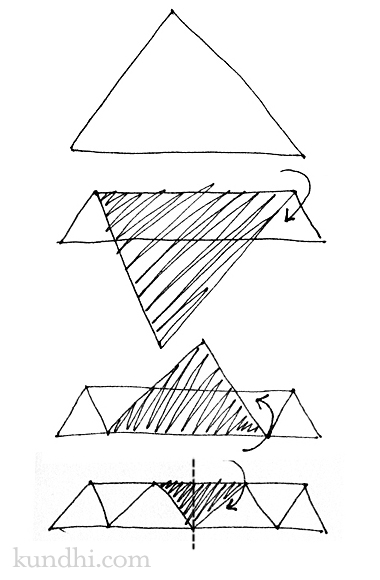
Fold the ruffles. I figured a diagram would be easiest to understand. I folded mine 8 times, but you don’t need to see that many steps to get the idea.

ruffle scarf tutorial

Step 3
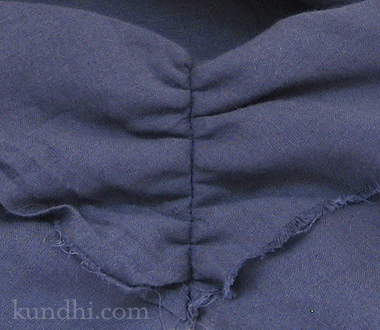
Stitch the ruffles in place. I didn’t back tack and pulled on the threads to create a little gather before I tied them off.

ruffle scarf tutorial

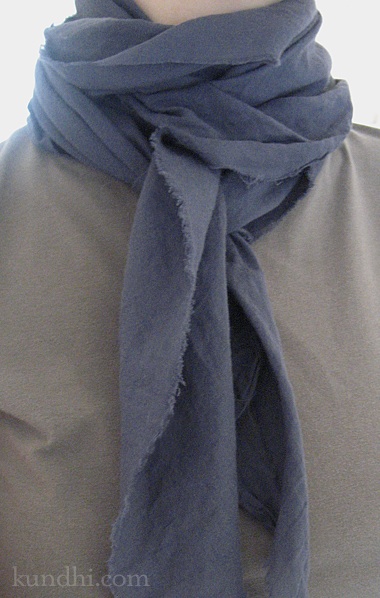
That’s it! You can wear it with the ruffles hanging down or wrap it around a few times with the ruffles facing out for that perfectly unfinished look.

ruffle scarf tutorial

blanket finished!

cross stitch baby blanket

I spent more time thinking about this project than actually sewing it. I guess I was being extra careful with it because of all of the handwork. It’s not like I could go out and buy new fabric if I messed something up.

Here were my concerns:

  • The cross stitch had caused the top piece to pucker. I needed it to lay flat. Pressing it with an iron didn’t help much.
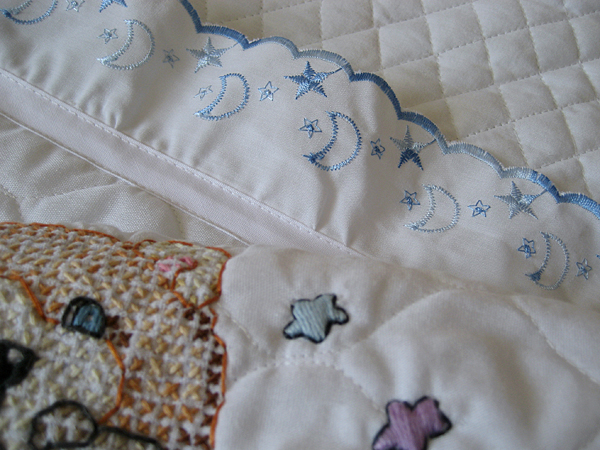
  • Both the front and back pieces were quilted and together were too thick to easily fit into the ruffle trim.
  • The ruffle trim was in two pieces and one was wider than the other.

Here were my solutions:

  • I tied the top and bottom like a quilt, working from the center outward. I didn’t want the ties to be visible, so I started and finished inside, sandwiching the ends between the two pieces of fabric.
  • I serged the two fabrics together to create a nice even edge for the trim.
  • I took the trim apart a few inches on each end sewed them back together on a slight diagonal. There are places were the ruffle is shorter than others, but the transition from shorter to longer is a smooth one. I am probably the only one who will notice this.

I learned a lot putting this project together. I’m glad I took the time to think things through. I’m also happy that I had my serger to make things easier!

wardrobe refashion: de-ruffling a shirt

floral shirt

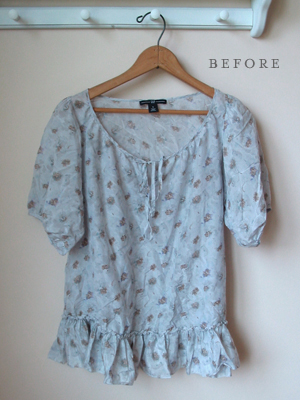
Here’s the shirt from yesterday’s garage sale finds. I really liked the fabric, but the shirt was a little bit too frilly for me.

floral shirt

The first thing I did was cut off the gathered cuff and replace it with a simple rolled hem. Next I removed the ruffle and reattached the fabric with no gathers. Finally, I snipped off the ties, stitched the center closed and added a vintage button.

floral shirt

I like the shape of peasant style blouses, but I’m not a big fan of all of the frilly stuff. This turned out just perfect for me. Plus, I totally love that button!

refashion: Shirt 75 cents from a garage sale. Vintage button from my stash.

ruffling up some boys t-shirts

When I go to Neat Repeatz, I check the girls clothing first, then head over to the boys clothing. Why? Most of the time the boys stuff is a lot cooler. A girl can only have so many pink shirts with flowers and hearts. What about dinosaurs? Cars? Trains? I never see those in the girls section. It’s always Dora, Dora, Dora. My daughter doesn’t even watch Dora. She likes Thomas the Tank Engine, Lightening McQueen and Mickey Mouse.

On my last trip, I found two shirts I knew Bella would love. They were 3T, but a little too short for my tall toddler. I was afraid they wouldn’t last until the end of the season. Inspired by Rachel’s tutorial for lengthening pants, I added a few inches to the shirts with some ruffle trim.

ruffle shirt

Both were iTalk shirts, so I removed the big patch on the front and tossed the little computer chip thingie, which didn’t work in either shirt. Then I washed them so the holes from the patch stitches would close up a bit.

ruffle shirt

I used about a yard of ruffle trim for each shirt. After a few attempts to pin the ruffle to the hem, I just put it in the machine and aligned it as I went.
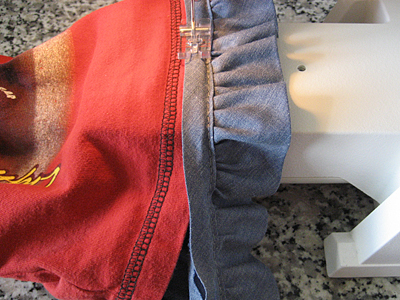
ruffle trim

I’m really happy with how these turned out. Both shirts took less than an hour to sew up. Bella was a little worried when she saw them in the machine. “What are you doing with my Lightening McQueen shirt, mom?” When I showed her the finished shirt, she loved it.

refashion: Adding trim is a great way to freshen up an old t-shirt, especially one that’s too short.