favecrafts blog hop: st. patrick’s day outfit

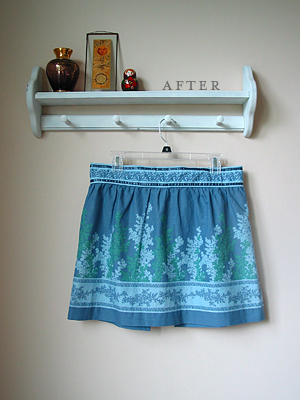
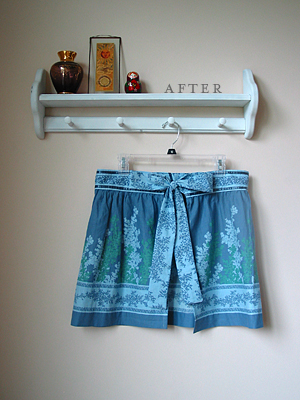
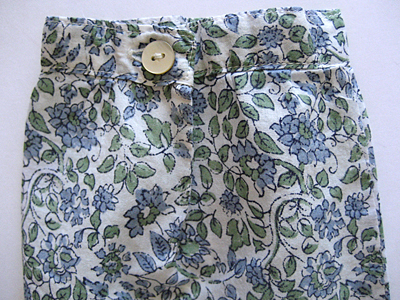
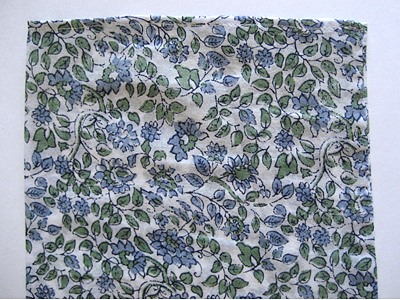
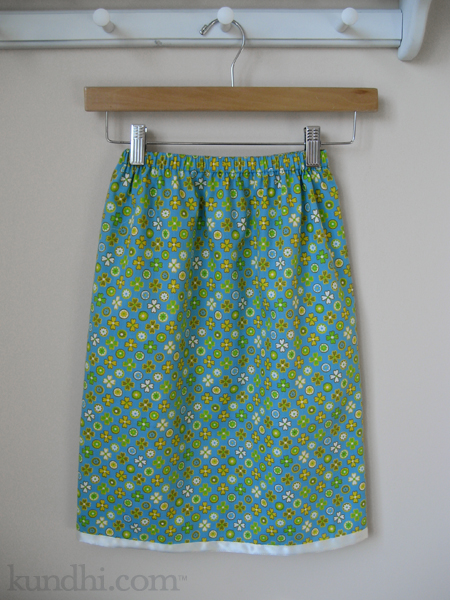
summer twirly skirt

Tomorrow my daughter’s preschool class is having a St. Patrick’s Day party and everyone has to wear a green shirt. Over the past week, we’ve gone from her insisting on wearing her only green (too small) gumdrop shirt to her requesting an entirely new outfit. She rarely asks me to make her clothes, so of course I jumped at the opportunity.

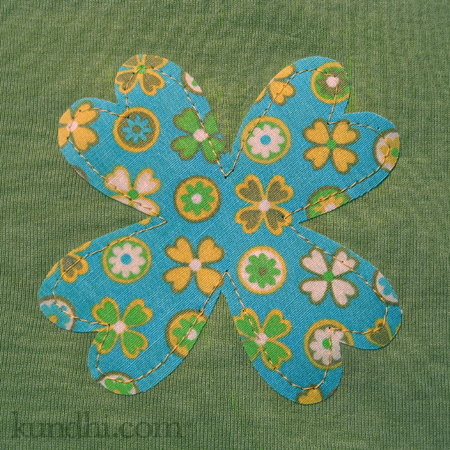
four leaf clover shirt

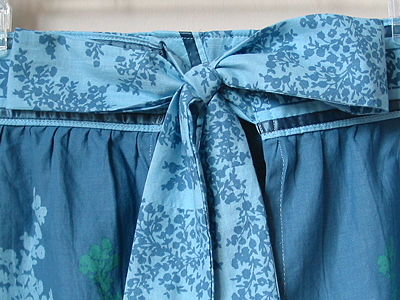
She really wanted a green shirt and legging combo, but when I found this cute clover/flower fabric in my stash, she agreed that a coordinating skirt might be better. (Phew!) I’ll try to get a better photo of the top tomorrow, as I didn’t finish it until after the sun went down. I think both of these will get lots of wear over the summer, hopefully not always together.

The FaveCrafts Blog wants to know what you have finished on the 15th. Check out other finished projects and post one of your own!

project details: Green shirt from Target, thrifted fabric and ribbon from my stash. Lazy Days Skirt pattern from oliver + s.

tiny four-leaf clover pattern: Don’t forget to crochet up a little luck for yourself and friends. They work up super quick! My pattern here.

wardrobe refashion: hippie shirt

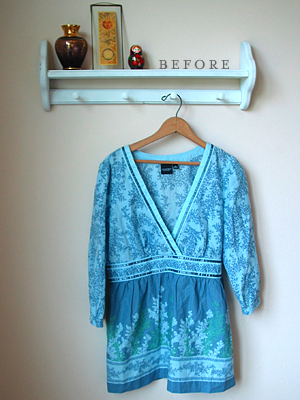
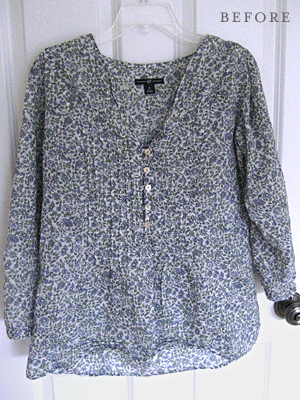
thrifted hippie tunic

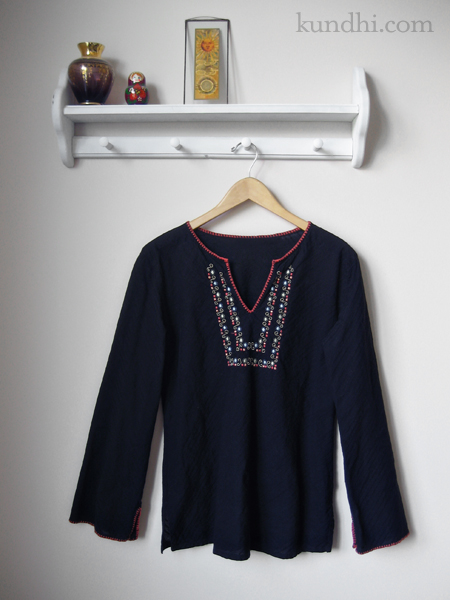
It occurred to me as I got dressed this morning that I never blogged about one of my favorite refashions: the hippie shirt. I love the look of these style tunics, but they’re not the most flattering for me. I really need a defined waist.

I refashioned this last year before I ever attempted to remove a sleeve from a shirt. I just used my 80s sweater method and took it in a little bit under the arms and around the waist.

Luckily this material was forgiving and it turned out pretty good. I’d like to do the same to some of my knit jersey shirts, but I think I’m going to have to take the sleeves apart to alter them. I plan to practice on a few of my thrifted shirts. Hopefully, I’ll have some success stories to post soon!

fabric beach balls!

fabric beach ball purl soho

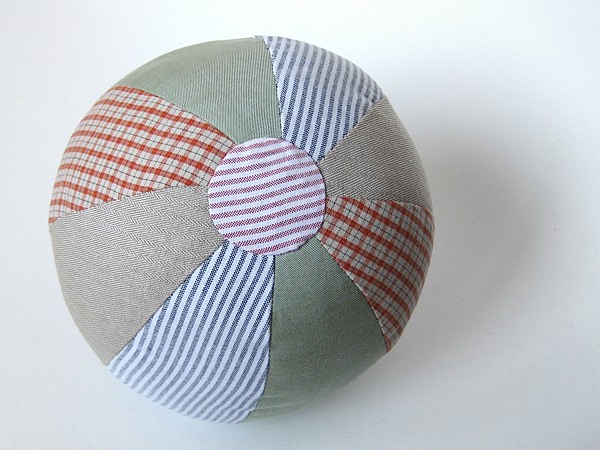
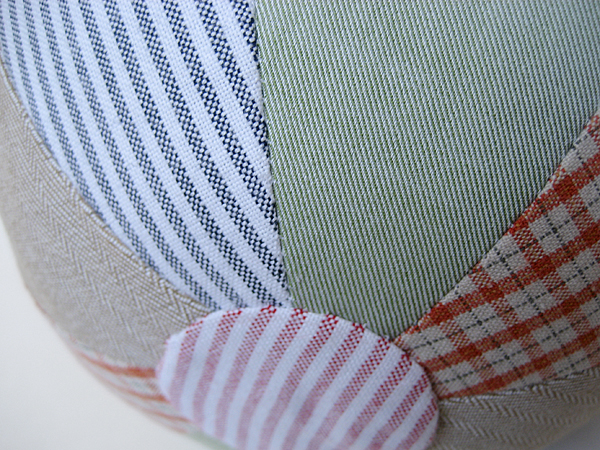
These are great balls for playing indoors. I’ve made one for my daughter and a few for her friends. Everyone seems to love them. This one was a bit of a challenge when I realized that I didn’t have a lot of eight-year-old-boy-ish fabric in my stash. I grabbed a few men’s shirt sleeves that I had in my upcycle bin and I really like how the colors and patterns work together.

fabric beach ball purl bee

recycle: Remember all of the pillows I was making with men’s shirts? This was a great way to use the sleeves! Pattern is from the Purl Bee.

how to sew a remote control pillow in five easy steps

I’m not sure why I’ve had pillows on my mind. Maybe because the sun has been hiding behind the clouds for too many days to count? Maybe it’s because I’ve been feeling under the weather? Maybe it’s because the holidays are fast approaching and I need some gift ideas for the guys in my life? Whatever the reason, I’ve been having fun. These are really easy. I know you’ll have fun, too.
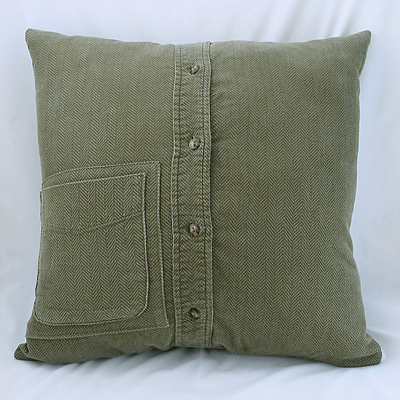
remote control pillow

Notes

  • Remote Control Pillow v 2.0 is for those who only have one tv remote or are using a universal remote for all of their equipment. If you need a multi-pocket pillow, check out my Remote Control Pillow v 1.0 pattern.
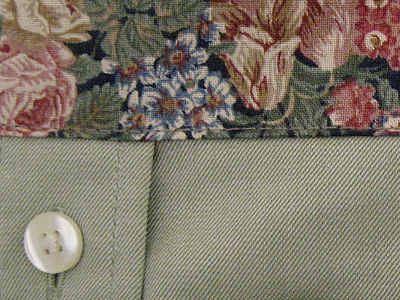
  • Most likely, your pocket will have to be flipped and moved to accommodate a remote control. If your shirt doesn’t have a pocket, you can easily make one out of the sleeve or a contrasting scrap fabric. Be creative! Try a denim pocket from a pair of jeans.
  • Some men’s shirts don’t have buttons past the belt line. You can take one from the collar or cuff and stitch it on the band.
  • If you are using a smaller shirt, simply use a smaller pillow form. I usually sew the cover 1″ smaller than the pillow form size so the final pillow will be nice and firm.
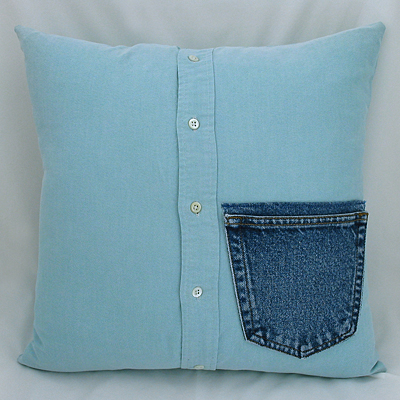
denim pocket men's shirt pillow

Materials
1 – large men’s button shirt with pocket
1 – 18″ pillowform
seam ripper
matching thread

Step 1
With the shirt buttoned, cut a 17 1/2″ square out of the front of the shirt. Cut another 17 1/2″ square out of the back of the shirt.

Step 2
Carefully remove the pocket using a seam ripper. Spritz shirt with water and steam press to close up any holes. Reposition the pocket and topstitch in place.

Optional Step 3
If your holes don’t close, if you accidentally rip your fabric, or you are using a shirt like corduroy and the nap won’t fluff back up, you’ll need a patch. Just cut a square from the sleeve and topstitch it over the original area.

Step 4
Lay the pieces together right sides together and sew around the whole square with a 1/4″ seam allowance. Make sure to undo one or two buttons before sewing so you can turn it right side out afterward.

Step 4
Clip your corners, turn right side out and press.

Step 5
Insert your pillow form and button it up!
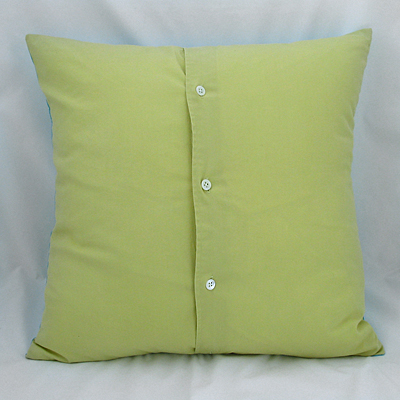
affordable decorative pillow button down shirt

This is an easy way to make decorative pillows, too. If you go to Goodwill on 99 cent day, this becomes a really affordable project. Plus, they organize their clothes by color, which makes it easy to find shirts that match your fabric. I used a little less than a fat quarter of fabric for the decorative pillow.
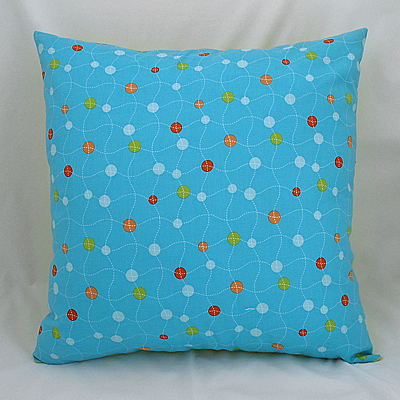
home decor pillow on a budget

recycle: Before you head out to the thrift store, check your own closet. All three of these shirts came from my husband. In fact, I have him trained now to ask me first before donating any of his clothes!
quick and easy birthday shirt

third birthday shirt

My daughter’s birthday was last week and I wanted her to have a special shirt. Turning three is a big deal! I used one of her summer t-shirts, some Heat n Bond, and some fabric scraps from my stash.

stash: Appliques are great way to use up your fabric scraps! You can usually find Heat n Bond at garage sales, but it’s so inexpensive that you should go ahead and buy some with your 40% off coupon. One package lasts a long time!

wardrobe refashion: shirt to apron

shirt to apron

Here’s the third shirt from last week’s garage sale purchases. These big, flouncy shirts came in style right after I had my daughter and I refused to buy any. I had just gotten out of maternity clothes. I didn’t want to buy shirts that made me look pregnant!

shirt to apron

I really liked the band around the middle and thought it would make a nice apron. I love how this already had the ribbon and trim details. All I had to do was cut it up and add the sashes!

shirt to apron

I’m not really an apron girl, but this just might make me change my mind. I just need to get over worrying about getting it dirty. I know, it’s an apron, but it’s so darn cute!

shirt to apron

refashion: Shirt from garage sale cost $1. Sash made from the sleeves. Cute ribbon trim conveniently part of the original shirt. Love when that happens!

wardrobe refashion: floral shirt

floral shirt refashion

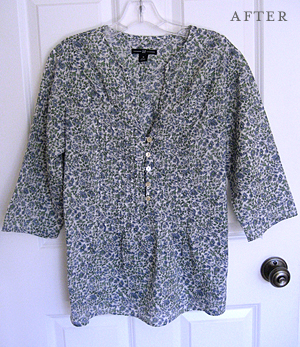
Not sure if this qualifies as a refashion or if it is more of an alteration. Do I need a new category?

floral shirt refashion

Originally, I thought I’d take it in at the waist, but the front has a bunch of tiny little pleats. I was worried they might look funny if I altered the sides.

floral shirt refashion

Instead, I just cut off the cuffs, which were too tight when buttoned. I used my rolled hemmer foot to finish the new edge. It worked great!

floral shirt refashion

I never thought I’d be a fan of 3/4 sleeves, but I seem to keep making them, don’t I? I love the way this shirt looks and fits now.

refashion: Shirt was $2 a neighbor’s garage sale. I wasn’t planning on buying anything that day, but I couldn’t resist the little blue flowers.

my faux burberry scarf

flannel

Remember when I mentioned that some of that stash flannel was going to become a faux Burberry scarf? It was a really easy project and great for some instant sewing gratification.

  • The original piece was about 14 x 43 inches. I cut it in half and joined the 7 inch ends with a french seam.
  • I sewed the edges just as you would for a napkin or tea towel: fold all four sides 1/4 inch and press, then fold over again, press and pin.
  • Then I top-stitched the edges down. I mitered my corners, but don’t think it was necessary.

That’s it! Here are some online tutorials for a french seam (via Hoppo Bumpo) and mitered corners (via CraftStylish).

recycle: This would be a great way to save a flannel shirt from the landfill. If you have smaller scraps of flannel, just add a few more french seams.