my creative space

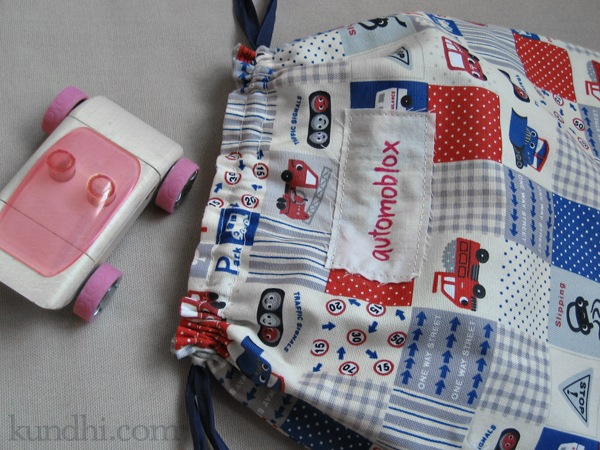
toy organizing bags

I’ve been trying to regain some control over my daughter’s closet. Lately she just wants to empty everything onto the floor to build a giant mountain of toys. Getting her to put away the toy mountain when she is finished has given me quite a few gray hairs.

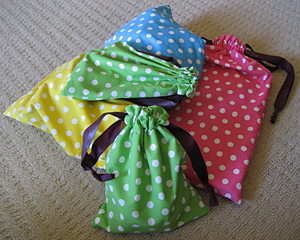
In my creative space today, I’ve been making some bags for all of those Christmas presents that came without containers. I really should have done it sooner. Having a specific place to put things has helped a little. I also moved half of her toys to the very top shelf. That has helped a lot.

What’s in your creative space today? Play along over at Kirsty’s place.
how to fix a stuffed animal’s nose in 4 easy steps

stuffed animal new nose tutorial

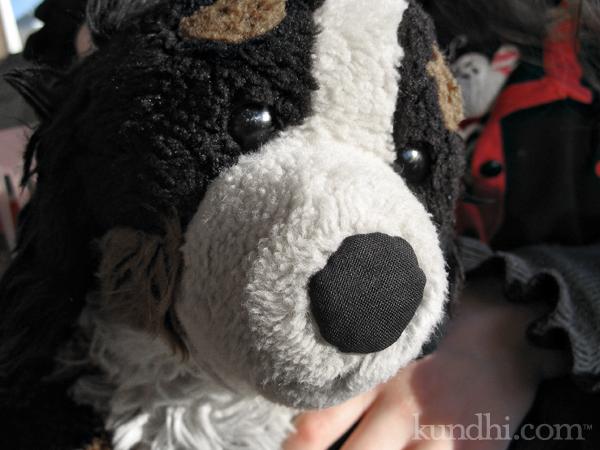
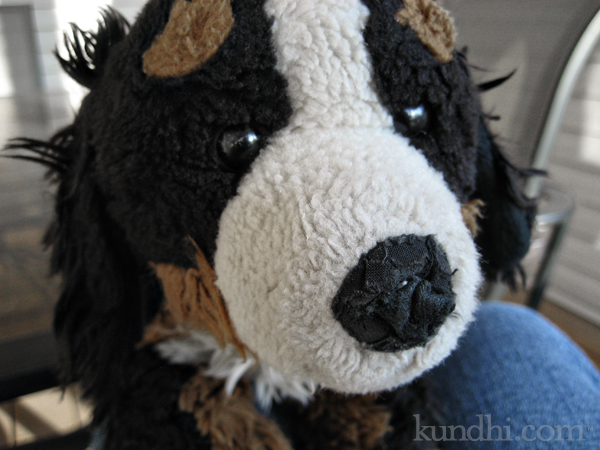
What is it with the noses on stuffed animals? I know my daughter isn’t chewing on them, so how does something like this happen? If you look closely, you can see the original torn nose and the remains of my first patch. I’m becoming an expert on fixing these, so I’m sharing my little trick with you.

Materials
fabric that matches the original nose (I doubled up for extra durability)
thin cardboard (check your recycle bin for a cereal box or similar)
iron
aluminum foil
sewing notions

Step 1
Measure the nose (I used one of these circle templates) and cut a piece of cardboard the same size and shape. Cut your fabric a little bit larger than the cardboard.

Step 2
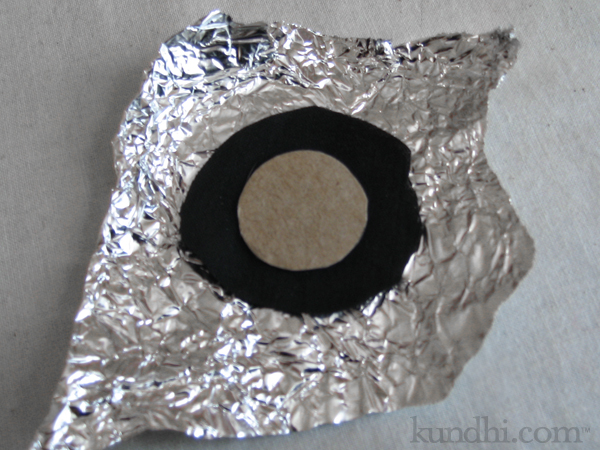
Lay down your aluminum foil, then the fabric and finally the cardboard. Fold the foil around the cardboard so the fabric is sandwiched nicely in between.

stuffed animal new nose tutorial

Step 3
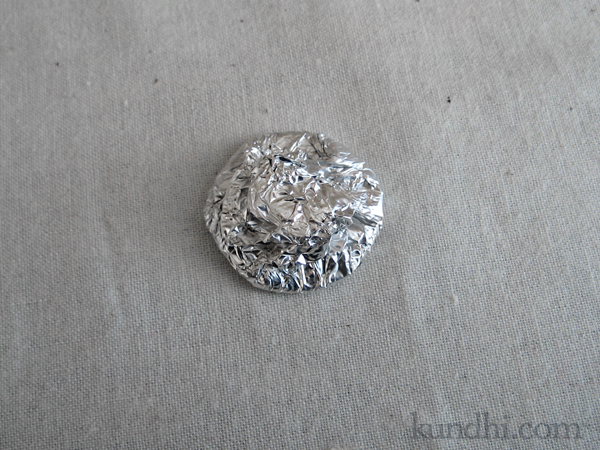
Iron the foil on the top and bottom. Press really well around the edges. Let it cool before opening it up. It will be hot!

stuffed animal new nose tutorial

Step 4
Remove your perfectly pressed nose and hand stitch it in place.

stuffed animal new nose tutorial

He looks much happier now, doesn’t he? Hopefully the two layers of fabric will hold up a little longer this time.

a million little pieces

Ok. That’s a little bit of an exaggeration. I’m talking about all of the Christmas toys that come with too many pieces and nothing in which to store them. I have to give a thumbs up to the folks who designed M’s drum. They put a handle on it, so you can turn it upside down and store the drumsticks and other instruments inside. Brilliant!

Her awesome eco-friendly tea set could have used an awesome eco-friendly tote or basket, though. And it would have been great if her cute wooden “paper” doll set came with a cute wooden lid. Plus, there is the growing collection of matchbox cars and Thomas trains. I needed to get control over all these bits and pieces, so I sewed up a bunch of drawstring bags last weekend.

These were super easy and economical. I bought the set of fat quarters from Michael’s with my 50% off coupon, the ribbon came from a thrift store and the muslin lining came from one of my amazing garage sale fabric scores last summer. Total for all of the bags: about $4. I love these so much, I’m thinking of making some for my knitting projects. M thinks they’re pretty cool, too.