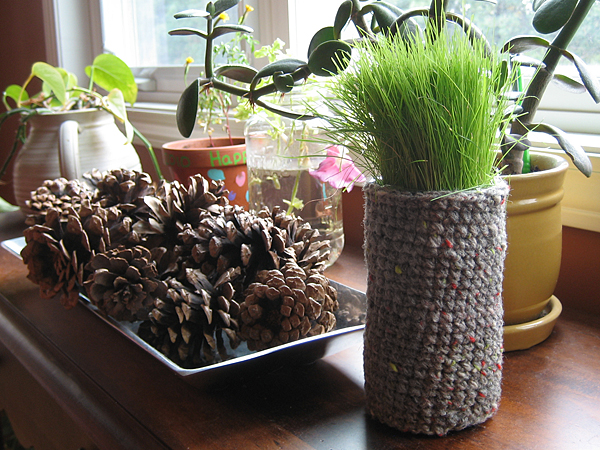
This is what’s left of my outdoor garden. We did not have very good luck this year: no tomatoes and only one cucumber. My petunias were doing great until a big storm almost blew them out of the pot. Sadly, I didn’t notice the roots were above the soil until the whole thing was turning brown.
You know what is growing? My daughter’s little grass pot. She made this in summer camp and it’s the greenest, healthiest plant of the summer. The container is just a recycled plastic jar and I figured after almost two months, it finally deserved a proper cover.
How to Crochet a Jar Cover in 3 Easy Steps
Materials
worsted weight yarn
size G hook
Gauge is not important for this project.
Adjust your hook size for different yarn weight.
Step 1
Chain enough stitches so that the chain fits snugly around the jar. Join to make a circle.
Step 2
Single crochet around and around until you’ve got the height you want.
Step 3
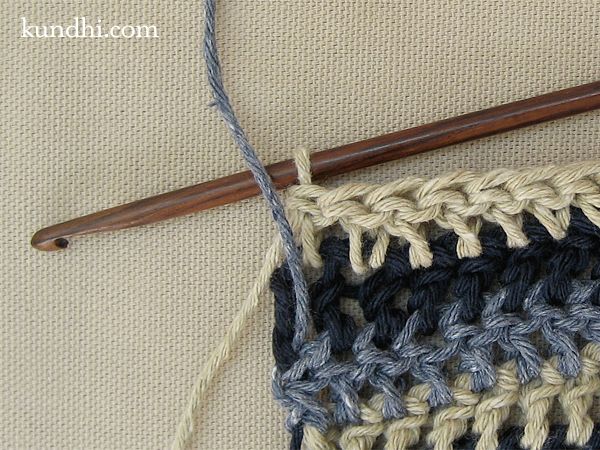
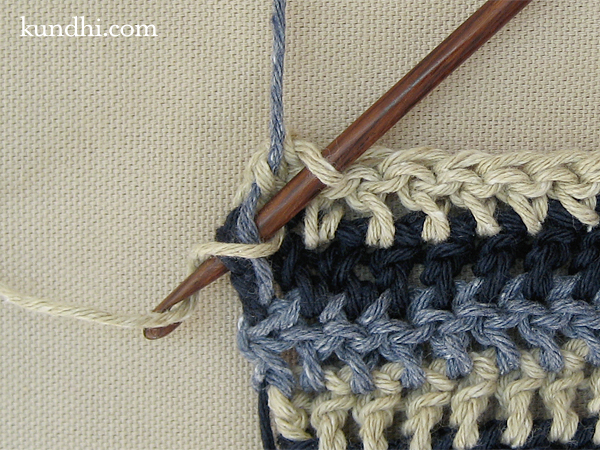
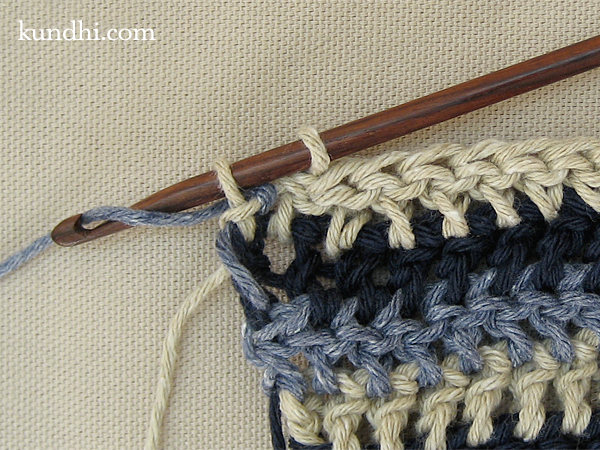
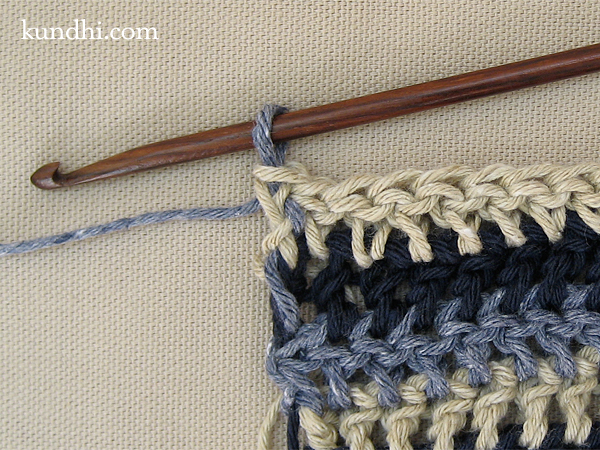
You’re going to want an even top edge, so we’re going to pick a spot to start the top row. (You can use the tail as a guide and follow the line of stitches up if you want to be precise.) Slip stitch, chain one and single crochet around until you reach the chain one. Slip stitch into the chain one and finish off.
When you weave in your ends, use the tails to even up the bottom and top edges. You can see in the picture that my bottom edge isn’t perfect. Oh, well.
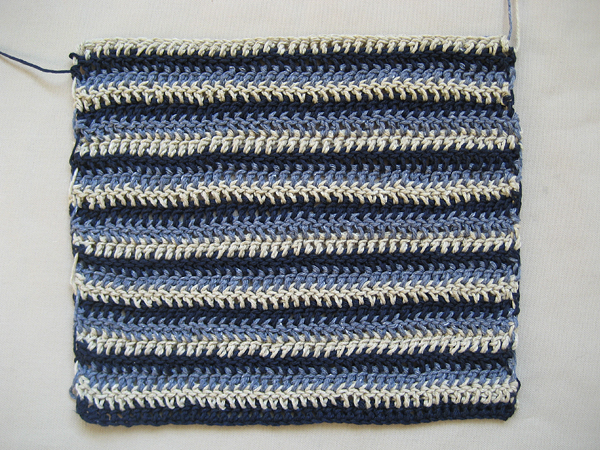
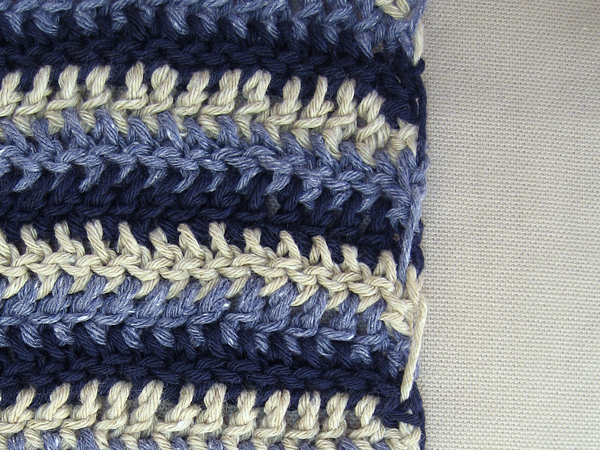
stash: This is a great project for using up leftover yarn. Because the rows spiral up, it’s not great for stripes. You’ll get a “jog” when you change colors.
