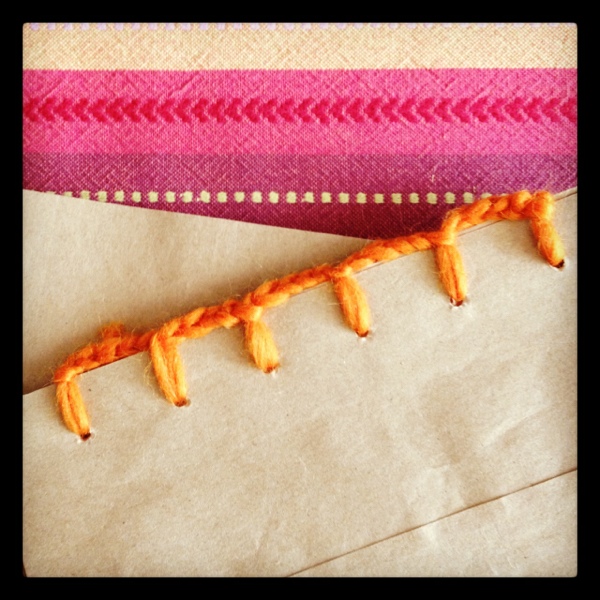
I’ve been thinking a lot about binding journals with crochet. This was my first attempt. I have a few other ideas in my head. Paper is from recycled grocery bags.
crafty kismet: a matching sweater!
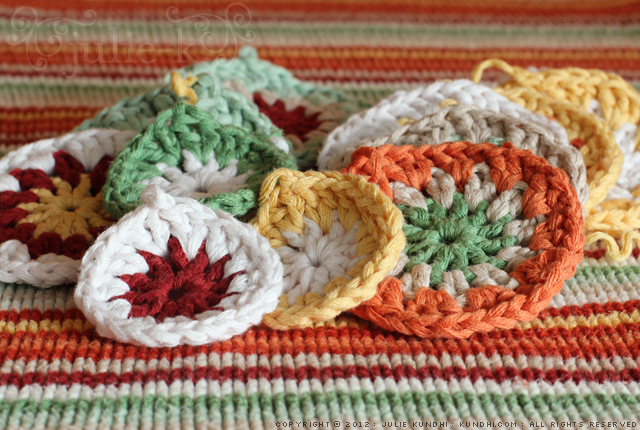
I had 30 minutes to kill the other day, so I ducked into a thrift store for a little window shopping. Guess what I found! A sweater exactly like this one.
My lap afghan just doubled in size!
Have you found any thrifty surprises lately?
crochet pincushions in spring colors + etsy shop update
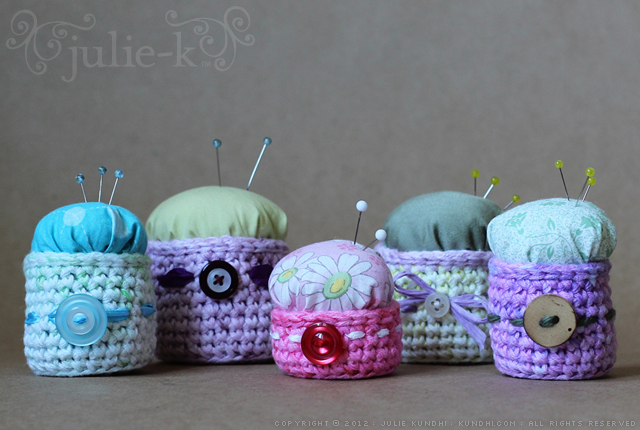
I had a hard time figuring out what to do with the Easter egg yarn. Once I saw the colors, I immediately wished I had dyed more. I wanted to use every last bit of it, so I decided to make something that I could start from the bottom and go until I ran out.
I love, love, love how these turned out! They were a lot of work, and I don’t think I’ll make them regularly. The pink one with flowers is my favorite.
These are too pretty to just sit around in my “finished” pile of projects so they’re available for sale in my etsy shop.
I also spent the weekend working on a crochet pattern for tiny flowers. Stay tuned!
mini hanks of easter yarn
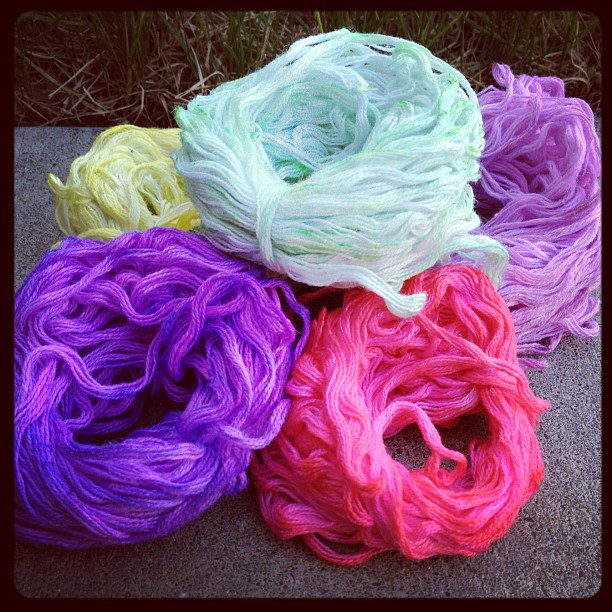
I have never considered myself a yarn dyer. I have so many odds and ends in my stash, I can’t imagine ever needing a specific color for anything. But while I was cleaning up from Easter egg dyeing last Saturday, I decided to dunk a few balls of yarn in the leftover dye just for fun.
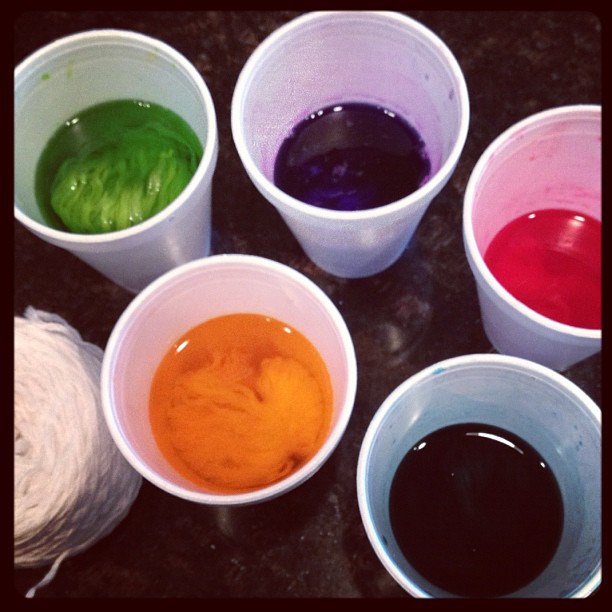
It was a really sloppy attempt. I soaked my yarn under the kitchen faucet before plopping it into the cups. I let them sit for a long while before I remembered to microwave them. Some of the mini-hanks were wound too tightly and are pale on the inside. The colors, however, are absolutely beautiful! They make me want to try my hand at dyeing a larger amount.
I’m not sure what I’ll do with this little bit of yarn. Maybe I’ll crochet some eggs.
details: The white yarn is from my stash of unraveled sweaters. I didn’t follow a tutorial for dyeing the yarn. If you google “easter egg dye yarn” you’ll get a bunch of links.
I haven’t been spending a lot of time in front of my computer lately. Thanks for putting up with all of my instagram photos.
instant cowl
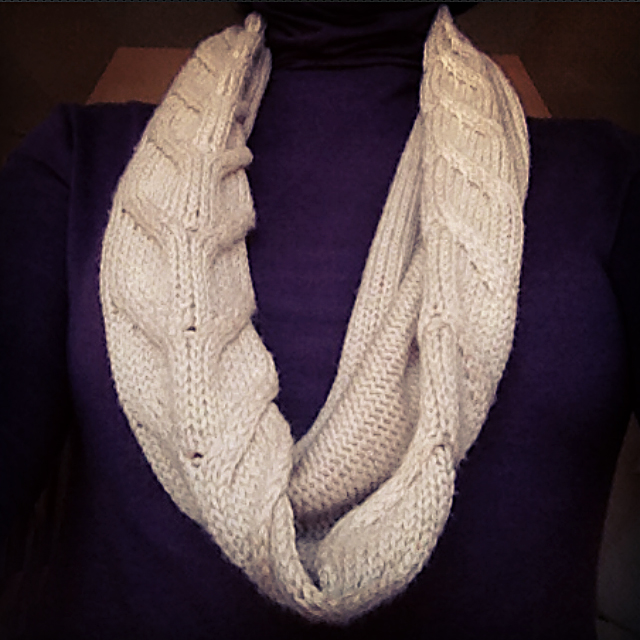
Yesterday I started unraveling this sweater. When I detached the neck, I thought, “This would make a beautiful cowl.” I slipped it around my neck. Lovely. I doubled it up. Toasty.
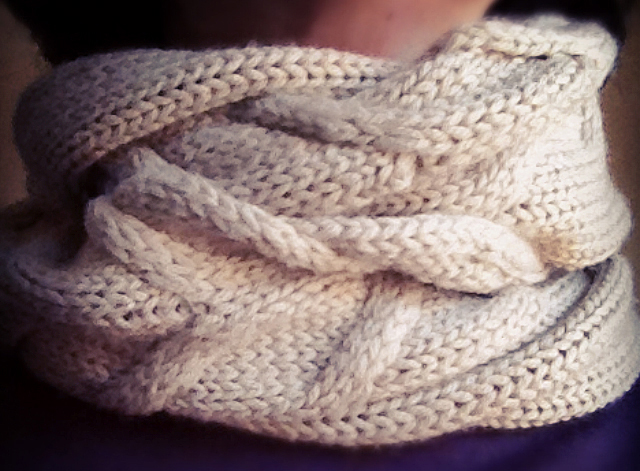
It’s the fastest cowl I’ve ever made. In fact, it kind of looks like the Burberry-inspired cowl by The Garter Girl, which just happened to be on my to-knit list.
Sorry for the mobile phone pics. It’s been a busy week.
speckled shrug: before
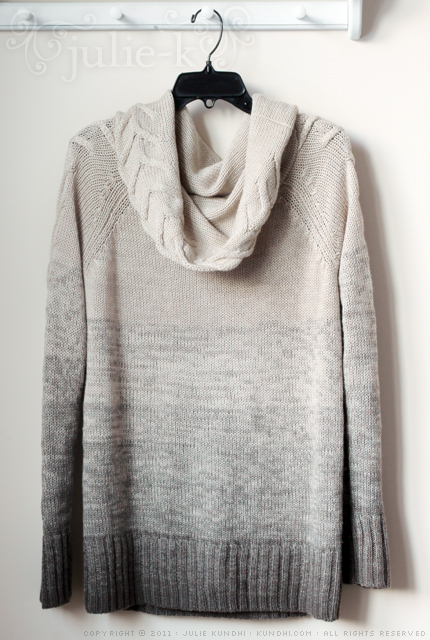
I love this sweater. I found it at the thrift store during a 99 cent sale last year. The colors are so pretty: light gray blending into warm oatmeal. It’s a soft wool acrylic blend that doesn’t need to be hand washed.
It’s too big for me, so I knew I’d be unraveling it, but to make what? It took along time, but I finally found something: the Speckled Shrug. I’ll admit that I’m not a big fan of how it looks finished on Lion Brand’s website, but my friend Jess knit it up and I love hers.
I’m so excited to have a project for this yarn. Let the unraveling begin!
recycle: how to make felted beads from yarn scraps
I’m going to say something silly, but I’m sure there are others out there feel the same. I have a hard time throwing out wool scraps. I don’t feel the same about cotton or acrylic yarn and I’m not sure why. There’s just something about the wooly ends. It pains me to toss them.
One night after amassing a large pile of granny square ends, I had an idea. I pulled the plies apart, walked over to the sink where my husband was doing dishes, and doused them with hot water. I added a tiny drop of soap and started rolling them in my hands. Within seconds I had the most adorable little felted bead! Just recently, I made some while the camera was out, and decided to take a few pics for the blog.
How to Make Felted Beads
1. Collect your wool ends. Here are a few from recent projects.
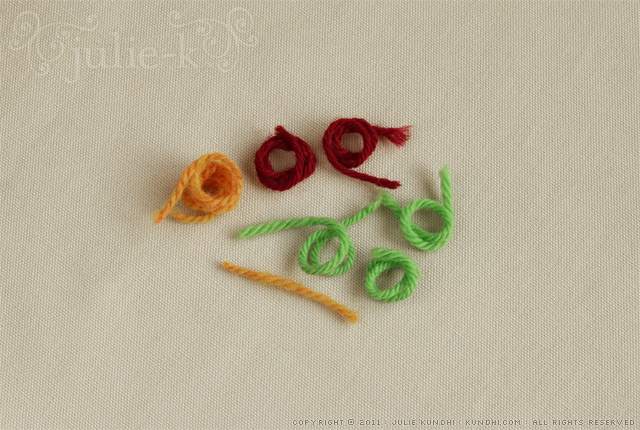
2. Separate the plies. Skip this step with single ply yarn.
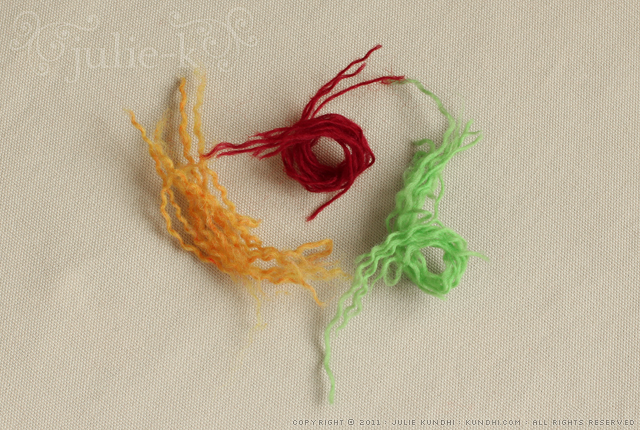
3. Pull apart the individual plies until you’ve got a fluffy ball of wool. The fluffier the ball, the more even it will felt.
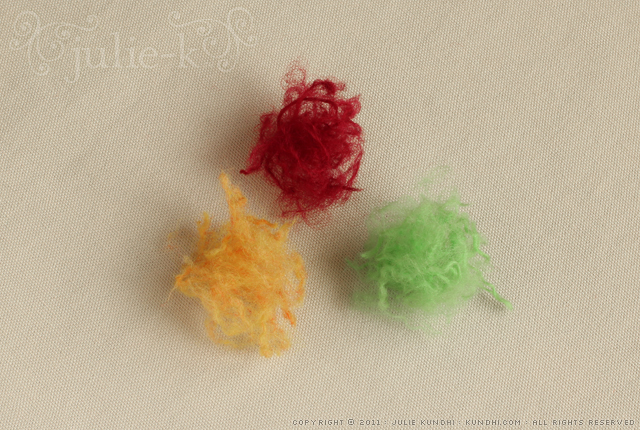
4. Felt them by hand. Sometimes I use hot water from the tap. Other times I heat a small mug of water in the microwave. Get the wool wet and then squeeze out the excess water. Roll the wool between your palms until it starts to felt. Sometimes a little bit of soap helps get the process going.
Rinse out the soap and you’re left with these little cuties:
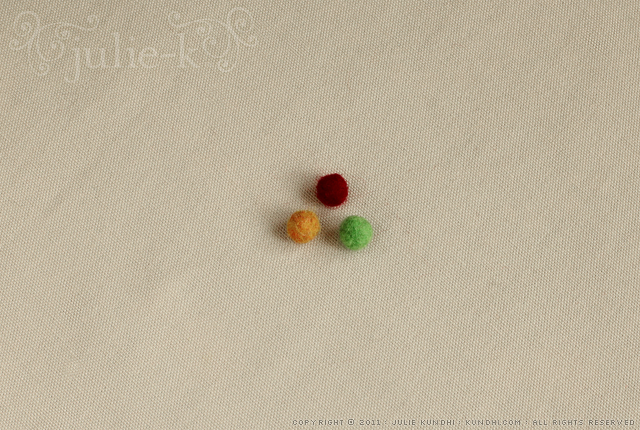
I have great ideas for these, but I must admit that they are currently in a jar with a rainbow of other colors. I’d like to make a bracelet or necklace with them. I’d also like to use one as a center for a crochet flower hair tie. In the meantime, I just keep felting and collecting, happy that I’ve found a use for my wooly ends.
What do you do with your yarn scraps?
felted wool sweater mug cozy
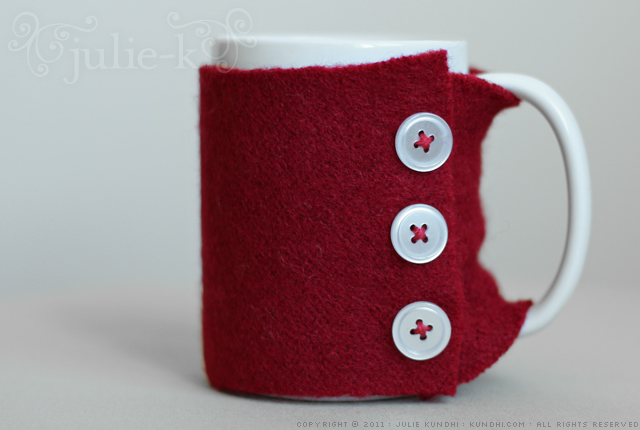
Why yes, I did make a wool sweater for my mug.
Even though the Autumn temps are still beautiful here in Nebraska, the mornings are a bit chilly. My tea needed some help staying warm.
I tried not to over think this project — it is a mug cozy, after all — but a quick search on Pinterest and Etsy turned up so many cool ideas. Only problem was that while I was lost in cozy-land, my tea was getting cold.
So I dug into my stash of felted wool sweater bits and found a piece long enough to wrap around my mug. I secured it with a few buttons and embroidery thread. The buttonholes are just little slits. (You can cut felted wool and it won’t unravel.)
So there you have it. Cozy morning tea.
* * * * *
Thanks to everyone for sharing their thoughts on decluttering and congratulations to Erica Arehart on winning the sewing book. I’ll have a knitting book up later this week.
how to make a cat costume in 3 easy steps
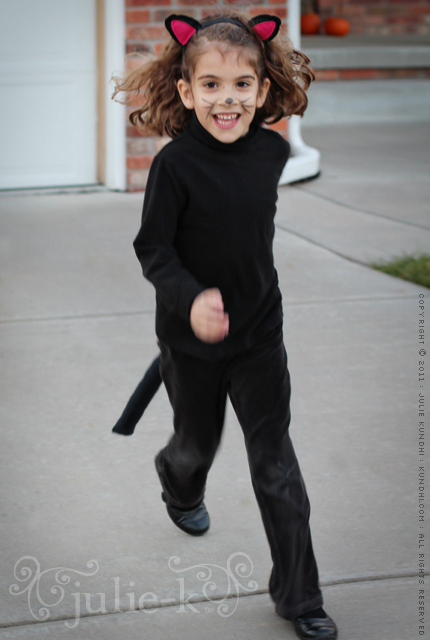
I tried to be proactive this year and started the Halloween costume conversation at the beginning of October. My daughter insisted she wanted to be Abby Cadabby again. I encouraged her to try a different costume and brought it up several times. Nope. She was sure. Abby Cadabby.
So I bought her a bigger pair wings because what I threw together for her last year was just too small. A few weeks later she casually mentioned that she wanted to be a cat. And then she couldn’t decide between the two. After a week of indecision, I finally made a tail and some ears and said, “Great news! You’re going to be a cat for Halloween!”
A cat is a great last minute costume, especially if you have all the materials in your stash. And it’s not just great for kids. The tail is long enough for a mama cat, too!
Step 1
Look through your child’s wardrobe for a monochromatic outfit. My daughter could have been a brown or black cat. I chose black.
Step 2
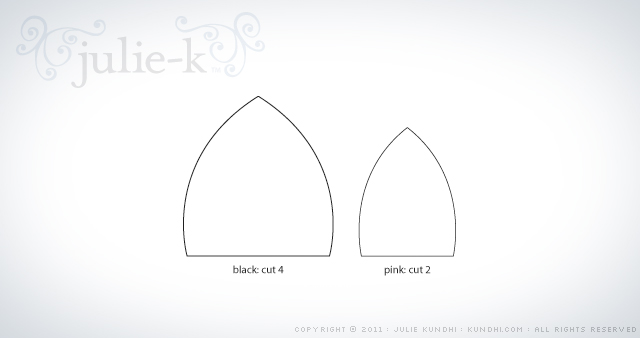
Make some ears. I cleaned up my rough pattern for you. When printed, the larger piece should be 2 1/2 inches tall. Sew pink to black, then black to black. Stuff with a little bit of fiber fil if you like, then stitch onto a headband. (I used a Goody Slide Proof Headwrap.)
Step 3
Make a tail. I used black flannel from my stash and cut a three inch wide strip from selvedge to selvedge. Sew up the sides, turn right side out and stuff. Sew a loop of elastic the size of your child’s waist to the selvedge ends.
That’s it! It took less time to make the costume than it did for my daughter to decide what she wanted to wear. The only thing I had to buy was the liquid eyeliner for her nose and whiskers. I think I’ll use it for some cat eyes on myself tonight.
I’d love to see what you are making for Halloween this year. Share a link in the comments!
unraveling another sweater
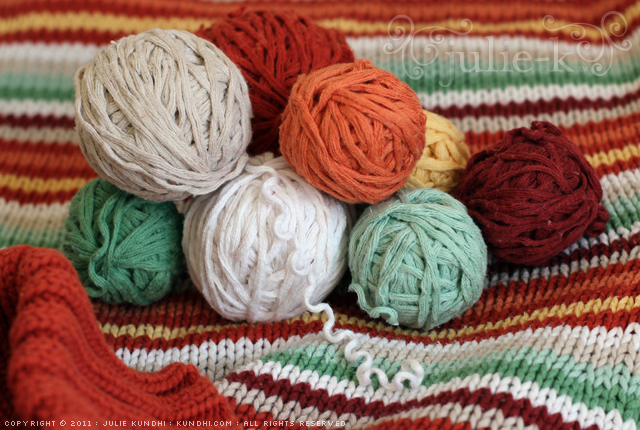
I don’t have a plan for this yarn yet, but I really do enjoy unraveling sweaters. These colors are so nice together. Any project recommendations? I’m open to suggestions!
