nature hike tote bags

capri pants turned into totes

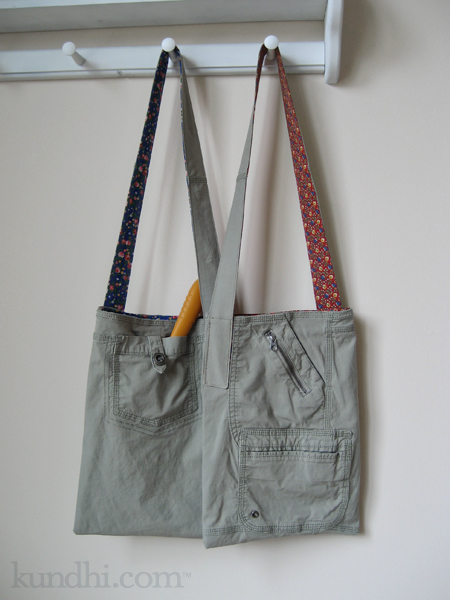
You knew I was going to turn those capri pants into tote bags, didn’t you? Not just any bags, however, but bags with a purpose: keeping nature out of my pockets and my purse.

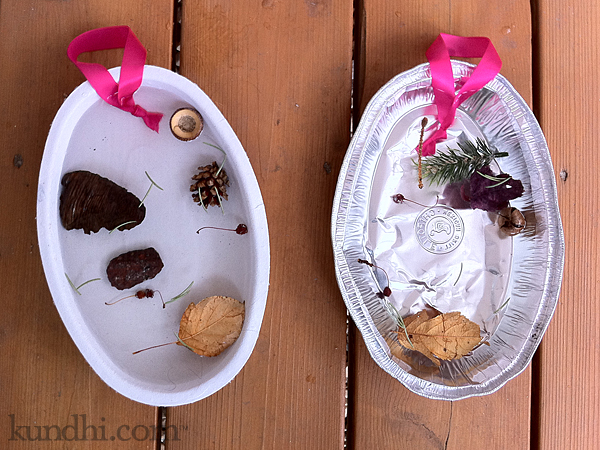
I’m sure many of you can relate to this: Mama, can you hold this rock? Here’s a present for you, Mama. It’s a leaf! I’m just going to put this stick in your purse for later. Did you put my feather in your pocket? Later, as you are digging around for latte money, the barista gives you a funny look as random bits of nature fall on to the counter.

I made two of these: one for my daughter and one for her friend. They’re the same except for the lining. Now when we go on walks together, the girls can carry their own bits of nature. There are all kinds of pockets perfect for acorns, rocks, twigs and leaves. The buttoned back pocket is perfect for storing a shovel. You never know when you’ll need to dig for treasure!

I love how these turned out and will be making more. How perfect would they be for a day of garage sailing or thrifting with different compartments for cash, phone, water and a snack! They would also make a cool craft project bag with pockets for all of your notions.

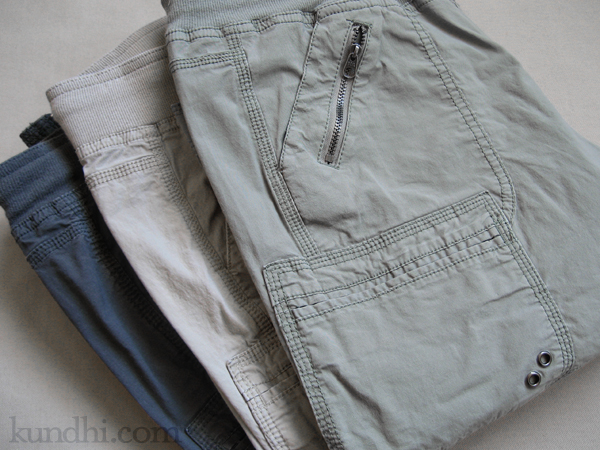
project details: Pants from my closet, lining fabric from my thrifted stash.

finished: red comfy shorts

wardrobe refashion comfy sweat shorts

These poor shorts have been sitting in my pile for a long time (note the wrinkles). I made these just like the first pair,* but this time I tried to add pockets. It didn’t go so well. I figured they were ready for the donate bag, but my husband said they fit great. It was just the pockets that were goofy. So I stitched them closed and cut the pockets out.

This was my only project out of the The Big To-do Pile this week. I’ve been working on a few gifts that I’ll be posting next week.

What did you finish this week?

*I just re-read my first comfy shorts post. This had me laughing: “I think with the small amount of sewing with knits that I do, I really don’t need a serger.”

favecrafts blog hop: felted sweater fortune cookies

valentine's day fortune cookies

The FaveCrafts Blog wants to know what you have finished on the 15th. Over here, we’ve officially finished Valentine’s Day. How do I know? My daughter asked if we could replace the heart bunting with spring flowers.

I couldn’t move on to Spring without showing you these cute fortune cookies we made for a few special Valentines. I found the project over at The Sassy Crafter. I wish I had those cool glue dots! Instead I used hot glue, so I prepped the first part the night before. The next day, I had my daughter help me fold them and add the fortunes. (The pdf download includes a fortune template.)

stash: Felted sweater scraps from my stash, of course! If we make these again, I might try some brown wool felt instead.

Check out other finished projects over at the FaveCrafts blog.

finished: twirly skirt

twirly skirt mending

This week’s Finished on Friday project was just a little bit of mending. I received this skirt from a friend. It didn’t need that much work: just hem the raw edge and sew a button on for the adjustable elastic. I wish I would have done it sooner, though. My daughter LOVES it. She wore it two days in a row and would have worn it a third if I had let her.

Not much else noteworthy out of The Big To-do Pile, but I’m patting myself on the back for keeping my weekly project goal.

What did you finish this week?

double crochet with a twist

When I mentioned that I started doing my double crochets a different way, a few people wanted to know how I was yarning over. (Is yarning a word?)

Basically, I was yarning over front-to-back instead of back-to-front. It doesn’t seem that it should make that much of a difference, but going from back-to-front gives the stitch a bit of a twist. The texture is more defined.

wagon wheel square

Once I saw the difference, there was no going back. Only problem was all of those squares I made on vacation. I’ll admit that it took me awhile to get up the courage to rip them out and start over. But after seeing the difference, I knew I had to do it.

wagon wheel square

interesting note: the extra little twist uses up a bit more yarn and makes the squares a bit more bigger.

“return to julie-k” crochet heart necklace

I love e-window shopping on the Tiffany website. I get all happy when they send me a new email. Their product photography is so perfect and their jewelry designs are so timeless. My favorites are the pieces in their sterling silver collection.

tiffanys inspired heart necklace

With Valentine’s Day just around the corner, I’ve been getting (almost) daily emails filled with all sorts of beautiful hearts. Whenever I see the Return to Tiffany heart, I think of my little crochet heart pattern. They are about the same size and shape. I thought it would be cool to turn my little heart into a Tiffany-inspired charm.

tiffanys inspired heart necklace

I made a few and decided the less fuzzy the yarn the better. The pink heart is Koigu, I think. It makes a nice loop without interfering with the heart shape. I really wanted the sparkly silver and gray yarn to work better, but the loop was too bulky. It looks nice all by itself, though.

This is something that’s been bouncing around in my head for awhile. I’m glad I finally took a few minutes to sort it out. It really only took a few minutes, too. Love those little crochet hearts!

stash: pink yarn from the bits and bobs, silver and gray yarn from a recycled sweater, crochet heart pattern from the archives

48 hours of craft

ice sun catcher

Tomorrow is our second snow day in Lincoln. All of our waking hours since Monday afternoon have been dedicated to crafts: drawing, coloring, cutting, pasting, stamping and sticker-ing. (Every creation has been adorned with at least one heart sticker. It is February, you know.) It’s been more intense than my 24 hours of craft weekend.

So far the only planned project has been ice sun catchers. Yesterday we put bits of my daughter’s nature collection in some containers from the recycle bin and added water. It didn’t take long for them to freeze and she’s been asking all day to hang them up outside. I managed to convince her to wait until the 30+ mph winds are gone so they don’t crash on the deck and break into pieces.

Tomorrow we’re making a groundhog puppet and Valentine’s Day cards. If she’s off on Thursday, I just don’t know what I’ll do.

project details: The sun catcher and groundhog puppet projects are from our favorite winter craft book, blogged about here and here. I’ll be taking pictures of our Valentine’s Day cards and posting a tutorial later in the week (hopefully!).

new (to me) tablecloth

tablecloth refashion

I’m starting with an after picture so you’ll see the pretty new tablecloth first. I’m a little bit embarrassed posting the before picture, but I guess when you publicly make a commitment to finishing up some long overdue projects, that’s what happens. In my defense, the chair at the end of the table usually covers up the orange tablecloth. Here it is:

tablecloth refashion

Some history: a few years ago we ordered a table base online and had a local guy make the top for us. Our plan was to stain it the same color as our cabinets. The stain gives me a headache, so it needs to be done outside. There aren’t a lot of good days for that with Nebraska’s cold winters and windy summers. I bought the red striped tablecloth to help protect the unfinished wood.

Then my daughter got to the drinking-milk-out-of-a-cup stage, followed by spilling-milk-on-the-table stage and I needed something to protect the wood better. The vinyl tablecloth I found was too big, but it matched our decor. It’s nice for messy group projects, like carving pumpkins or birthday parties. I figured I’d wait to hem it until I found a more permanent tablecloth.

Fast forward to last week: I finally found the perfect tablecloth. Unfortunately it was too small, but fortunately there were two! I cut off the extra, serged the ends and unpicked the hems for a “seamless” seam.

tablecloth refashion

The extra fabric will become matching pillow cushion covers for the adjoining room. And the vinyl tablecloth finally got hemmed! I’m not sure what I’m going to do with the extra vinyl fabric. Any suggestions?

thrifted: original tablecloth was on clearance at Target, but all of the others are from local thrift stores.

finished: crochet basket lining

lined crochet napkin basket

My first official Finished on Friday post: remember this basket? Back in September I mentioned that it was ready for a lining. Then it sat around for a few months before I decided to just start using it.

Without a lining, though, the sides were getting a little saggy and our napkins were getting a little wooly. Not only that, but every time I sat down at the kitchen table I felt UFO Guilt. (UFO=unfinished object)

lined crochet napkin basket

It didn’t take that long to do: just a little sewing in the afternoon and some hand-stitching in the evening.

stash: I wound up using some leftover upholstery fabric from the rollie pollie.

What did you finish this week? Share in the comments!