wardrobe refashion: puppy nightshirt

This nightshirt used to be a pair of pajamas. Repeated washings have caused them to shrink, but instead of getting smaller all over, they got shorter and wider. I tried to convince my daughter they were ready for the donate pile, but the “doggie pajamas are her most favorite.” She asked me if I could turn them into a nightshirt like her Mickey pajamas.
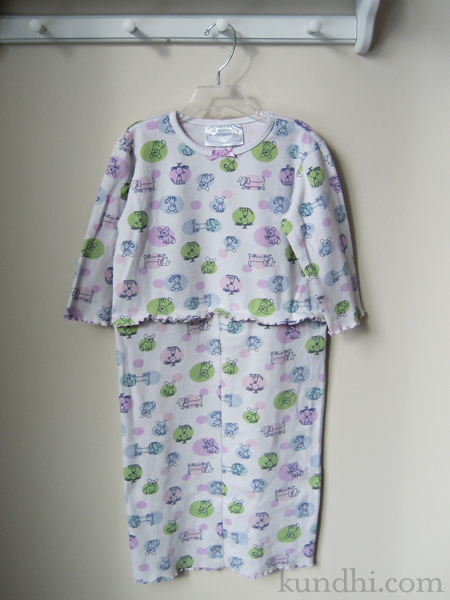
pajamas turned nightshirt

Since they were so wide, all I had to do was remove the elastic waistband, sew the pant legs into a tube, and attach them to the shirt. I added a rolled hem to the raw edge of the waist to match the shirt for a little more ruffle action: pink hem original, green hem mine.
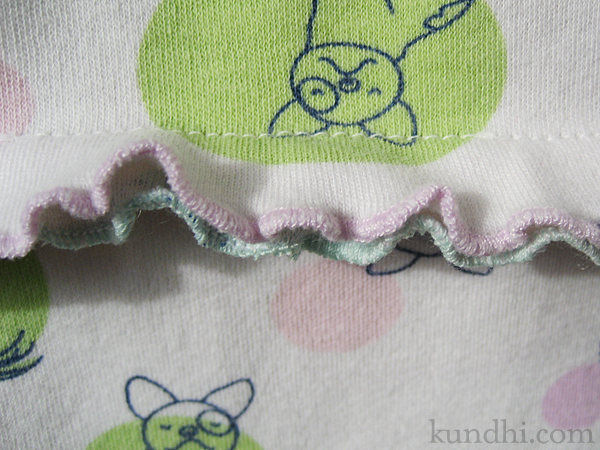
pajamas turned nightshirt

technical note: I had a serious problem with skipping stitches on this project, no matter what my tension, regular or ball point needle, even different thread. When I switched to a muslin scrap the stitches were fine. I figured it must be the fabric so I tried putting a piece of paper tissue under the presser foot. It worked like a charm and the tissue tore away easily. I’m not sure where I first read this idea, but I’m glad I remembered it!

wardrobe refashion: I don’t think the life of these pajamas really need to be extended much longer. We’ve had them awhile and they are well loved. I’m curious how long they’ll last in their new form.
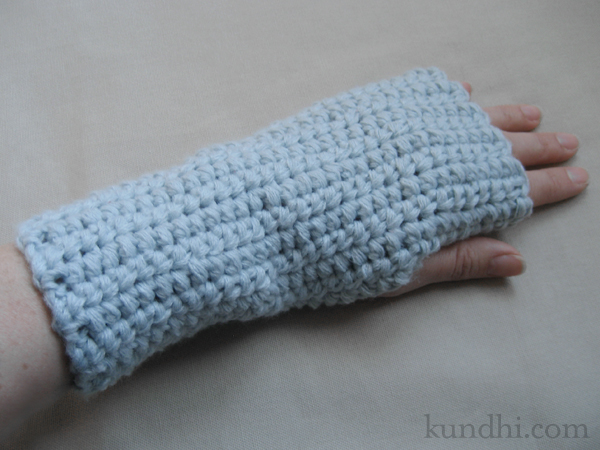
quick and easy wrist warmer pattern

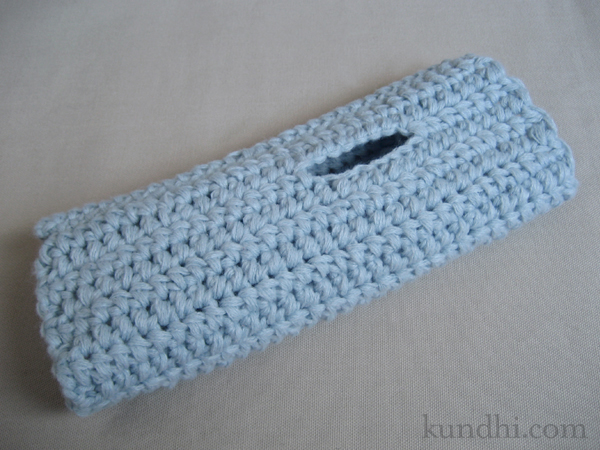
wrist warmer crochet pattern

I made these wrist warmers for our mail carrier. She is awesome. We ship and receive a lot of mail packages and she always comes to our door, even in below zero temps. I know she has to keep her fingertips exposed, so I thought wrist warmers would be a nice gift.

The pattern as written fits an average size woman’s wrist. If you need it bigger or smaller (for a guy or child), whip out your tape measure and adjust the measurements accordingly. I measured around my knuckles, not including my thumb, and rounded down to 7 inches for a snug fit.

wrist warmer crochet pattern

Materials
any yarn (I used bulky yarn to make the project go fast)
corresponding size hook (I used size I)

DC: double crochet
SC: single crochet

tip: I tend to make my first chain really tight no matter how hard I try to keep it loose. To compensate for this, I chain and dc my first row with a hook size larger. That keeps my edges consistent for Step 6.

Step 1
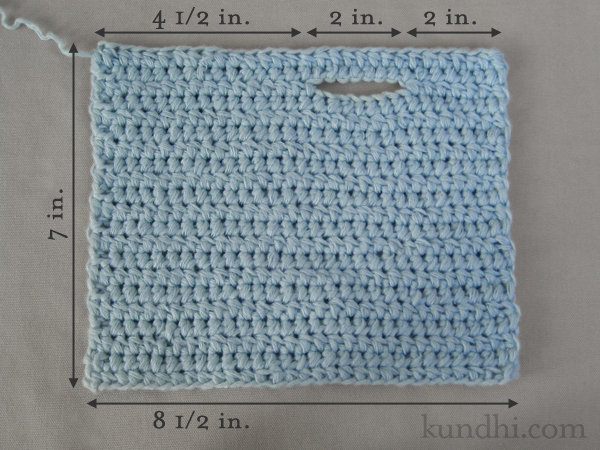
Crochet a gauge swatch in double crochet. I know some people hate making these, but it’s really not that hard, so just do it. Figure out how many stitches you have in an inch, then figure out the following:

A = gauge x 8 1/2
B = gauge x 2
C = gauge x 4

My gauge was 3 1/2 stitches per inch. I’ll put my numbers in parentheses in case you find the letters confusing.

Step 2
Chain A. (30)

Step 3
DC back and forth for six inches.

note: You’ll notice that I don’t chain at the beginning of each row. I use faux double crochets instead. They really make your edges much neater.

Step 4
Make the thumb opening: DC B (7), chain B (7), skip B (7), dc to end of the row.

Step 5
DC across, including chain stitches, and continue back and forth until piece measures 7 inches.

Step 6
SC the last row and your first chain row together to make a tube. Cut yarn, weave ends and turn inside out.

wrist warmer crochet pattern

Step 7
Repeat for the other hand, but change Step 4 to the following:
Make the thumb opening: DC until C (14) stitches remain, chain B (7), skip B (7), DC B (7).

stash: I used recycled sweater yarn for these. It’s a soft acrylic that’s machine washable. I may need to make a pair for myself, too!

heart-shaped christmas card box

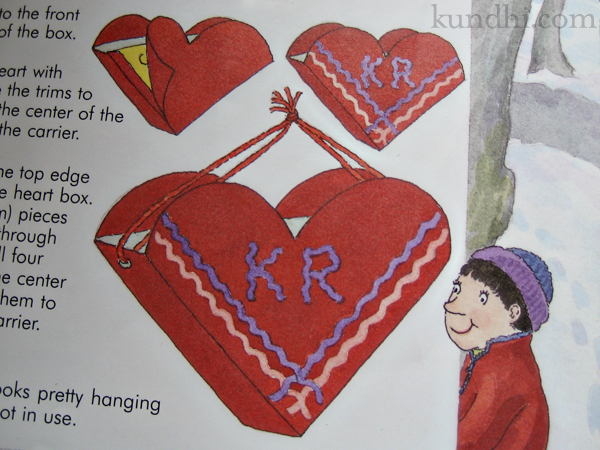
My daughter is still obsessed with this craft book. She reads it every day, carefully studying the projects and pictures.

Crafts to Make in the Winter by Kathy Ross

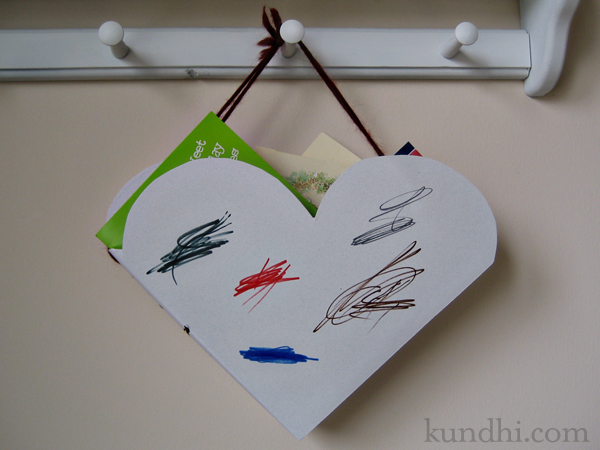
This week she insisted we make the Valentine Card box. Our entire stash of construction paper has been cut into colorful snowflakes, so we made a white heart (which is “the color of snow!”). She added a few squiggles and now we have a Christmas Card box.

Crafts to Make in the Winter by Kathy Ross

The cutest part: she takes this little box around the house and “delivers” all of the cards to her stuffed animals. Then she goes around and picks them up like our mail carrier.

recycle: Cereal box from our recycle bin, paper and yarn from my stash.

fave crafts blog hop: reindeer puppet

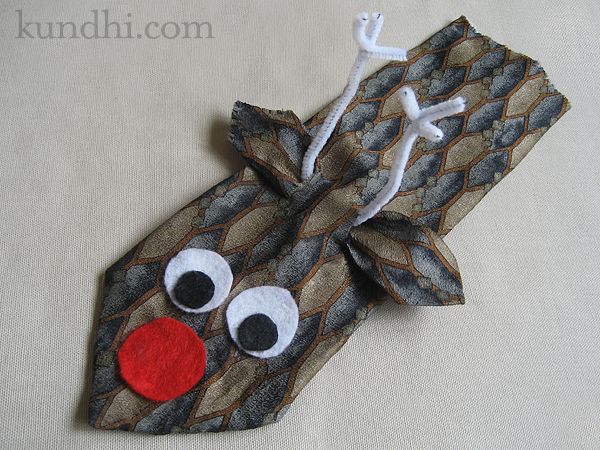
reindeer puppet

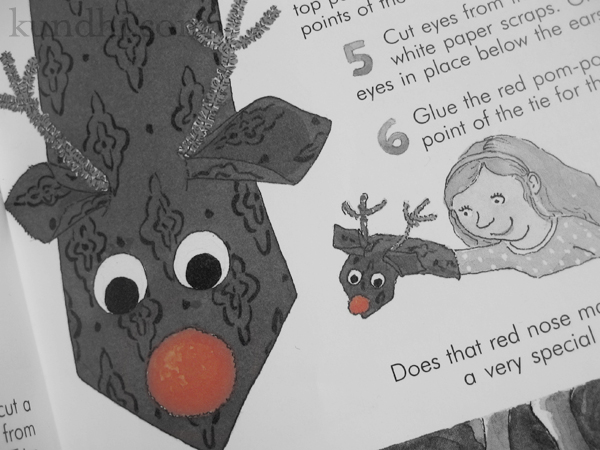
Last week I got this great book out of the library called Crafts to Make in the Winter. The first one we tried was the Reindeer Puppet. The instructions were clear and it was really simple to make. We’ll definitely be making more projects out of this book and checking out the other seasons, too.

reindeer puppet

I didn’t anticipate how much love this little guy would get, though, and silk ties are kind of slippery. He kept losing his eyes and once is ears slipped out! I wound up tacking down everything with a few stitches so he would hold up. Now he can join in all the reindeer games at our house and not feel self-conscious.

reindeer puppet

thrifted: I bought two ties at the thrift store last week so my daughter could make one with her friend. All of the other supplies were from my stash.

Have you been working on any seasonal crafts? Share in the comments!

Don’t forget to check out other finished projects over at the Fave Crafts blog.

sew, mama, sew! giveaway day

crochet recycled vase

* * * * * Congratulations to the giveaway winner Shana Putnam! * * * * *

Sew, Mama, Sew! Giveaway Day is one of my favorite times of year. I love participating: both in the giving away part and the entering for giveaways part.

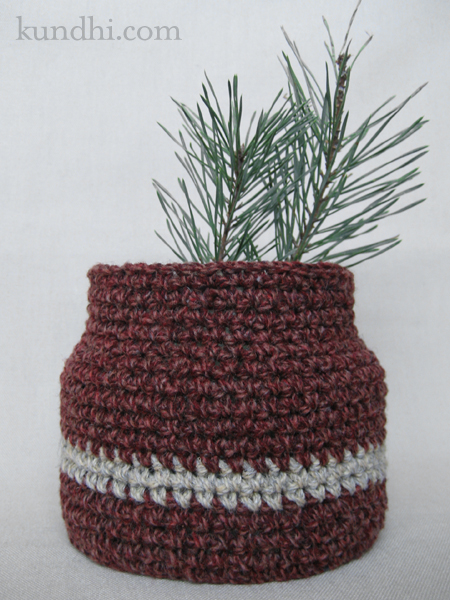
If you are new to my blog, let me tell you a little bit about this vase. I love to use recycled goods in my work. I’ve made a few of these. The plastic container has been rescued from my very own recycle bin. The yarn is from the big spool of wool. I talk about it a lot. It’s a big spool.

You don’t have to do anything fancy to enter my giveaway — just leave a comment on this post. I’d love it if you follow my rss feed or follow me over on my facebook page. I’d also love to hear about your handmade holiday plans. Are you making anything special?

Don’t forget to visit Sew, Mama, Sew! for tons of other great giveaways. (They’ll be posted on Monday morning.)

Mine will close Midnight, Central Time, December 17th. I’ll ship internationally, so everyone is welcome to enter!

finished: rollie pollie bean bag chair

rollie pollie bean bag chair

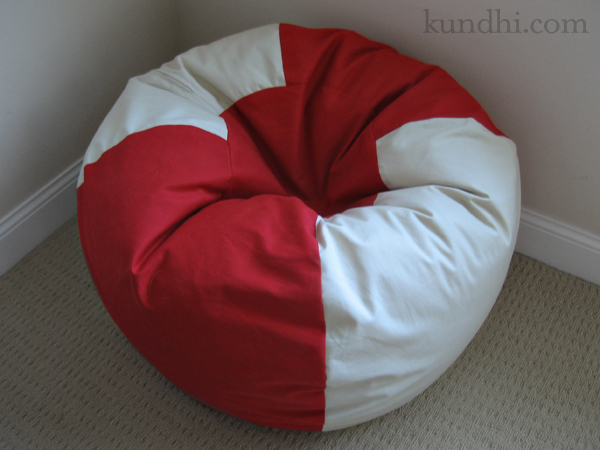
The Rollie Pollie bean bag chair that I started sewing at the craft retreat is finished! Here are all of the nitty gritty details:

I used the tutorial from Dana posted on the So You Think You’re Crafty site. Dana has a pattern available for sale on her website. You don’t need the pattern, but I saw a copy at the retreat and it’s very comprehensive.

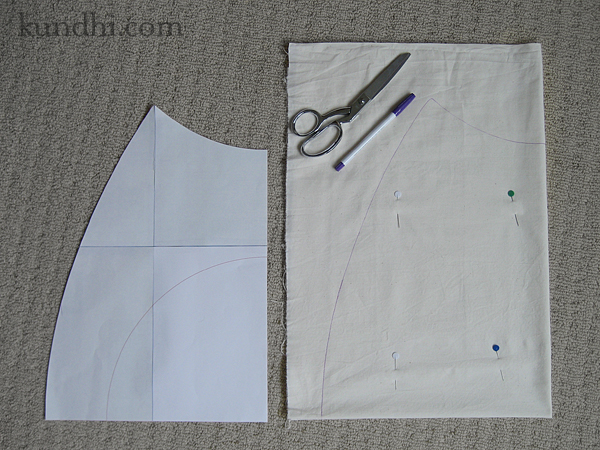
I only enlarged and printed a quarter of the pattern to save paper and ink. I folded my lining fabric in quarters, traced and cut. Then I used the lining pieces as my pattern for the cover fabric.

rollie pollie bean bag chair

Dana recommends sewing the seam and then going back and adding a serged seam for durability. I couldn’t think of a reason to finish the raw edges, so I just sewed a double seam: one at 1/2 inch and one at 1/4 inch from the edge.

I was planning on adding the handle, but as I was sewing up the cover, my daughter lifted the bag up over her head and carried it to her bedroom, so I skipped it.

The fabric and zipper were thrifted. The outside is upholstery fabric and the lining is cotton muslin.

The stuffing is new. I had been looking for a thrifted bean bag on craigslist and they were all pretty grungy. Then I read that even Goodwill doesn’t accept beanbags, so I decided repurposed stuffing wasn’t going to happen. I wound up buying two bags of bean bag pellets from here. Shipping is almost as expensive as the pellets, but I bought a few other things on my gift list and got free shipping. (The have a nice selection of Melissa and Doug items.)

When I started this project, I didn’t realize it would be so expensive. I also had no idea that bean bags were so pricey! I’m glad I made the large size so my daughter can get lots of use out of it. It currently resides in her “reading corner” next to her basket of library books. It was a fun project and has brought my daughter a lot of joy. I definitely give it two thumbs up!

finished: baseball bookmarks

baseball bookmarks

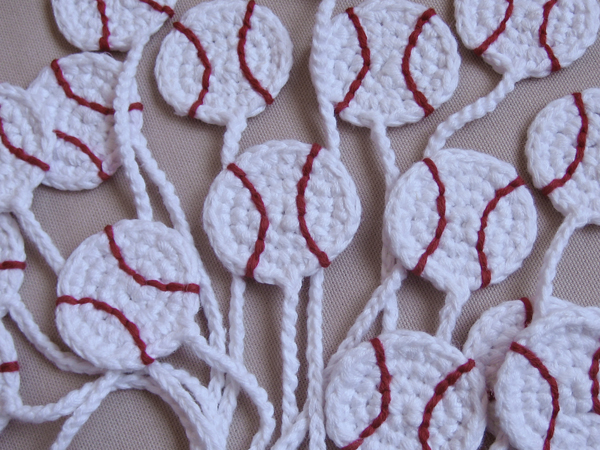
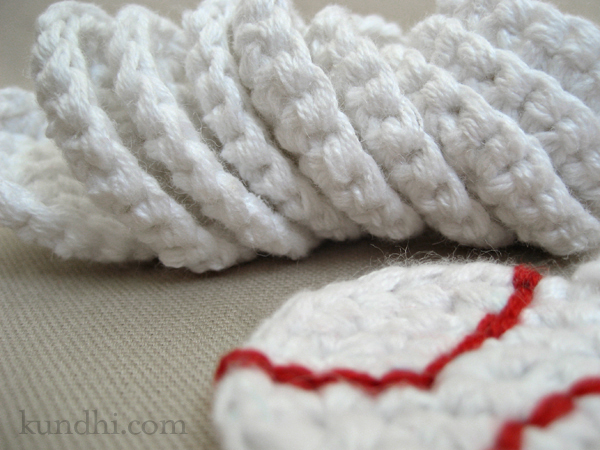
So many little baseballs. Seventeen, in fact. They turned out cuter than I imagined. Don’t you just love when that happens? I first posted about these in my creative space. I haven’t forgotten that I promised a pattern. Maybe by the end of this week? In the form of a Christmas ornament?

recycle: White yarn unraveled from a sweater. Red yarn left over from chromium star blanket.

finished: beach blanket to go no.2

wedding gift beach blanket to go soulemama

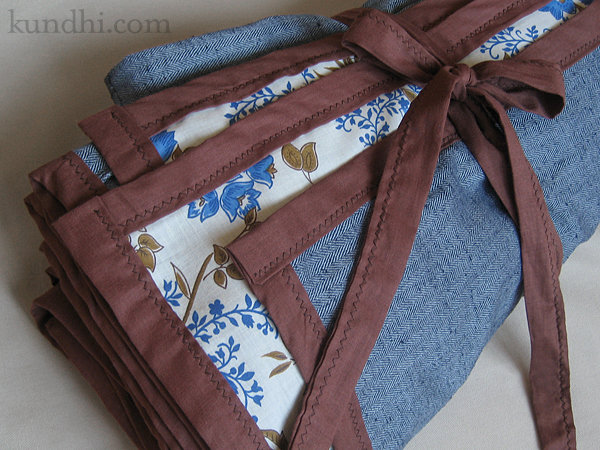
The second wedding blanket is finished! I decided on brown trim and spent a good part of my time at the craft retreat cutting, pressing and zig zagging everything together. The trim fabric was from my stash. I borrowed some brown thread from a fellow crafter because navy, which I had planned to use, didn’t look as nice as I thought it would.

I’ll be adding a tag like the first one and then it’s off to the happy couple.

pattern info: I finally got a copy of Amanda Soule’s Handmade Home. Thanks, Mom!

wardrobe refashion: hippie shirt

thrifted hippie tunic

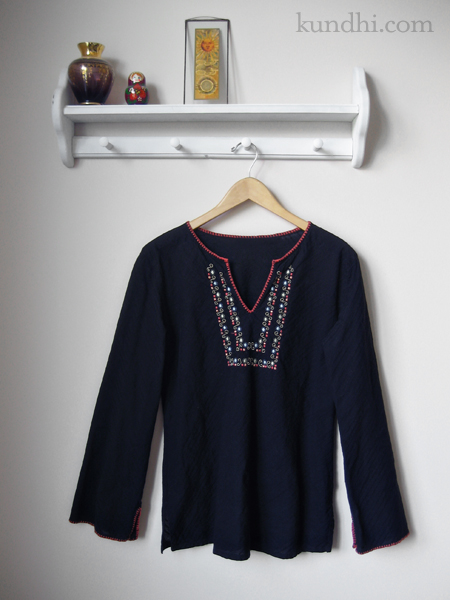
It occurred to me as I got dressed this morning that I never blogged about one of my favorite refashions: the hippie shirt. I love the look of these style tunics, but they’re not the most flattering for me. I really need a defined waist.

I refashioned this last year before I ever attempted to remove a sleeve from a shirt. I just used my 80s sweater method and took it in a little bit under the arms and around the waist.

Luckily this material was forgiving and it turned out pretty good. I’d like to do the same to some of my knit jersey shirts, but I think I’m going to have to take the sleeves apart to alter them. I plan to practice on a few of my thrifted shirts. Hopefully, I’ll have some success stories to post soon!

my creative space

baseball amigurumi bookmark

In my creative space today, I’m slowly getting back into my crochet groove. These little circles are actually baseball bookmarks for party favors. I’m thinking they would make cute Christmas ornament bookmarks — something handmade to go along with a book as a gift. Pattern coming soon.

More creative spaces over at Kirsty’s blog. Enjoy the crafty goodness!

recycle: Bookmarks made from last week’s sweater yarn.