how to: turtleneck sweater turns cardigan in
5 easy steps

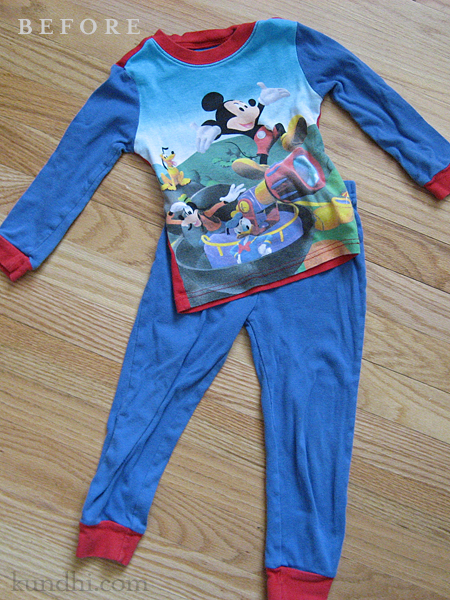
So many knitters are scared of the s-word.* It’s really not that terrible. In fact, I’ve been cutting into sweaters for years to make pillows, scarves and tote bags. You just need to get over the fear that all of the stitches will immediately unravel. Take it from someone who unravels sweaters a lot. It’s not that easy for a sweater to fall apart.
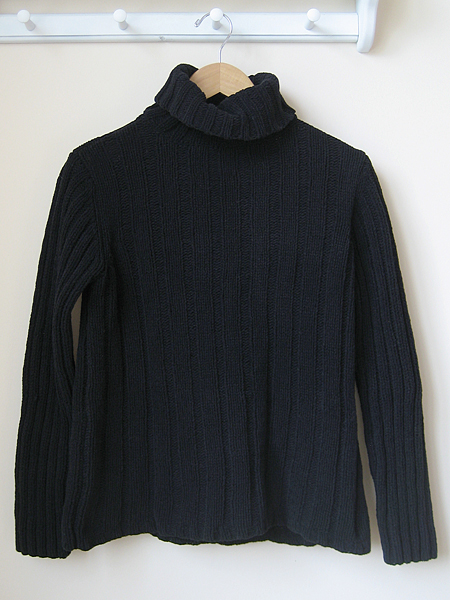
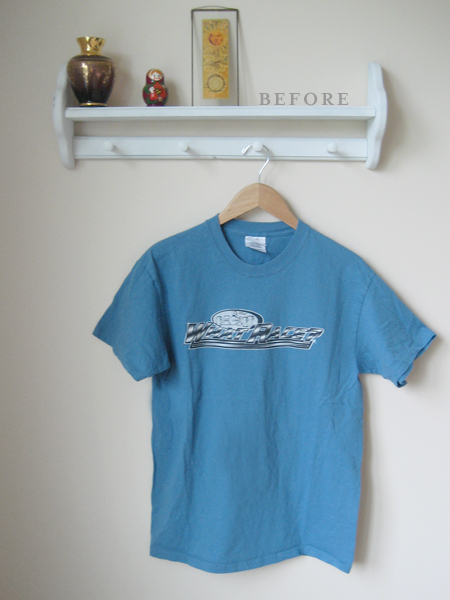
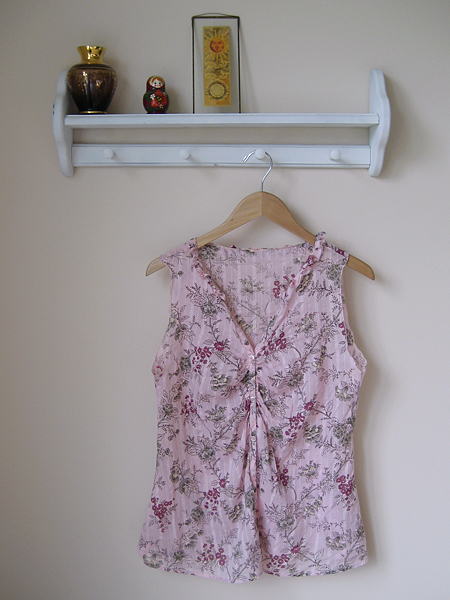
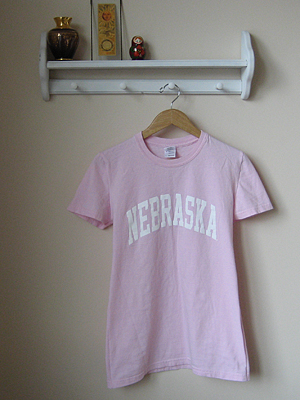
how to: turtleneck sweater turns cardigan in 5 easy steps
original turtleneck

I’ve been cleaning out my closet and have a lot of beautiful pullover sweaters that I don’t wear anymore. I keep them because the wool is so nice. Sometimes I think I will knit them into something else. I don’t know where I think I’m going to find the time. After my Fair Isle class at knitting retreat, I decided to turn my pullovers into cardigans.
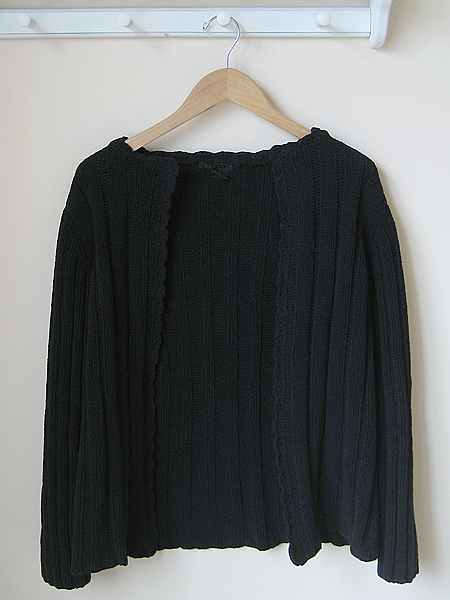
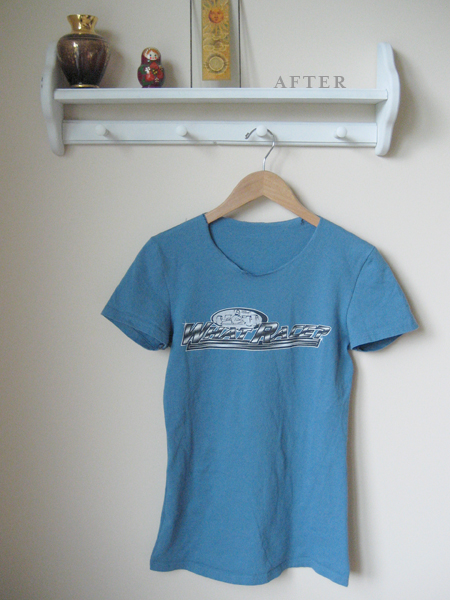
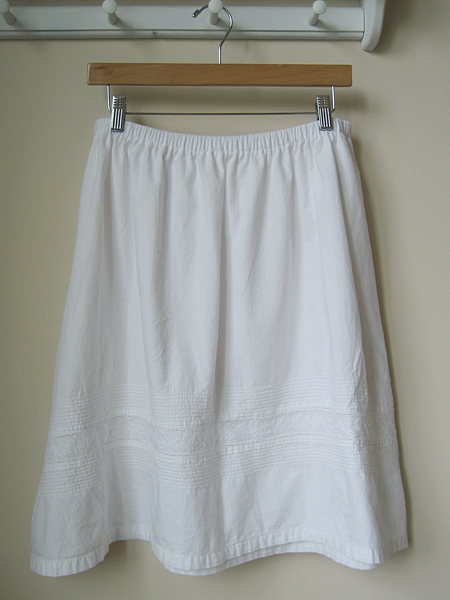
how to: turtleneck sweater turns cardigan in 5 easy steps
new cardigan

I decided to practice on a thrifted sweater first. I picked a cotton/acrylic blend that was in the donation pile. It had a weird texture — kind of like chenille. Man, was that collar hard to unravel. If you want to practice first, I recommend trying a sweater made out of a nice, simple, plain yarn.

This is a short and sweet tutorial. I assume you understand the anatomy of a knit stitch, know how to pick up stitches and crochet a decorative trim.

Materials:
seam ripper
sharp scissors
sewing machine
crochet hook

Step 1
Remove the seam that attaches the collar to the sweater. Unravel collar yarn and save for later.

Step 2
Find the middle column of stitches. Using a sewing machine, sew a line of stitches two columns to the right and two columns to the left.

Step 3
Carefully cut up the middle column of stitches.

how to: turtleneck sweater turns cardigan in 5 easy steps
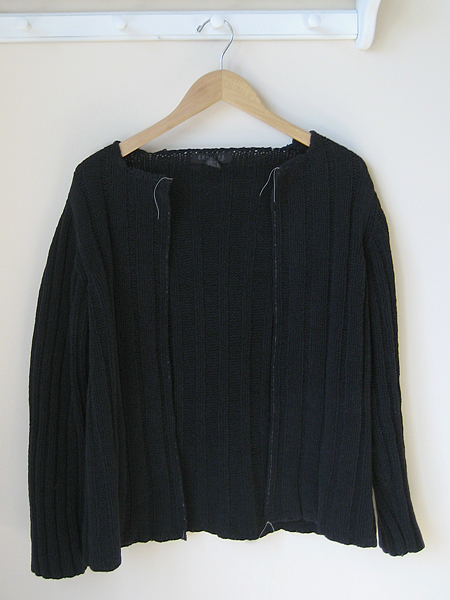
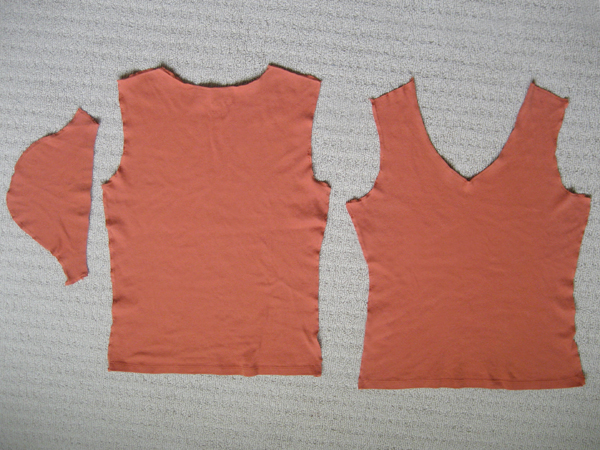
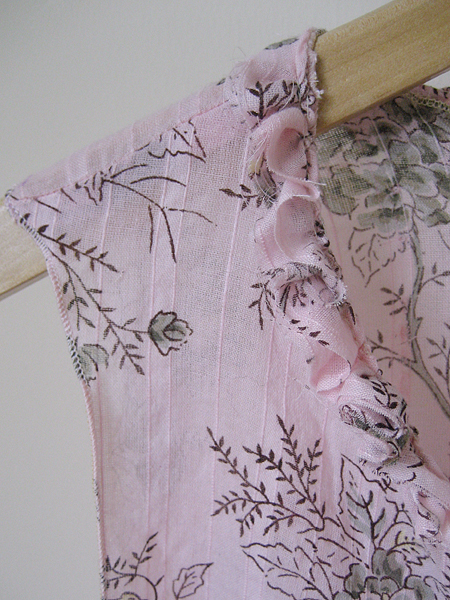
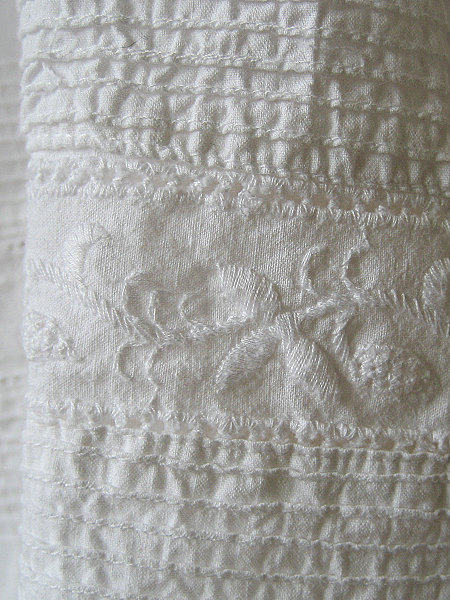
collar removed, stitches sewn and cut

how to: turtleneck sweater turns cardigan in 5 easy steps
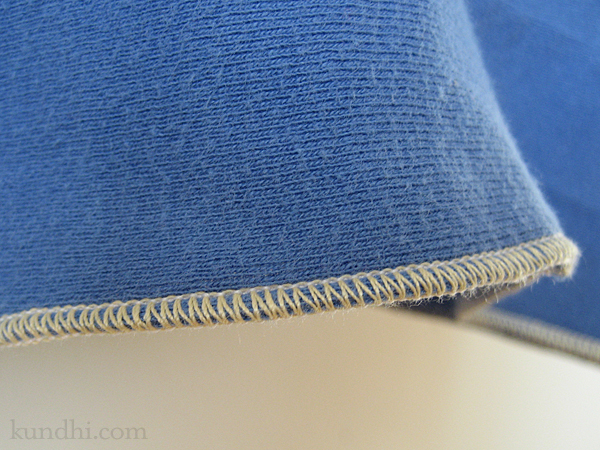
close up of sewn stitches

Step 4
Using the unraveled collar yarn, pick up and single crochet a stitch for each row of stitches. I started at the bottom, worked my way up and around the neck and back down the other side. (Some will tell you to pick up three stitches for every four rows. I say do what feels right, looks good and doesn’t pucker.)

Step 5
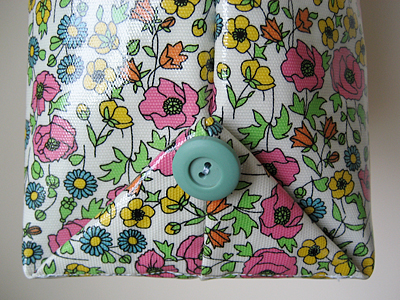
Depending on how much yarn you have left, crochet a decorative border. I chose a simple shell edging.

how to: turtleneck sweater turns cardigan in 5 easy steps
close up of crochet edge

Options
If you want to try this with a crew neck and don’t have enough matching yarn, use a different color or texture to jazz things up. You could also add buttons using chain stitch button holes.

This project is easy once you get over the fear of cutting into knitted stitches. I finished this in two afternoons.

refashion: I’m excited to start wearing some of my favorite wool sweaters again. I’ll be posting my progress as I go. A special thanks to Lynn Anne for giving me the courage to cut!

*s-word is steek!

wardrobe refashion: re-sized capri pants

wardrobe refashion: resized capri pants

The summer of skirts has been a success. I’ve been wearing my red, white, linen and denim skirts regularly all season. But ever since I found that perfect pattern for lounge pants, I’ve been thinking about capris. How easy would it be to refashion a pair of existing pants?

I found a couple pairs at the last 99 cent sale (hey, I told you I had good luck that day!) and decided give it a try. Here’s how I did it:

  • Wash and dried them on hot to preshrink.
  • Removed the elastic waistband with a seam ripper.
  • Cut the inner leg seams open. My pattern is only one piece, so I left the outer leg seams intact.
  • Pressed the pants pieces with an iron and laid my pattern on top. I had to fudge a little, but they were pretty close.
  • There was a lot of waist fabric that had to be removed and the new waist ran right over the pockets. I sewed them shut and cut them out.
  • Traced the pattern and sewed the pants back together.
  • Cut off the ugly fringe cuff and added a fabric trim.

The whole process was fast and easy. Most of my shirts come down past the waistband, so they actually look pretty good. I’m sorry I forgot to take a before picture. I had a few free hours for this project and just dove in!

refashion: This pants thing is really increasing my options for clothes. After a few more tries, I might tackle a fitted waist!

wardrobe refashion: another t-shirt

I have not abandoned my dream of many refashioned t-shirts. On a recent 99 cent thrifting spree I found my favorite style t-shirt in my size. Luckily the color didn’t look that great on me, so I took it apart to make a master pattern.

t-shirt pattern pieces

I’ll admit I was feeling a little over-confident when I tried this refashion. Here are a few things I need to pay attention to going forward.

  • Check the fabric! The original shirt is a 1×1 rib, the refashioned shirt is plain knit and has a lot less ease.
  • Make a paper pattern! No matter how hard you try, knit fabric is not easy to trace.
  • Err on the side of too big! Just a tiny bit extra seam allowance would have saved this project.

bmw corral shirt

Honestly, it turned out pretty darn good. I was most worried about the sleeves and shoulders and they are just fine. It’s the rest of the body that’s a little tight. Too bad I didn’t baste and try it on before serging the edges. Doh!

bmw corral shirt

stash: Sadly, I really did like this t-shirt. It’s from one of the worst Formula One races I ever attended. (The front reads “What Race?”) Ha! Guess it’s destined to be a tote bag now.

progress report no.2

floral shirt refashion

I finished my floral shirt refashion and I’m really happy with the fit. Here are the refashion details:

  • took in the sides to create a more streamlined waist
  • finished the sleeves and neck with a rolled hem
  • added a ruffle trim around the neck

Here is a close up of the ruffle. This was really easy and I’m totally loving it!

floral shirt refashion

Sock update: Yarn is wound, pattern is picked and I got gauge on my first swatch. Can’t wait to cast on!

thrifted: Got this shirt at the thrift shop. I think it was worth the 99 cents!

liberty of target tote hack

Confession time: my daughter’s dress wasn’t the only Liberty of Target item I bought last month. I fell in love with this tote on the website and was disappointed when I got to the store and realized it was oil cloth. I almost put it back a few times while I was shopping, but in the end, the print won me over.

liberty of london target tote bag

After using it a few times as a knitting tote, I wished I hadn’t bought it. The cloth was so stiff that even a small ball of yarn gave it a goofy bump in the middle. Then I thought, I make tote bags. Why don’t I stop complaining and just fix the darn thing?

liberty of london target tote bag

So I added a four inch gusset and prettied it up with some vintage buttons on the side. It’s still stiff, but much more functional.

liberty of london target tote bag

I’ve actually started using it for my daily purse, even though it’s kind of big. I still wish it was fabric, but I really do love those little flowers.

future thrifting?
I’m wondering if others were as frustrated with this bag. Maybe they’ll start showing up at the thrift stores?

wardrobe refashion: white cotton skirt

Three skirts down! I really wish I would have taken a before picture of this one. When I cut off the waist and flattened out the fabric, there was so much!

refashioned white cotton skirt

I used an a-line pattern I drafted for myself from Sew What! Skirts. I took about 5/8 inch off of each side after trying it on and will be adjusting my pattern for the next one. Aside from that, this was super easy. I cut it out a few weeks ago and sewed it up today in about an hour.

Usually I shy away from white of any kind on my lower half, but I fell in love with the detail at the bottom. Isn’t it lovely? (Yep, I kept the original bottom hem, which made this project go really fast.)

refashioned white cotton skirt

The skirt is a little sheer, but I’m thinking slip instead of lining. Any suggestions for fabric type? I worry that a traditional polyester slip might be too hot in the summer.

thrifted: I think this might be my last skirt from the Goodwill 99 sale. I can’t remember! Time to dive back into the stash.

wardrobe refashion: linen skirts

It’s no secret that shopping for pants drives me nuts. And the capri pants I complained about last year didn’t even make it through the season. So, I’ve decided to make a bunch of skirts for this summer and yesterday I started with these two linen lovelies by Laura Ashley.

laura ashley linen skirts

No before pictures because I didn’t change that much. They were really long and too big in the waist. Here’s what I did to them.

  • Washed in hot water and tumble dried to preshrink them.
  • Chopped off about 10 inches and made a 1/2 inch double fold hem.
  • Used a seam ripper to open up the elastic waist casing.
  • Cut the elastic down to the right size and then sewed everything back up.

I am absolutely in love with the result. The linen is so lightweight and soft—perfect for summer. I thought about making them a little bit shorter, but spending time at the park today with our crazy Nebraska winds convinced me they are the right length. Also, I’m loving the fact that they have pockets!

thrifted: Bought these at the Goodwill 99 cent sale. That’s right! My Laura Ashley linen skirts cost me a whopping $2.

elephant blanket becomes a pillow

baby gund blanket pillow

When my daughter was born, we received a sweet elephant Baby Gund blanket as a gift. It’s super soft and cuddly. It’s also pretty small.

The other day I asked her what she wanted to do with it. She definitely wasn’t ready to part with it, so I suggested making it into something else. Something else that might get used, like a pillow.

baby gund blanket pillow

She loved the idea! Especially when I told her she could help. If you have one of these and are looking to turn it into something for a big girl or boy, it’s easy.

Step 1
Using a seam ripper, open up about 2-3 inches of stitches on the side.

Step 2
Stuff it with polyfil, starting with the legs first and working your way toward the middle. This is a great step for your child to help. My daughter LOVED doing the stuffing.

Step 3
Close up the side with a blind stitch.

baby gund blanket pillow

reshape: I love it when my daughter gets excited about working on a project with me. She adores the pillow and is proud to say she helped out. I think we just added a few more years to Ellie’s life with us.

wardrobe refashion: the first of many t-shirts

nebraska t shirt

You know you’re getting old when the phrase, “They don’t make them like they used to…” creeps into your conversations. But seriously, can someone explain to me how my Gap t-shirts from college are still going strong almost 20 years later, but t-shirts from the past few years are falling apart?

I have this grand idea of updating all of those boxy, over-sized tees into a more modern and flattering fit. First, I need some practice. I’ve made a few patterns from existing t-shirts that I like and I’m also trying out the t-shirt pattern in Wendy Mullin’s Sew U Stretch.

My first try was a thrifted XL Nebraska shirt. It turned out pretty good for a beginner shirt. The sleeves are kind of tricky, though. I definitely need a little bit more practice before cutting into my ol’ Gap favorites.

thrifted: I always try to practice on thrifted material and clothing first. I’d rather mess up on a 99 cent t-shirt than on the good stuff!

wardrobe refashion: pj pants to nightshirt

When I was at my craft weekend away, one of my friends was serging a nightshirt for her daughter. Another friend was making dresses out of t-shirt scraps. I blame them for this crazy idea: a nightshirt out of a pajama top and bottom scraps.

pajamas night shirt

This was a lot cuter in my head and my sketches than it turned out. I had hoped the skirt would be a bit more ruffled, but there really wasn’t a lot of fabric in the bottoms. I wound up piecing together the sleeves, too. (Sorry for the unstaged “before” photo, but I was really excited to dive into this project!)

pajamas night shirt

Thankfully, I tested this on the Mickey pajamas first. Although she loves Mickey, she loves her Minnie pajamas even more. I will probably use one of my old t-shirts for that refashion. I also might keep the sleeves at 3/4 length. Oh, speaking of the sleeves, check out this awesome rolled hem. Swoon!

pajamas night shirt

refashion: Even though the sleeves and legs of my daughter’s clothes are getting too small, the body still fits nicely. I’m getting lots of opportunities to be creative!