thrifty find: new buffet!

thrifty find

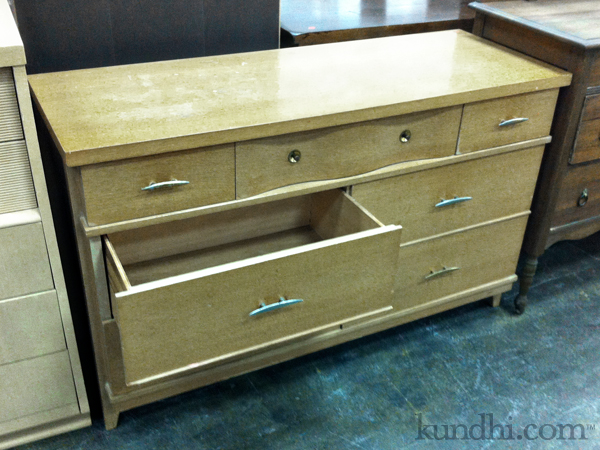
It may have been a dresser in its past life, but I’ve got a new buffet, baby!

We’ve been looking for some kind of additional storage in our kitchen/dining area for months. I found this one at the thrift store this morning. It’s a little rough around the edges, but I think a coat of dark brown paint and new brushed nickel knobs will make it perfect.

The measurements for our space are also ideal. And it’s wood! Not particle board! It’s just right in so many ways. What a great start to the weekend!

Hope you have a great weekend, too!

p.s. The dishtowels from yesterday are still blue. Boo.

got a project brewing, literally

dyeing fabric with coffee grinds

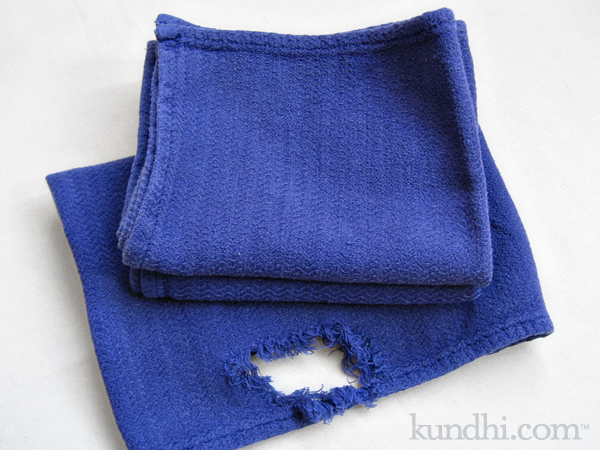
I love these tea towels. They matched the kitchen in my old house. They’re super soft. They are the best tea towel fabric ever. They’ve even been burned a few times, which explains the holes here and there. But I love them and I had this crazy idea to make them work in my current kitchen. I’d trim off the holes and dye them brown. Even crazier, I’d dye them with coffee.

Tutorials online say you should use fresh brewed coffee. That just seems like a waste of perfectly good coffee to me. Coffee is for waking up, jump starting your afternoon and finishing off a fancy meal. It is not for dyeing fabric.

So I used coffee grinds. And they are still soaking. And they are still blue. I’m going to let them sit overnight. I’ll keep you posted.

fused plastic grocery bag lunch bowl

fused plastic grocery bag lunch bowl

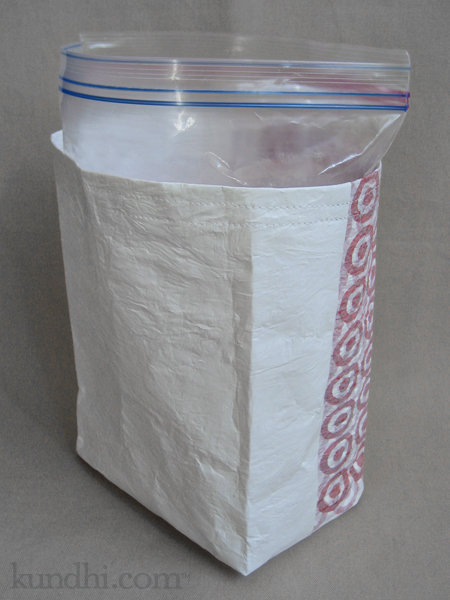
So here’s the plastic bag project that feels like it’s been taking forever to finish. Some history on the idea: my husband has started taking salads to work. He throws everything into a plastic zipper bag* for easy transport, but said it’s not very easy to eat out of the bag.

fused plastic grocery bag lunch bowl

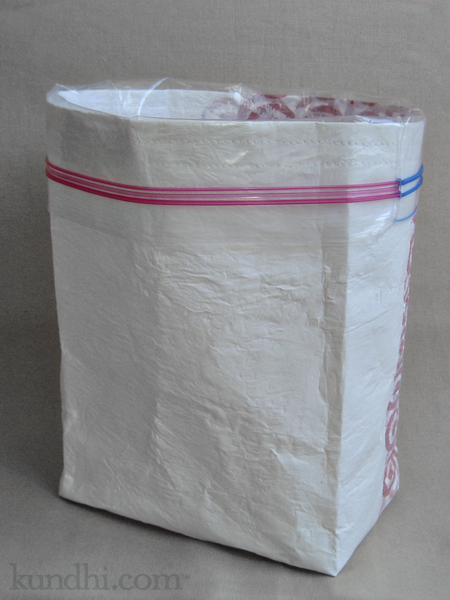
I thought some kind of bowl would help. Something stiff enough to stand up straight, but forgiving enough to be smooshed in a lunch bag. With this one, you just drop the zipper bag in and fold the edges over the bowl. It’s kind of deep, but salad greens take up a lot of room. I have a feeling I might need to adjust it after he tries it out.

fused plastic grocery bag lunch bowl

Some interesting things I learned while playing around with this project:

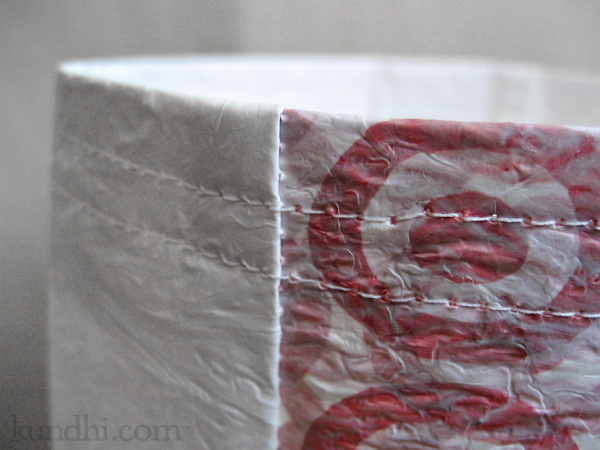
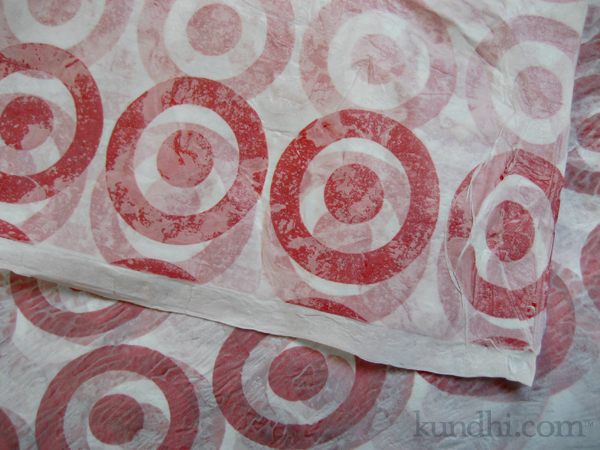
  • Target uses different kinds of plastic for their bags. They may look the same, but they don’t melt the same.
  • Parchment paper works much better than regular paper.
  • Measure twice, sew once. Ripping out stitches leaves holes!
  • I need some more project ideas to use up the leftover fused plastic.

stash: All of these bags came from my pantry. No matter how hard I try to bring my reusable grocery bags to the store, forgetting them on just one trip leaves me with a bunch of plastic bags in my pantry. I usually just recycle them, but this was kind of fun. I might keep on fusing them.

*Still trying to figure out how live without some plastic bags. We wash and reuse our plastic zipper bags until they practically fall apart. I wonder how they would fuse together. Hmmm…

almost finished: baby blanket

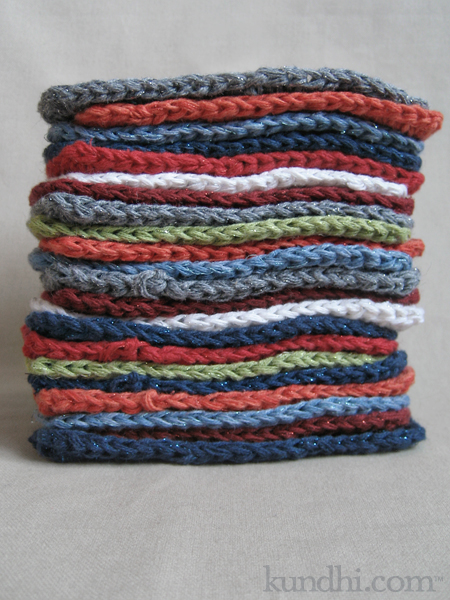
baby blanket squares

I’m thinking this blanket would be finished already if I didn’t rip out and redo so many of the squares. My nephew was born last week. Thank goodness this is a nice, lightweight cotton yarn. I think it will make a perfect blanket for Spring.

I need to think about yarn for the border. I won’t have enough of any one color to make it all the way around. Would a multicolor border be weird or fun?

my creative space

fused plastic bags

In my creative space today I’m fusing plastic grocery bags. Am I the only crafty person on the planet who hasn’t tried this yet? So far, I’ve had mixed results. I think it might be worth the extra effort to spring for some parchment paper.

Play along with your creative space over at Kirsty’s blog.

nature hike tote bags

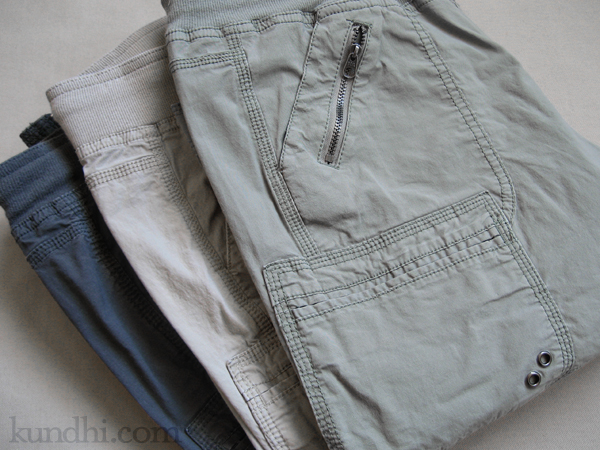
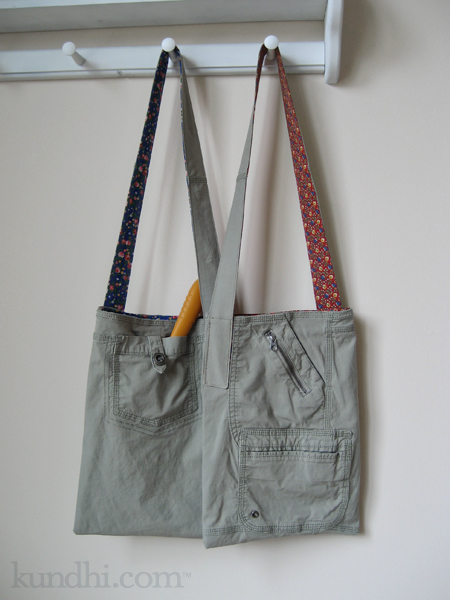
capri pants turned into totes

You knew I was going to turn those capri pants into tote bags, didn’t you? Not just any bags, however, but bags with a purpose: keeping nature out of my pockets and my purse.

I’m sure many of you can relate to this: Mama, can you hold this rock? Here’s a present for you, Mama. It’s a leaf! I’m just going to put this stick in your purse for later. Did you put my feather in your pocket? Later, as you are digging around for latte money, the barista gives you a funny look as random bits of nature fall on to the counter.

I made two of these: one for my daughter and one for her friend. They’re the same except for the lining. Now when we go on walks together, the girls can carry their own bits of nature. There are all kinds of pockets perfect for acorns, rocks, twigs and leaves. The buttoned back pocket is perfect for storing a shovel. You never know when you’ll need to dig for treasure!

I love how these turned out and will be making more. How perfect would they be for a day of garage sailing or thrifting with different compartments for cash, phone, water and a snack! They would also make a cool craft project bag with pockets for all of your notions.

project details: Pants from my closet, lining fabric from my thrifted stash.
favecrafts blog hop: felted sweater fortune cookies

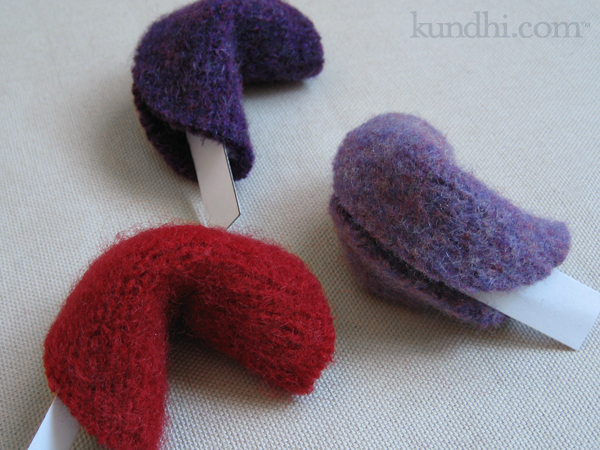
valentine's day fortune cookies

The FaveCrafts Blog wants to know what you have finished on the 15th. Over here, we’ve officially finished Valentine’s Day. How do I know? My daughter asked if we could replace the heart bunting with spring flowers.

I couldn’t move on to Spring without showing you these cute fortune cookies we made for a few special Valentines. I found the project over at The Sassy Crafter. I wish I had those cool glue dots! Instead I used hot glue, so I prepped the first part the night before. The next day, I had my daughter help me fold them and add the fortunes. (The pdf download includes a fortune template.)

stash: Felted sweater scraps from my stash, of course! If we make these again, I might try some brown wool felt instead.

Check out other finished projects over at the FaveCrafts blog.

double crochet with a twist

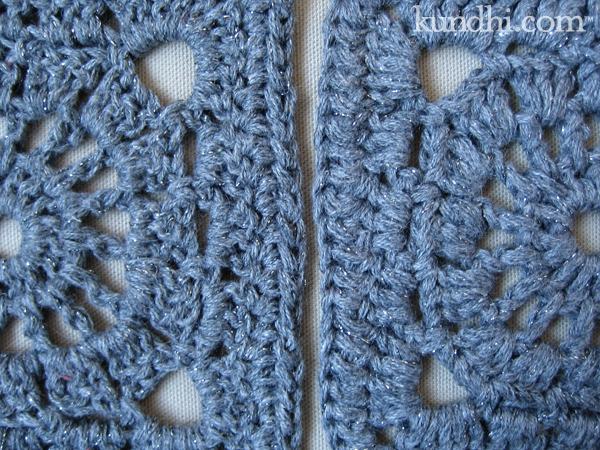
When I mentioned that I started doing my double crochets a different way, a few people wanted to know how I was yarning over. (Is yarning a word?)

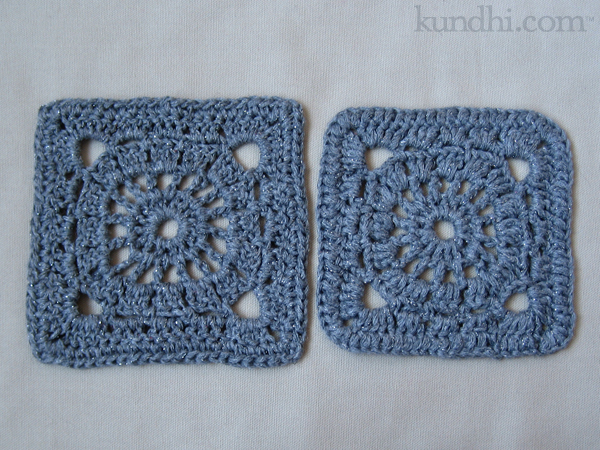
Basically, I was yarning over front-to-back instead of back-to-front. It doesn’t seem that it should make that much of a difference, but going from back-to-front gives the stitch a bit of a twist. The texture is more defined.

wagon wheel square

Once I saw the difference, there was no going back. Only problem was all of those squares I made on vacation. I’ll admit that it took me awhile to get up the courage to rip them out and start over. But after seeing the difference, I knew I had to do it.

wagon wheel square

interesting note: the extra little twist uses up a bit more yarn and makes the squares a bit more bigger.

“return to julie-k” crochet heart necklace

I love e-window shopping on the Tiffany website. I get all happy when they send me a new email. Their product photography is so perfect and their jewelry designs are so timeless. My favorites are the pieces in their sterling silver collection.

tiffanys inspired heart necklace

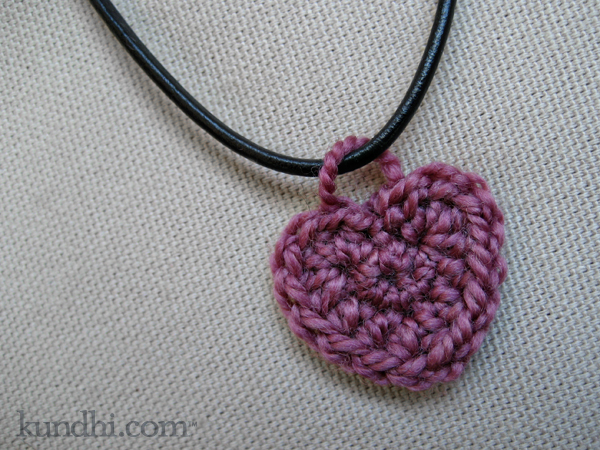
With Valentine’s Day just around the corner, I’ve been getting (almost) daily emails filled with all sorts of beautiful hearts. Whenever I see the Return to Tiffany heart, I think of my little crochet heart pattern. They are about the same size and shape. I thought it would be cool to turn my little heart into a Tiffany-inspired charm.

tiffanys inspired heart necklace

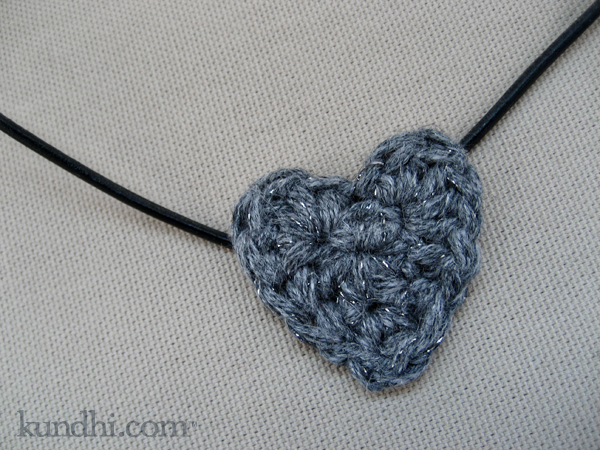
I made a few and decided the less fuzzy the yarn the better. The pink heart is Koigu, I think. It makes a nice loop without interfering with the heart shape. I really wanted the sparkly silver and gray yarn to work better, but the loop was too bulky. It looks nice all by itself, though.

This is something that’s been bouncing around in my head for awhile. I’m glad I finally took a few minutes to sort it out. It really only took a few minutes, too. Love those little crochet hearts!

stash: pink yarn from the bits and bobs, silver and gray yarn from a recycled sweater, crochet heart pattern from the archives