super cute (and quick) wine bottle gift bag

wine bag

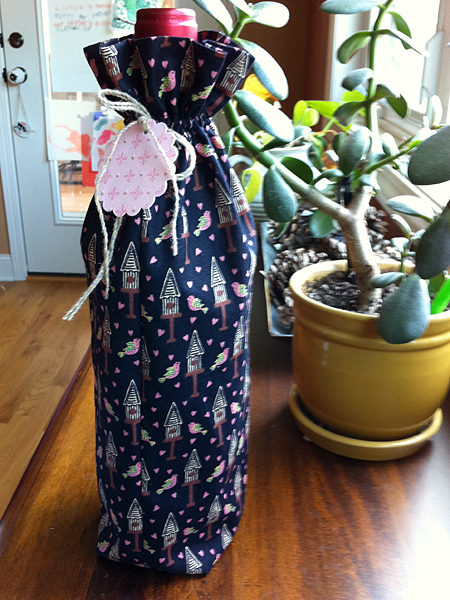
I love when I can make something totally out of recycled and thrifted materials. I whipped up this wine bag one afternoon—the serger makes some projects so darn fast! Free fabric from way back. (Don’t you love the little bird houses?) Thrifted yarn from the big spool of wool. Gift tag made from upcycled thank you note. Personally, I think it’s much cuter than anything you could buy at Hallmark, but that’s just me.

thrifty thursday

I was all ready to post about something else when this sweater literally came over to my house and never left. My friend Tana is destashing some of her hand knit sweaters. I told her I’d be interested in the cardigans and she stopped by this afternoon with them. There were a couple of pullovers in the bag, but I’m constantly hot/cold/hot/cold/etc. and don’t wear them much anymore.

blue sweater unravel

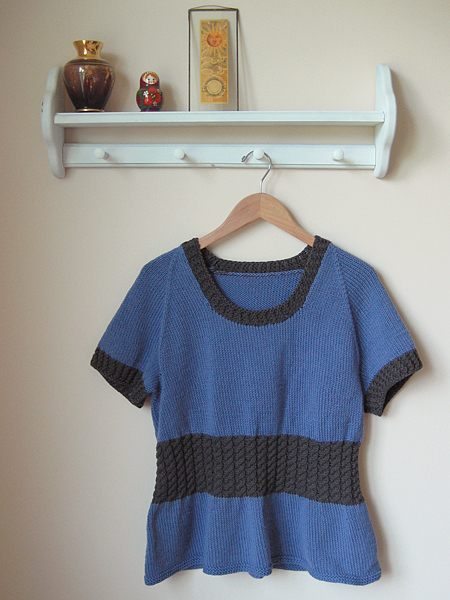
I couldn’t stop looking at this one, though. It was such a lovely color blue. I loved the gray accent. I didn’t think I’d ever wear it, but Tana said I could do what ever I wanted with it, so you know what happened next, right?

blue sweater unravel

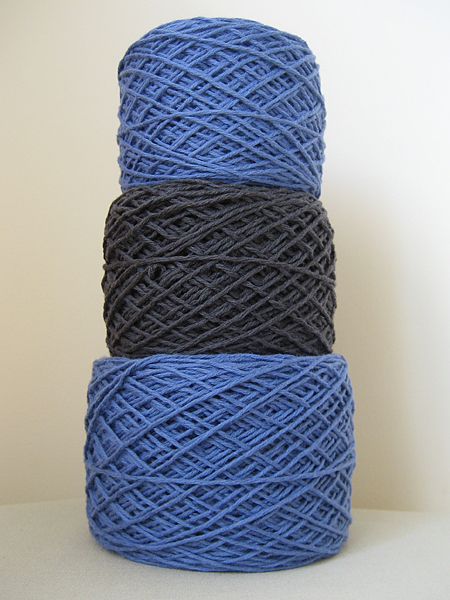
I’ve abandoned that silly vintage wool for now and have started making the Chromium Star blanket out of this yarn instead. It is already turning out much better than I had even imagined. Thanks for the two fabulous cardigans and this wonderful yarn, Tana!

reuse: Hand knit sweaters are such a joy to unravel. They are always seamed together with such care. I wish all sweaters unraveled this nicely. I didn’t lose one bit of yarn!

thrifty thursday

red sweater for unraveling

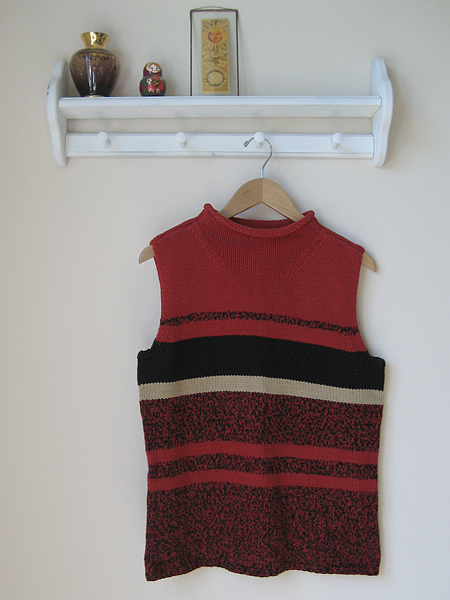
Last weekend I hit a few church sales that turned out to be a total bust. I decided to stop by Goodwill on the way home just to window shop. (Hey, I was in the neighborhood!) Not only did I find this great sweater, but when I checked out it rang up half price!

I have been thinking of making some Nebraska football inspired (i.e., red, red and more red) accessories for my shop in the Fall. I really like the black and red plied yarn for Husker Blackshirts fans.

recycle: The sweater is a super soft cotton/acrylic blend with perfect seams for unraveling. Score!

recipe: thrifty crispies

homemade bread and croutons

Around the same time that I was reading Silverstone’s Kind Diet, Elli Metz was sharing her thoughts about Pollan’s In Defense of Food. Her post made me get up and check the label on my favorite store-bought bread. It didn’t have 32 ingredients, but it did have 16, most of which I couldn’t pronounce.

I decided to pull out my bread machine and we’ve been eating homemade ever since. When I bake bread in the oven, I use the Artisan Bread recipe and make small loaves. It’s too hot in my kitchen during the summer months to use the oven, and the bread machine makes such large loaves. It’s hard to finish it before it goes stale.

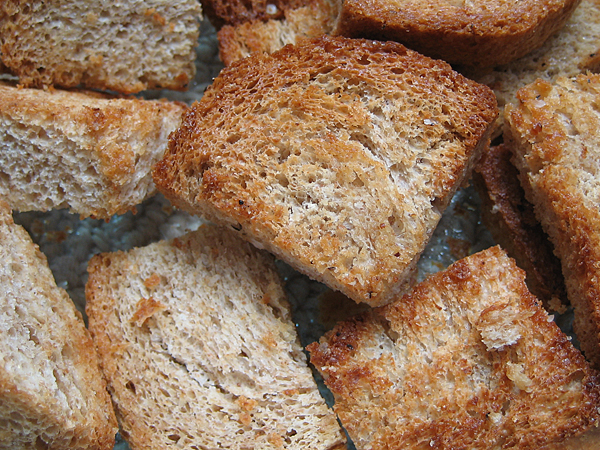
One day last week I made a big batch of hummus and realized I had nothing for dipping. Then I thought: stale end of bread = croutons! I made mine really big and now I’ve also eliminated store-bought pita chips for snacks.

Thrifty Crispies (or just really big croutons)

Preheat your oven to 350 degrees F.

Using a serrated knife, cut that stale hunk of bread into dipping-sized pieces. Watch your fingers! Depending on how much bread you have, put 1-2 tablespoons of olive oil in a bowl and add some seasonings. I use a little salt, pepper, garlic powder and onion powder. Add the bread to the bowl and toss until lightly coated.

Place them single layer in a baking pan or cookie sheet and bake for 6-8 minutes. Stir once and then bake the other side for 3-4 minutes. The time will depend on how big you cut your pieces. Don’t let them burn!

Cool and store in an air tight container.

These don’t last very long in our house. I like them with hummus, but my husband and daughter snack on them straight out of the container.

thrifting: I got my first bread machine on freecycle. It was a little dusty, but with some elbow grease, it cleaned up nicely. Plus, it was free! My current machine came from a garage sale and was a little pricey relatively speaking, but it matches my kitchen appliances. You can usually find them “as-is” at the thrift store for around $10.

shop: set of upcycled crochet covered vases

set of two upcycled crochet covered vases

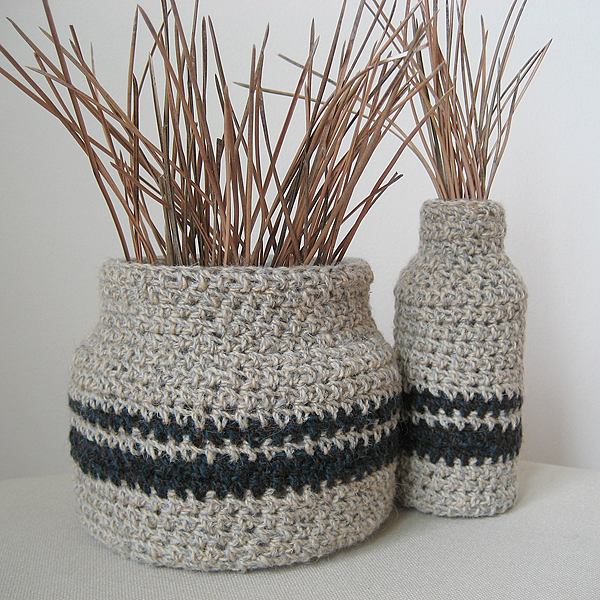
They’re finally here! I think I love these too much to list them, but I can make more. Lots more, actually. I used wool from the big spool and clear plastic containers handpicked out of my very own recycle bin. More photos and all the details are in my shop.

Have a great weekend everyone!

noteworthy graduation gift for a music student

handmade graduation gift

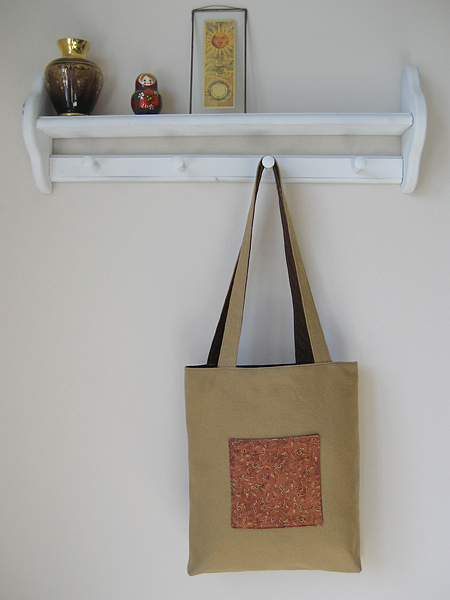
Our neighbor’s daughter is graduating from high school this week. She’s a very talented violinist and I love when the windows are open in the summer and I can hear her play. She’s planning to study music at the university in the Fall and I wanted to make her something special. Honestly, I had a hard time coming up with something music specific, so I went with a school-book theme.

This tote is made out of upholstery fabric and hopefully will last for many years after she graduates from college. The pockets have tiny music notes on them. Inside I added this cool manuscript notebook that I found at music store downtown. I think it will be perfect for music theory or composition class.

stash: Everything except the notebook was from my thrifted stash. The upholstery fabric didn’t behave all that nice and kept unraveling on me while I sewed. Note to self: overlock all of the edges next time even on seams that won’t be exposed. It will make life much easier.

my creative space

little amigurumi bear

In my creative space today I’m finishing up the details on a few gifts.

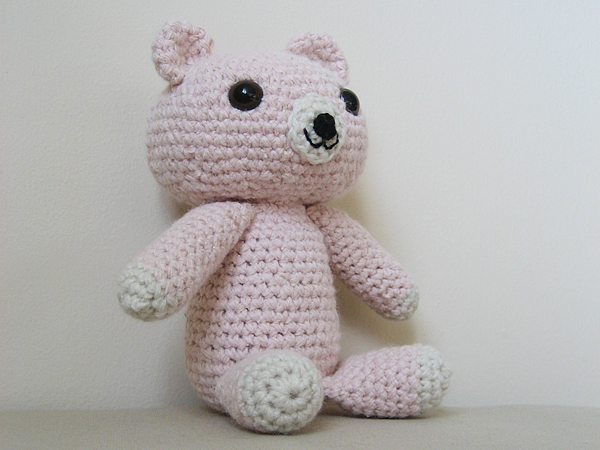
First up is this little teddy bear for my friend Lisa, who is expecting a baby any day now. Lisa is all about cute crochet stuffies, so I figured an amigurumi bear would be perfect.

Want to know the coolest thing about this teddy? She’s made completely out of recycled sweater yarn! Don’t you just love her even more now?

The pattern is from the amigurumi volume of Kyuuto! Japanese Crafts! If you are interested in Japanese craft books, but are nervous about following the diagrams, this is a good place to start. It’s translated into English!

I’m off to finish up some more gifts. You should head on over to Kirsty’s blog for more creative spaces!

knitting and planting

planting seeds

Today was another slow day. I feel bad for my daughter. She’s getting bored with this mama-isn’t-feeling-well business. I tried to make today all about her. Most of the morning we hung out on the living room floor. She did her thing and I worked on another charity blanket square.

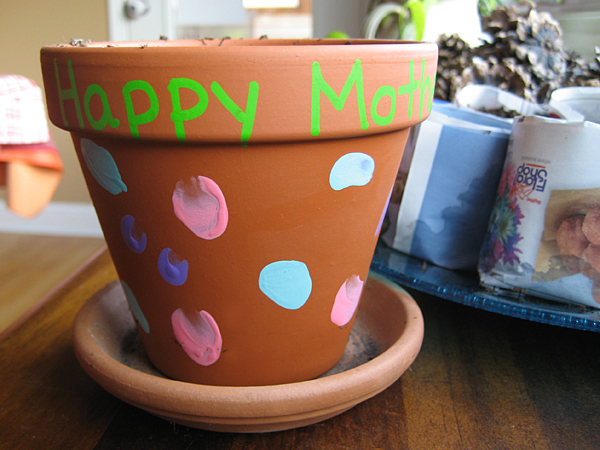
After lunch, the sun came out, and we spent some time on the deck planting seeds. She painted this little flower pot in school for Mother’s/Father’s day and her teacher put a packet of marigold seeds in it.

planting seeds

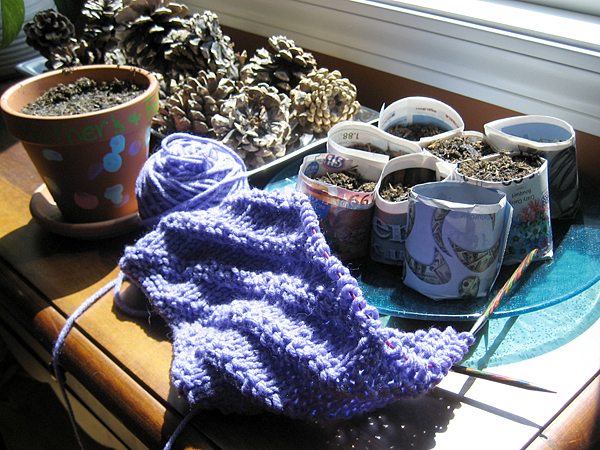
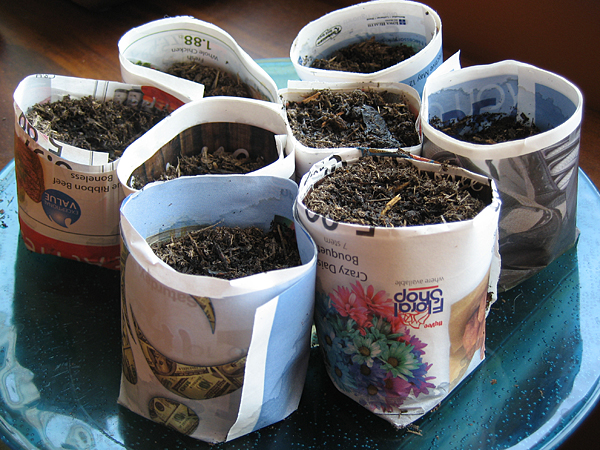
We planted a few in the pot and some other small containers I found in the garage. She was having so much fun that I decided to make some paper pots so she could keep on planting. Toilet paper rolls cut in half also work well. You can just drop the whole thing in the ground when it’s ready!

planting seeds

It was a good, but tiring day. I am ready to be feeling better and back at my sewing machine. Those upholstery sample totes are calling my name!

stash: Acrylic yarn from my stash. I don’t remember where I got my PotMaker. I’ve had it a long time. It’s just like this one.

plying sweater yarn

plying sweater yarn

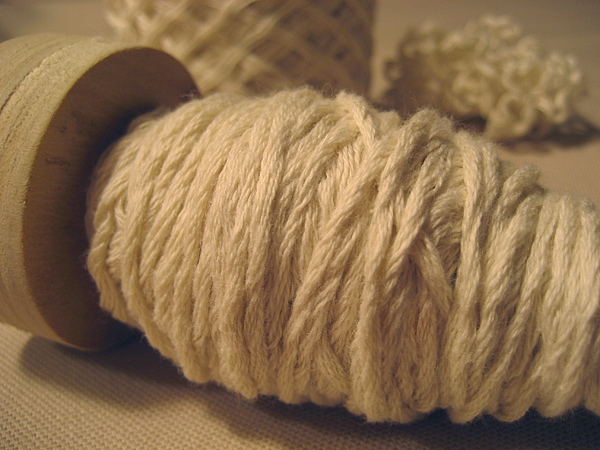
I’m still feeling a bit under the weather, but I managed to play around with my drop spindle for awhile today. This ball of yarn comes straight off the sweater. I’m trying to take it from lightweight to worsted. So far, not so bad. I’m kind of making this up as I go along. We’ll see how it turns out.

recycle: Sweater from here. Drop spindle details here.

mother’s day idea: how to make a photo frame applique in 3 easy steps

photo frame applique tutorial

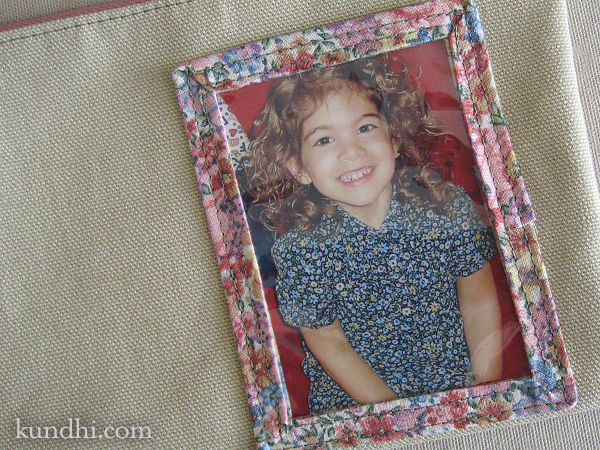
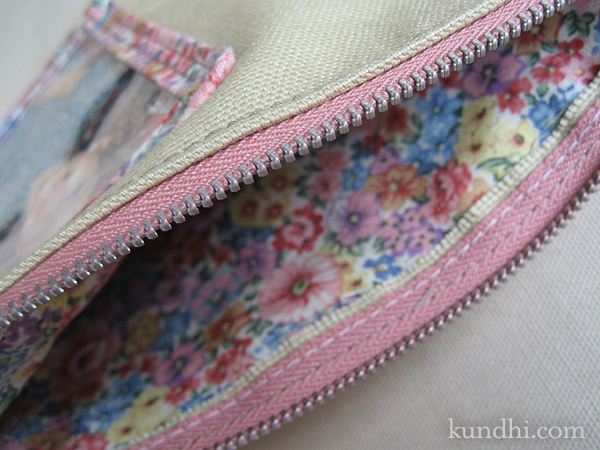
A few years ago, my mother gave me a little photo frame change purse. I had been using it for knitting bits and bobs, but it’s kind of small. I decided to make a bigger one for myself.

This applique will add a great touch to any Mother’s Day gift. I love mine!

Materials
photo: 2 1/2 x 3 1/2 inches
plastic: 3 x 4 inches
bias tape (or make your own)
heavy duty sewing needle

photo frame applique tutorial

I used the packaging from a set of sheets for my plastic. The same kind of packaging is used for blankets, comforters, tablecloths and shower curtains. (Don’t forget to save the zipper, too!)

photo frame applique tutorial

Step 1
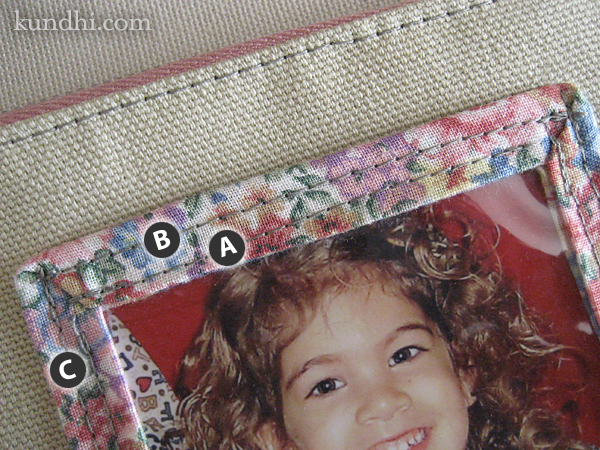
Stitch the bias trim to your plastic (A). Here’s a great video on how to miter your corners.

Step 2
You’ll only be stitching three sides of the applique to your fabric because you need an opening to slip in the photo. Top stitch the fourth side so it will match the others when you are finished (B).

Step 3
Position your applique on the fabric and stitch the remaining three sides in place (C). Make sure you don’t pin it through the plastic! Pin through the fabric trim instead.

Obviously it’s easier to add this to a work in progress while your piece is still flat, but you can stitch this to already made items, too.

Try other sizes like a 5×7 on a small bag or even a 8×10 on a large tote. Simply add the width of your bias tape to your photo dimensions to get the size for your plastic. Make sure you adjust the length of your trim and add 1-2 inches for overlap.

photo frame applique tutorial

project details: Zipper, upholstery and lining fabric all thrifted. Sheet packaging from my linen closet. I always save the ones with zippers because they make great storage for yarn and fabric.