a clean slate: burlap inspiration board

faux coffee bean bag sack wall bulletin board

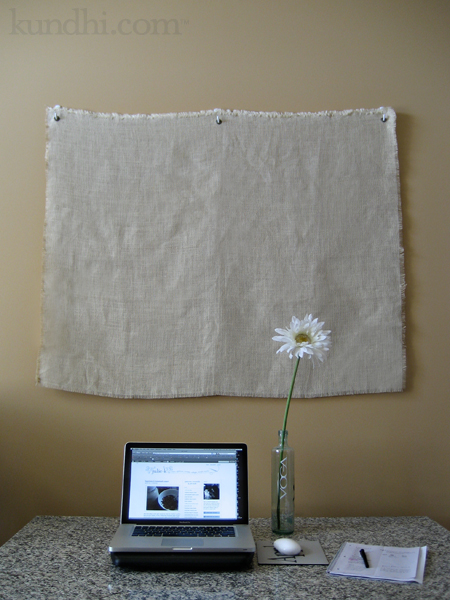
I am fascinated with all of the beautiful projects crafty people are making with coffee bean sacks. I’ve been meaning to make a covered bulletin board like this one for a long time. I just never got my act together and actually got the sack.

Then I found this great piece of burlap and decided I just had to get it up. There was no sewing involved. I used 3M removable hooks instead of putting holes in the wall. The grommets were from my stash. The whole thing took less than an hour from start to finish.

Now I just need to start filling it with inspiration!

wardrobe refashion: reverse appliqué saves the day

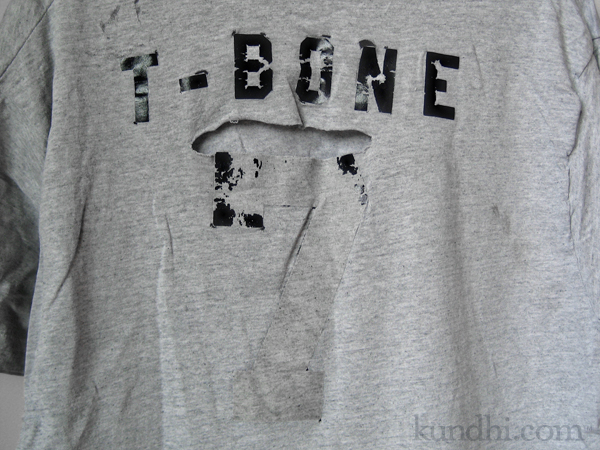
reverse applique tshirt

This is one of those shirts that has been saved over the years because of sentimental value. Every time my husband makes a recycle/donate pile of old t-shirts, it always makes the cut — even after the giant hole. I decided I’d fix it up for him. It’s way too thin to be worn much longer, but it can at least be made into something else if he wants.

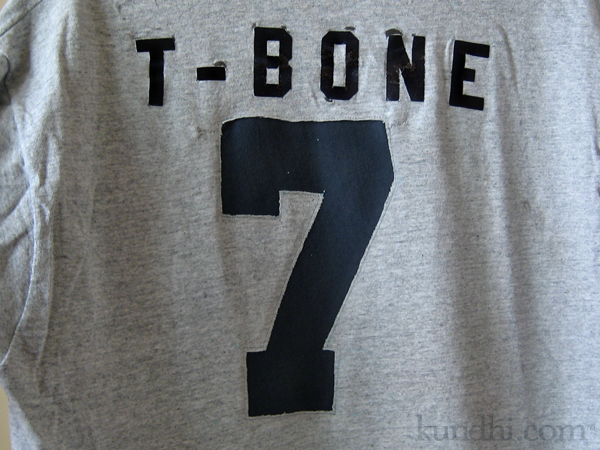
reverse applique tshirt

Believe it or not, this is the first time I’ve done a reverse appliqué. I figured it would be the best choice because the fabric was already ripped. I filled in the peeling letters with a Sharpie marker. I’m still mending the holes above the letters. (Just when I thought I was finished sewing up holes!)

stash: Blue fabric from another shirt I’m planning to upcycle.

the little engine that could : season three

handmade train applique

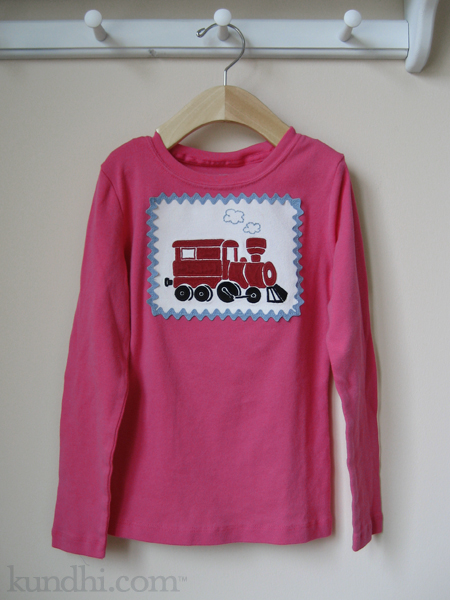
I know I’ve complained about this before, but why do manufacturers make train, car and dinosaur shirts so gender specific? My daughter loves all three and she loves red, pink and purple. I hit the jackpot a few years ago when I found a white, new with tags, gender neutral train shirt at a garage sale. It was a size too big, but she wore it all the time with her sleeves rolled up. The next year it fit perfectly.

This year, it’s too small. I suggested maybe we pass it on to one of her friends who loves trains. “But Mama, can’t we just sew the train on to another shirt?”

I put this project off, but she kept bringing it up. I may be finished with it, but my daughter isn’t ready to give it up. In fact, she art directed the whole project, choosing the pink shirt and suggesting the border. After she got over her disappointment that I didn’t have any pink ric rac in my stash, she picked blue to match the puffs of steam.

She’s very proud of her new shirt. I’m happy that she’s happy. I think this might be the season finale for this little engine, though. After this, it’s going on a tote bag.

project details: I positioned the ric rac in place with a glue stick before stitching it on, which allowed me to fudge the corners so they matched. Worked like a charm! Also, I didn’t fold over the ends. Just lined them up and sealed them with a little bit of fray check.

almost two years ago: My tutorial on ruffling up a boy’s t-shirt. I wish this would have worked for the train shirt, but my daughter is growing too fast!

behind the scenes: I’m finally seaming the baby blanket. Can’t wait for the big reveal!
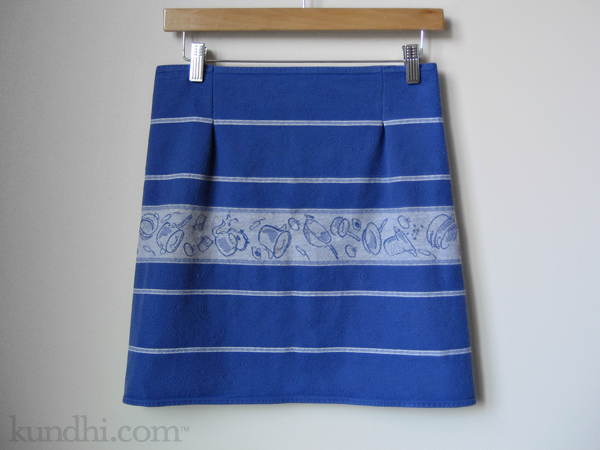
tea towel apron

tea towel apron

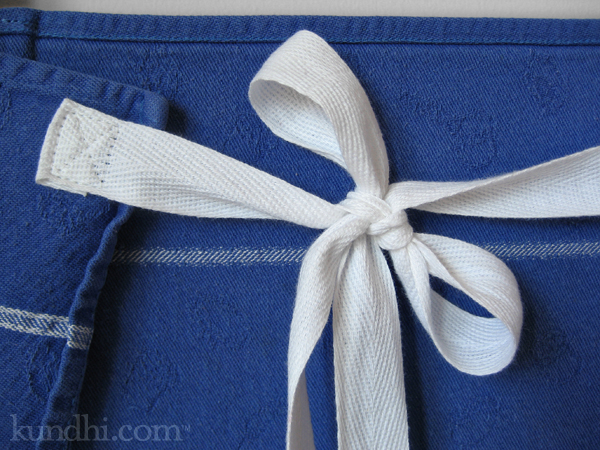
This tea towel was spared from the coffee experiment. I’ve been planning to turn it into an apron ever since I saw the project in Amy Karol’s first book. I love how it turned out, especially the pleats. I can’t wait to make more! Here’s a view of the tie.

tea towel apron

project details: This towel was part of a wedding gift. I’m so glad to give it a new life in the kitchen. Tie was in my stash from who knows where. Pattern from Bend-the-Rules Sewing.

coffee update: I took Happy Cat’s advice and re-brewed the grounds after my coffee yesterday. The towels have been soaking for over 24 hours and are still blue. I think they are made of kevlar.

my creative space

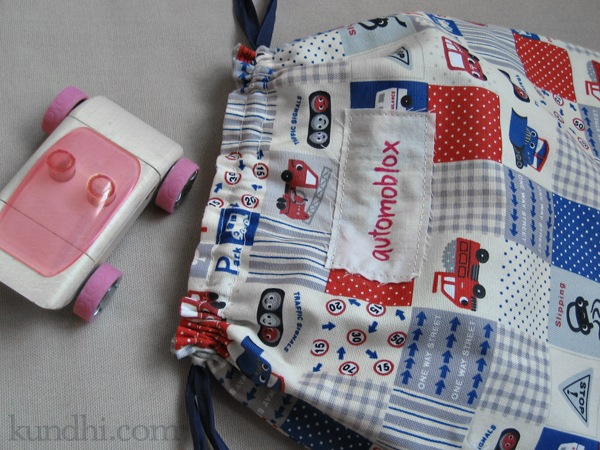
toy organizing bags

I’ve been trying to regain some control over my daughter’s closet. Lately she just wants to empty everything onto the floor to build a giant mountain of toys. Getting her to put away the toy mountain when she is finished has given me quite a few gray hairs.

In my creative space today, I’ve been making some bags for all of those Christmas presents that came without containers. I really should have done it sooner. Having a specific place to put things has helped a little. I also moved half of her toys to the very top shelf. That has helped a lot.

What’s in your creative space today? Play along over at Kirsty’s place.

my creative space

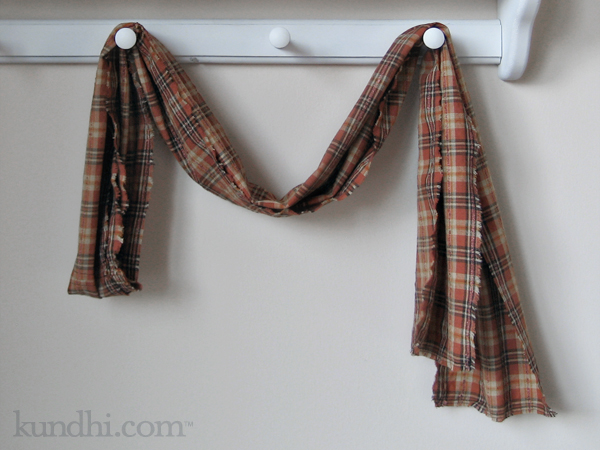
quickie fabric scarf

In my creative space today I was in serious need of a finished project. Remember last year’s Spring scarf? I made another fabric scarf today, only no ruffles. Just a simple, long rectangle.

quickie fabric scarf

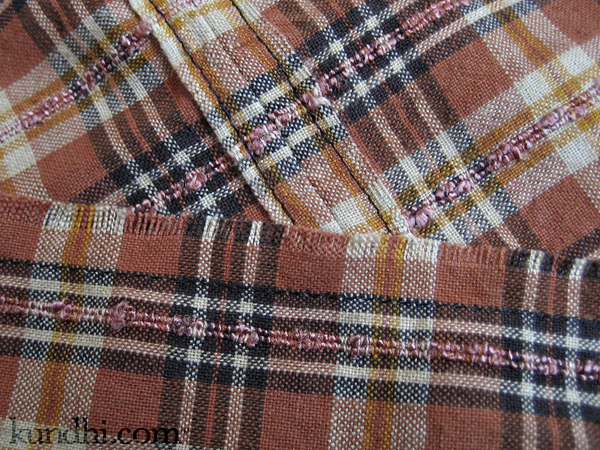
I grabbed some thrifted/gifted fabric, cut it into two skinny rectangles and joined them at the selvedges. Then I stitched the selvedges down. No fraying or unraveling at the seam! I did want the border to be unfinished, so I ran a stitch all the way around and then fringed the edges.<.nobr>

What’s in your creative space today? Play along over at Kirsty’s blog.

p.s. I finally finished my fused bag project. Pics to come tomorrow (I hope!).

nature hike tote bags

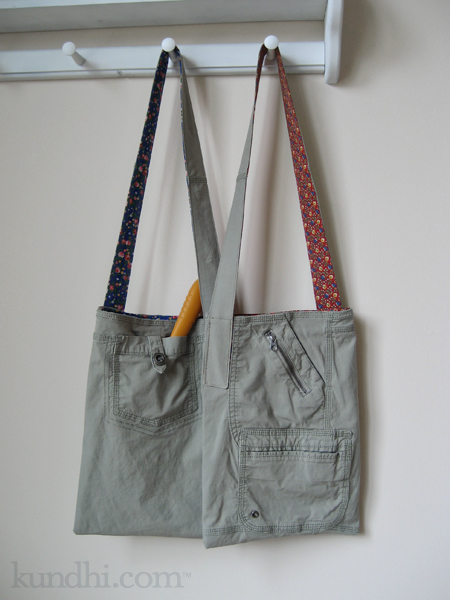
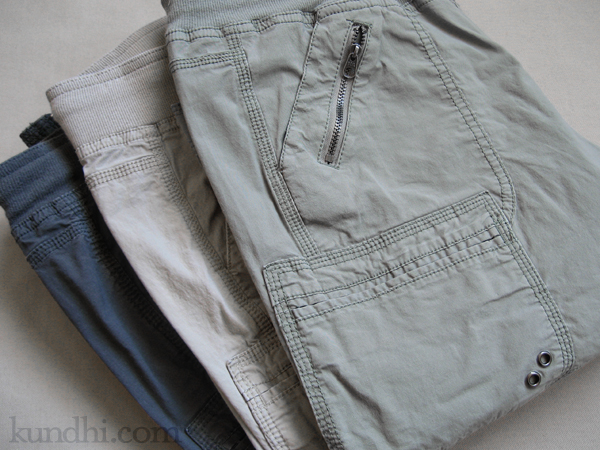
capri pants turned into totes

You knew I was going to turn those capri pants into tote bags, didn’t you? Not just any bags, however, but bags with a purpose: keeping nature out of my pockets and my purse.

I’m sure many of you can relate to this: Mama, can you hold this rock? Here’s a present for you, Mama. It’s a leaf! I’m just going to put this stick in your purse for later. Did you put my feather in your pocket? Later, as you are digging around for latte money, the barista gives you a funny look as random bits of nature fall on to the counter.

I made two of these: one for my daughter and one for her friend. They’re the same except for the lining. Now when we go on walks together, the girls can carry their own bits of nature. There are all kinds of pockets perfect for acorns, rocks, twigs and leaves. The buttoned back pocket is perfect for storing a shovel. You never know when you’ll need to dig for treasure!

I love how these turned out and will be making more. How perfect would they be for a day of garage sailing or thrifting with different compartments for cash, phone, water and a snack! They would also make a cool craft project bag with pockets for all of your notions.

project details: Pants from my closet, lining fabric from my thrifted stash.

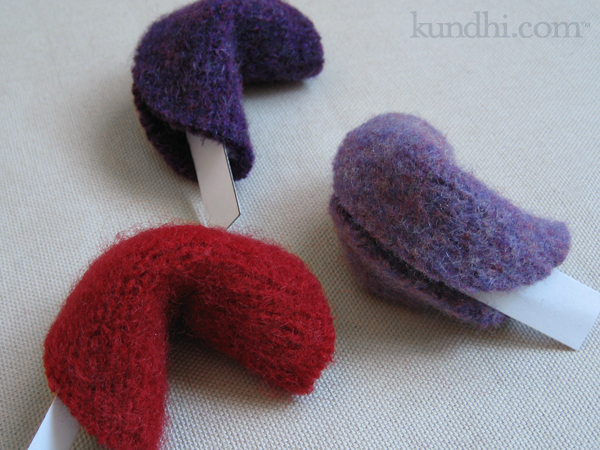
favecrafts blog hop: felted sweater fortune cookies

valentine's day fortune cookies

The FaveCrafts Blog wants to know what you have finished on the 15th. Over here, we’ve officially finished Valentine’s Day. How do I know? My daughter asked if we could replace the heart bunting with spring flowers.

I couldn’t move on to Spring without showing you these cute fortune cookies we made for a few special Valentines. I found the project over at The Sassy Crafter. I wish I had those cool glue dots! Instead I used hot glue, so I prepped the first part the night before. The next day, I had my daughter help me fold them and add the fortunes. (The pdf download includes a fortune template.)

stash: Felted sweater scraps from my stash, of course! If we make these again, I might try some brown wool felt instead.

Check out other finished projects over at the FaveCrafts blog.

valentine’s day rose pins

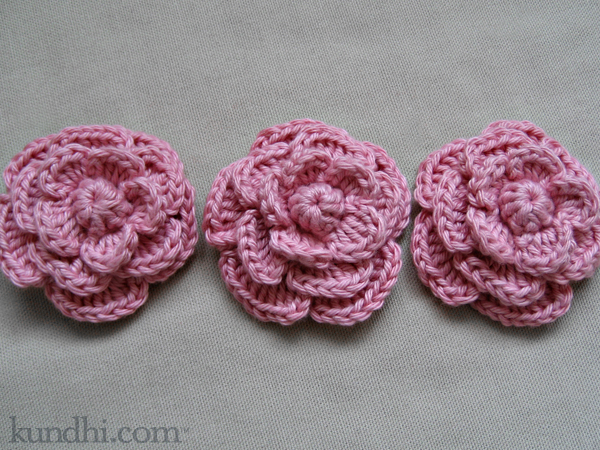
valentine's day crochet rose pin

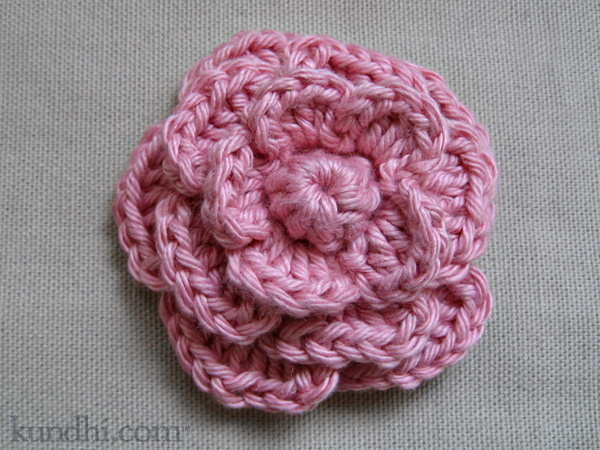
Did you get roses for Valentine’s Day? Some of my daughter’s teachers did.* This is probably the cutest crochet flower I have ever made.

valentine's day crochet rose pin

I made them out of all types of yarn. I think the pattern looks best with cotton.

valentine's day crochet rose pin

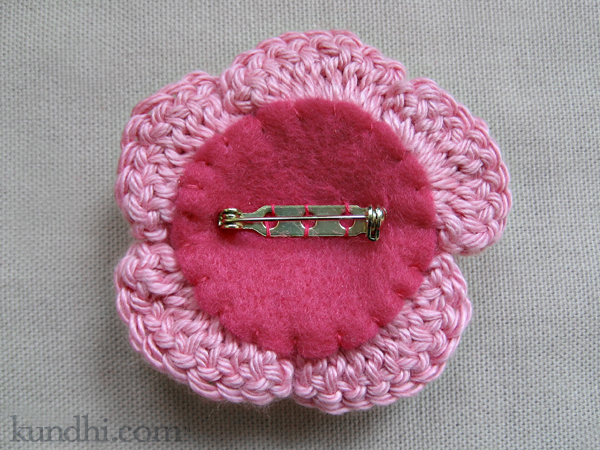
Only problem with these and other tiered flower patterns is that they don’t have a flat back for the pin. I used a piece of felt to even out the back and tacked it securely to the flower before stitching around.

project details: Pattern from Crochet Embellishments. All of my supplies were from my stash.

*A few of her teachers received flower pins last year. This year I made them bookmarks with tiny crochet hearts.