wardrobe refashion: hippie shirt

thrifted hippie tunic

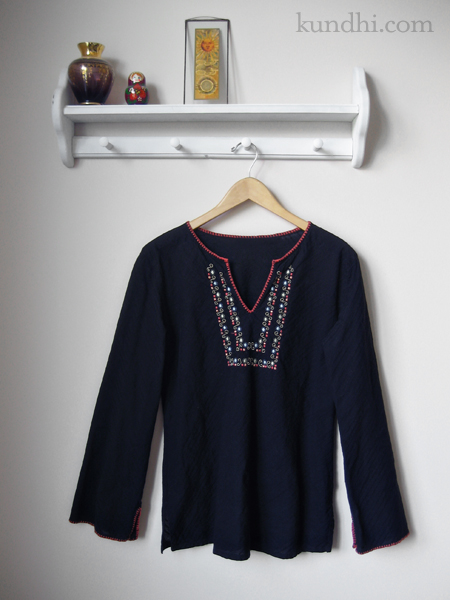
It occurred to me as I got dressed this morning that I never blogged about one of my favorite refashions: the hippie shirt. I love the look of these style tunics, but they’re not the most flattering for me. I really need a defined waist.

I refashioned this last year before I ever attempted to remove a sleeve from a shirt. I just used my 80s sweater method and took it in a little bit under the arms and around the waist.

Luckily this material was forgiving and it turned out pretty good. I’d like to do the same to some of my knit jersey shirts, but I think I’m going to have to take the sleeves apart to alter them. I plan to practice on a few of my thrifted shirts. Hopefully, I’ll have some success stories to post soon!

wardrobe refashion: simple knit jersey skirt hem

wardrobe refashion hem jersey skirt easy

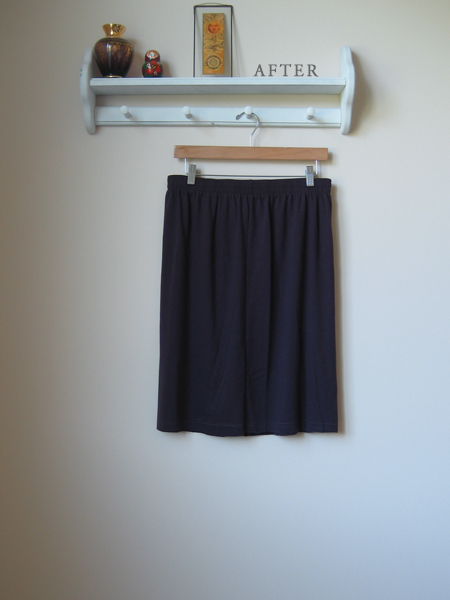
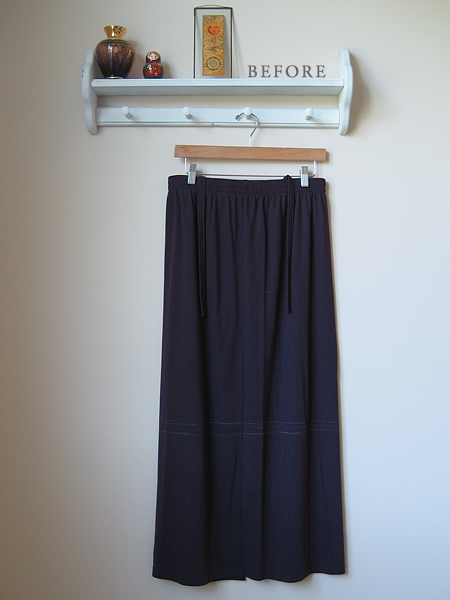
So far this has been the easiest refashion ever. The original skirt was ankle length and had these weird suspender-like ties sewn inside the waist. I’m leaving the bottom edge unfinished to see if it adds a little interest to the plainness of the solid, straight style.

wardrobe refashion hem jersey skirt easy

Just in case it doesn’t turn out as I hope, I left myself an inch at the bottom to clean up and hem. So the top chalk line is where I want it to hit my leg and the bottom chalk line is my cut line. I simply cut at the bottom line and put it on to wear. That’s it. Oh, and I snipped those silly suspender things off.

I’ll keep you posted how the edge turns out after a few washes and if I decide to do a clean hem instead.

thrifted: another 99 cent sale skirt transformation

wardrobe refashion: t-shirt to little girl’s beach cover-up

I’ve talked about our vacation, but have I mentioned where we’re going?

t shirt to toddler dress

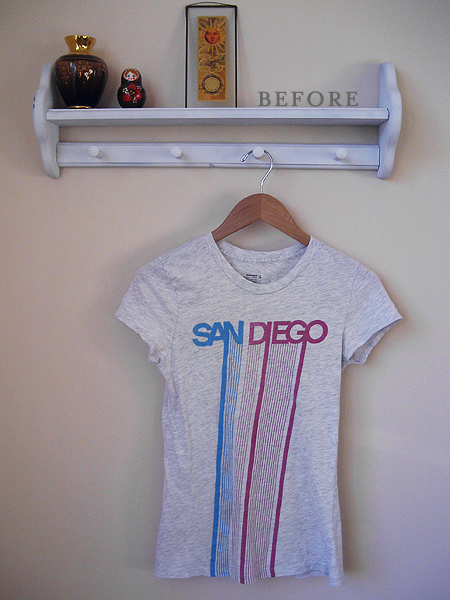
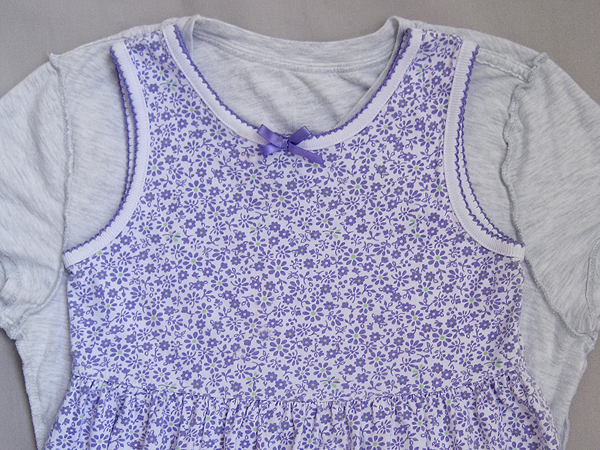
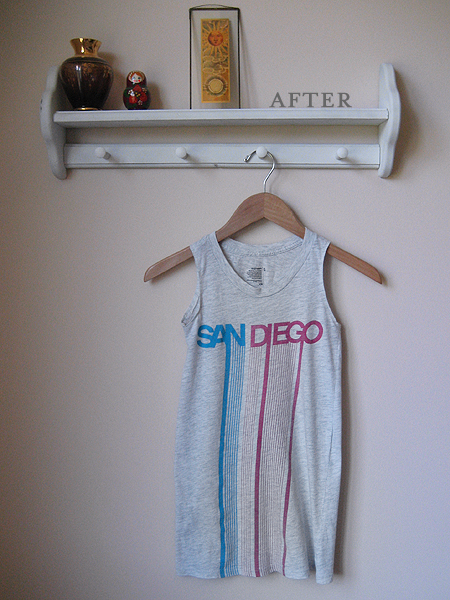
Yep! Can you believe I found this t-shirt? I thought it might make a really cool beach cover-up for my daughter. I just used one of her currently fitting dresses as a pattern.

t-shirt to beach coverup

This should have been such an easy project. The t-shirt was twisted and I had a hard time making the vertical lines look even. Also, the material is really thin and kept getting sucked into my machine. But I loved how it turned out!

t-shirt to beach coverup

So does my daughter. It would be nice if this fits next summer as a dress, but they way she’s growing, it will probably fit in the middle of January.

thrifted and refashioned: 99 cent sale t-shirt.

wardrobe refashion: beach dress blahs

wardrobe refashion: beach dress

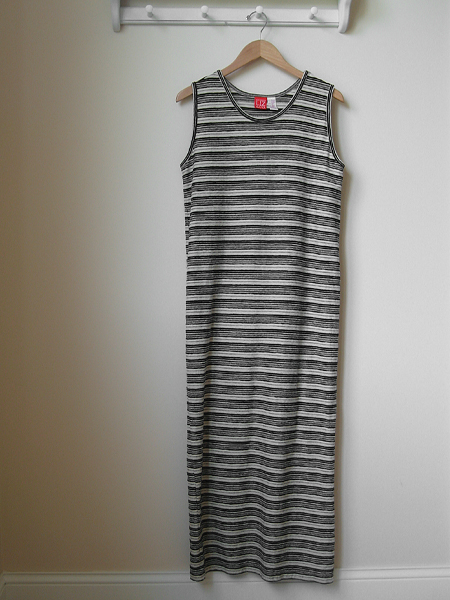
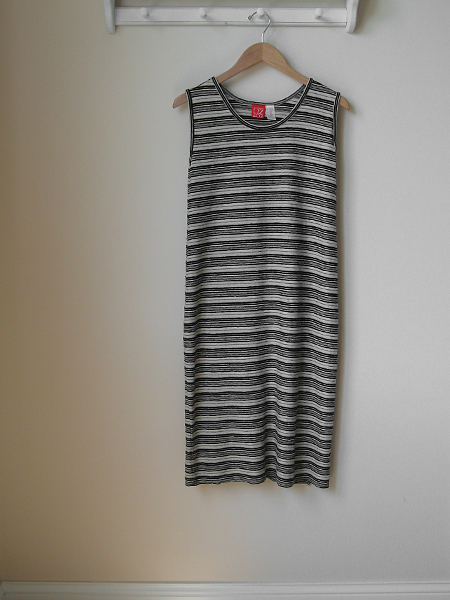
I bought this dress because I thought it would be nice for the beach. After taking it in at the waist (sorry, you can’t really tell in the photos) and shortening the hem to knee length, it’s not really doing anything for me.

wardrobe refashion: beach dress

My husband says it looks good, but it makes me feel kind of blah. I’m still keeping it for vacation, but it will probably get donated after that!

wardrobe refashion: re-sized pajama pants

wardrobe refashion: resized pajama pants

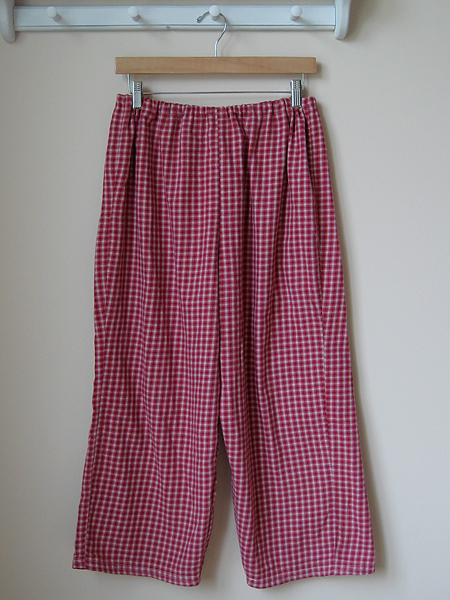
Just quickie refashion today: some Eddie Bauer flannel pajama pants. Are you already bored with pants? I’ve only got a few left, don’t worry. I did do something fun with these, though.

wardrobe refashion: resized pajama pants

I fell in love with the super soft flannel and didn’t realize until I got home that they were a size petite. I figured because they were lightweight that I could do capri-style jammies and they’d be good until the temps got really cold.

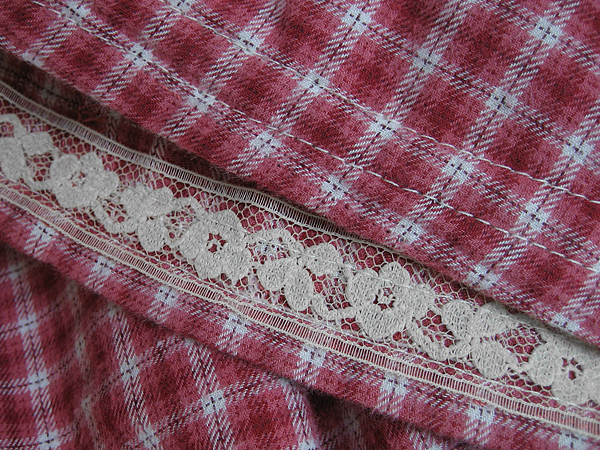
To keep them as long as possible, I serged the bottoms and turned the hem under just 1/2 inch. I used a little lacy seam binding to hide the serged edge. I totally cheated and sewed the lace on while hemming them.

thrifted: Another 99 cent sale transformation using Butterick 5044.

how to: turtleneck sweater turns cardigan in
5 easy steps

So many knitters are scared of the s-word.* It’s really not that terrible. In fact, I’ve been cutting into sweaters for years to make pillows, scarves and tote bags. You just need to get over the fear that all of the stitches will immediately unravel. Take it from someone who unravels sweaters a lot. It’s not that easy for a sweater to fall apart.
how to: turtleneck sweater turns cardigan in 5 easy steps
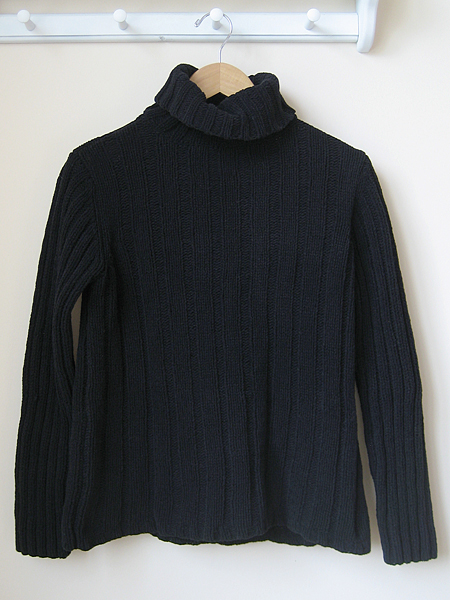
original turtleneck

I’ve been cleaning out my closet and have a lot of beautiful pullover sweaters that I don’t wear anymore. I keep them because the wool is so nice. Sometimes I think I will knit them into something else. I don’t know where I think I’m going to find the time. After my Fair Isle class at knitting retreat, I decided to turn my pullovers into cardigans.
how to: turtleneck sweater turns cardigan in 5 easy steps
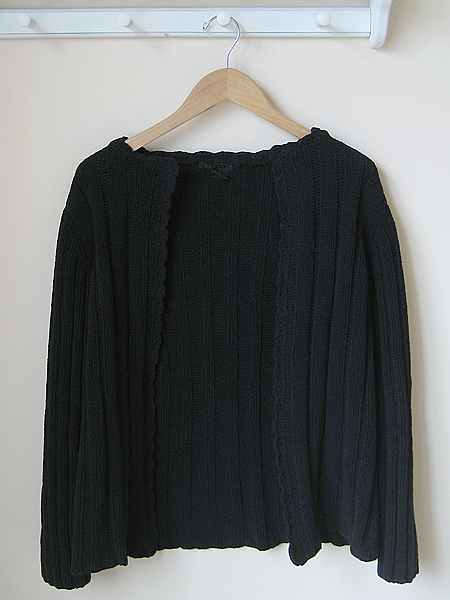
new cardigan

I decided to practice on a thrifted sweater first. I picked a cotton/acrylic blend that was in the donation pile. It had a weird texture — kind of like chenille. Man, was that collar hard to unravel. If you want to practice first, I recommend trying a sweater made out of a nice, simple, plain yarn.

This is a short and sweet tutorial. I assume you understand the anatomy of a knit stitch, know how to pick up stitches and crochet a decorative trim.

Materials:
seam ripper
sharp scissors
sewing machine
crochet hook

Step 1
Remove the seam that attaches the collar to the sweater. Unravel collar yarn and save for later.

Step 2
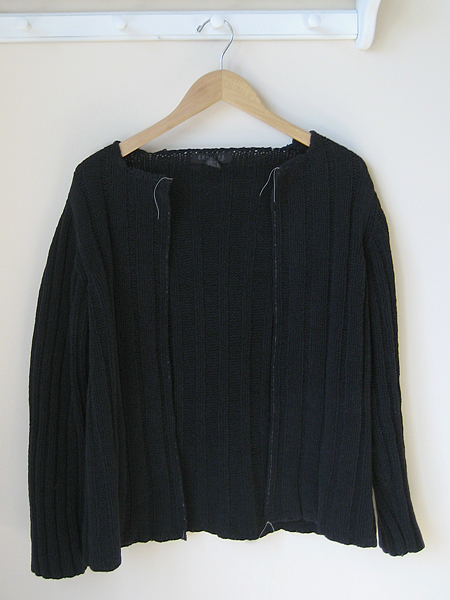
Find the middle column of stitches. Using a sewing machine, sew a line of stitches two columns to the right and two columns to the left.

Step 3
Carefully cut up the middle column of stitches.
how to: turtleneck sweater turns cardigan in 5 easy steps
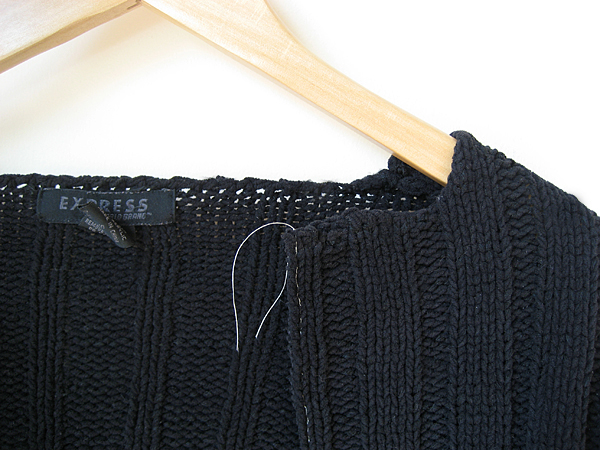
collar removed, stitches sewn and cut
how to: turtleneck sweater turns cardigan in 5 easy steps
close up of sewn stitches

Step 4
Using the unraveled collar yarn, pick up and single crochet a stitch for each row of stitches. I started at the bottom, worked my way up and around the neck and back down the other side. (Some will tell you to pick up three stitches for every four rows. I say do what feels right, looks good and doesn’t pucker.)

Step 5
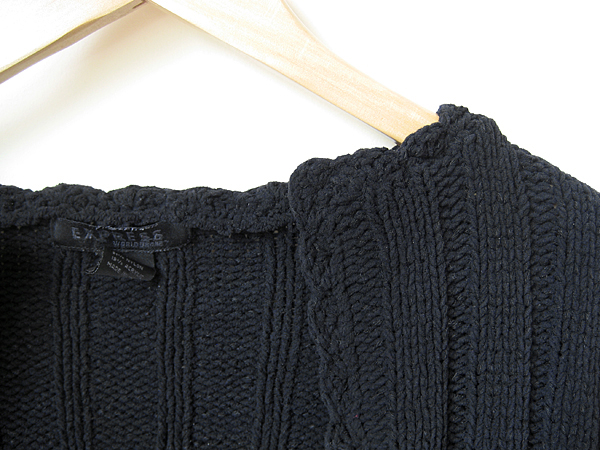
Depending on how much yarn you have left, crochet a decorative border. I chose a simple shell edging.
how to: turtleneck sweater turns cardigan in 5 easy steps
close up of crochet edge

Options
If you want to try this with a crew neck and don’t have enough matching yarn, use a different color or texture to jazz things up. You could also add buttons using chain stitch button holes.

This project is easy once you get over the fear of cutting into knitted stitches. I finished this in two afternoons.

refashion: I’m excited to start wearing some of my favorite wool sweaters again. I’ll be posting my progress as I go. A special thanks to Lynn Anne for giving me the courage to cut!

*s-word is steek!
wardrobe refashion: re-sized capri pants

wardrobe refashion: resized capri pants

The summer of skirts has been a success. I’ve been wearing my red, white, linen and denim skirts regularly all season. But ever since I found that perfect pattern for lounge pants, I’ve been thinking about capris. How easy would it be to refashion a pair of existing pants?

I found a couple pairs at the last 99 cent sale (hey, I told you I had good luck that day!) and decided give it a try. Here’s how I did it:

  • Wash and dried them on hot to preshrink.
  • Removed the elastic waistband with a seam ripper.
  • Cut the inner leg seams open. My pattern is only one piece, so I left the outer leg seams intact.
  • Pressed the pants pieces with an iron and laid my pattern on top. I had to fudge a little, but they were pretty close.
  • There was a lot of waist fabric that had to be removed and the new waist ran right over the pockets. I sewed them shut and cut them out.
  • Traced the pattern and sewed the pants back together.
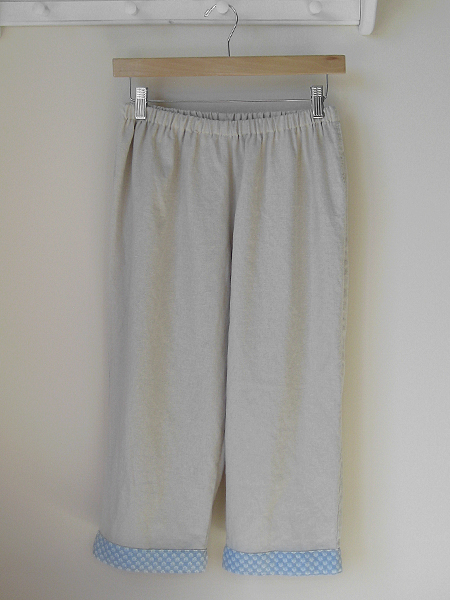
  • Cut off the ugly fringe cuff and added a fabric trim.

The whole process was fast and easy. Most of my shirts come down past the waistband, so they actually look pretty good. I’m sorry I forgot to take a before picture. I had a few free hours for this project and just dove in!

refashion: This pants thing is really increasing my options for clothes. After a few more tries, I might tackle a fitted waist!

thrifty find: green sweater

Finally! The thrifty find I missed last week. This isn’t actually my find. I guess when you regularly blog about recycling, reusing and refashioning, you get a reputation. A few weeks ago, my friend Kelly texted me this:

fixing green sweater

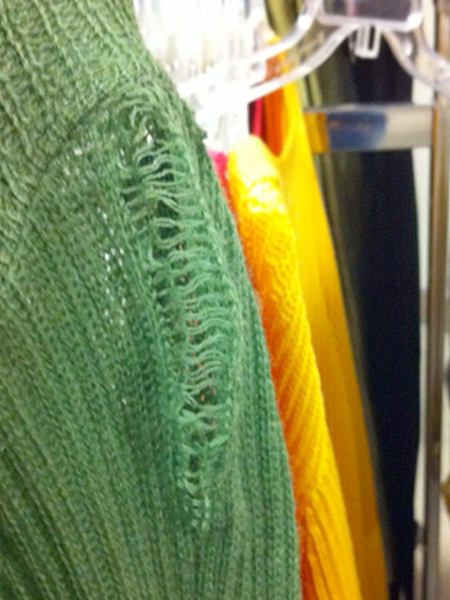
Kelly: Knit emergency: think you could repair this? Hanger damage on an Eileen Fisher sweater.
Me: I think so. It looks like a lot of dropped stitches, but the yarn seems intact. Are any of the strands cut?
Kelly: Nothing cut as far as I can tell. It’s a *huge* discount, and I’ll buy no matter what, but having it repaired would be an excellent bonus, you know?
Me: We’ll make it work.

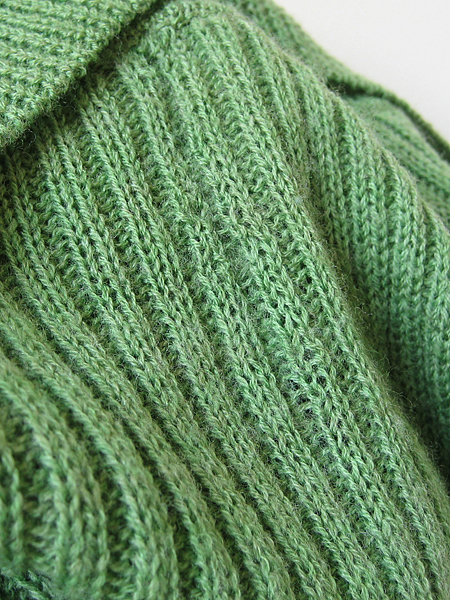
Actually, I thought this would be a simple pick-up-the-stitches job, but too long on the hanger had pulled the neighboring stitches too tight. I got out a tiny crochet hook and gently started pulling on loops. I tightened up the loose stitches and tried to evenly distribute the yarn across the others. It wasn’t the most exciting task. (For the quilters out there, it made my eyes cross like endless stitching in the ditch.) It was worth it though. Except for three or four stitches that just won’t behave, everything else looks good.

fixing green sweater

Of course, my “dedication” to perfection comes into question again. This area is mostly covered by the long, cowl-like collar. No one will ever see my work. Kind of crazy? Well, at least I know it looks good.

There’s another thrifty find to this story. When Kelly gave me the sweater to fix, she also gave me a pair of very nice, dark denim J. Crew jeans that she found thrifting. They fit awesome and I love them. Thanks again, Kelly!

closet overhaul

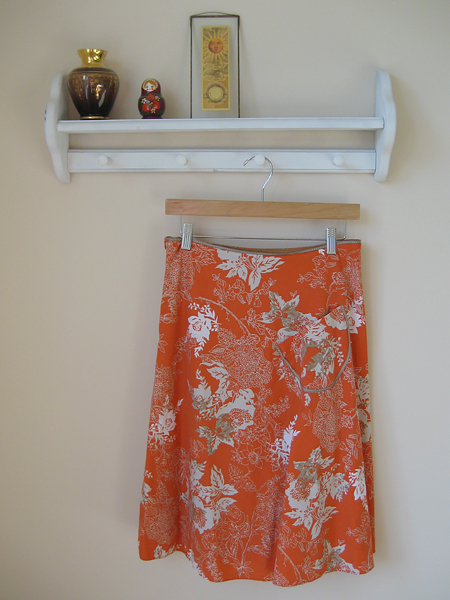
lapis skirt from 99 cent sale

Last week’s trip to the 99 cent sale did not disappoint. I found a ton of clothes for me! I spent just under $25 if that gives you any indication of how much stuff I brought home. It was all good stuff, too. A really nice Eddie Bauer dress, a couple of skirts, a few sweaters and a ton of shirts. It’s a good thing, too, because a lot of my shirts were starting to look like they’ve been worn by the mother of an (almost) four year old.

I had good luck with size, especially since I didn’t try on anything at the store. It was a madhouse and the lines for the fitting rooms were crazy. Only two shirts that I bought need to be re-donated.

When I got home, I had to face some things in my closet. Not only did a lot of my shirts need the heave-ho, but there were other things I needed to put behind me, like clothing that was too small. It was hard coming to grips with the fact that even as I lose weight, my 40 year old body just isn’t the same shape as my 30 year old body. Also, I had to take care of some items that had sentimental value. Do I really need to take a trip down memory lane every time I walk into my closet? No.

Two big trash bags of clothes left my closet while my new duds took a spin in the washer and they are headed up to the People’s City Mission this week. I went through my stack of refashioning-to-do and weeded out a few things, too.

It feels good to only have clothes that I know will fit and will look nice. It was hard work, though. Some silly emotional decisions, a lot of trying things on, and too many loads of laundry. I’ve also renewed my interest in what’s my refashion pile and will have some things to post here on the blog soon!

thrifting: The above Lapis skirt is one of my favorite finds. I think it will look great in both late Summer with flats and into the Fall with boots.