my creative space

My creative space today is a progress report on last week’s space.

mend wool sweater

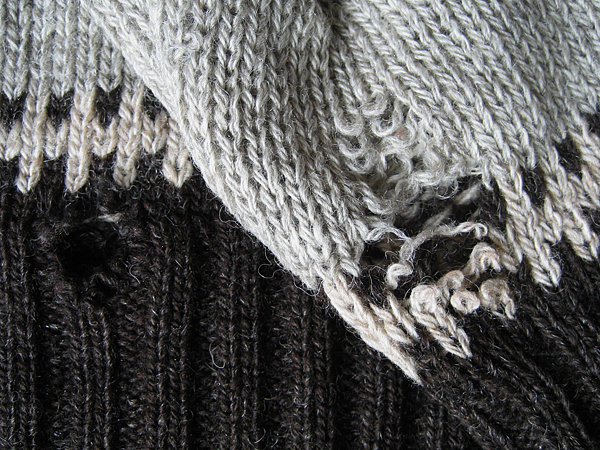
The sleeve repair went smoothly, mostly because it was stockinette and straight forward kitchener stitch. I didn’t have yarn close enough in color so I “borrowed yarn” from the sweater’s seams. It wasn’t an exact match, but better than what I had on hand. I used stash yarn to re-seam the sides.

mend wool sweater

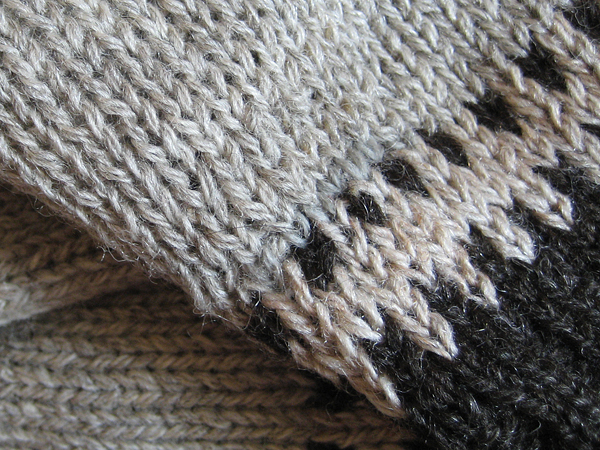
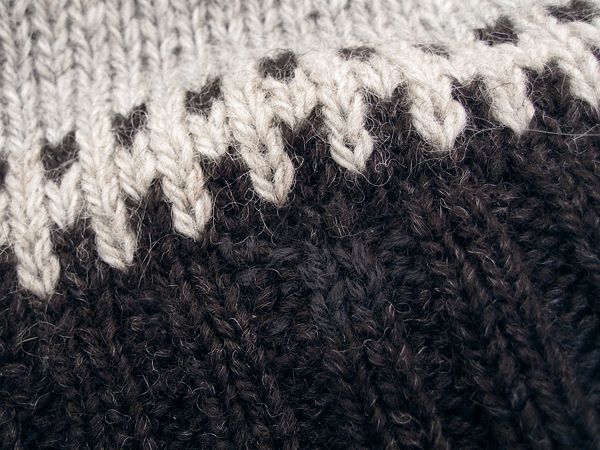
The ribbing was a little more difficult. The mended spots were definitely sturdy, but they weren’t the prettiest. I used yarn from my stash for the nitty gritty details and then duplicate stitched over the grafted parts with the sweater seam yarn for a nice looking finish.

I’m still trying to decide if the attention to detail with the duplicate stitch is worthy of praise or borderline crazy. Either way, I think it looks really nice.

What’s going on in your creative space today? Share in the comments! Then head over to Kirsty’s blog to see what everyone else is up to today.

resources: The grafting methods I used were kitchener stitch and weaving method for holes, both from knitty.com. You can also find really good grafting articles in the Interweave Knits Spring 2010 issue and in the Spring/Summer 2010 Vogue Knitting.

how to: messenger bag refashion

messenger bag refashion

It’s taken me awhile to write about this project because it’s not just a set of simple instructions. It’s more of a guide to what is possible. Before you rip one seam or sew one stitch, I recommend you sit down in a quiet place with pen and paper to plan. I know this is hard for some — it’s hard for me! I don’t even really like following patterns. When you are working with an existing bag, once you cut you can’t go back. You can’t buy more fabric and start over.

So that’s how I started this project — with paper and pen. Below are before and after pics with my thoughts and ideas. I hope you give this a try. There are so many “almost perfect” bags out there. Visit your local thrift store or garage sale and give them an “absolutely perfect” life outside of the landfill.

Materials
seam ripper
good scissors
heavy duty needle
matching thread
messenger bag refashion

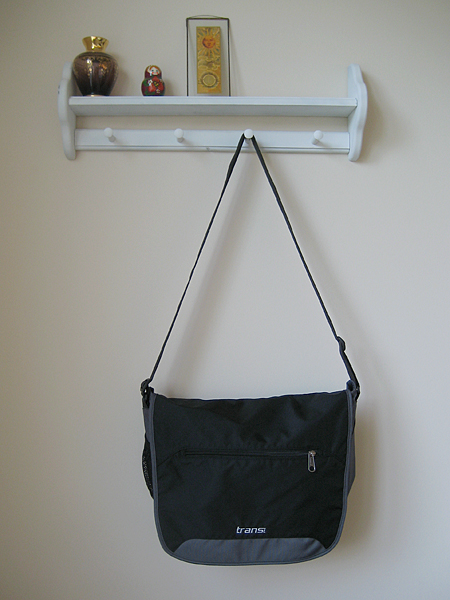
Here is the original bag. Carrie didn’t want the fold over flap. She asked me to replace it with a zipper.
messenger bag refashion

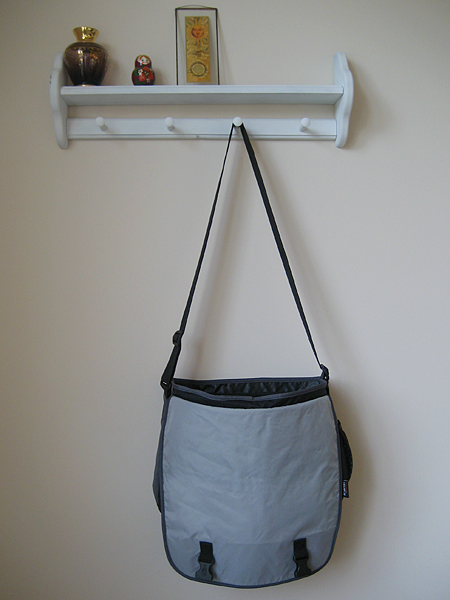
Because she didn’t want the flap, she didn’t need the big plastic clips either. I carefully removed them with a seam ripper. The ones on the flap were easy.
messenger bag refashion

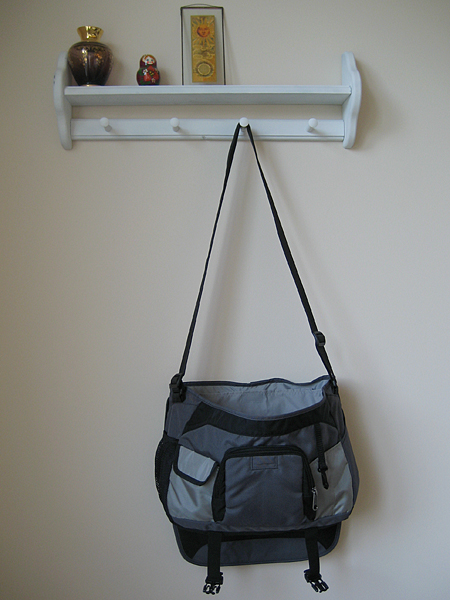
The ones on the bottom were sewn into the seams of the bag so I had to carefully pick them out and resew the bottom seam.
messenger bag refashion

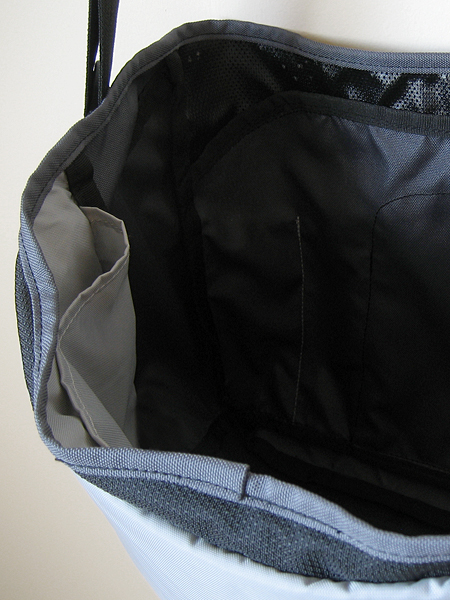
She was happy with the pockets on the outside, but she wanted more pockets on the inside. Most important was having a big pocket to keep her knitting projects safe.
messenger bag refashion

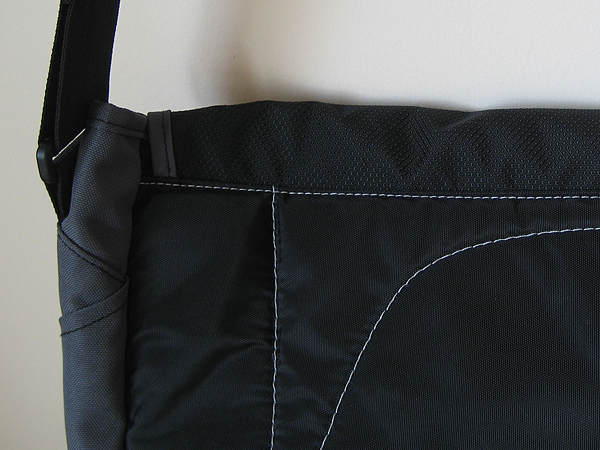
When I opened up the seam to take out the flap I got a nice surprise: another pocket! The only issue was the unfinished edges. I decided I could cover them with the trim from the flap.
messenger bag refashion

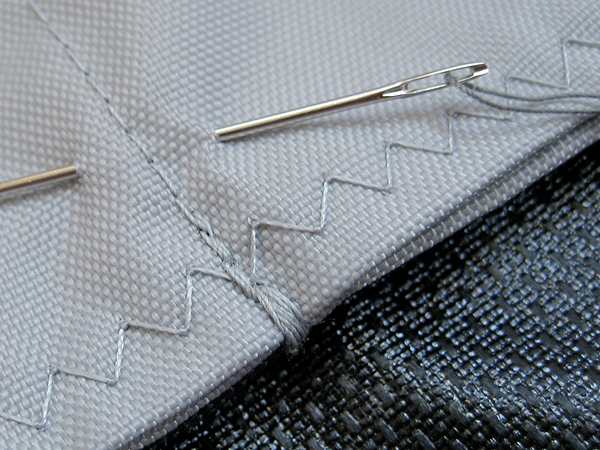
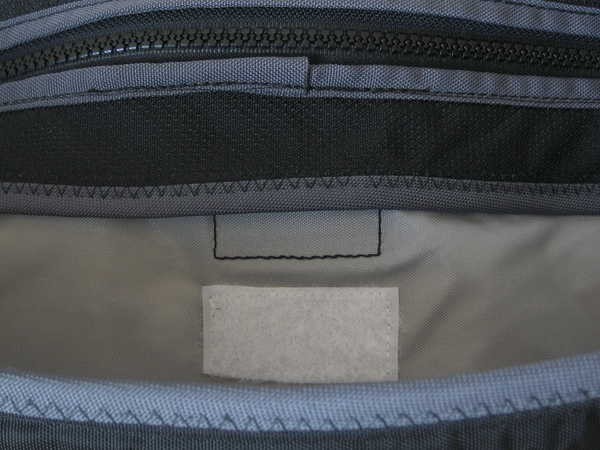
Here is the new pocket finished with the trim from the flap. It was too difficult to sew this with a straight stitch and get it even, so I zig zagged it instead. I added velcro and voilà: an easy access pocket for knitting projects!
messenger bag refashion

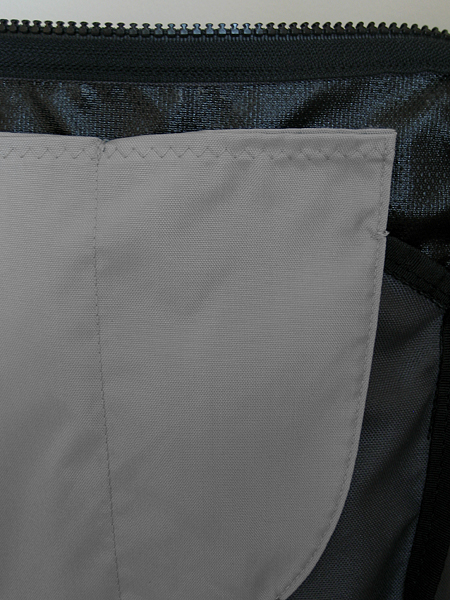
I decided to use the gray fabric from the messenger flap for the inside pockets. There wasn’t a lining in this bag, so I couldn’t sew the pockets directly to the fabric — the outside pockets were in the way. I decided to make the pockets independent of the bag and then just anchor them at different places where the stitches wouldn’t show on the outside.
messenger bag refashion

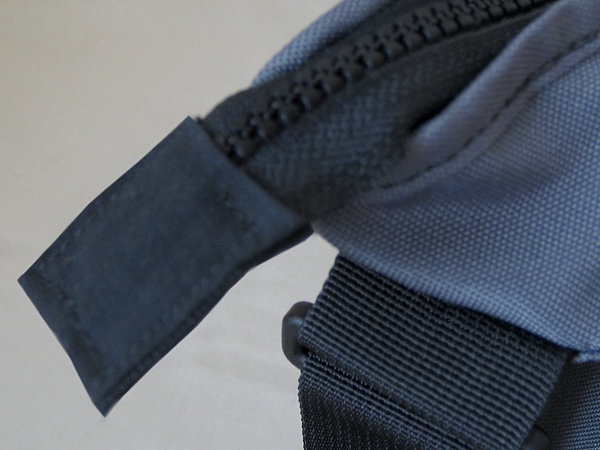
I saved the zipper for last. I just followed the stitch line on the existing trim when I sewed it in. Instead of anchoring the zipper end to the inside, I finished it off with a fabric tag. It felt a little more sporty that way and was also easier on my sewing machine!
messenger bag refashion

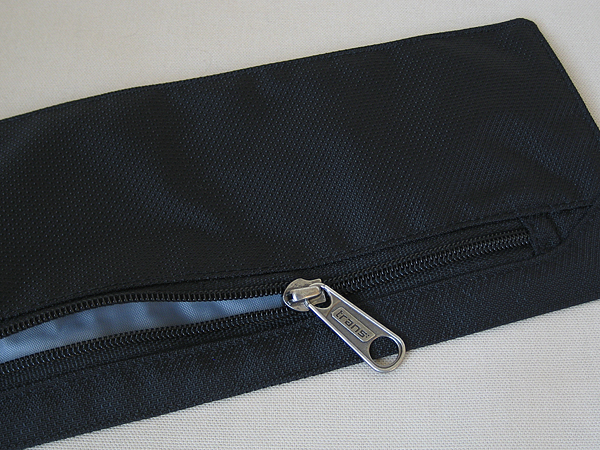
If you’ve been reading my blog for awhile, you know I hate to let anything go to waste. It took a little bit folding and unfolding, but I figured out to make a zipper pouch out of the remaining piece of the flap. Cool!

messenger bag refashion

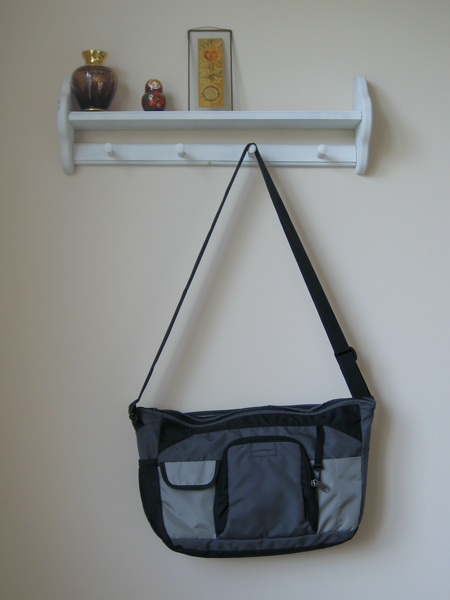
Here’s the after picture again. I hope this “how to guide” is helpful. If you have any questions, let me know. Carrie loves her bag, by the way. Yay!
my creative space

This week in my creative space I’m mending. Crazy thing is that it isn’t even my sweater. In fact, I don’t even know the owner. A friend of friend needed help fixing a Very Important Sweater. It was a wedding gift. It’s over 20 years old. Could I repair the holes? Reinforce the weak spots?

my creative space

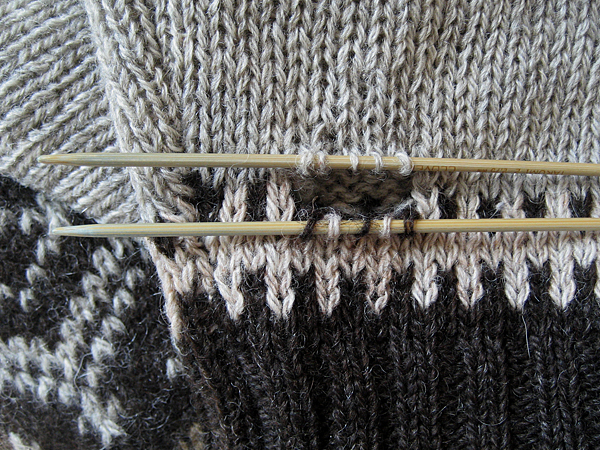
I don’t know which made me happier: the fact that my friend had such confidence in my abilities or the prospect of fixing something that meant so much to someone. I tackled the big hole first, knowing it would be smooth sailing from there. Here it is ready for the grafting.

my creative space

It was trickier than I thought, but also easier than I thought. My experience with unraveling sweaters combined with my recent retreat class on steeking has really made me kind of fearless of dropped stitches.

Pop on over to Kirsty’s blog to check out this week’s creative spaces.

p.s. I’ve received a few requests for the crocheted star pattern from yesterday’s post. It’s another Chromium Star blanket and you can find it here.

my creative space

messenger bag refashion

In my creative space today I’m finishing up a messenger bag refashion for a friend. This was a really cool project and I’ll have lots more photos for you once it’s delivered.

farmers market sandwich

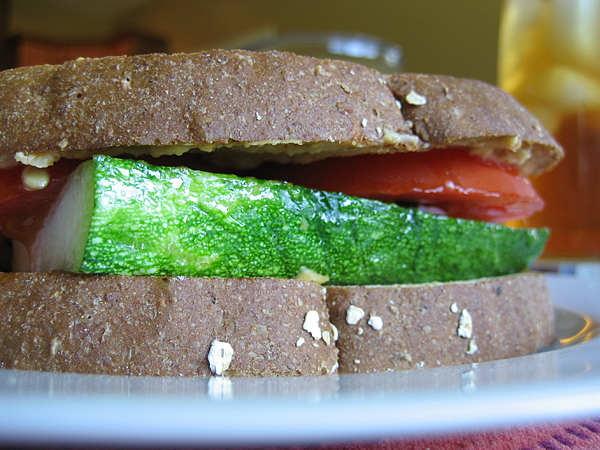
Also a quick update on the Kind Diet. I haven’t been trying hard to avoid meat and dairy, but I’m finding it pretty easy and fulfilling to eat other things. I also loaded up on lots of wonderful veggies from the Farmers’ Market last weekend. Lunch today was tomato, hummus and grilled zucchini on whole grain bread. Yum!

I’m looking for more reading material on how the food we eat affects our planet. Any suggestions?

What’s in your creative space today? Join the fun over at Kirsty’s blog!

wardrobe refashion: another t-shirt

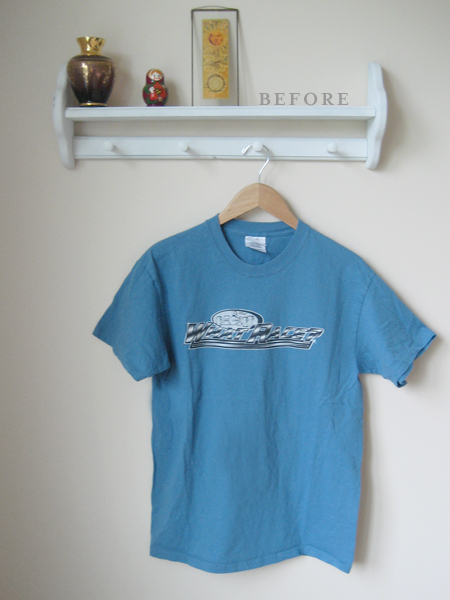
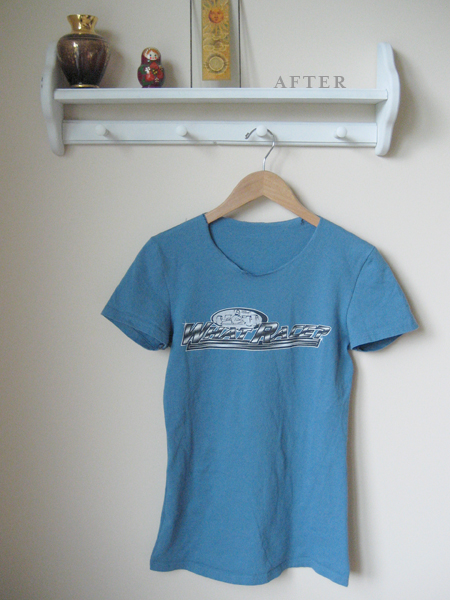
I have not abandoned my dream of many refashioned t-shirts. On a recent 99 cent thrifting spree I found my favorite style t-shirt in my size. Luckily the color didn’t look that great on me, so I took it apart to make a master pattern.

t-shirt pattern pieces

I’ll admit I was feeling a little over-confident when I tried this refashion. Here are a few things I need to pay attention to going forward.

  • Check the fabric! The original shirt is a 1×1 rib, the refashioned shirt is plain knit and has a lot less ease.
  • Make a paper pattern! No matter how hard you try, knit fabric is not easy to trace.
  • Err on the side of too big! Just a tiny bit extra seam allowance would have saved this project.

bmw corral shirt

Honestly, it turned out pretty darn good. I was most worried about the sleeves and shoulders and they are just fine. It’s the rest of the body that’s a little tight. Too bad I didn’t baste and try it on before serging the edges. Doh!

bmw corral shirt

stash: Sadly, I really did like this t-shirt. It’s from one of the worst Formula One races I ever attended. (The front reads “What Race?”) Ha! Guess it’s destined to be a tote bag now.

progress report no.2

floral shirt refashion

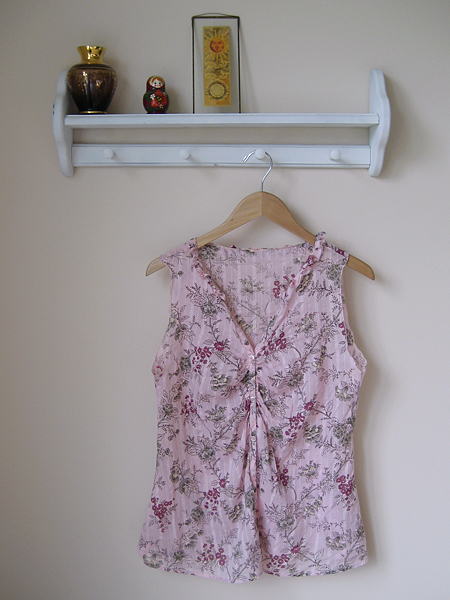
I finished my floral shirt refashion and I’m really happy with the fit. Here are the refashion details:

  • took in the sides to create a more streamlined waist
  • finished the sleeves and neck with a rolled hem
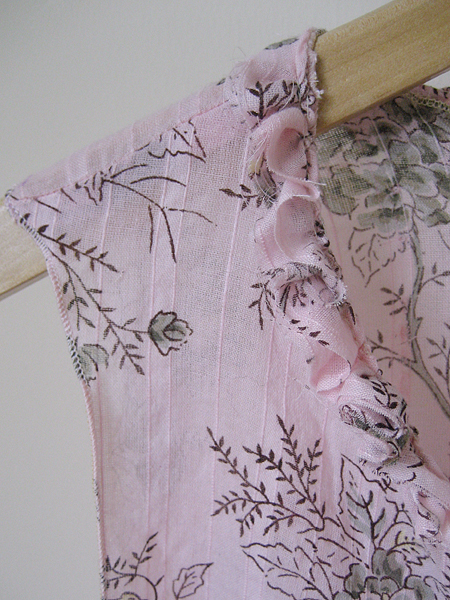
  • added a ruffle trim around the neck

Here is a close up of the ruffle. This was really easy and I’m totally loving it!

floral shirt refashion

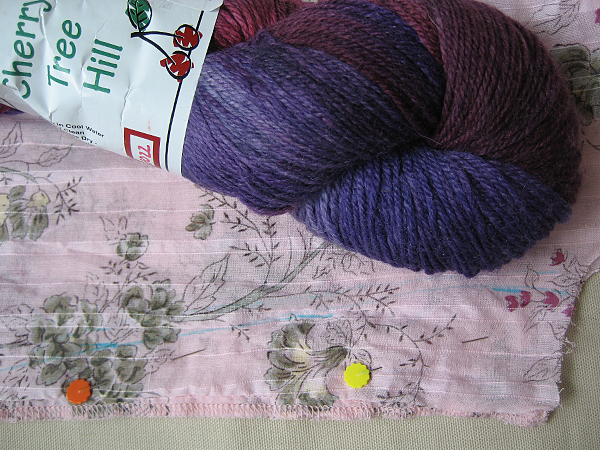
Sock update: Yarn is wound, pattern is picked and I got gauge on my first swatch. Can’t wait to cast on!

thrifted: Got this shirt at the thrift shop. I think it was worth the 99 cents!

progress report no.1

crafty to do list

Yesterday I made some small progress on my to do list.

  • removed the sleeves and collar from my shirt
  • pinned and sketched a (rough) line for the new side seam
  • chose some sock yarn out of my stash

Blog posts might be light this week, but I’m going to do my best to keep on track. Hope to post more progress tomorrow!

liberty of target tote hack

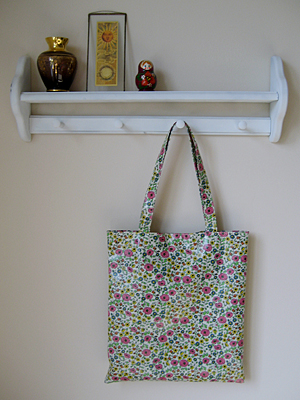
Confession time: my daughter’s dress wasn’t the only Liberty of Target item I bought last month. I fell in love with this tote on the website and was disappointed when I got to the store and realized it was oil cloth. I almost put it back a few times while I was shopping, but in the end, the print won me over.

liberty of london target tote bag

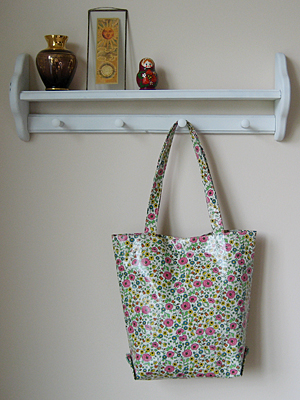
After using it a few times as a knitting tote, I wished I hadn’t bought it. The cloth was so stiff that even a small ball of yarn gave it a goofy bump in the middle. Then I thought, I make tote bags. Why don’t I stop complaining and just fix the darn thing?

liberty of london target tote bag

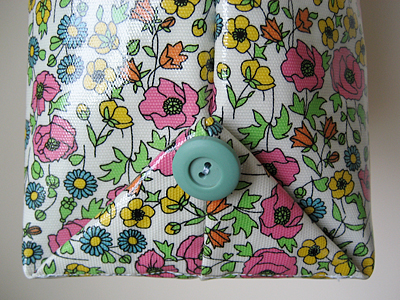
So I added a four inch gusset and prettied it up with some vintage buttons on the side. It’s still stiff, but much more functional.

liberty of london target tote bag

I’ve actually started using it for my daily purse, even though it’s kind of big. I still wish it was fabric, but I really do love those little flowers.

future thrifting?
I’m wondering if others were as frustrated with this bag. Maybe they’ll start showing up at the thrift stores?

another successful flower appliqué

flower for spring hat

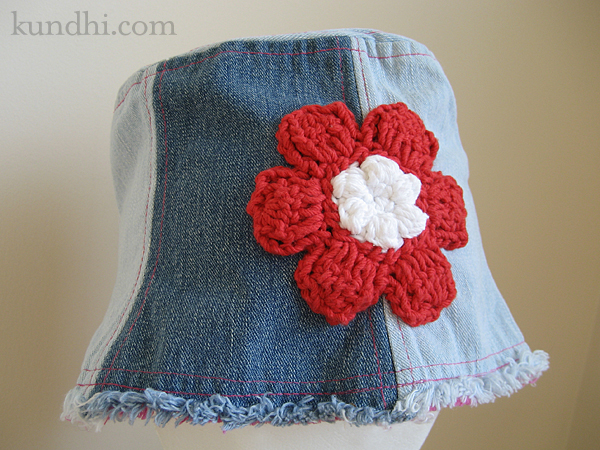
My daughter doesn’t really like wearing hats, unless it’s her Nebraska Husker hat. I bought this little bucket hat at Neat Repeatz, long before it would ever fit her. I just fell in love with the denim and unfinished edges. It finally fits, but I knew I’d have to come up with something special to get her to wear it.

I asked her if she’d like me to crochet a flower for it. Yes! What colors would she like? Red and white! (Husker colors, of course.) Would she like to pick out the flower pattern? Yes! Yes!

I whipped this up Sunday morning and she wore it to the zoo on Monday. I’d say she had it on about 95% of the time — a definite success!

wardrobe refashion, stash and pattern: Cotton yarn from my stash, left over from knitting baby bibs. Pattern from Crochet Adorned, which I received via Swaptree.com.

wardrobe refashion: red linen skirt

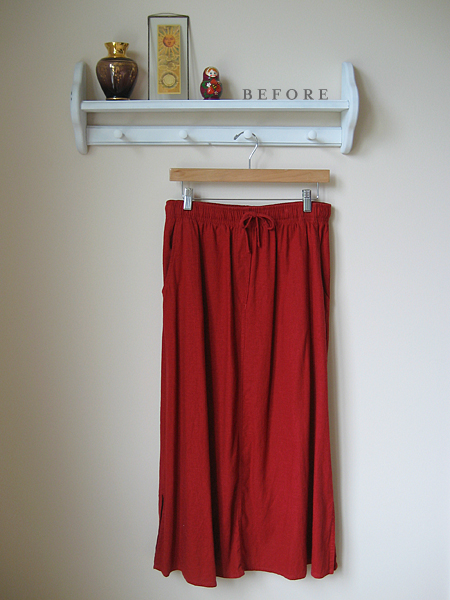
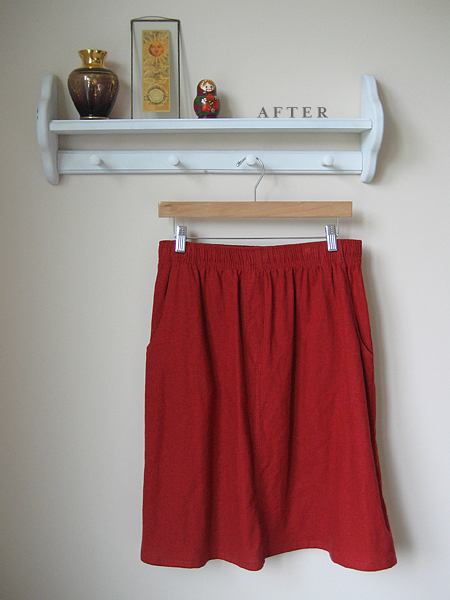
So, what was I doing Friday evening instead of writing a blog post? Sewing! Unfortunately, I didn’t finish until it was too dark to take pictures. But to make up for it, I’ve got a before pic for this one!

red linen skirt

Another long skirt — this one I originally bought to use for tote bags. That was before I started refashioning. But there were a few nit picky things that bugged me about it, so I had to weigh my options.

Pros

  • Pockets!
  • Beautiful red color.
  • Linen/rayon blend.

Cons

  • Really wide elastic waistband.
  • Drawstring.
  • Faux zipper flap. (Seriously? What the heck?)

red linen skirt

I figured I could fix two out of three and live with the wide elastic, so out came the scissors! First I cut about 10 inches off the bottom and finished it with a 1/2 inch double hem. I removed the drawstring and closed up the holes with a slip stitch. Then I tacked down that weird faux zipper flap with a slip stitch, too.

red linen skirt

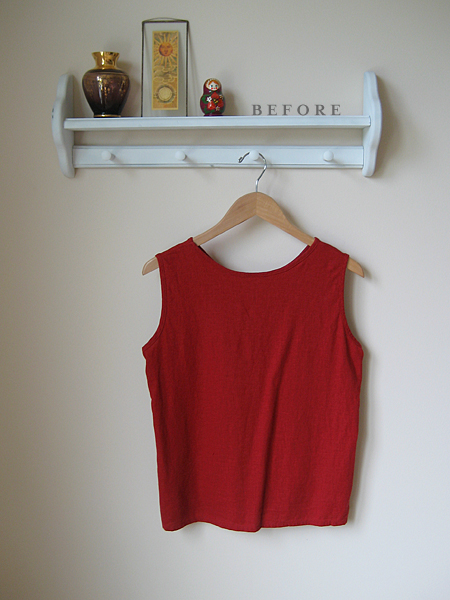
This skirt comes with a bonus matching top. I plan on using the leftover fabric from the skirt to make this a little longer. I think it might also need some shaping. Any other suggestions?

thrifted: Both of these were garage sale finds. I think it’s kind of funny that I bought them to make totes and now I’m going to wear them!